
Playing With Styles – Part 1
[The Ctrl-J shortcut for duplicating a layer or selection contents to a new layer is disabled in Elements 2. Use Layer > New > Layer via Copy instead. There are some excellent new Wow styles that ship with version 2.]
Elements has a fairly limited number of styles in its Layer Styles palette, but by combining them in different ways, you can make them go a lot farther.
I’m going to show you how to apply styles to an image, as a frame, but these techniques will work just as well on buttons, or Web interface parts.
Styles can be applied to (large) type, and to shapes made with the shape tools. Shown below is one of the People shapes with a Complex style applied.
And, here’s a text example with a combination of Complex styles.
I’m going to rattle these steps off without much elaboration, so please pay attention, and don’t skip anything. Each step is important.
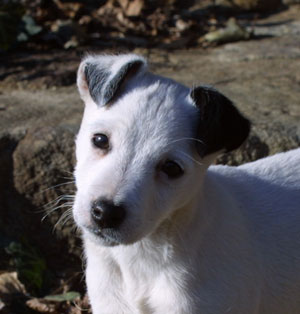
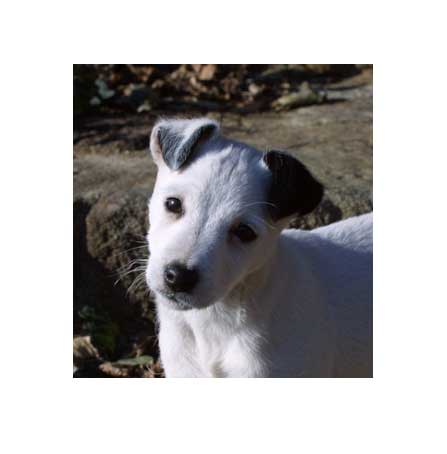
Open your image. I’m going to be using the picture of a puppy, shown below. Press Ctrl plus the J key on your keyboard. This creates a duplicate of your background layer in the Layers palette.
Double click on the new, duplicate layer and name it “image”. Then unlock it by unchecking the lock box at the top of the Layers palette.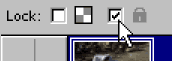
The bottom, background layer will still be locked. Don’t worry about that. Background layers are always locked.
Click on the background layer. Press the D key on your keyboard to make sure the default colors are showing in your toolbar. Then press Ctrl and the Backspace key to fill the background layer with white.
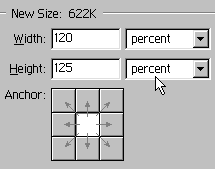
Next, choose Image > Resize > Canvas Size. In the dialog box that appears, change the units to percent, and enter 120 for Width, and 125 for Height. Actually, I think 122 might be better for Height, but I used 125 in the example, so what the heck. You need to change the units to percent before you enter the amount or it will not work right. Leave the Anchor box at the default, center setting, as shown above. Click OK.
Click on the image layer in the Layers palette. Select the move tool in the toolbar. Press the up arrow key on your keyboard 5-8 times to move the image up slightly.
If you are working on an image which is much larger than mine, or which has a much higher resolution, you’ll need to press the arrow key many more times. Use your best judgement. Frames are always a little bit wider at the bottom than the top. It looks better that way.
Click the background layer in the Layers palette. Then choose Layer > Duplicate Layer. Or, you can right click the background layer and choose Duplicate Layer from the menu. Double click on the new layer, and name it “frame”.
Press Ctrl and click on the image layer’s name. It’s the top layer, and the one with the puppy on it in my example. Pressing Ctrl while clicking a layer’s name loads its content’s outline as a selection.
With the selection outline active, now click on the frame (white, middle) layer. Press the Delete key. Then press Ctrl-D, or choose Select > Deselect to deselect all. Your Layers palette should now look like this.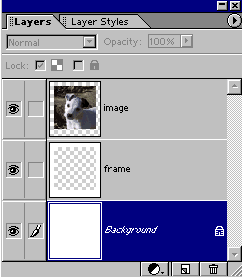
Click on the background layer. Choose Image > Resize > Canvas Size again. Add two inches to both the Width and Height values. Do this by making sure your units are set to inches, and adding two to whatever number is showing for Width and Height. Leave the Anchor as is, and click OK.
You should now have an image, alone on the top layer, a frame on the middle layer, and a wide white background for the bottom layer. The checkerboard pattern you see on the top and middle layers indicates transparency.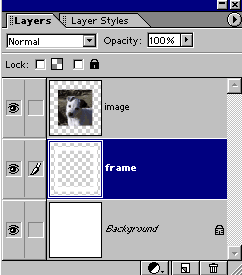
If you turn off visibility of the top and bottom layers, by clicking the eyeball icons at the left side of their layers, your middle, frame layer will look like this.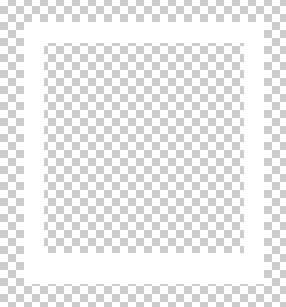
This middle, frame layer is the one that we’re going to apply the styles to, so please, make sure it is selected, and stays selected for the balance of this tutorial. Styles are applied to the selected layer. We do not want to apply styles to our image layer.
The whole image is as shown below. You can’t even tell that the frame layer is there since it is overlaps the white background. But you will know it’s there, as soon as a style is applied to it.

Comments