
Photoshop’s Luminosity Mode
Photoshop says this about the Luminosity Mode: Creates a result color with the hue and saturation of the base color and the luminance of the blend color. This mode creates an inverse effect from that of the Color mode.
Just to prove the point, I’ll take a cherry blossom layer, duplicate it, and desaturate one of the layers.
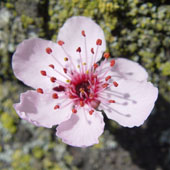
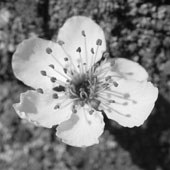
I’ll set both layers to “Luminosity Mode” and put them one at a time over a rose layer. Both get the exact same result:

The grey levels of the blend layer (cherry blossom) are applied to the colors of the base layer (rose).
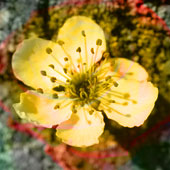
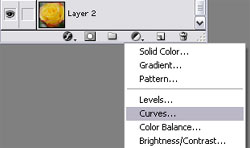
As a kind-of practical application, I’ll start with the rose layer and apply a Curves adjustment layer by clicking on the adjustment layer icon in the bottom of the Layers Palette and then choosing “Curves”:
I click twice on the line and drag and adjust the curves like this:
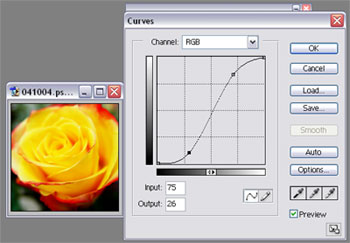
As you can see, this makes the picture a bit “darker” or saturated. The yellow is really bright; the darker areas of the image have been made even darker.
Now, I set the mode of the Curves layer to “Luminosity.”
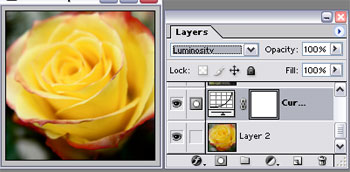
This keeps the colors of the original picture but keeps the contrast from the curves adjustment layer and gives the image an almost old-photo-ish kind of effect.
Comments