
Photoshop Elements 2 Effects
Photoshop Elements 2 Effects |
|
|
|
|
| Selection of preset actions |
|
 |
The full version Photoshop includes a feature called Actions. An action is a recorded sequence of editing steps that results in a predictable outcome. These can save a lot of time for users doing the same task to multiple images. The Effects included with Elements are prepackaged actions that you can use in the same way. Alert boxes will pop-up to tell you if you need to have a particular type of image, or a selection active. Some of the effects will flatten your image. 
To apply an effect, select the layer to which you want to apply it in the Layers palette, and then click the Apply button, or drag the effect name onto the image. The results that you get from applying the same effect to documents at different resolutions will often vary considerably, especially the effects from the Frames group. The same effect that generates a nice wide border on a 72 ppi Web graphic will make a little skinny frame on a 300 ppi high resolution photograph. Please note that palettes which are in the palette well will not stay open while you edit. To bring a palette out of the well, click on its name tab and drag it out.
|
|
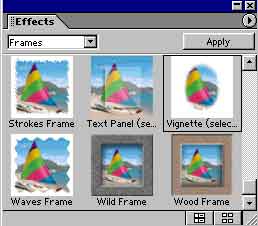
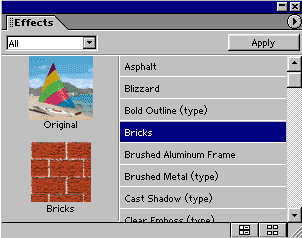
The illustration on the left, below, shows the effects palette in thumbnails view (from Elements 1, but it’s the same in 2). I had scrolled down to the bottom of the Frames selection of effects. The sample sailboat image is shown without effects at the top of the palette for comparison purposes. On the right below, is the same palette in list view, and here you can see the original image. The Bricks effect is one of the textures and will fill your image’s shape with bricks (!). To choose list view, or thumbnail view, click on the little arrow in the upper right corner of the palette and choose the one you want from the menu, or click on one of the icons in the bottom right corner of the palette to toggle between the two views. |
|
  |
|
|
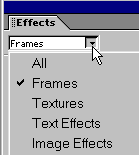
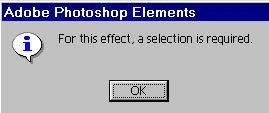
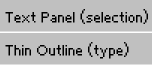
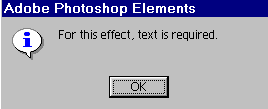
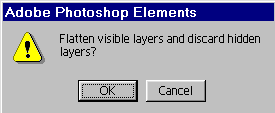
The groups of effects you can choose from are shown below left. There are a total of fifty individual effects in the combined groups. Some effects require an active selection, or that a type layer currently be selected in the Layers palette. These effects show the requirement in parenthesis after the effect name in the menu. If an effect will flatten your image, you will see the dialog box shown last, below right. Click Cancel to avoid having your image flattened, and all layers lost. [Note that all illustrations shown below are from Elements 1. Except for cosmetic differences, they are the same in Elements 2.] |
|
|
|
Comments