
Photoshop Elements 2 Custom Shape
Photoshop Elements 2 Custom Shape |
|
|
|
|
|
Used for creating custom shape objects |
|
  |
This page is only about the custom shape tool. For information on all the other shapes, please see the main shapes page. 
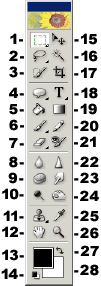
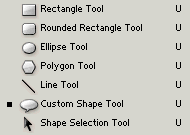
Please note that in Elements 1 the icon that appears on the shapes options bar will change to show the icon of whatever custom shape you last used (no longer the case in Elements 2—you’ll always see the same talk balloon shape). The default icon was the heart shape, but that will be visible only until you use any other custom shape. The custom shape tool is grouped with the other shapes in the toolbar. To find it, click on the shape icon which is showing and select it from the pop-up list. Or, you can select any of the other shape tools and then choose the custom shape from the options bar. Shapes are created by combining a color fill layer with a vector path that defines the shape outline. Vector outlines are edited differently than bitmap, or raster image areas (which, with the exception of the type tool, is what the rest of your Elements features use). To select shapes you must use the shape select tool If you have multiple shapes on the same layer and you want to move only one of the shapes, you also need to use the shape select tool, and not the move tool. You can, however, use the move tool to move the entire layer, and all the shapes (in unison) that are on it. To add a custom shape, set your foreground color to the color you want in your shape, select the shape tool, set its options, and then click and drag (holding the left mouse button down) diagonally from the top left corner to the bottom right corner of the size and proportions that you want for your shape. The keyboard shortcut key for the custom shape tool is the letter U. Cycle through all the shape tools by pressing the Shift key while typing the keyboard shortcut.
|
|
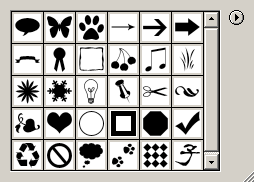
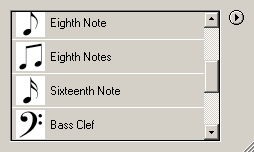
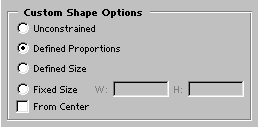
Please see the (all) shapes tool page for details on the tool’s options bar. There’s too much there to repeat it here, and have room to show you all the different palette choices. After you choose the custom shape, click on the little down arrow just to its right (to the left of the word Shape) on the options bar to set its Geometry Options. That options bar will change in one respect when you choose the custom shape option. You will see an additional thumbnail of the tool, titled Shape, to the right of the first one used to select the tool. Clicking on this icon will bring up the pop-up palette of the different shapes you can choose from. That palette is shown below, in two views. Small Thumbnail view on the left, and in Large List view on the right. The default palette is on the left, and the Music palette is on the right. Change your view, or palette by clicking the little arrow in the pop-up palette’s upper right corner to find the menu.
|
|
|
|
|
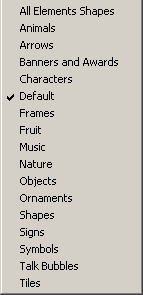
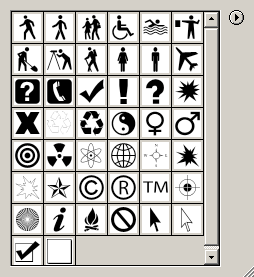
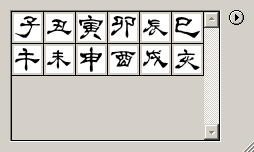
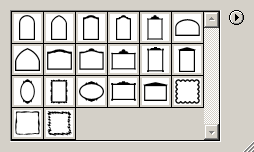
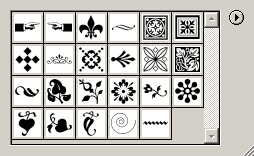
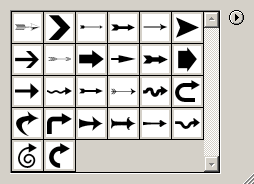
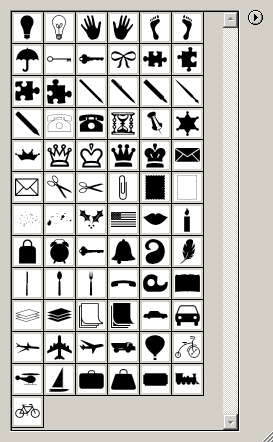
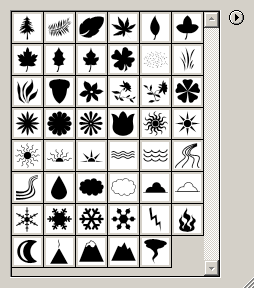
Shown below left is the custom shape tool pop-up palette’s menu, followed by several of the shapes palettes. Hover your cursor over a palette and read the Alt text, if you want to find the name of it.
|
|
|
|
Comments