
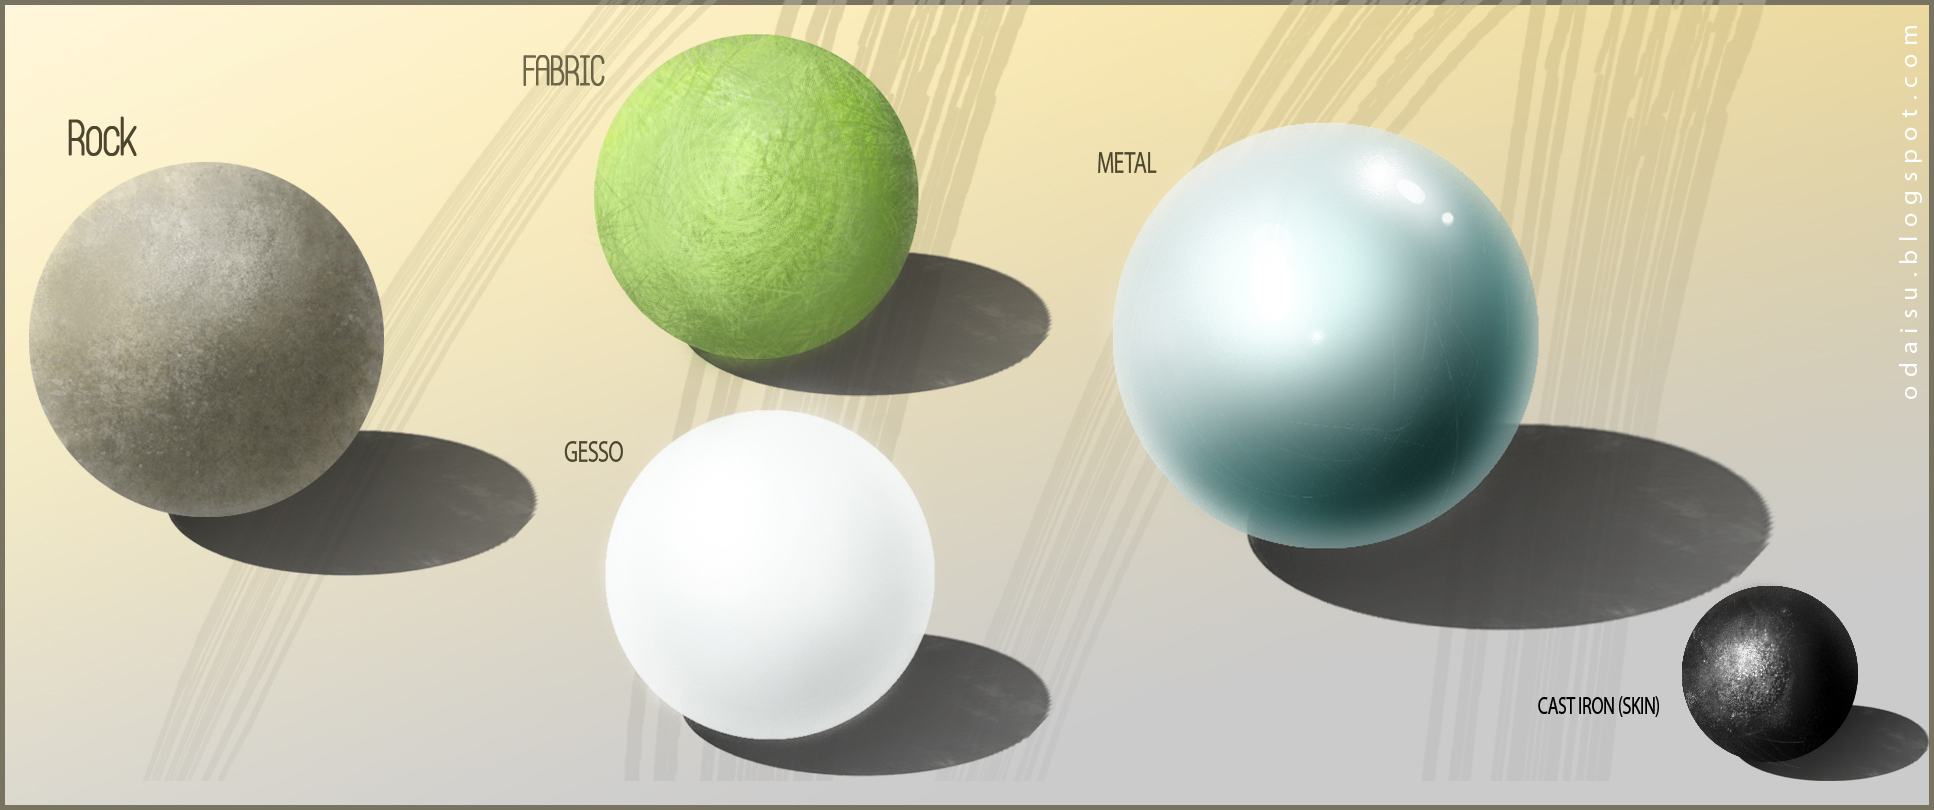
Photorealistic material rendering
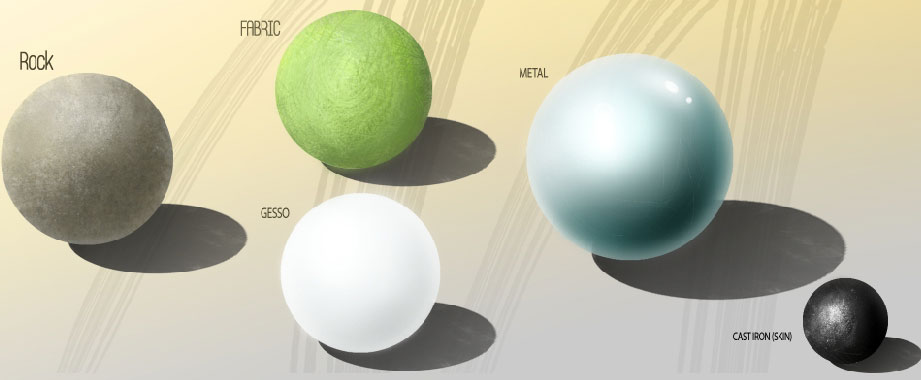
This tutorial will cover photorealistic material rendering using Photoshop brushes. We will make textured balls (spheres)
like in 3D apps.
Let’s create a document first:
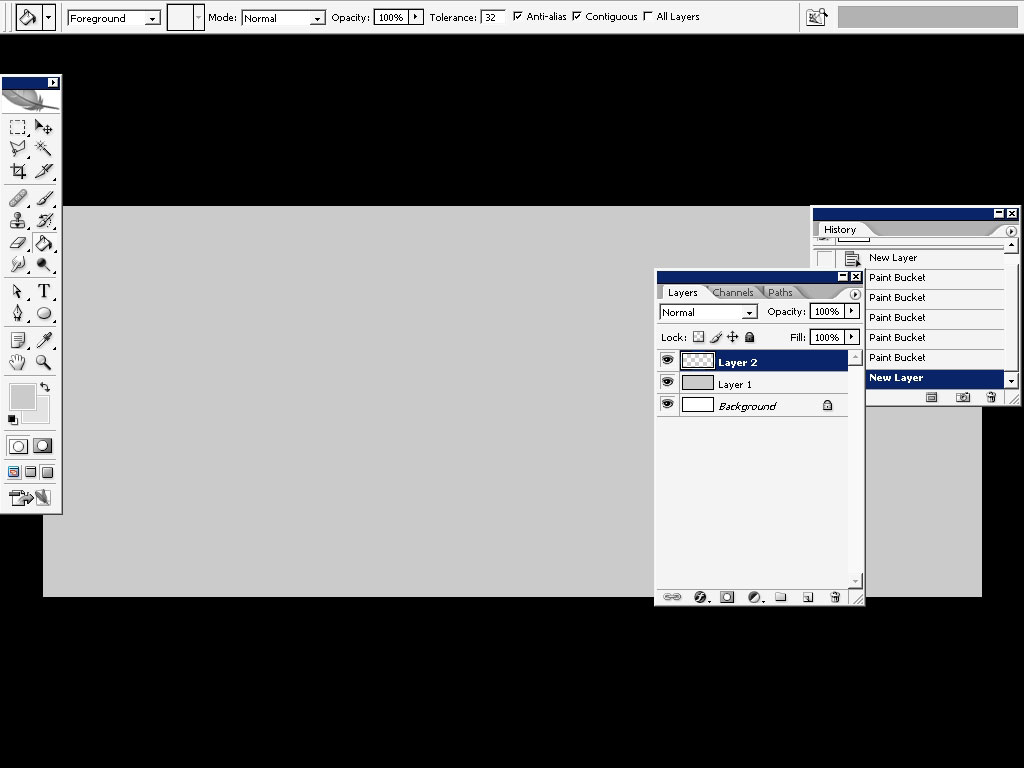
Really wide:


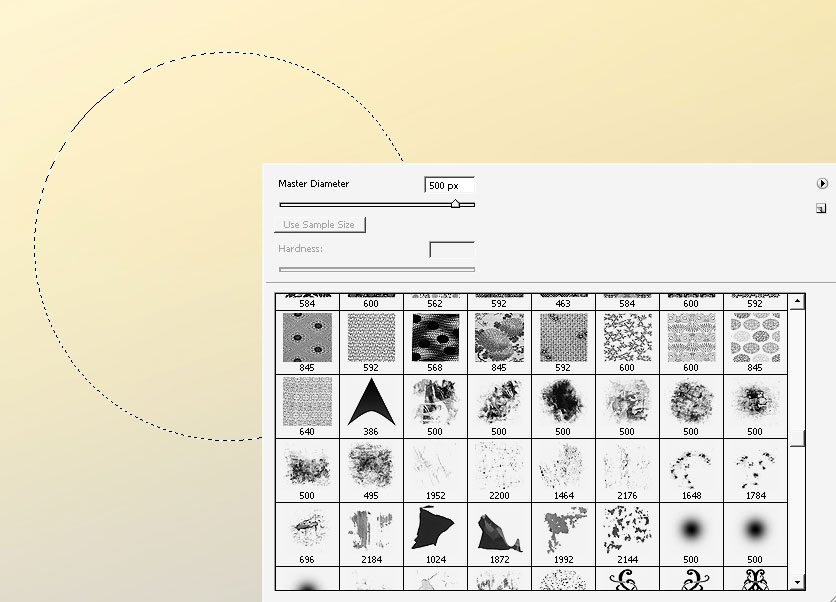
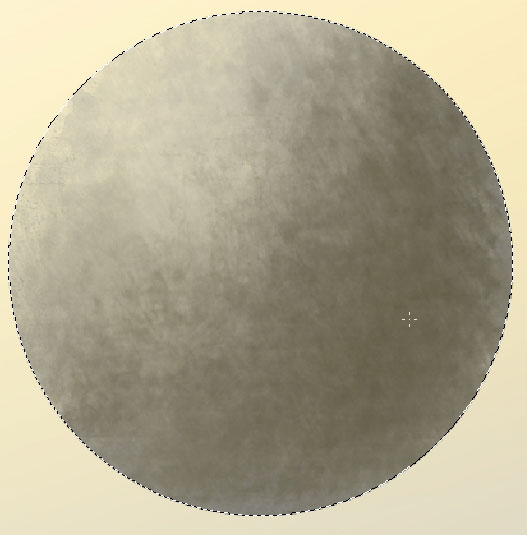
So have your area selected: all the time while you paint. Our first specimen will be – rock texture. When you basically work
in digital media like I do you have a million ways to do that: starting from a photo (mapping in the area) and even had
texturing with a mere brush. However you should know how it’s done the primitive way and the thing that we are using custom
brushes can be judged like a little cheating.
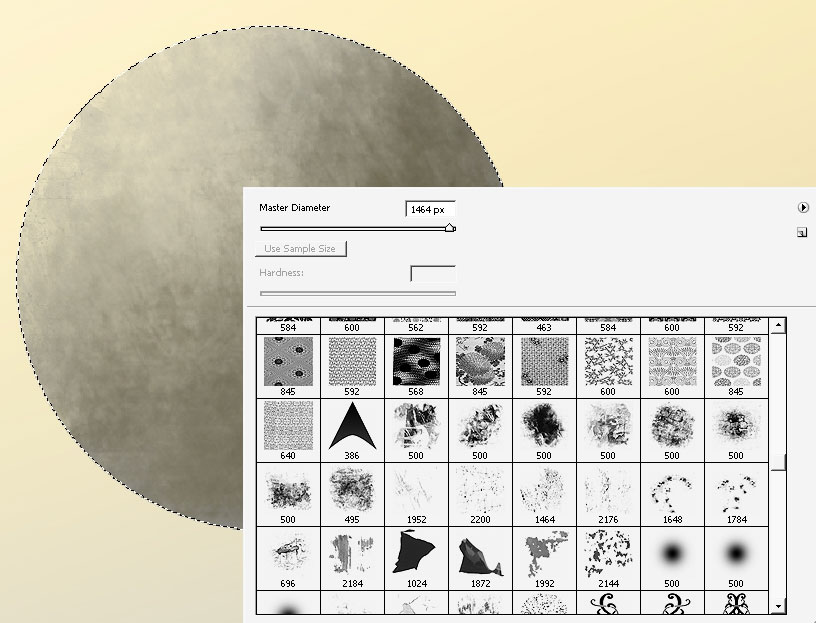
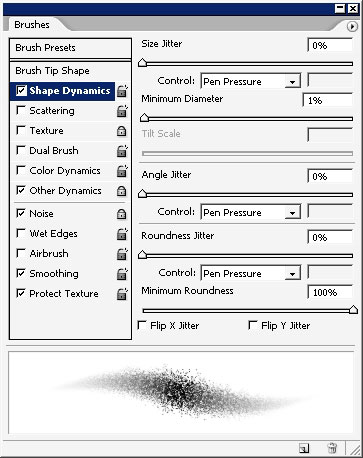
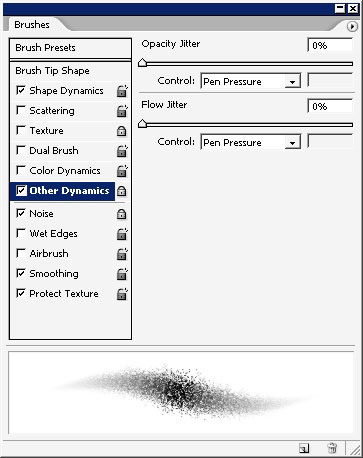
SO: Here are my custom brushes: all the 500.
Now the rock, basically this rock has no such reflecting ratio like for example other rocks have. You should always consider
the shadow – reflection value of the materials.
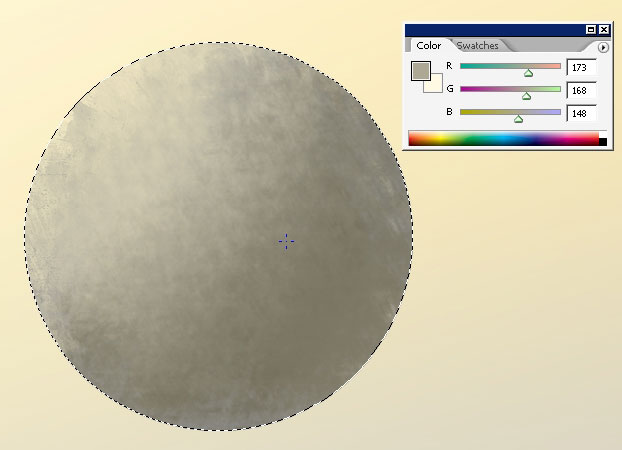
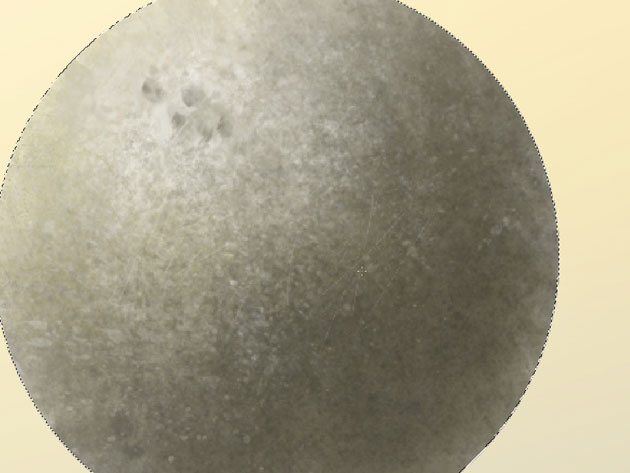
You can see the details here: dot bumps and 1px basic brush scratches.
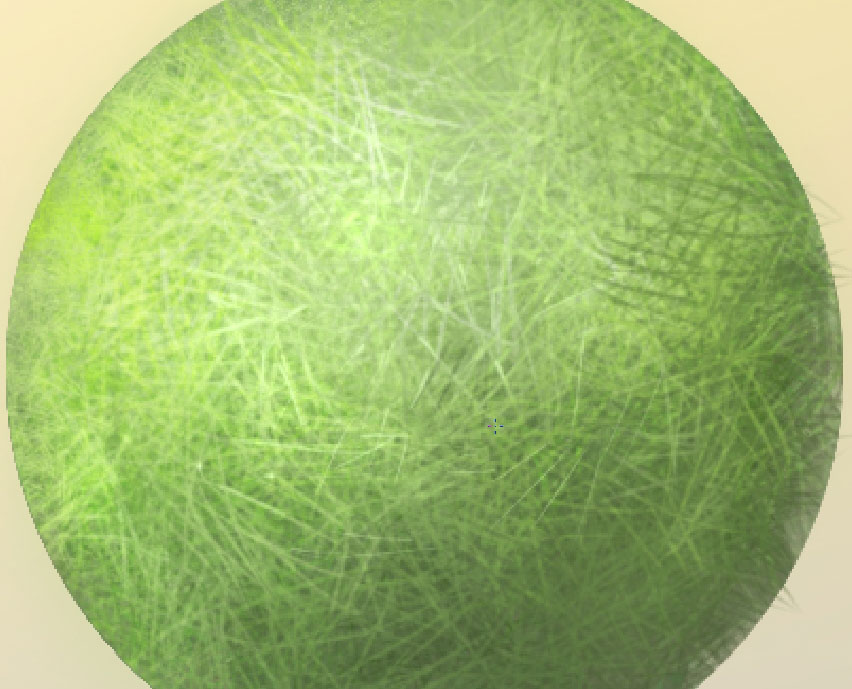
Fabric:
Now every fabric material has different reflection – shadow value – depending on the many things (from all this material
consists).
I’ve created a custom brush for my fabric. You will have it in support set that comes with this tutorial.
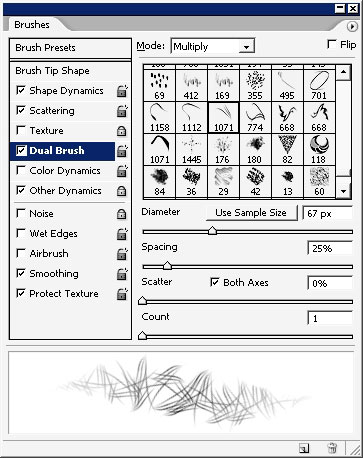
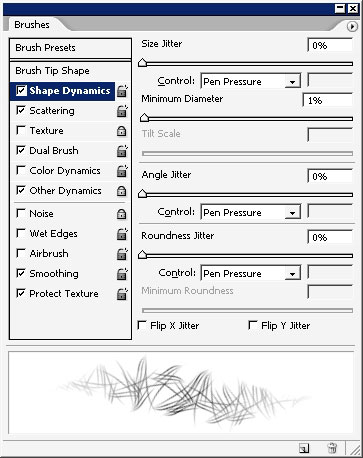
The same thing with rendering (leave the selection on all the time)
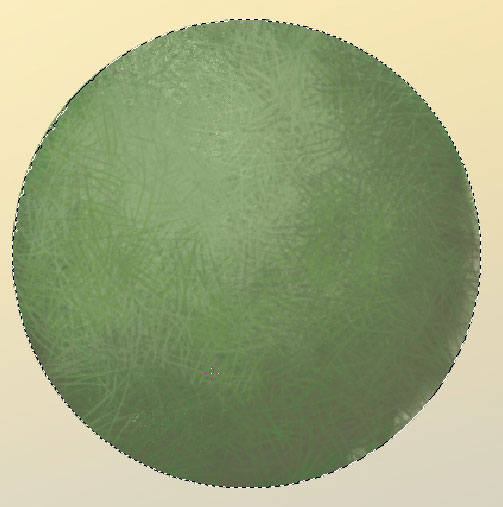

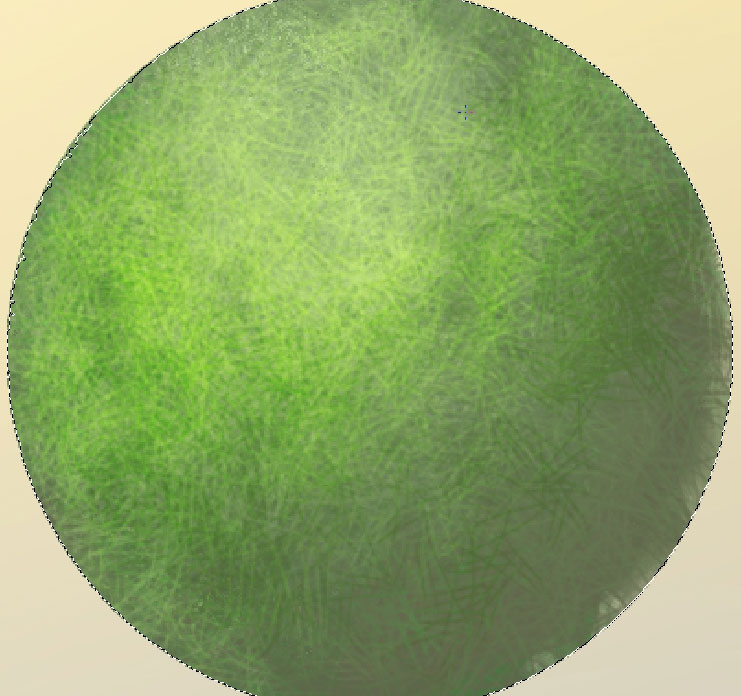
Overlay the object a little bit. Gives a contrasted green
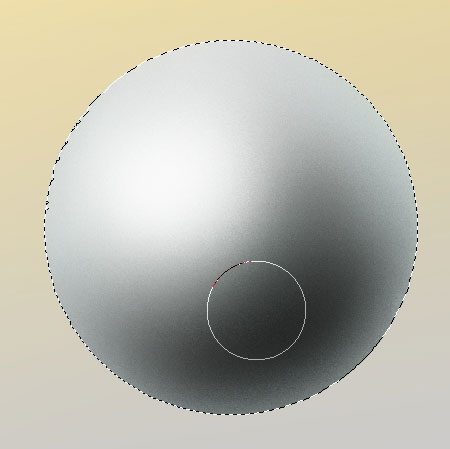
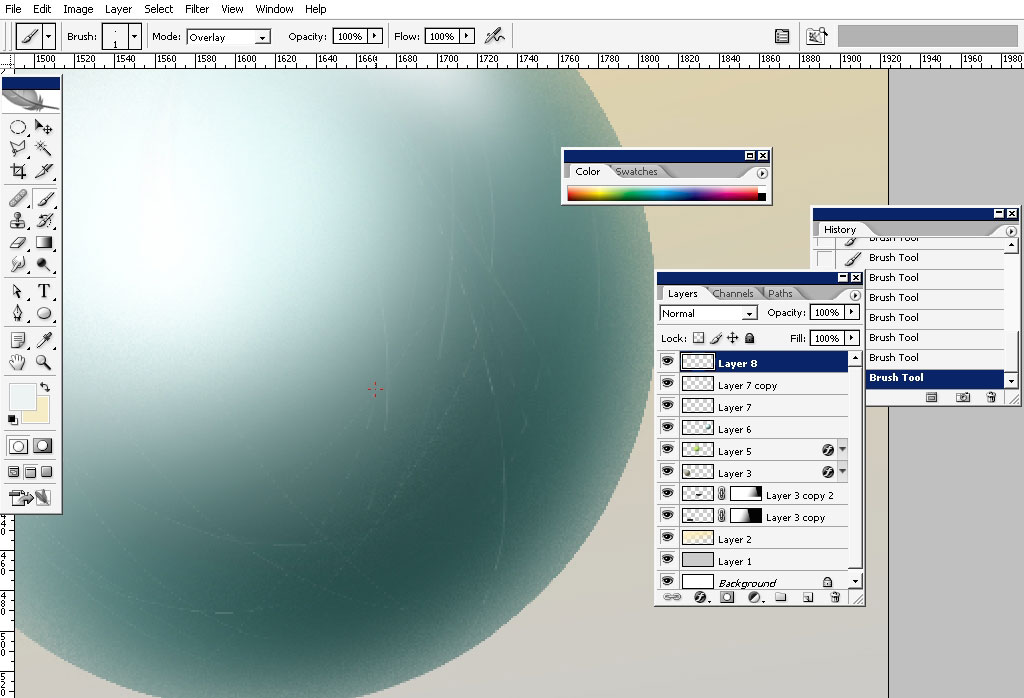
Metal: now the metal is completely different thing. It is very shiny. The shadow – reflection value must be very high: that
meant no matter what the color of the metal is you will have to use white (top reflecting point) and black color (inner
shadow). The metal surface is often very smooth – that we will do the rendering with a mere soft edged brush (maybe with
noise turned on).
Going darker and darker:
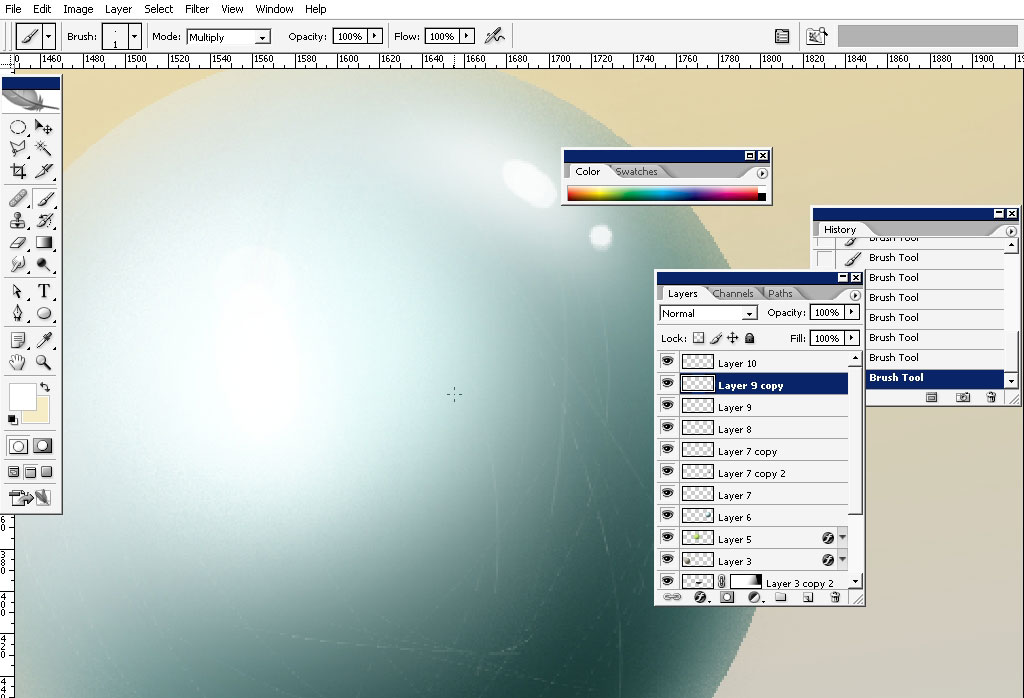
Some color:
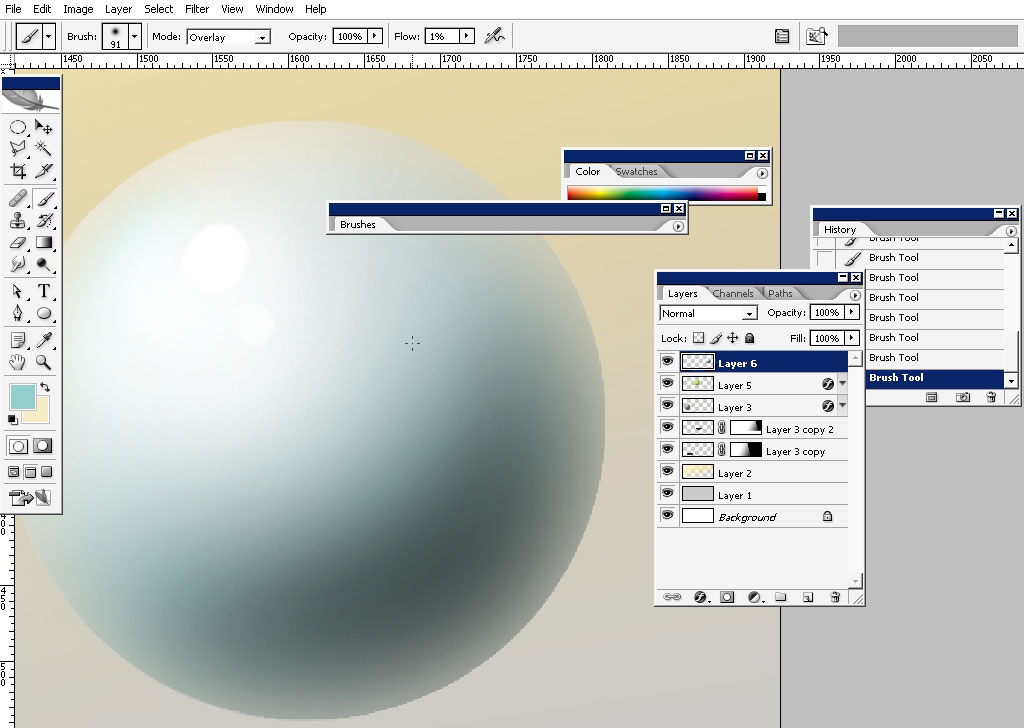
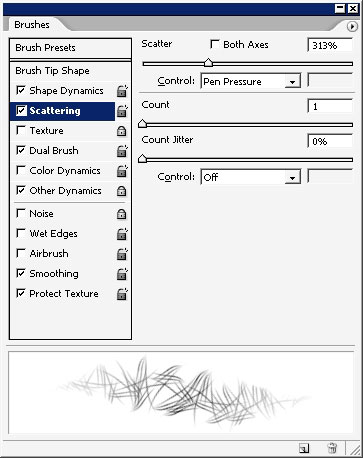
Scratch the surface using basic 1 px brush.
Drop some light reflections using ROUGH brush. The metal has very strong counter light coming from the edges.
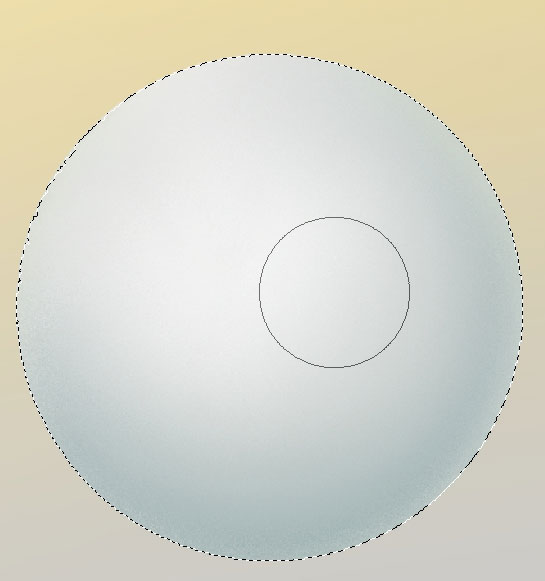
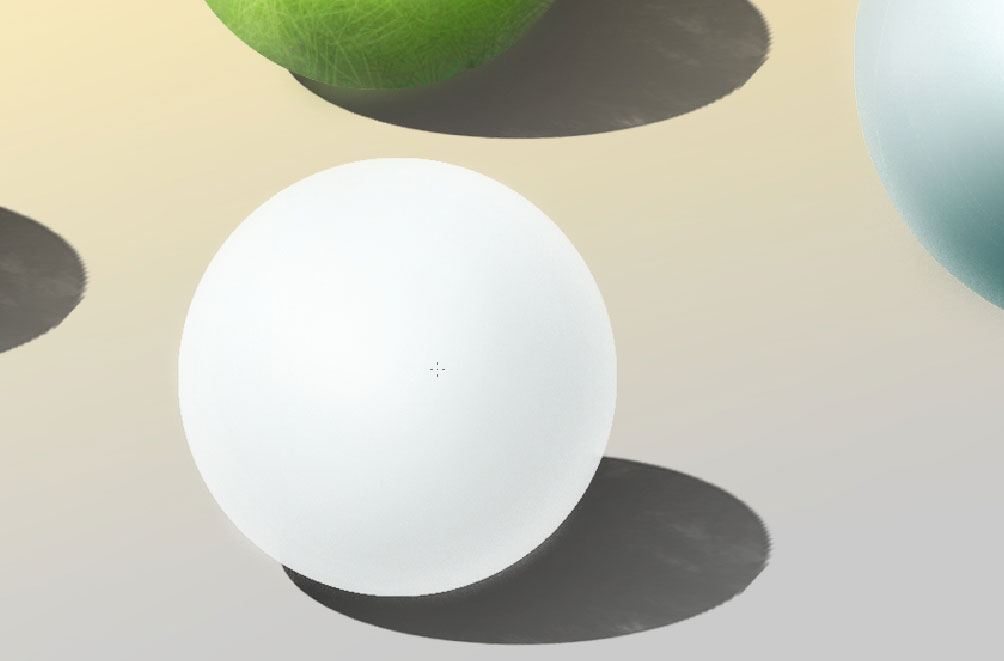
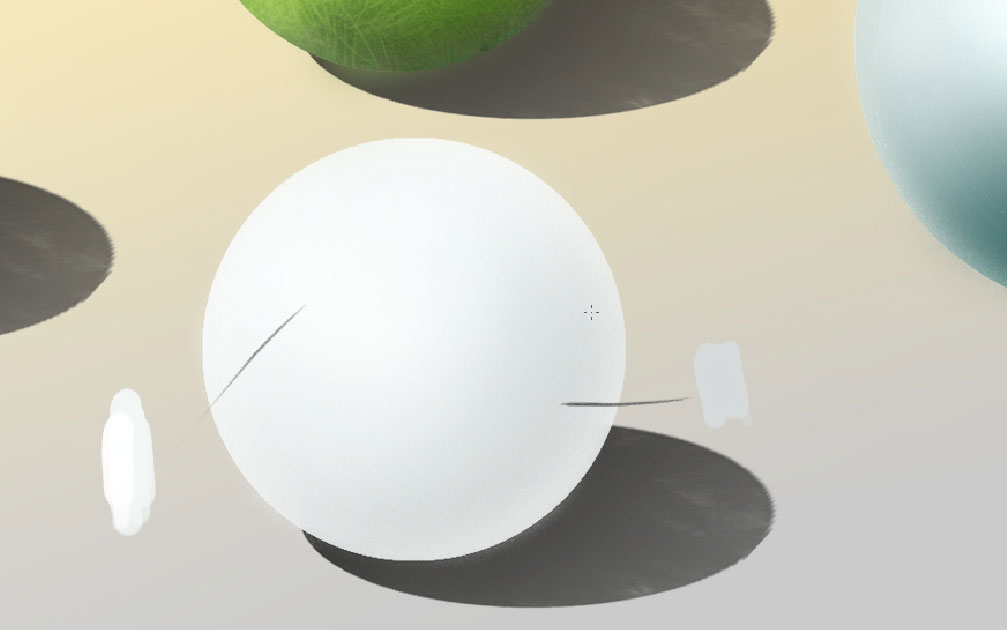
Gesso:
now gesso has no wide shadow – highlight value. That means we will be
using white (primary) and light grey (shadows &
mids). Use soft brush too.
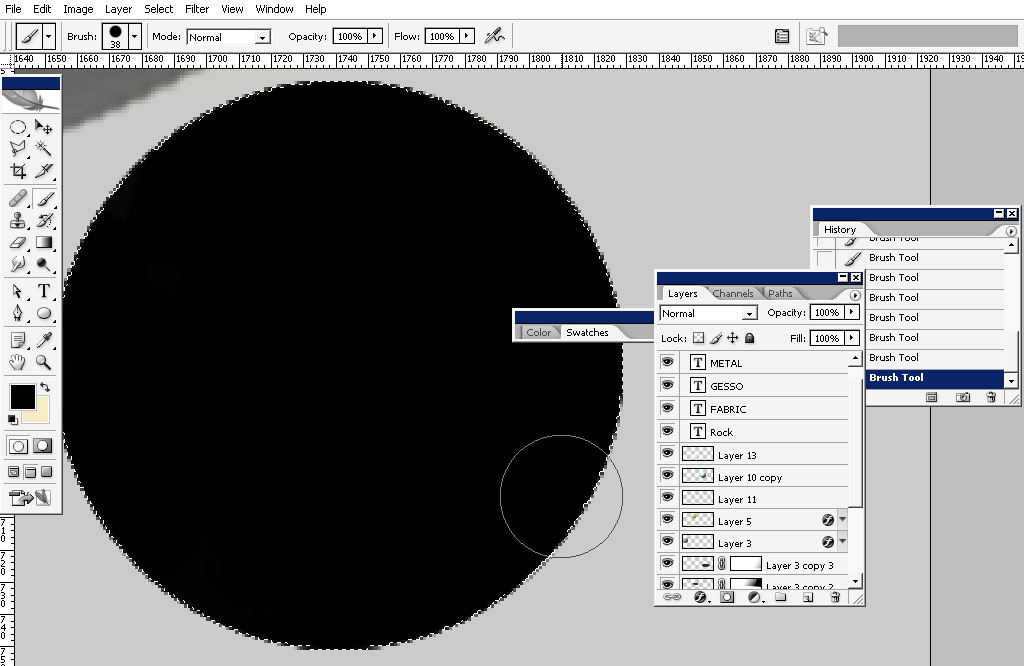
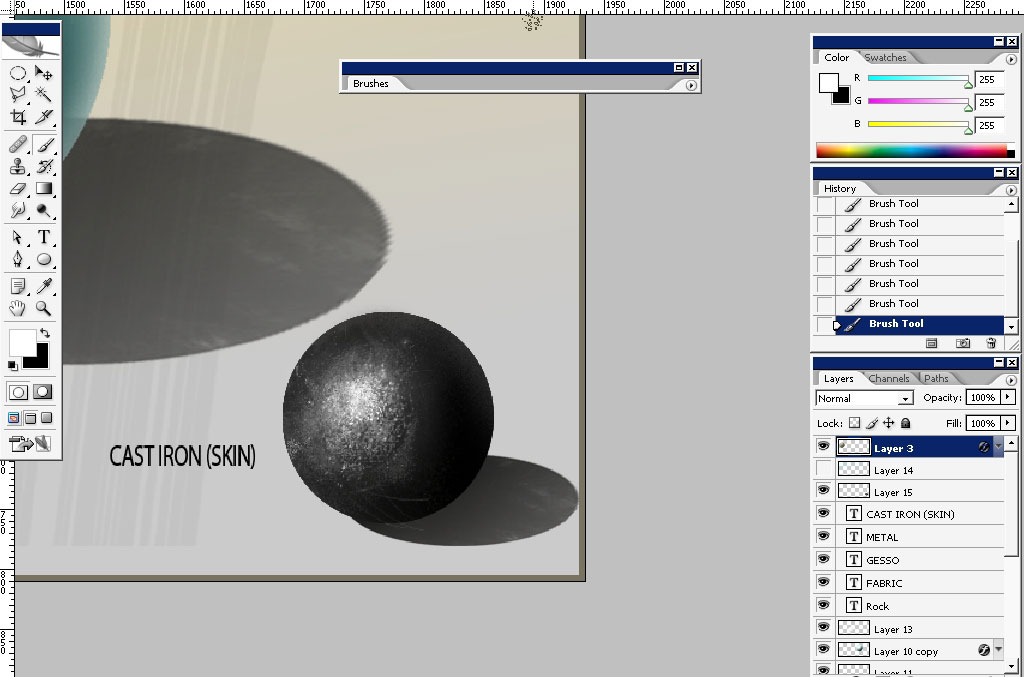
Cast iron: now the cast iron is black and has a very small reflecting area in this case. Moreover as this material has rough
surface: that is why we have to use textured (dot texture brush) for the reflection.
Fill the selection with black color first.
And that’s a wrap. Practice different materials. Because I thing the Texture photo usage is a little cheating. This is a good
advantage for you to know how to render the materials using plain means.
Comments