
Photo Retouch Tutorial
In this tutorial we will create something like glamour photo retouch tutorial. We will use Adobe Photoshop as our tool of
choice for retouching a photo and making almost a ready design out of it. You will have some files for support like some
brushes (download brushes) and the initial photo itself to practice on. So let’s start out talk on making PS photo retouch.
Here is the photo I found in the internet on Comfight.com, a very useful service if you want to find any photos.

Here it is. A very mystical mood photo but in the same time very bright (the eyes have it).

Now the first thing I’m going to do here is to change my hue to a little bit “into the blue”, just a little bit. It’s not
really necessary for you to do this, depending on the monitor you got and so on, but I feel that it will be better if the
picture will be bluer saturated.
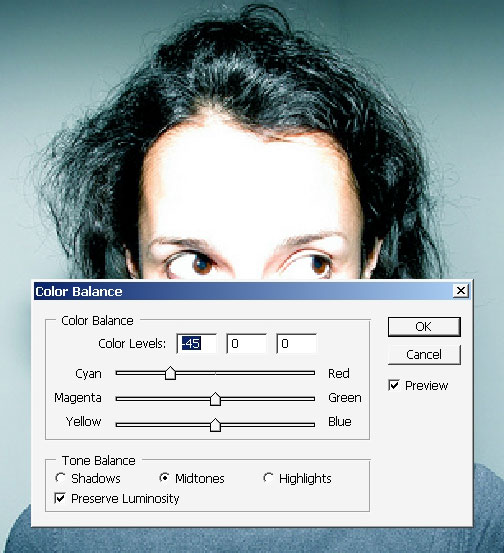
I will turn OFF the saturation layer for now.
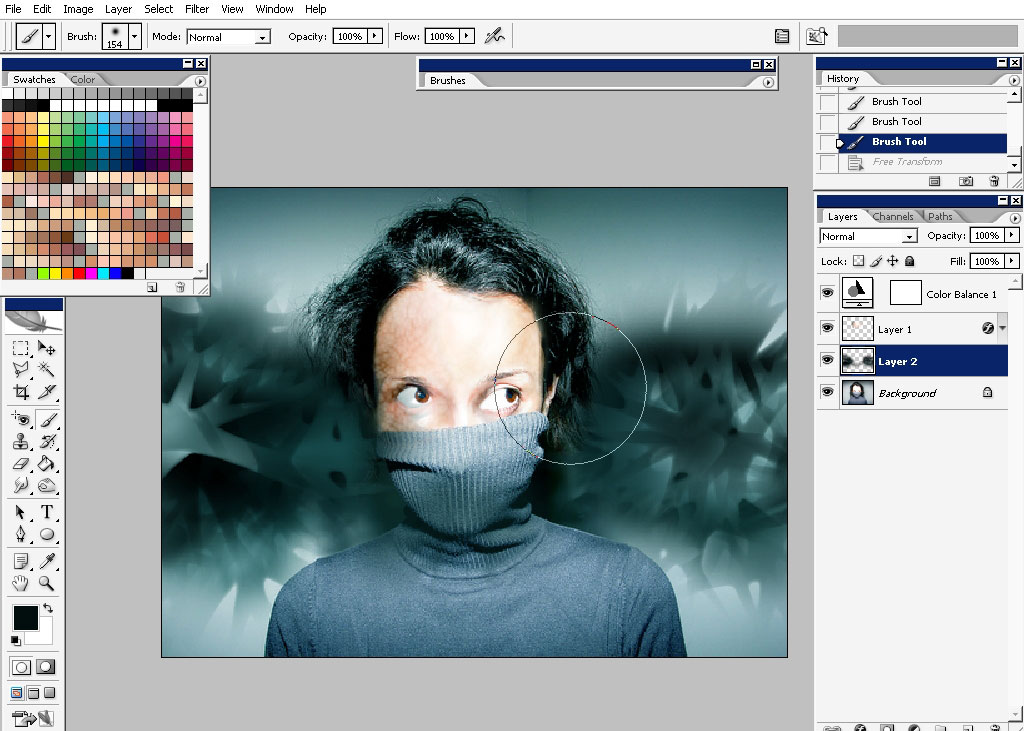
Now if you look and the initial picture you will probably notice that the light on the girls face is too strong, too much
white.
I will fix that, I’m going to use a low flow (about 20% flow depending on the tablet and the brush settings) brush. So create
a new layer and start. If this is your first tutorial to read it will be a little bit harder. Anyway I’ll try to give you the
possibility to download this mask, shall we say, file.
Os just watch the pictures now.

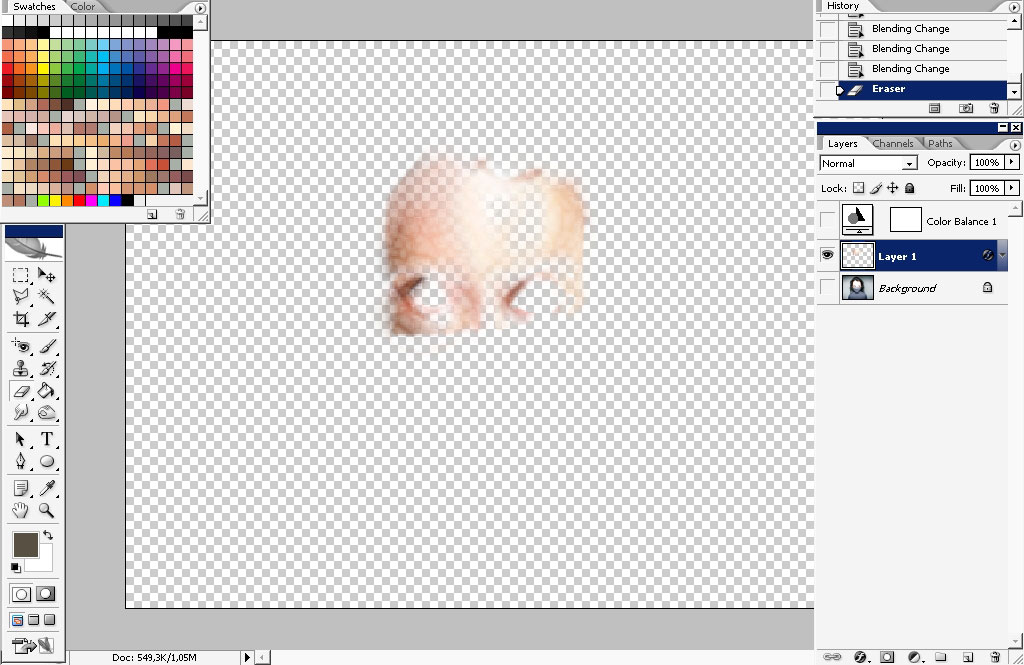
I also wanted to give a little bit of texture to the face.
And there we go:
So we got rid of this face lighting a little bit. Now we have that face color and form balance.
Next step: the background.
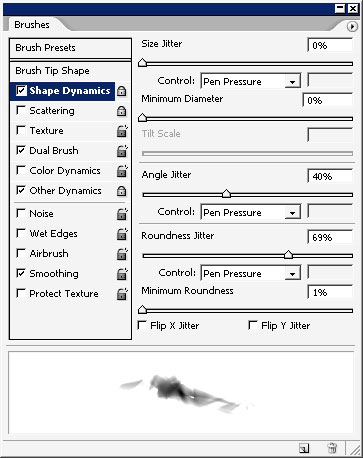
Let’s make ha background a little more artistic. I have a special method for this one. I will use complex brushes for that.
Listen to this: for my basic brush I will chose standard PS soft edged brush with all the dynamics possible set to pen
pressure.
For the second brush (dual brush) I will take brush 600 that I have in my list. This is a real flat one.
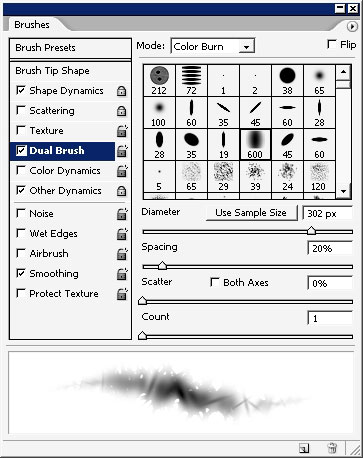
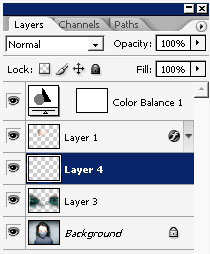
Create a new layer just now.
And here is the amazing effect that my brush does.
The next brush to use will be a little dot scatter brush.
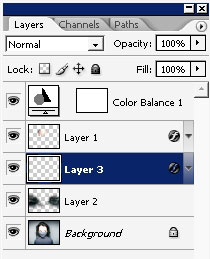
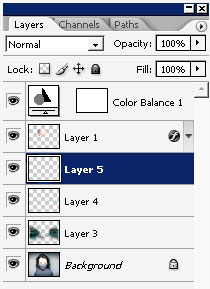
Create a new layer to use a new brush on.
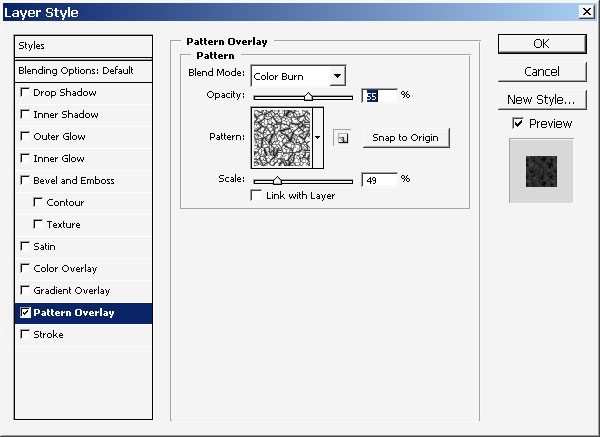
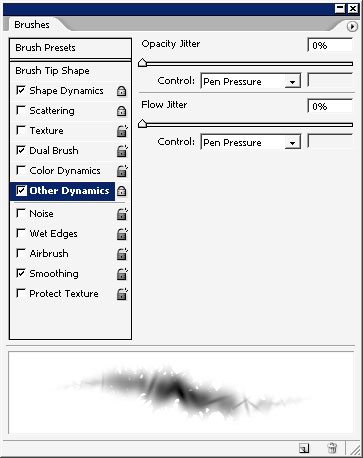
Before using this brush I will apply a layer style to my new balk layer.
Outer glow:
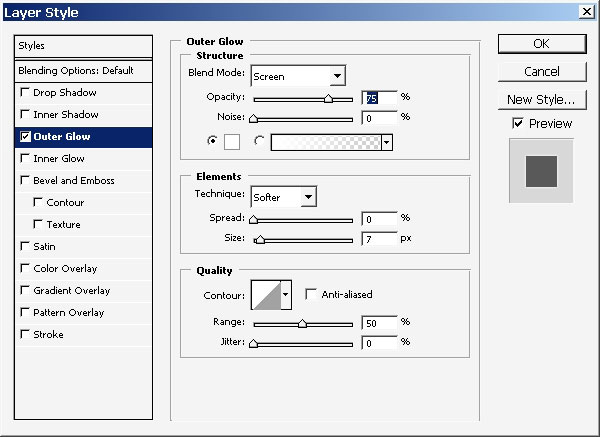
And here is my brush with outer glow already. You can now paint with outer glow with any brush. But all we need is little
sparkles made with scatter dot brush.
Create another layer.
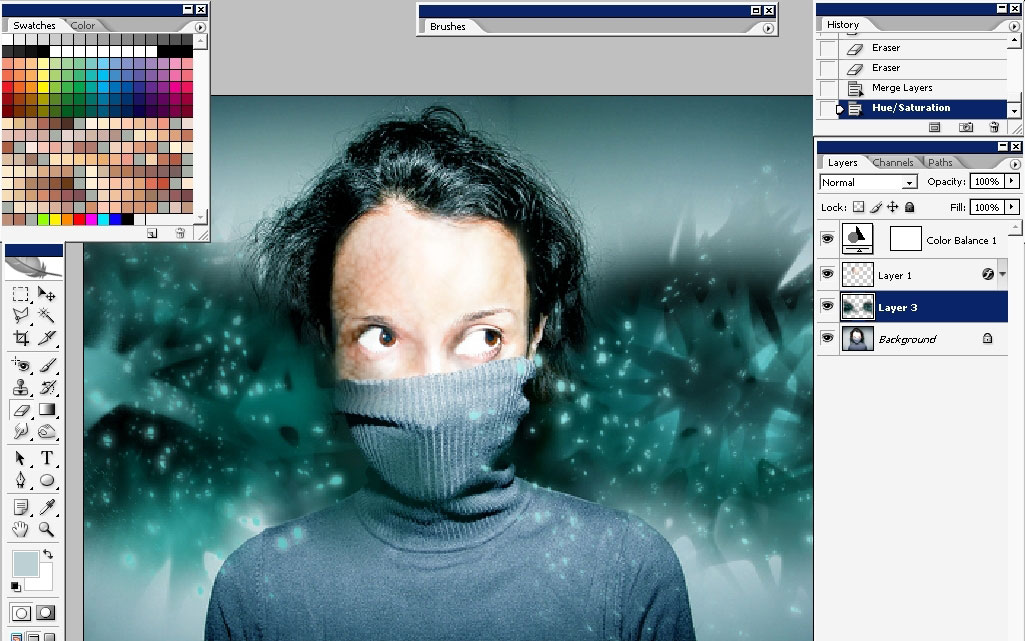
The idea here is to create a blast of color texture.
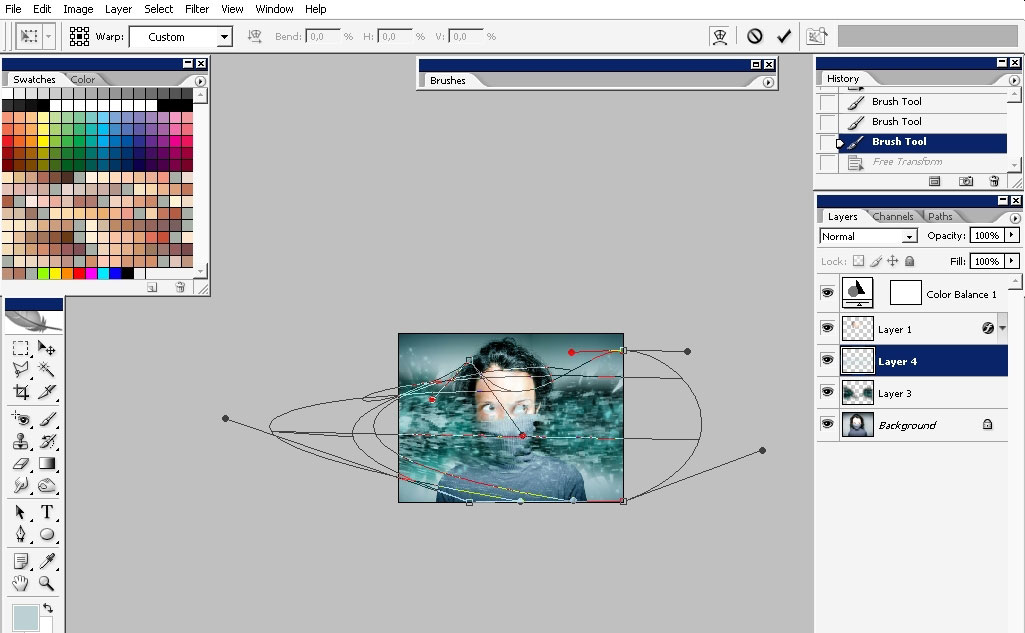
Step 1: tap several times with splatter brush.

Warp the whole layer.
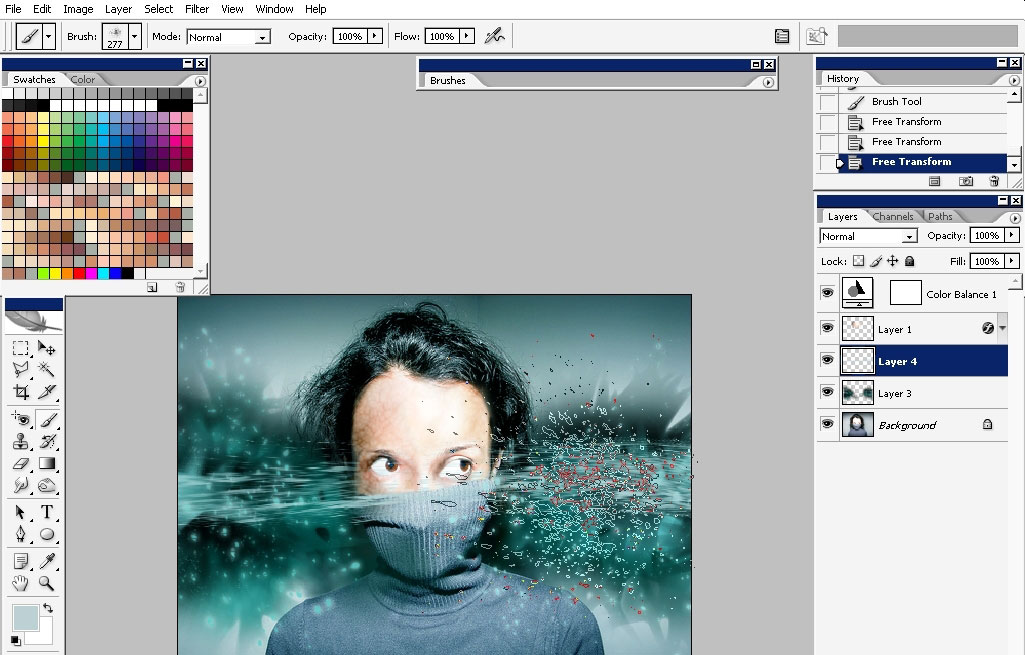
Do the same thing on a different layer, oh yea, and do change the brush color to something like skin tone.
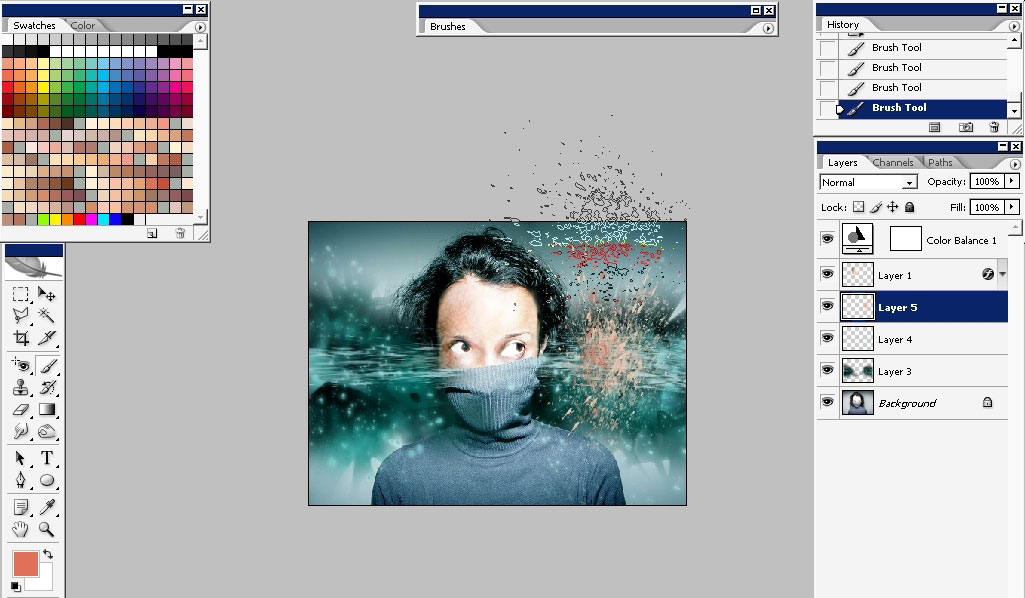
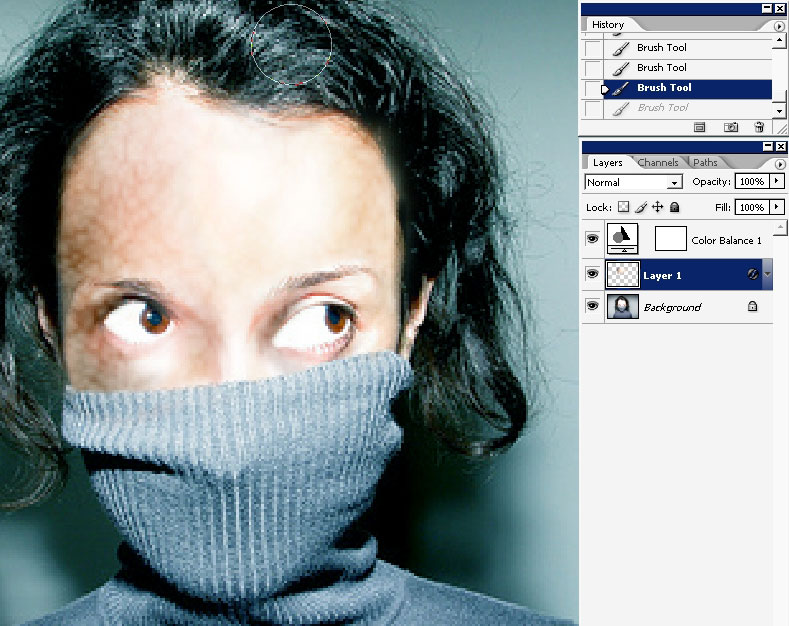
Erase the effect around the face on these 2 layers.
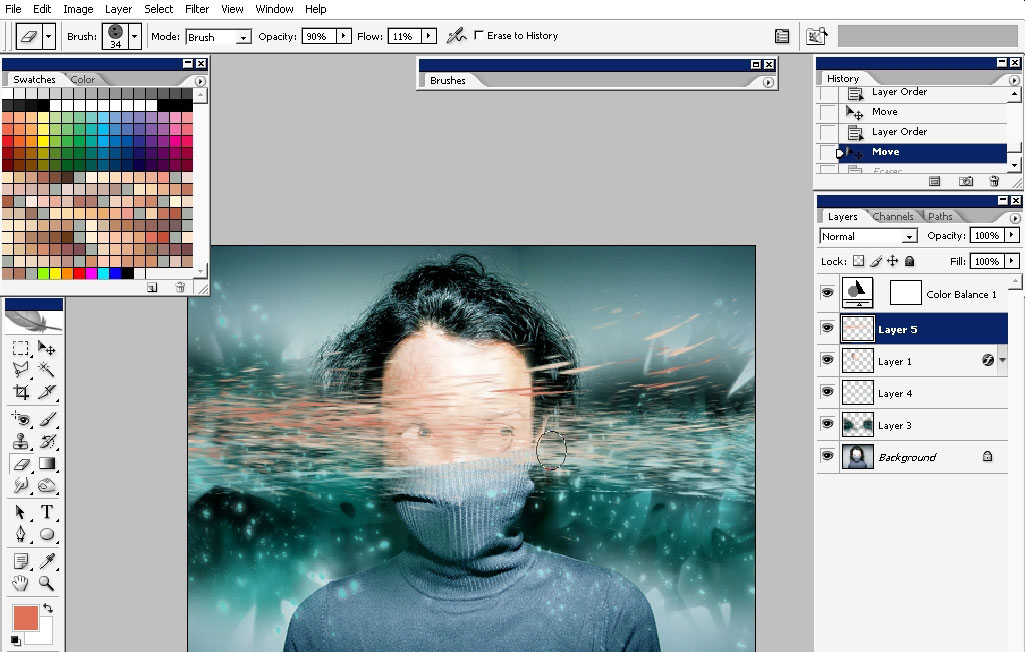

Now the final thing we can do here is to pick up a soft brush, set the flow jitter to about 1%, select the Overlay color
mode, and to paint over the whole blue on the image.
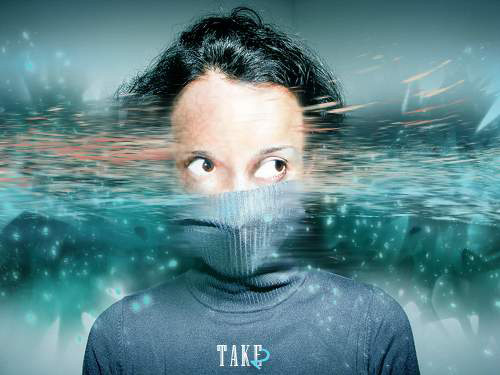
So this is it on our photo retouch, hope you found out something useful from this tutorial. And remember that such
applications as Photoshop offer a wide range of color manipulations. SO practice your color and see you next time.
Comments