
Photo manipulations – digital art training
Hello. We have a very interesting subject for today. I am looking forward to make more Photo manipulations, because this is also a part of digital art training. In this tutorial we’ll take a photo and retouch it using a tablet and Photoshop, so let’s do it.
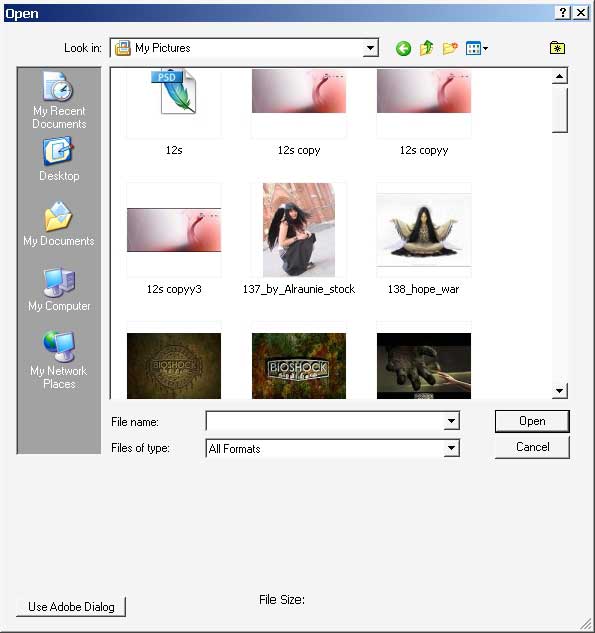
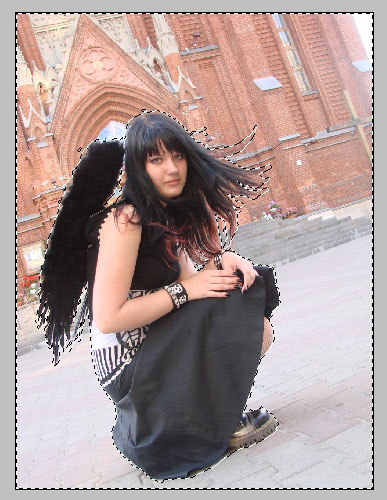
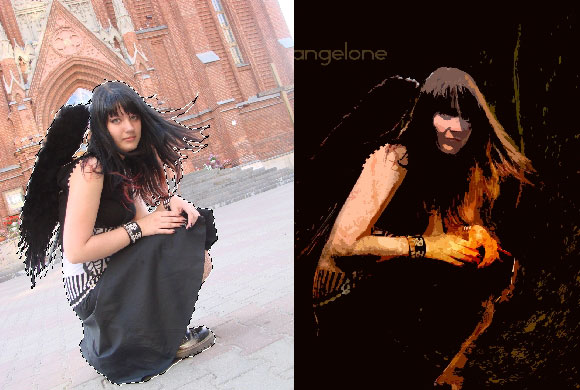
We will start by searching a photo. I have one downloaded from deviantart.com Stock images section and here it is.
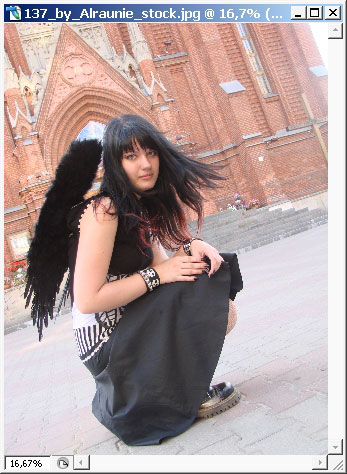
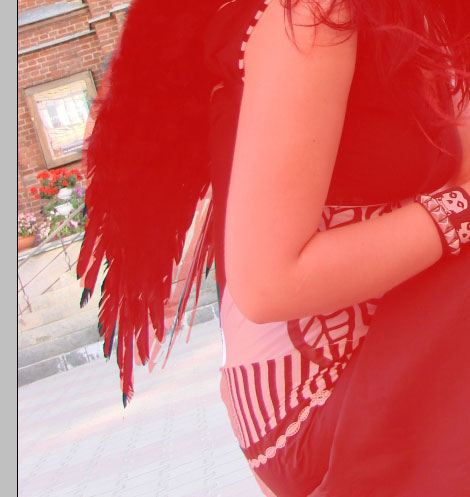
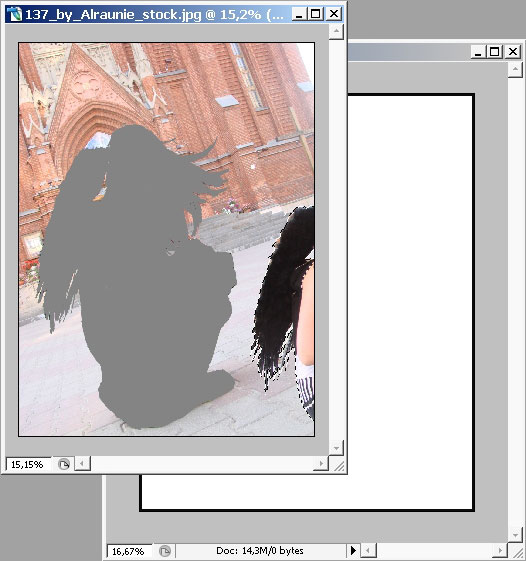
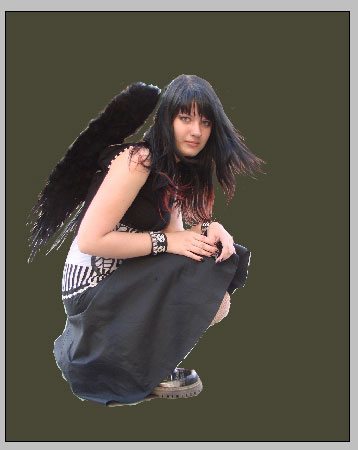
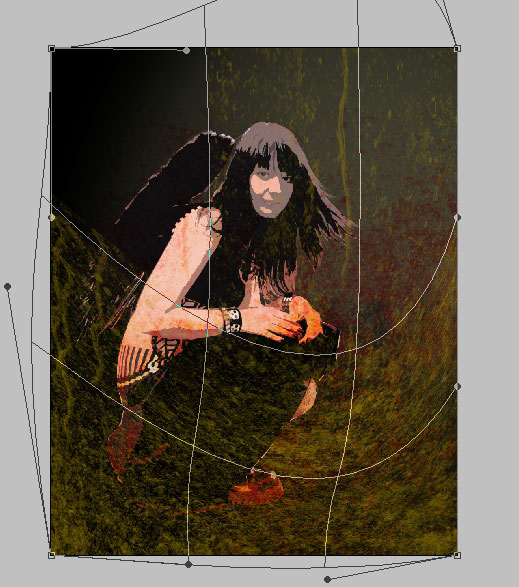
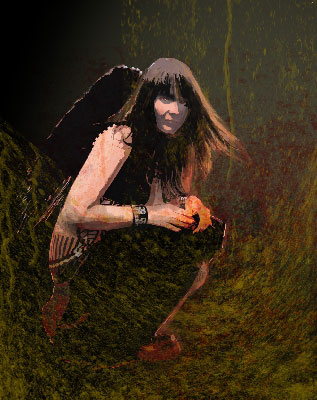
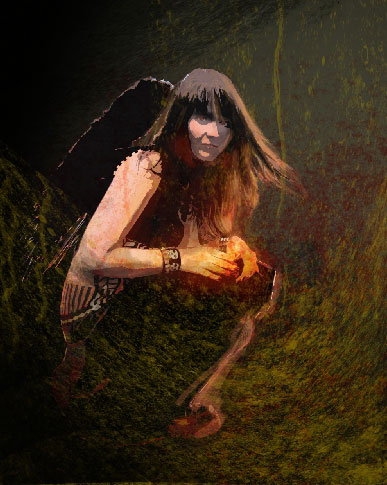
Here we have the picture of a girl with devil wings. Now I’m only interested in a girl for my project so we have to get rid of background. I will use Quick mask and simple rough edged brush to make a selection of this girl.

Select Brush Tool.

… And begin to cover the area with mask. Try to stay close to the edges.

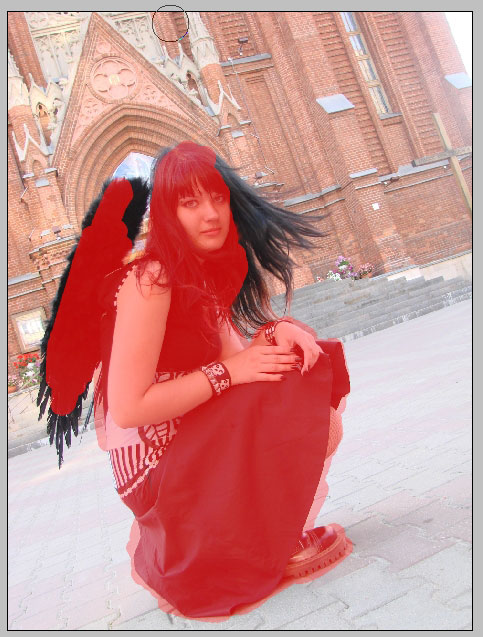
Refine the edges if needed. You have the X key to switch between Cover with mask and erase the mask.

Tap Q again to switch to selection mode.
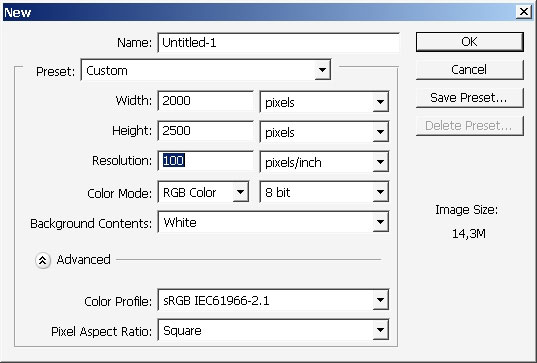
Now we will create a new document with the same dimensions as our initial image.
And here are the dimensions.
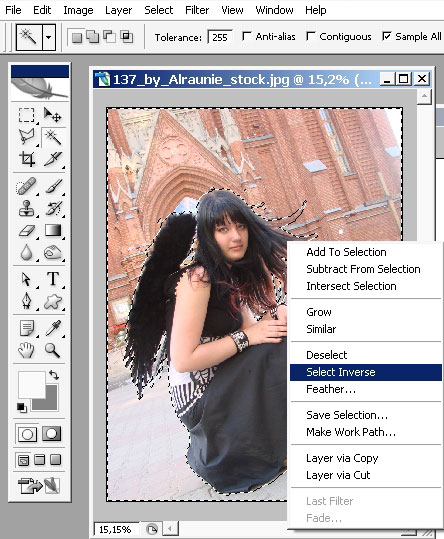
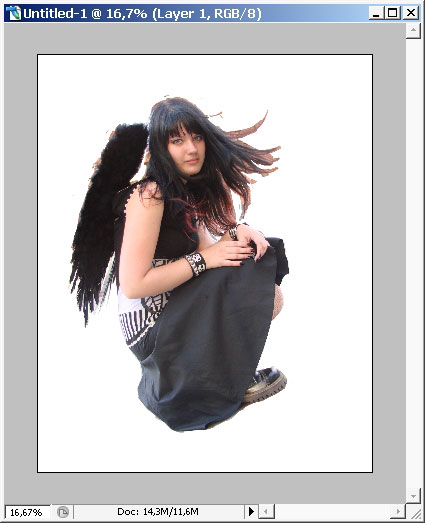
Select inverse before you drag the girl to our new document.
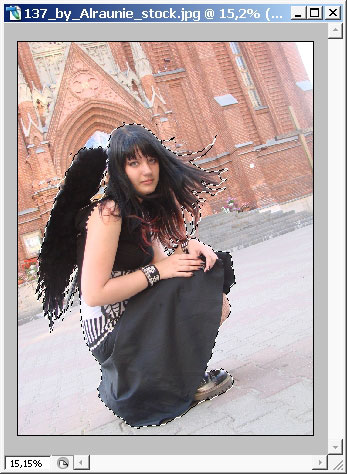
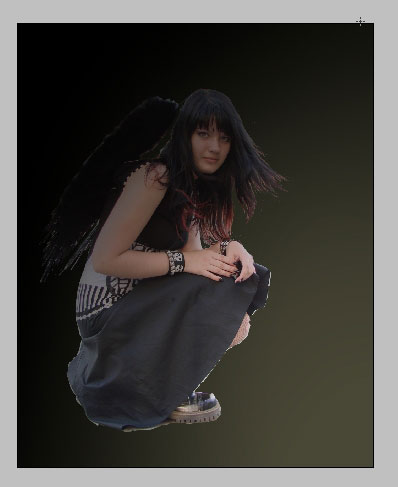
And here we have the girl on a new document. We will work with this document now so you can close the initial image now.
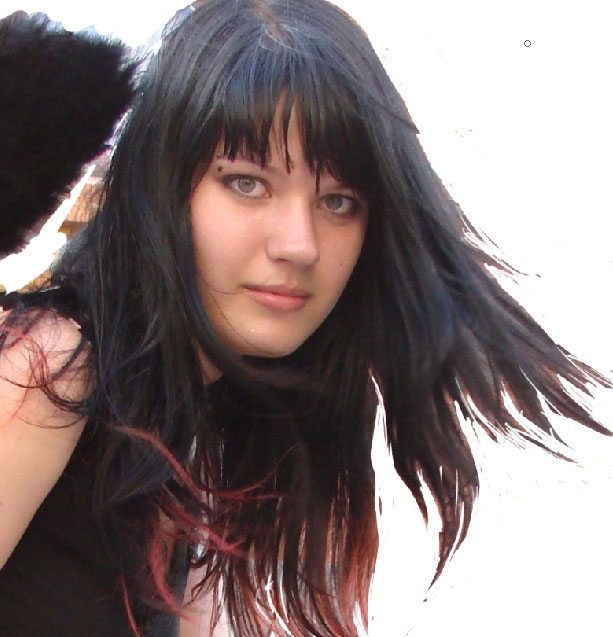
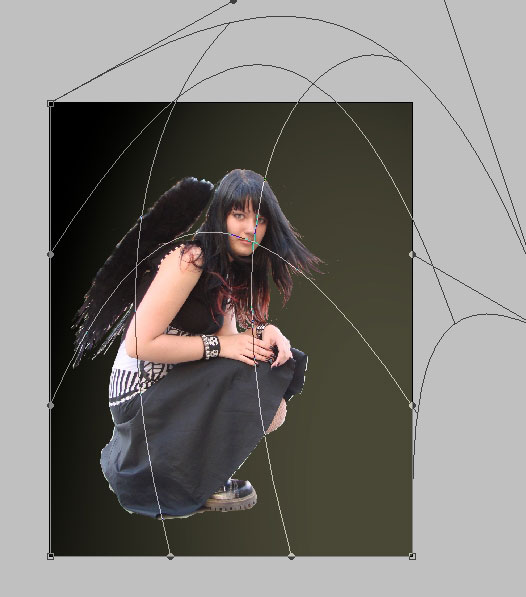
I will also rotate my girl a little bit at the very start.
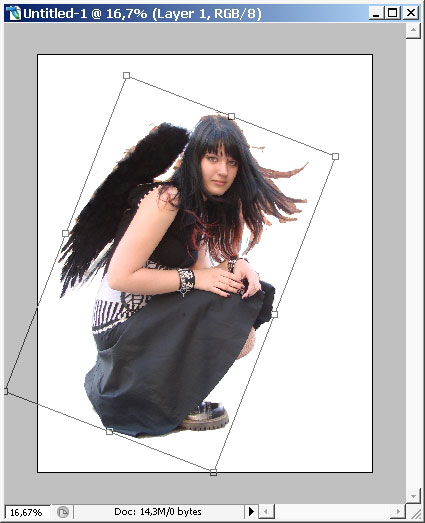
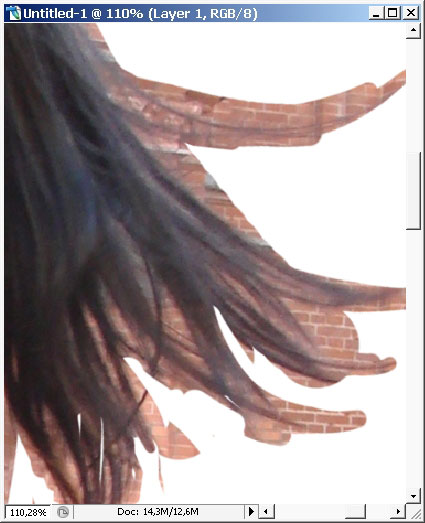
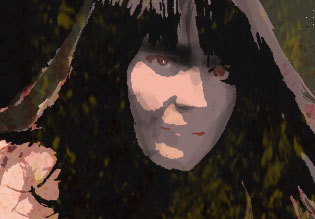
Now I will refine the edges of the girl, especially the hair and the wings, when there are a lot of tiny details there.
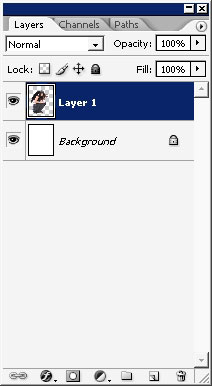
As we have our image on a new layer we can use simple eraser without spoiling the background.
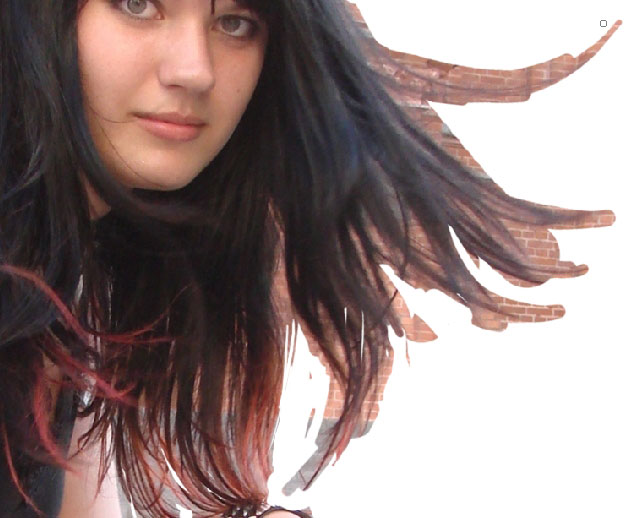
And here is our result.
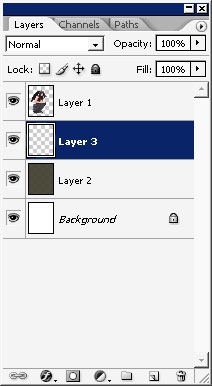
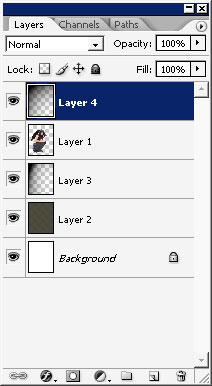
Create a new layer beneath the initial girl layer. Well, like this.
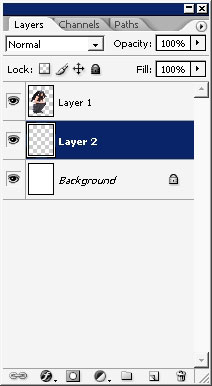
Fill the layer with dark green.
After this create another layer and fill it with black to transparency gradient.
Result.

Warp the result.
Create another (the 3rd) layer on the top of all and fill it with the same black to transparency gradient.
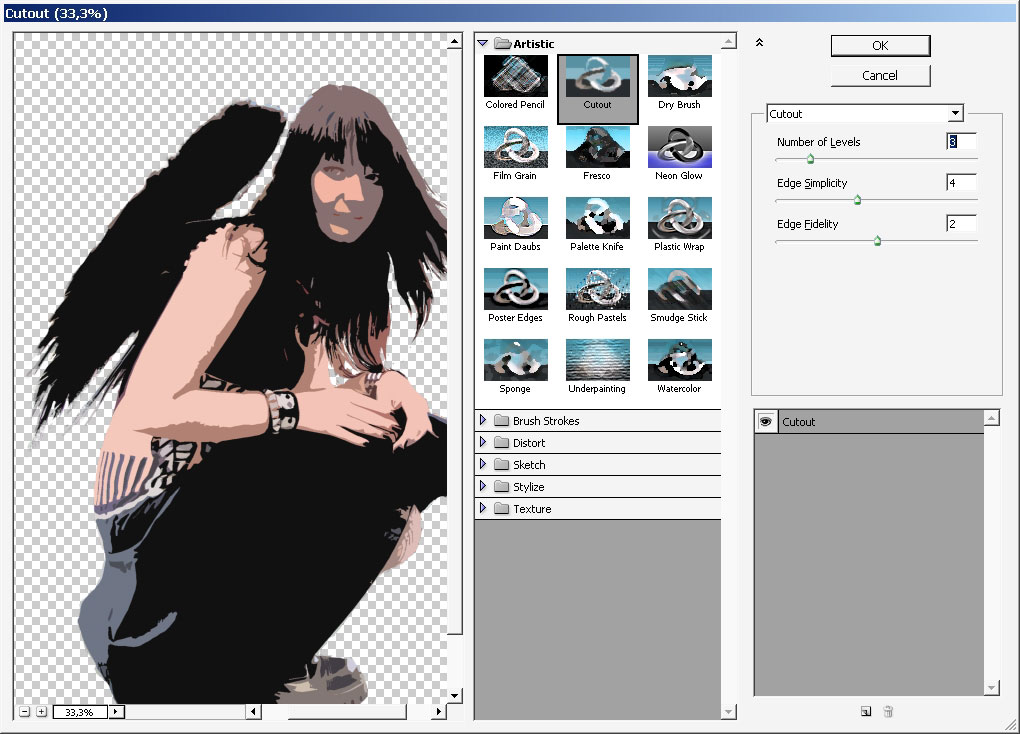
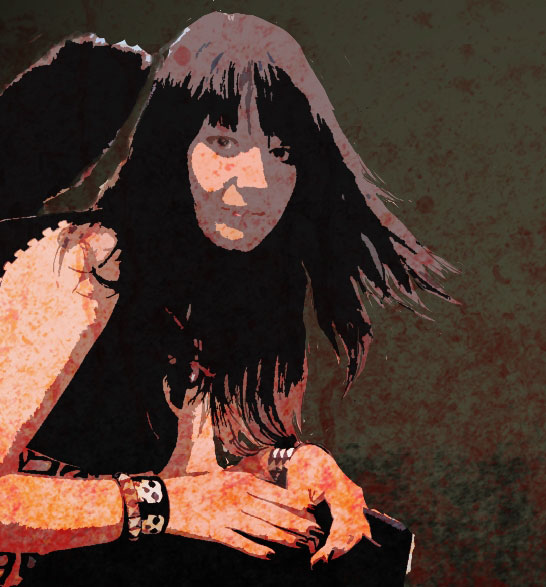
To create a more painted like look I will use cutout filter on my girl.
And another layer, this time to paint on it finally. I will use my
newly downloaded Texture brushes. The can be found on deviantart.com or
any other this like resource.
Begin to paint. Select vary large brush radius. The color is orange. Opacity / flow = 66% / 50%
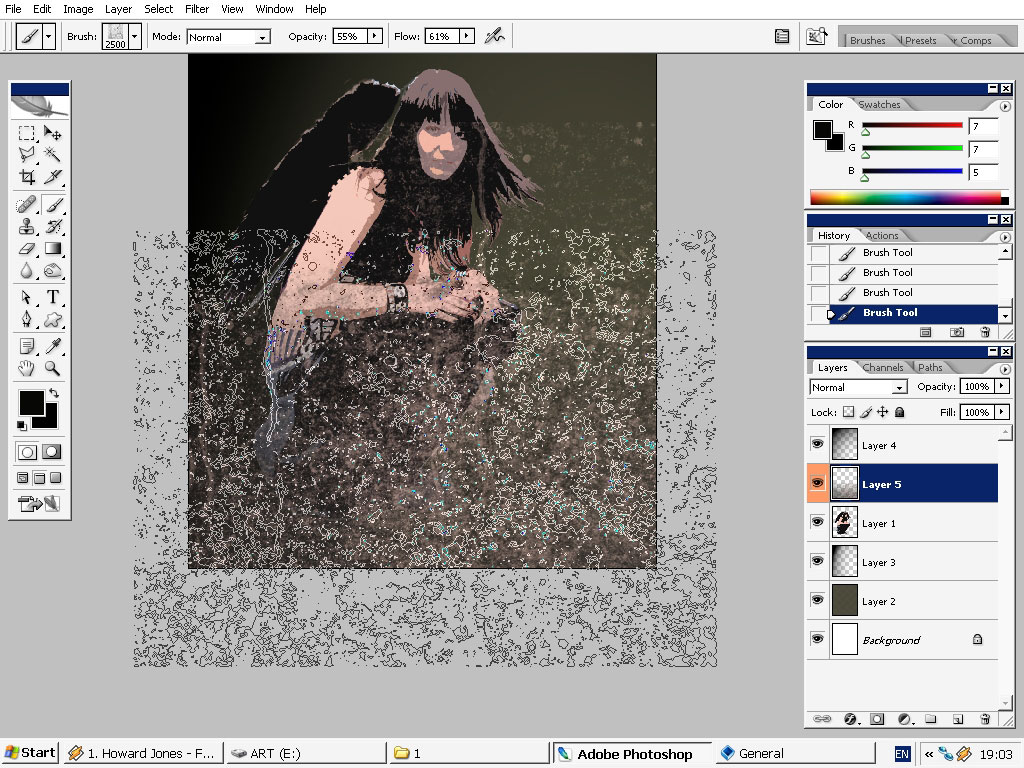
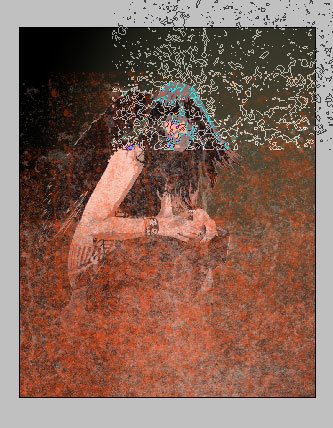
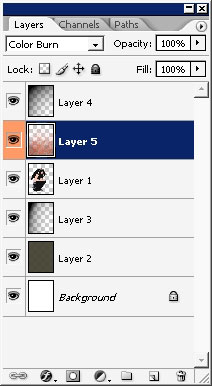
Set the layer mode to Color Burn.
Here is the result in details. We will erase that spots from the face further on.
But no we will add some additional texture to our image. Create another
layer and chose dark color, let’s say dark green or even black.
Warp the texture.
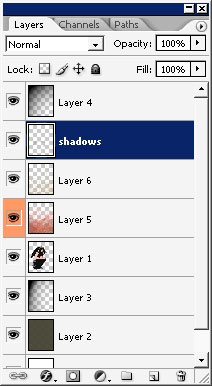
Now I’m going to add some additional shadows to my image. Create a layer and name it shadows.
Use these brush settings.

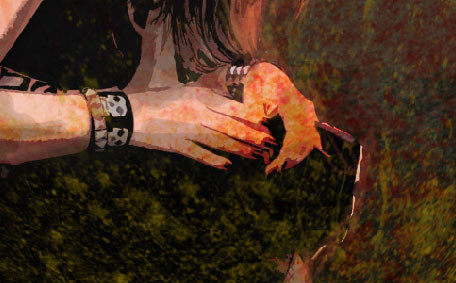
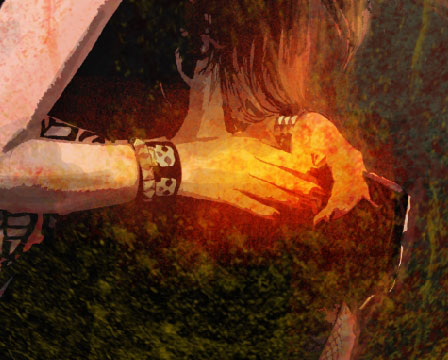
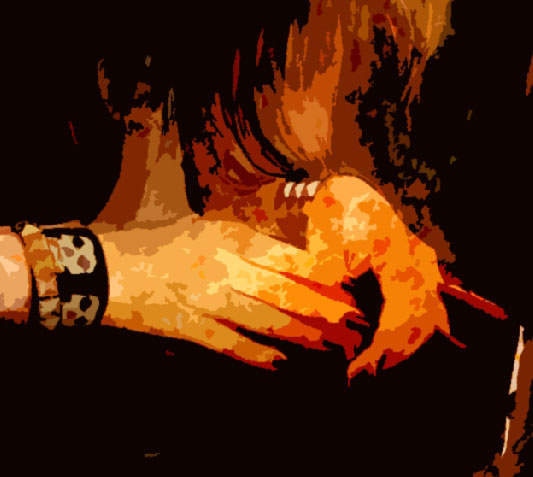
Add shadows to the arm.
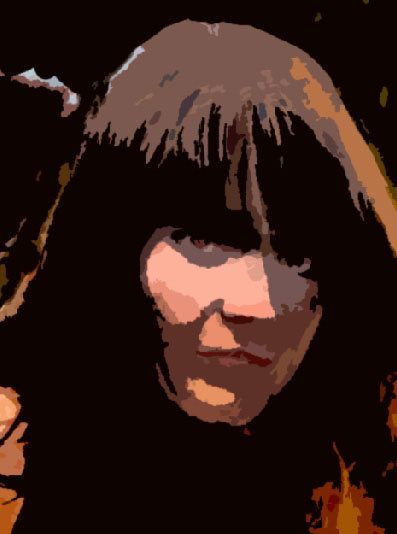
And the face.
Create a layer. On this layer and don’t even why but I want to create
some kind of face mask or just change the color of the lower part of
the face.
Warp a little bit.
Change the layer mode to Soft light.
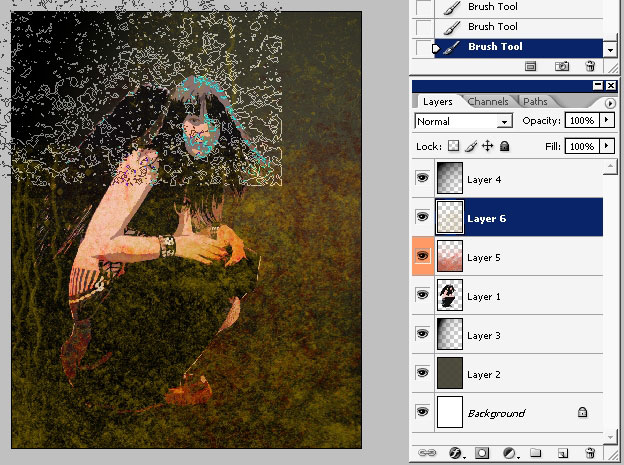
Now we’ll deal with hair a little bit. Create another layer, name it HAIR
Use the brush with these settings.
Pick orange or something like orange color and begin.
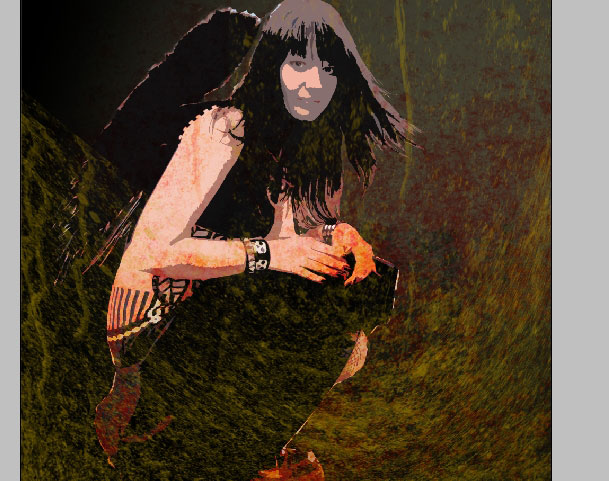
Now the final steps.
Use the same brush with the same overlay settings. And paint on the Hands area
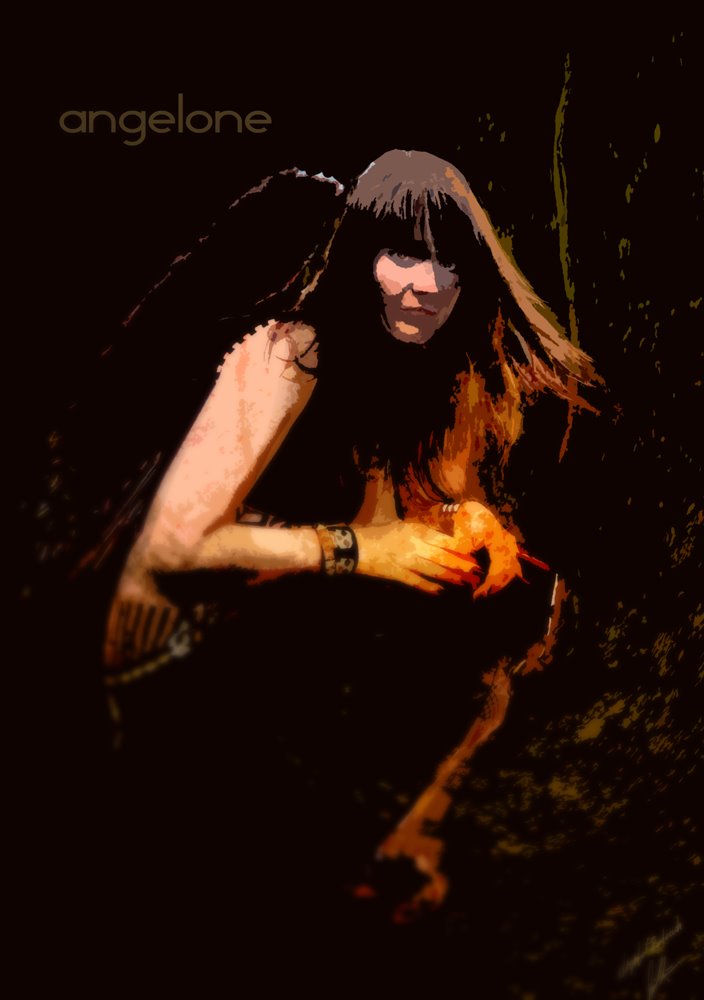
Overall.
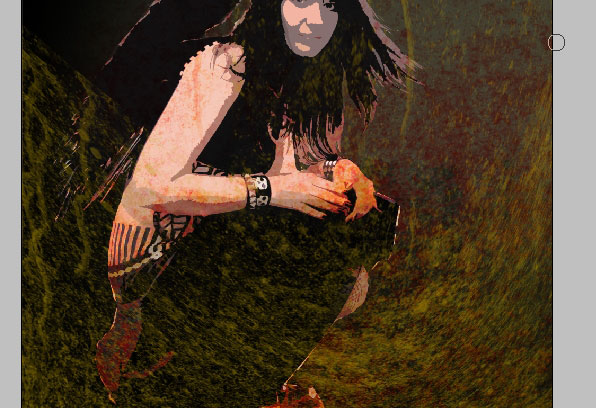
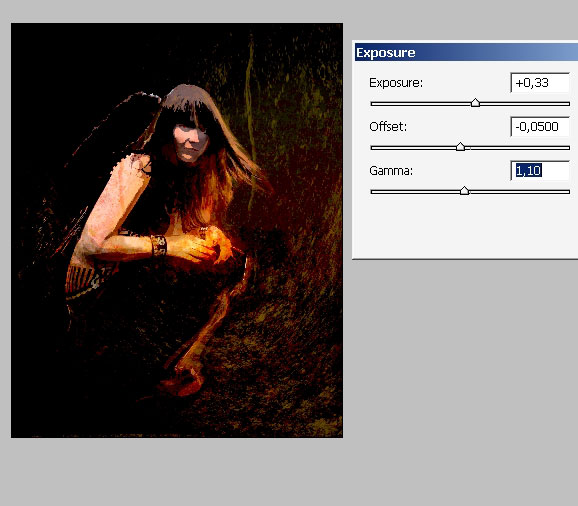
In the end I would like to use Exposure filter in Adjustments section.
AAAnd we are done with this angel.
Details:
Hope you found out some new techniques here and follow me in my next tutorials.
I think there will be more on character design and some other Digital concept art techniques.
Comments