
Patek Philippe Watch
December 3, 2007 | 0 comments
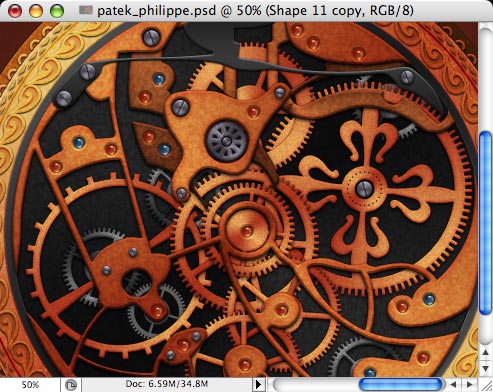
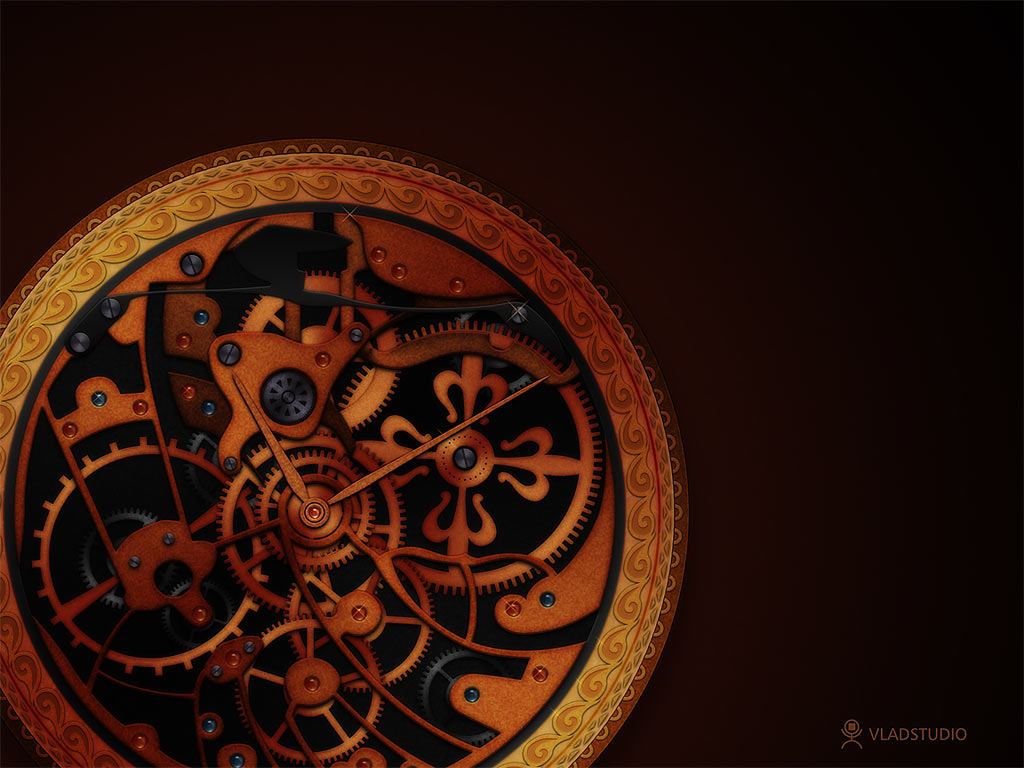
I think many people will agree that old hand watch mechanism are beautiful. And as you will find from this tutorial, it is not difficult to design them using only Photoshop tools!
See wallpaper1, wallpaper2.
Start with plan background, filled with color of your choice…
In new layer, use very large soft black brush to add shadow.
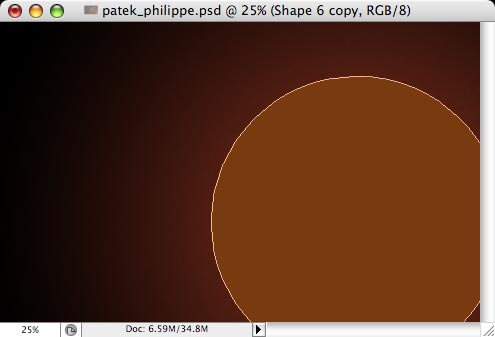
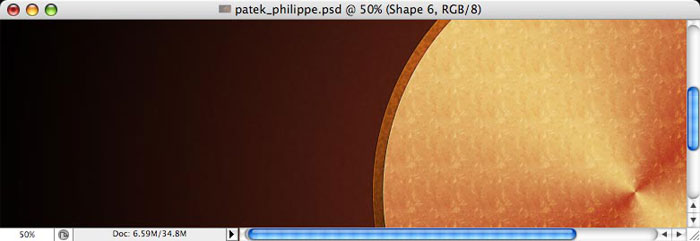
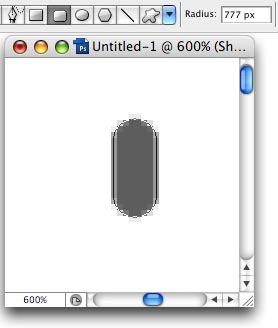
Let’s create watch body. Using Shape Circle tool (U), add a circle.
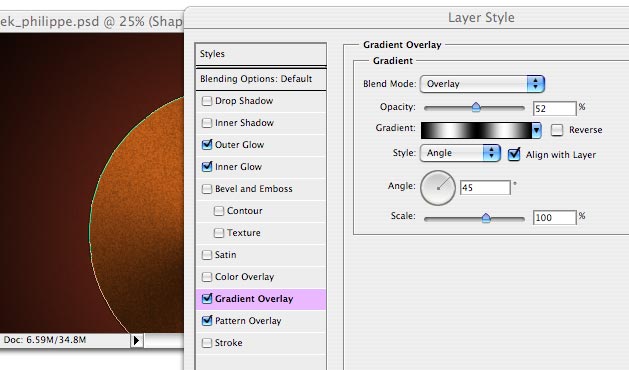
Add metallic look to it. You can do it well enough using only layer effects:
– outer glow: black, mode=overlay;
– inner glow: white, mode=overlay;
– gradient: switch to Metal family of gradient, then choose the gradient shown on screenshot, style=angle, mode=overlay, opacity=50%
– pattern: choose a pattern from nature patterns (or create your own pattern!), mode-overlay, opacity=10%.
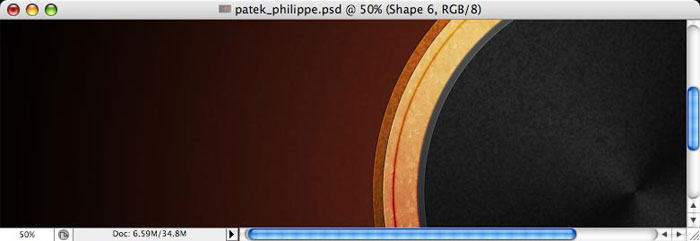
Add another, smaller circle, with brighter color, and repeat layer effects. (You can copy them from first circle and paste into second).
Add more dark (almost black) smaller circles. Then apply the same layer effects.
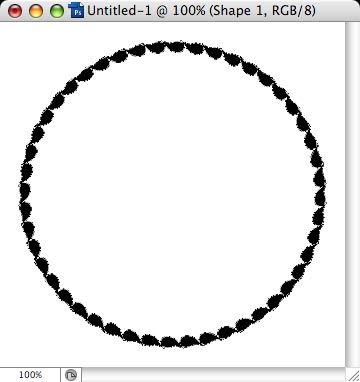
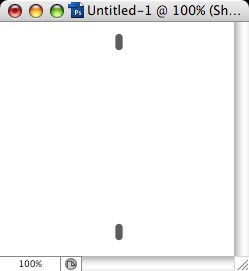
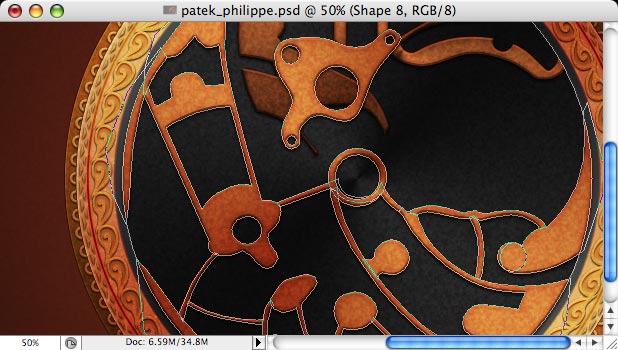
Now we need to add some symmetric decoravite elements. In new layer, use Pen tool (P) to create a shape similar to this.
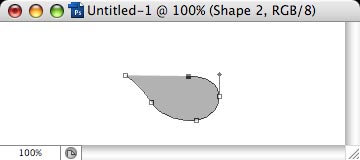
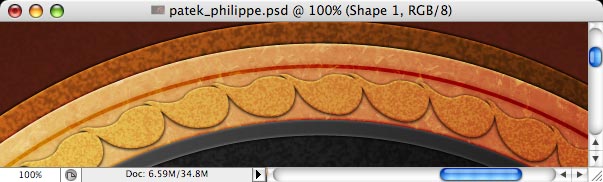
When your shape is ready, duplicate it (copy-paste), then move down and rotate 180 degrees.
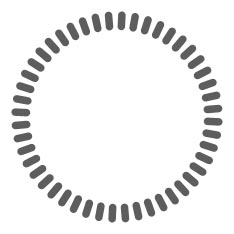
Select both shapes, copy, paste, rotate 6 degrees (to do so, hit Ctrl-T, then enter 6 in textbox on top bar with preferences). Repeat 60 times, until circle is completed.
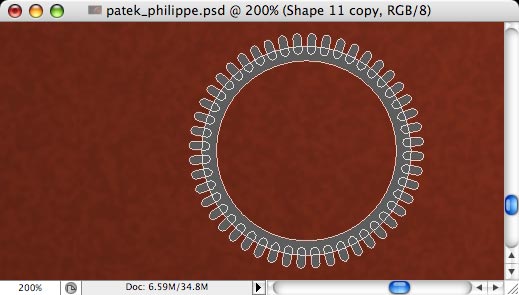
Carefully align this decorative shape with clock shapes (so that they all are centered), then set layer blend mode to screen, and apply some layer effects: drop shadow, pattern overlay, bevel and emboss. Do not overload image with effects, though!
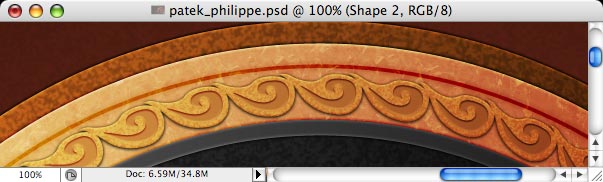
Using the same technique, create another decorative shape, duplicate it 60 times, align with center of clock shapes, and apply some other layer effects: inner shadow.
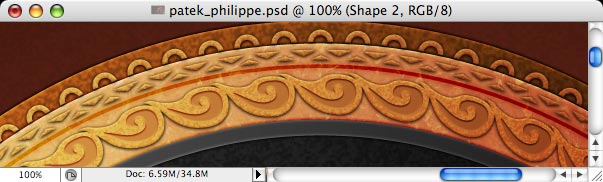
Then use the same technique for another decorative shapes, and again and again until you’re really tired 🙂
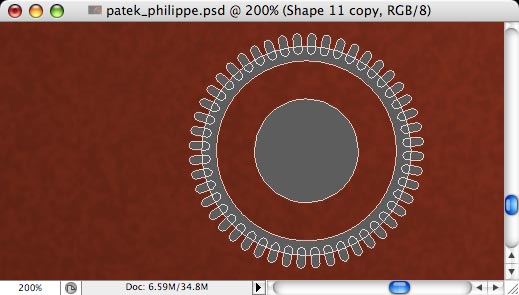
Now it is time to create gear wheels! Here is how to create a wheel. In new layer, using Rounded rectangle tool, create a rectangle similar to this.
Duplicate path – select with Path selection tool (A), copy, paste – and move the shape down.
Similar to what we did before, copy-paste-rotate shape until circle is completed.
Combine all paths into single path (use Combine button on top bar), when add another circle to this shape, center-align it, add another smaller circle, change its mode to Subtract, and center-align.

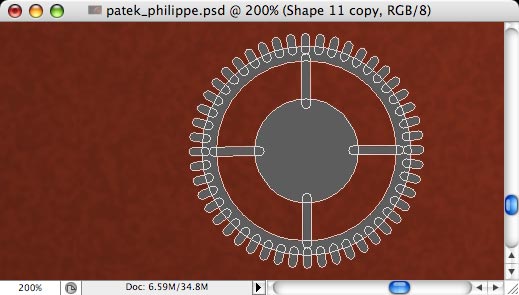
Add another (yet smaller) circle to this shape layer, center-align…
and finally, add another couple of rectangles (make sure they are perfectly aligned horizontally and vertically).
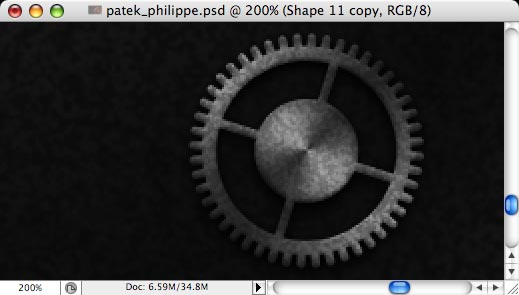
Apply the same layer effects that you applied to original clock shapes: Gradient, Inner glow, Outer glow, Pattern overlay (you can simply copy effects from your earlier layers and paste into this layer).
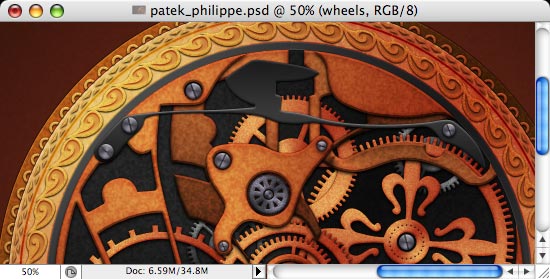
Now it is very easy to make more wheels! Duplicate layer (Ctrl-J), move, rotate, repeat!
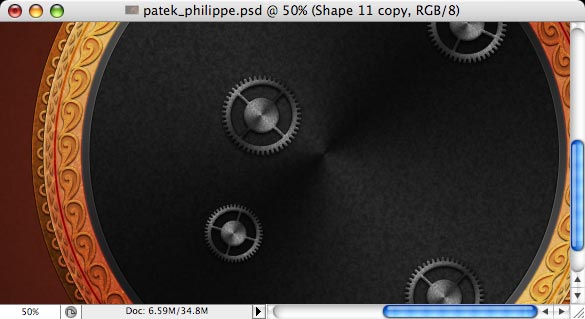
For some wheel layers, change layer color from grey to gold.
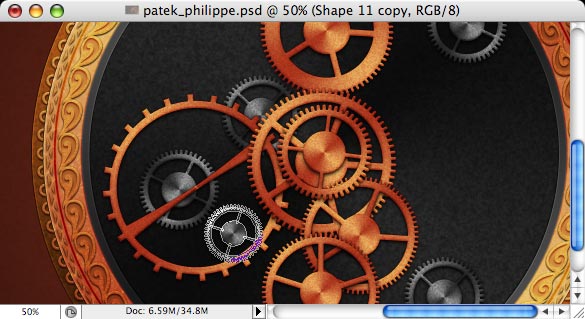
Instead of plain rectangles, you can use Pen tool to create nice curved shapes and use them in your wheel designs.
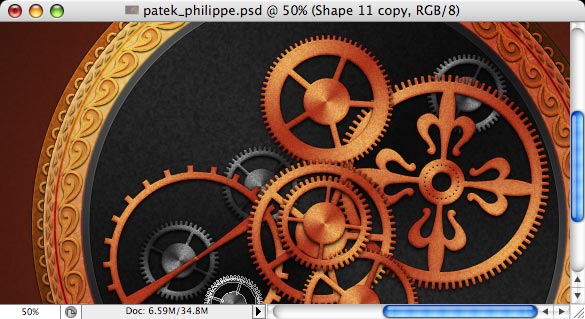
We need more metallic mechanisms. In new layer, use Pen tool to create shapes of these mechanisms….
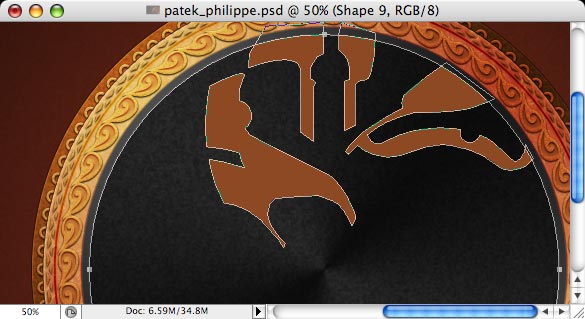
…then apply the same layer effects.
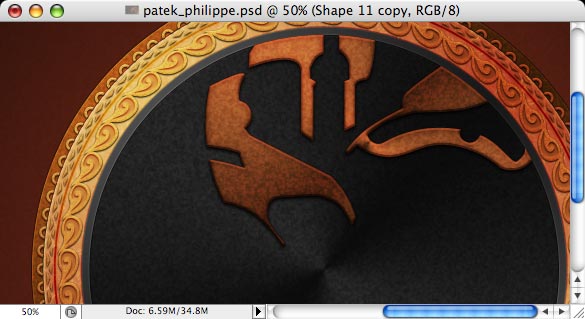
Then, set this blurred layer Opacity to 50%. Already looks mysterious!
Then in new layer, create even more shapes! And apply the same layer effects.
But that’s not all! Merge all layers again (Ctrl-Shift-E), then duplicate layer (Ctrl-J) and set its blend mode to Multiply and Opacity to 80%. Perfect!
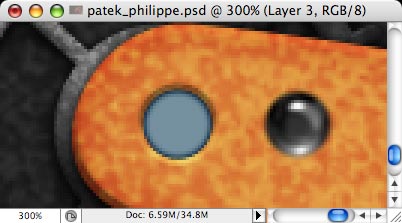
Next thing we need is some screws. It is very easy to create one: create new grey circle…

…then apply again the same layer effects to it (except pattern overlay)…

and then add another grey rectangle and set its blend mode to Multiply.
Then group these two layers (select them and hit Ctrl-G). And then: duplicate – move – rotate – repeat!
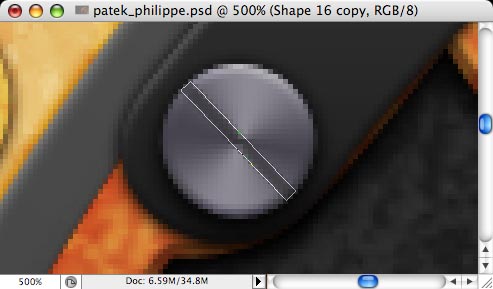
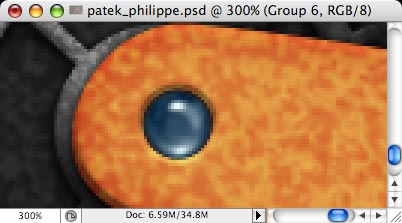
Next thing we need is some small jewels. Create new circle shape, apple the following layer effects to it: Bevel and Emboss (mode=down, highlight and shadow=overlay), Inner Glow (black, mode=overlay). I had a photo of glass sphere in stock, so I pasted it into this file, scaled down, de-saturated (Ctrl-Shift-U) and adjusted levels (Ctrl-L) to add contrast.
Center-align these 2 layers, and group glass layer with previous (Layer menu – Create Clipping Mask). Then set second layer mode to Overlay.
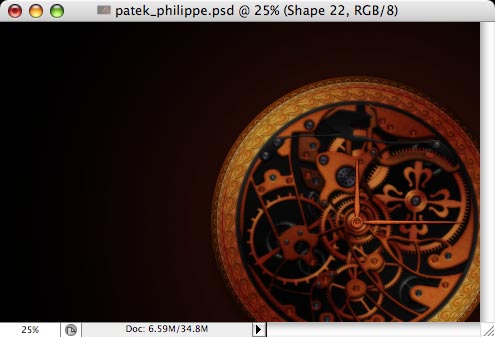
Almost done! Now we just need to add some mysterious look to entire wallpaper.
Make a copy of PSD file, then merge all layers (Ctrl-Shift-E), so that al layers are united into one layer. Then duplicate this layer and apply Gaussian Blur (Effects menu – Blur), with raduis = 5-10px.
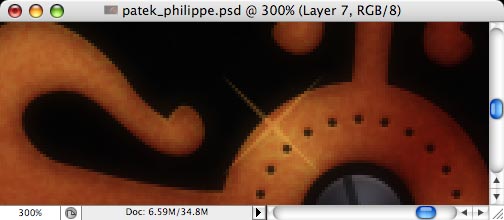
The very last touch is to add some lights reflecting from the clocks. To make it, change foreground color to white, then switch to Polygon tool (U), set Sides = 4, then open dropdown window with Polygon Options, check Star checkbox, set Indent to 92%.
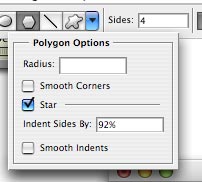
These settings will allow you to create this shape.
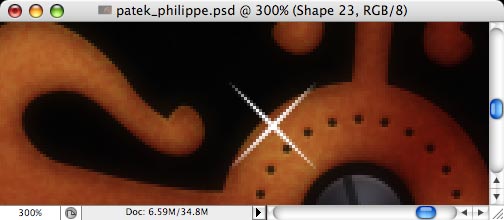
Then simply set layer blend mode to Overlay, and add some very subtle Outer Glow.
Comments