
Painting business
For this tutorial I’m going to use some of my drawing techniques. They will be explained later on. The painting is dedicated to good old retro style. Well let see what we going to come to.
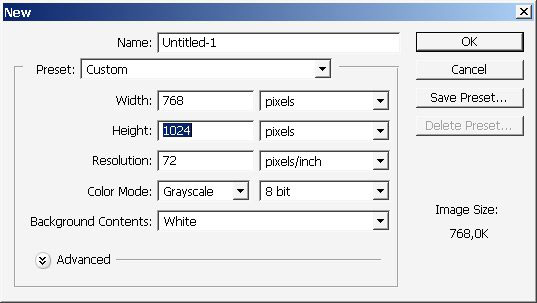
So let’s begin. Create a new Document (ctrl+n) and a new layer. Let’s say 1024×768 Flip it rights away (1024×768).
For this painting I’m not going to use a large variety of colors. So let’s begin.
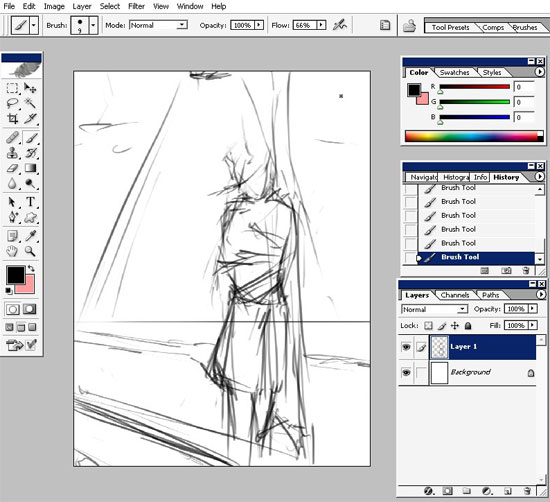
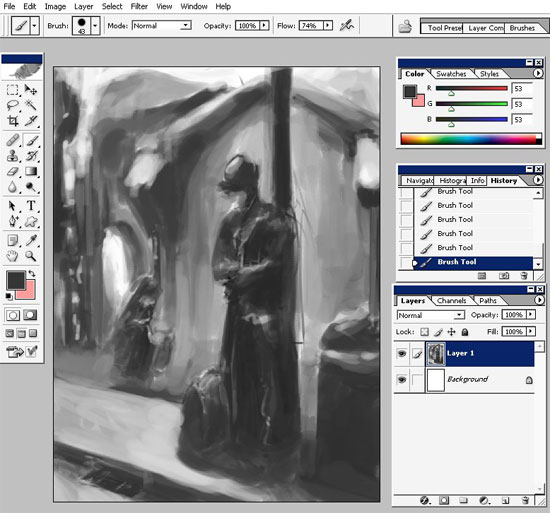
Step 1 ? a rough sketch.

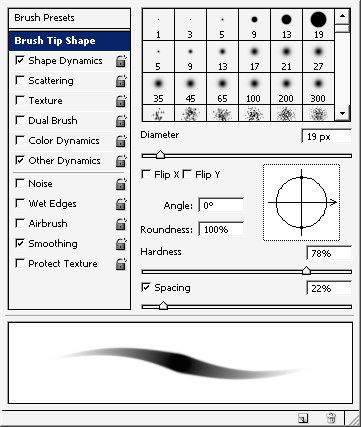
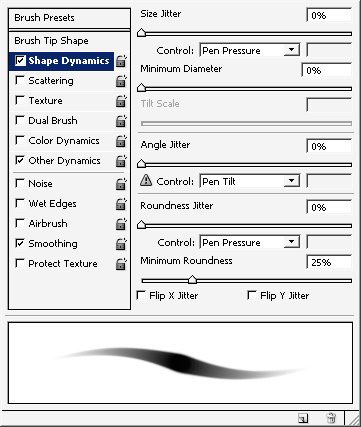
Step2 ? let’s start coloring with basic PS round Rough brush.
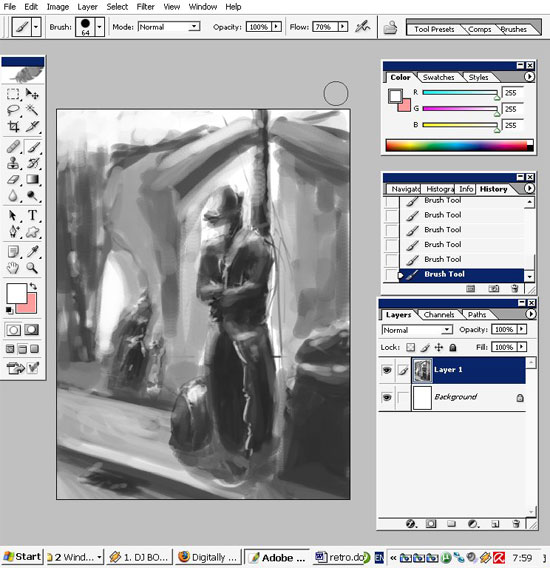
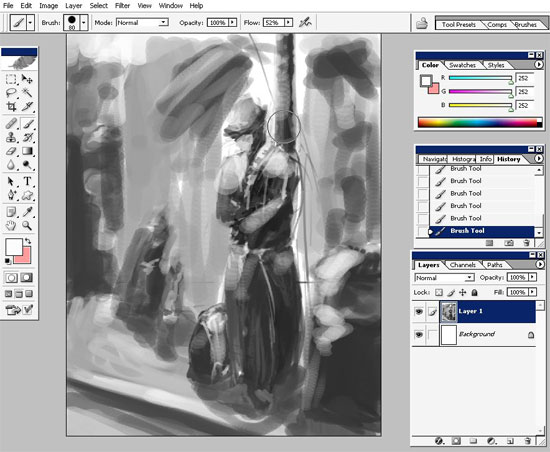
More and more
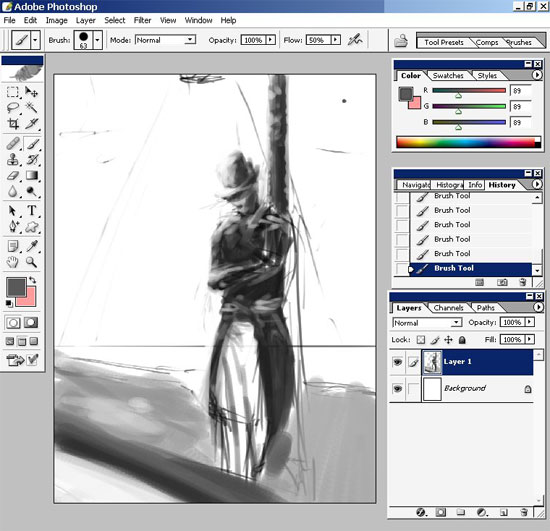
Let’s do details for our foreground character. Remember that if you can live background object less detailed. Foreground objects must be detailed (of course whet sketching- the art work has to be detailed till vanishing point ? more details ? more realism).
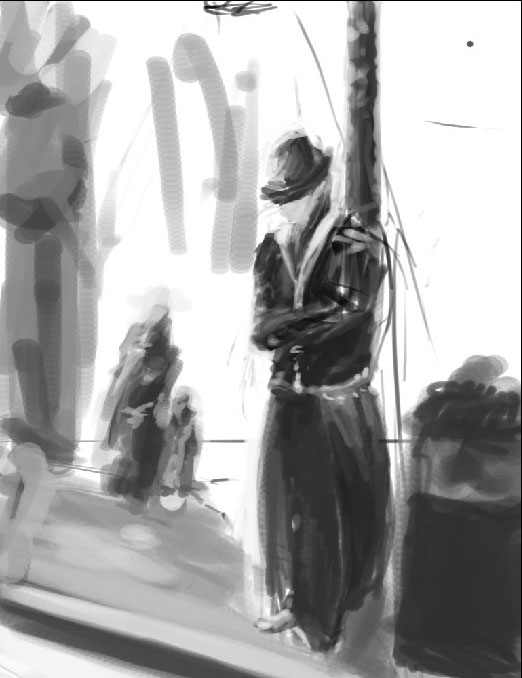
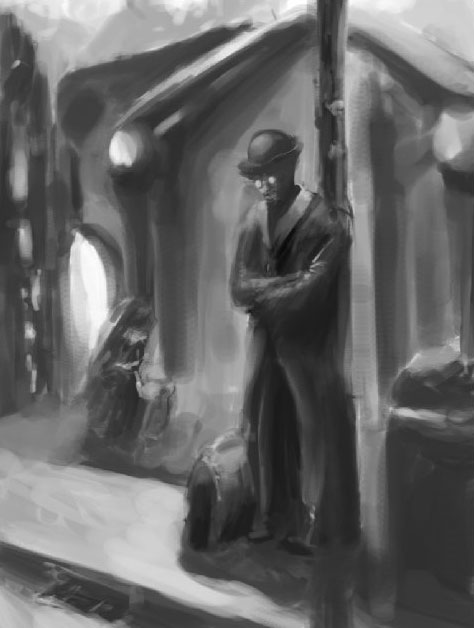
And our current result is:
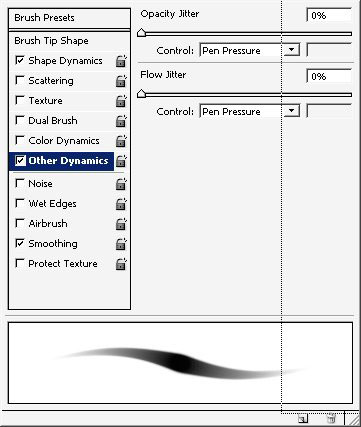
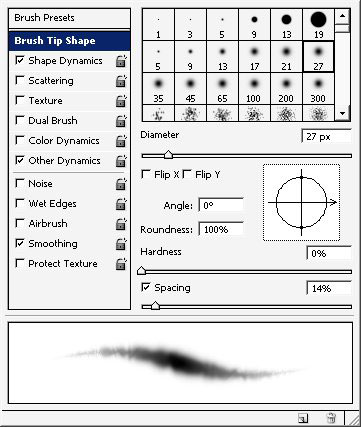
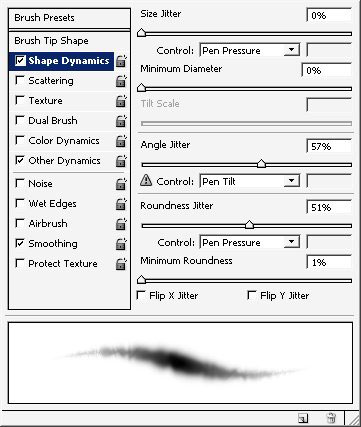
Well I think the basic concept is done now. Let’s do a little bit of atmosphere. For this I recommend to use Soft basic round brush with such settings. + set overall brush flow to about 10 -12 %.
Use separate layer for this, so create one and GO.
Result:
If you are satisfied with the results ? merge down this layer (Goal: only one painting layer). Now I will use Dodge and Burn tool to fix some value (foreground ? Blacker, background ? lighter) so here is our result ? for this operation I have used the same brush settings as for the Atmosphere but only with angle jitter is set to 0%.
Now let’s try to put some loose color like this (same brush settings):
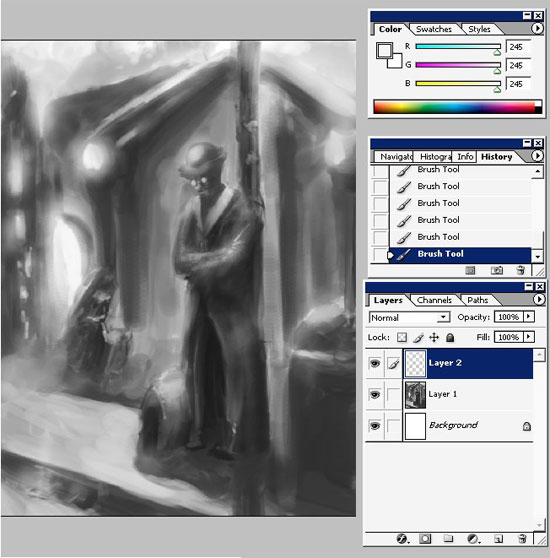
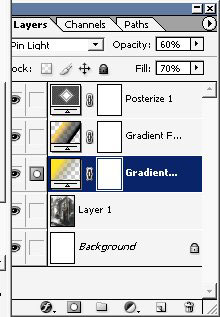
Then I have decided to create a Posterize layer (value –19-20)- set the mode to Hard Light.

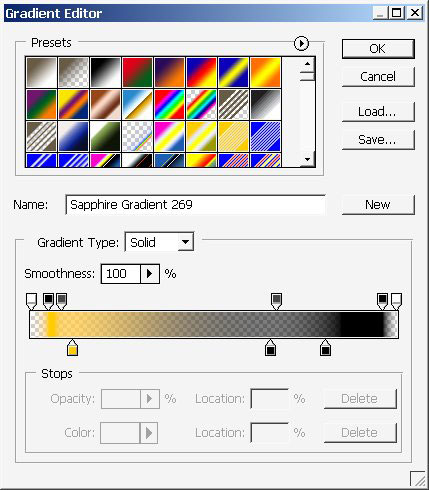
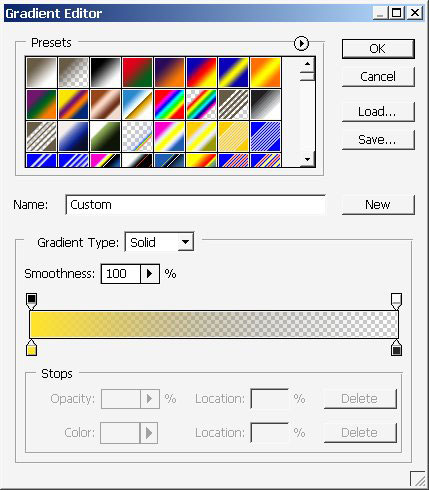
The comes the gradient layer (Color dodge) + master Opacity/Fill ? 45%/75%.
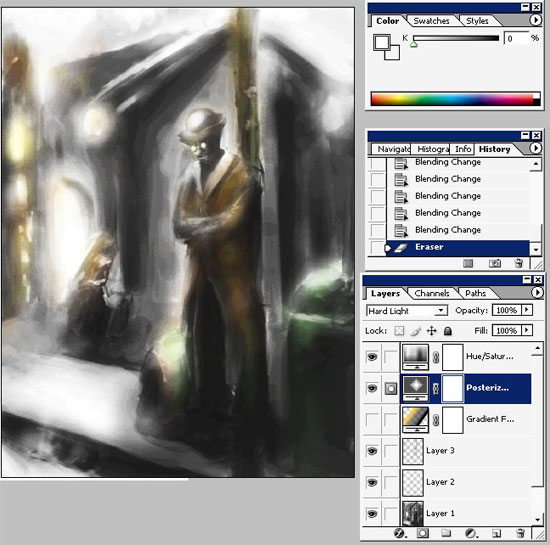
Then I decided to use Filters>Artistic>Water color on our base drawing layer.
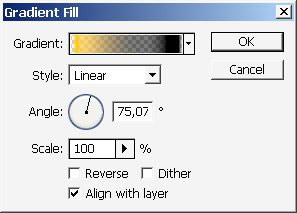
Moreover I have created a new Gradient layer (mode Pin light). Put this layer next to out painting layer.
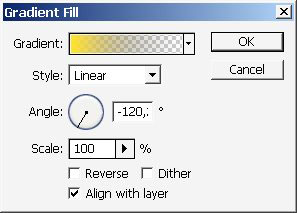
Settings (Opacity/Fill = 60%/70%) +layer position settings.
Result:
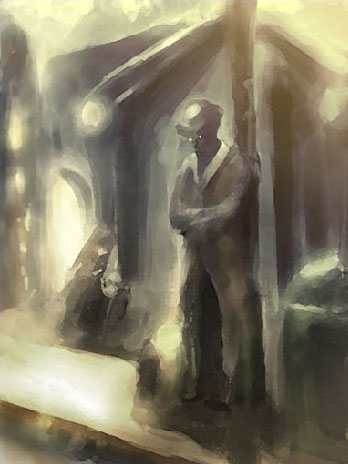
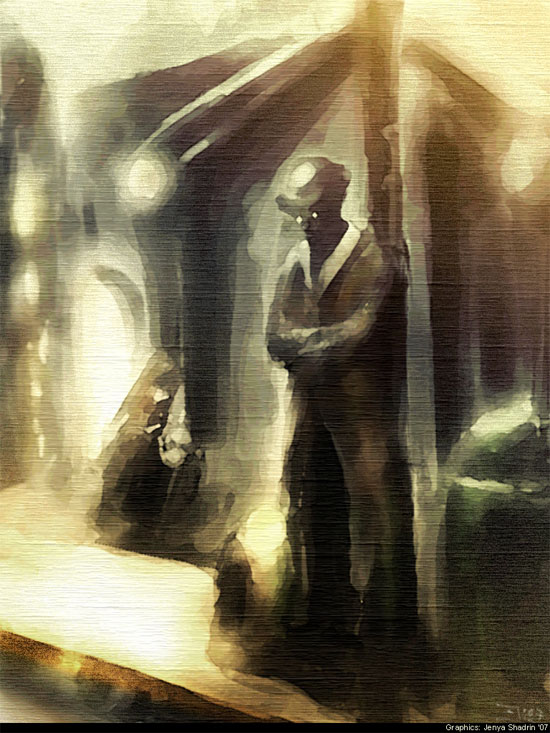
So out retro styled illustration is nearly finished.
One more thing ? create a copy of our painting layer and use This Filter.

Result:
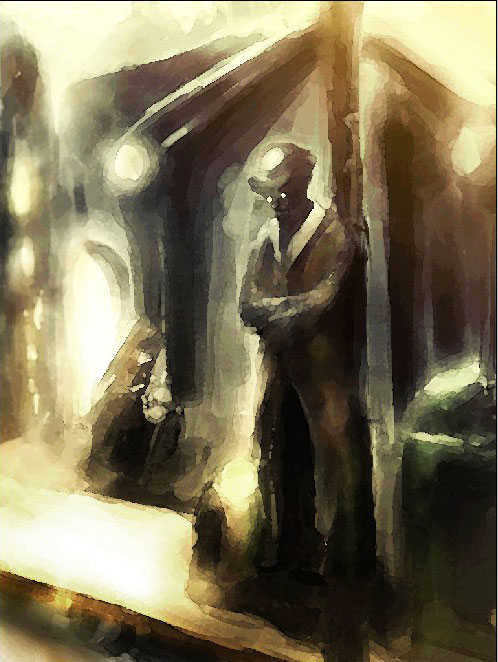
Set master Opacity/Flow ? 100%/15% +set the mode to Exclusion. Moreover erase our base character and background female character.
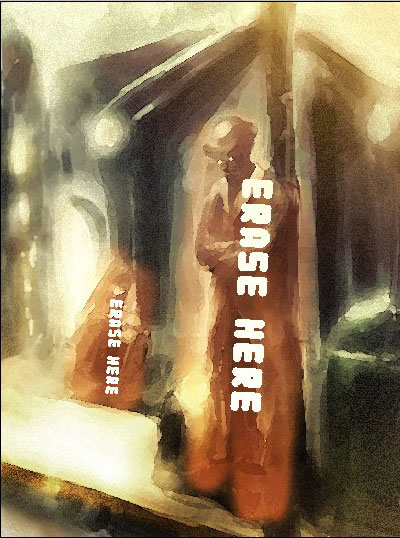
Use a little bit of BLUR more.
Results:

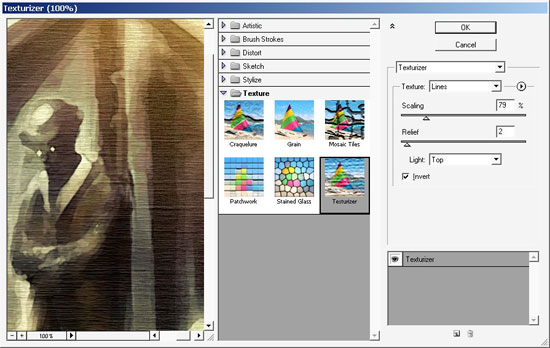
Oh ? one more thing ? save and flatten the image. Then use texture in the Filter menu.
It is finished ? Enjoy!
Comments