
On Seacoast Wallpaper
The next lesson we’ll learn creating the wallpapers by combining several parts of the image with the vector’s imitation and the photo.
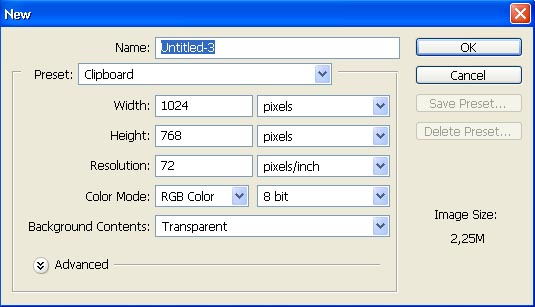
Create a new file of standard size wallpapers: File ? New (ctrl+n).
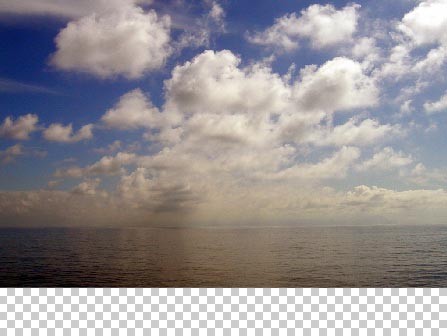
Open in a new window a picture reserved for the background to be: File ? Open (ctrl+o).

Mark it out with Rectangular Marquee Tool and make a copy of it: Edit ? Copy (ctrl+c). Get back to the previous window and insert it on a new layer: Edit ? Paste (ctrl+v). We have to make the corrections on the picture’s size, applying next command: Edit ? Free Transform (ctrl+t).

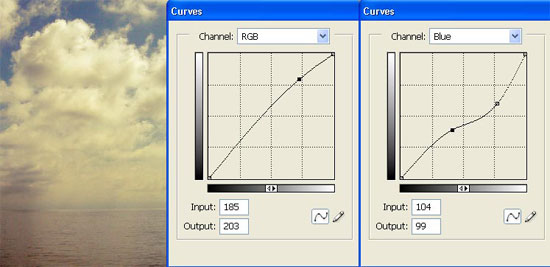
Make the corresponding corrections also on the layer’s color and contrast: Image ? Adjustments ? Curves (ctrl+m).
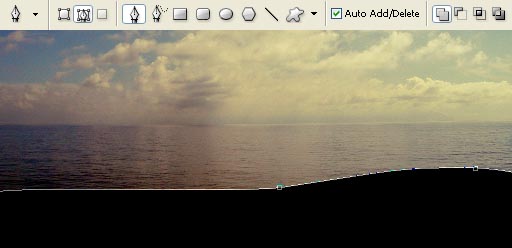
Create a new layer now: Layer ? New ? Layer and choose the Pen Tool to represent the land, applying Fill Path option.
Select the Brush Tool of grass shape and move off the marking near the Color Dynamics option in the Brushes window:
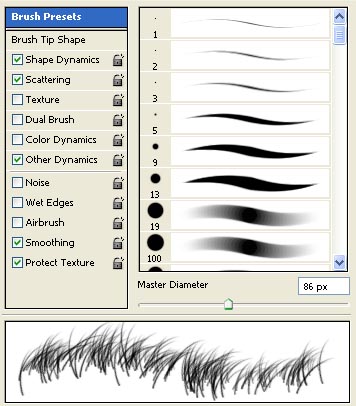
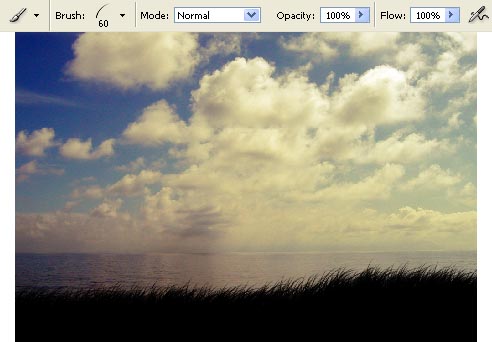
Select the next brush to represent the superior line of the “land”, choosing a size not too big:
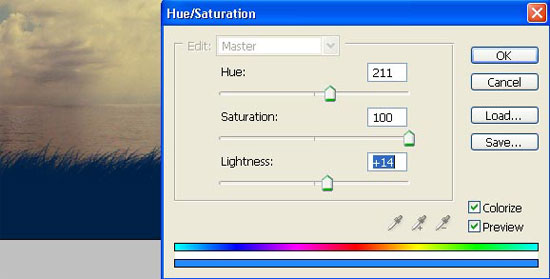
I’ve decided to change the layer’s color, so it is possible to do that with next combination: Image ? Adjustments ? Hue/Saturation (ctrl+u).
Give some volume to the grass, changing its color into darker one and the brush’s size on a bigger one.
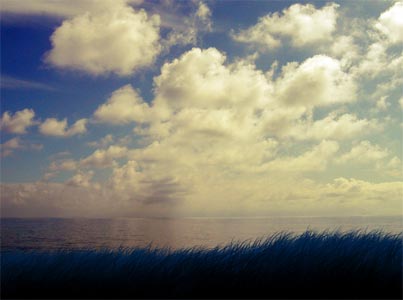
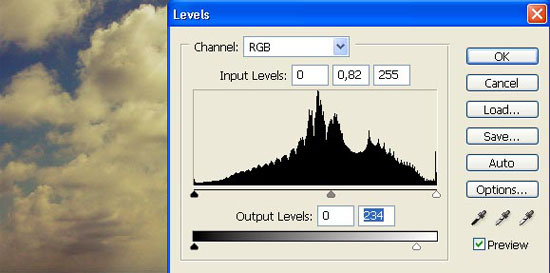
The sky’s layer needs a darker color, just to be of the same color’s nuance as the grass is, selecting the next options: Image ? Adjustments ? Levels (ctrl+l).
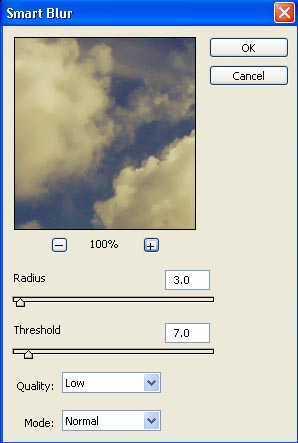
Apply the next filter’s option to this layer: Filter ? Blur ? Smart Blur.
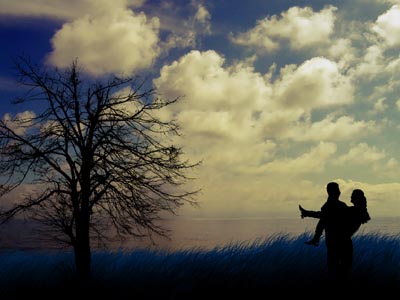
We have to download now a set of ready to use brushes for representing the tree and the people on the grass’ layer (the brushes having a tree shape may be selected from this address: http://www.deviantart.com/deviation/29661536/ ?qo=8&q=boost%3Apopular+in%3Aresources %2Fapplications%2Fpsbrushes+tree), the people’ one ? from here: http://www.deviantart.com/deviation/33101073/ ?qo=20&q=by%3Aanarasha-stock&qh=sort %3Atime+-in%3Ascraps
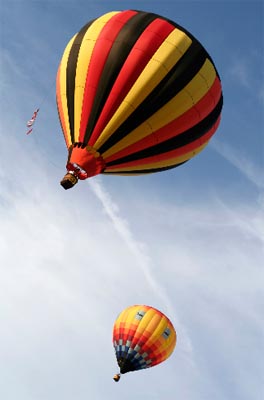
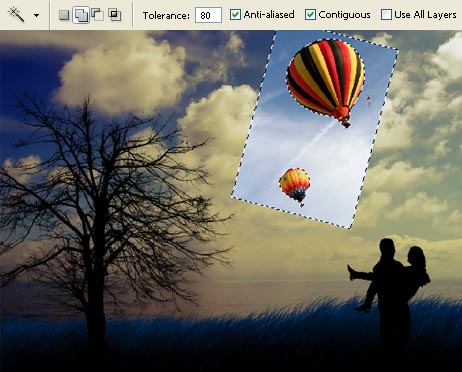
Open in a new window a picture of an air balloon (ctrl+o):
Place them on a new layer, applying next commands: Edit ? Free Transform (ctrl+t) and Edit ? Flip Horizontal and then mark out the sky, applying the Magic Wand Tool.
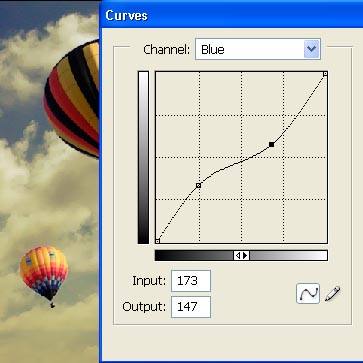
Erase it and make the necessary corrections on the layer’s color, choosing Curves (ctrl+m) and Image ? Adjustments ? Selective Color.

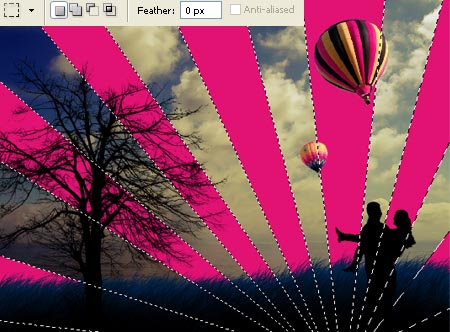
We have to represent on a new layer above the background’s one several markings of rays shape, applying Polygonal Lasso Tool and paint them out with Paint Bucket Tool.
Move off the markings: Select ? Deselect and change the layer’s Blending Mode on Soft Light, minimizing also the Opacity till 35%.
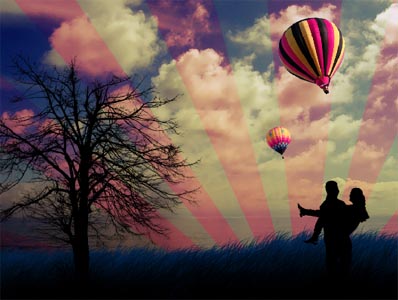
Select the Gradient Tool for a new layer, situated above the rest of them to represent a kind of stretching of white color.
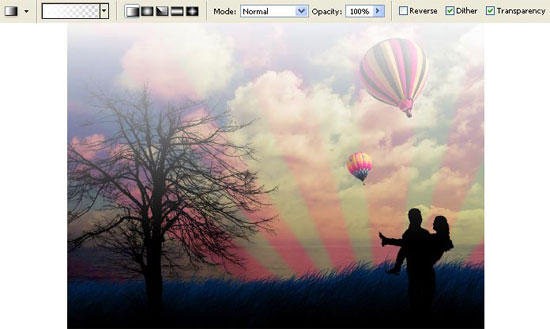
Change also the layer’s Blending Mode on Soft Light.
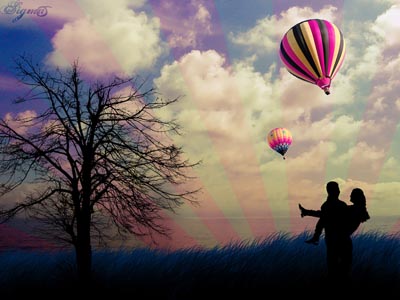
The picture is finished!
Made by Sigma
Comments