
Old Illustration Photo Effects
Change after that the layer’s Blending Mode, containing the “star” on Overlay.
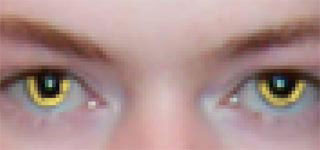
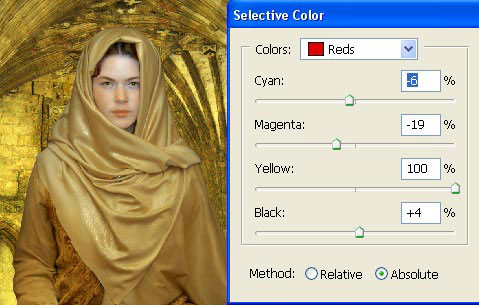
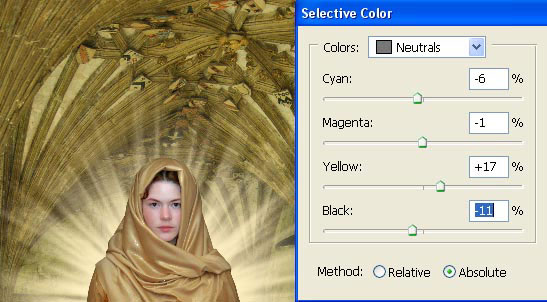
Now we have to change the girl’s eyes’ color. Paint her eyes with the necessary color on a new layer above the girl’s layer.
Blur out a little the layer: Filter – Blur – Gaussian Blur.
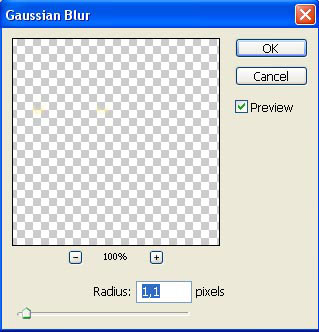

Change the Blending Mode on Overlay:
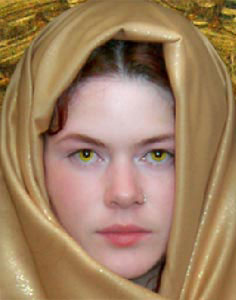
Combine this layer with the girl’s one: Layer – Merge Down (ctrl+e) and make the corrections on that layer too (Selective Color).
Merge down now all the layers: Layer – Merge Visible (shift+ctrl+e) and make a copy of the new layer (ctrl+j). Apply the filter to this layer: Filter – Distort – Diffuse Glow.
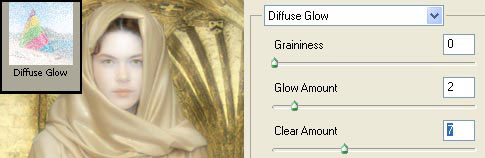
Change now the copy-layer’s Blending Mode on Soft Light and minimize the Opacity till 70%.
Insert
after all the operations you made earlier, on a new layer, situated
upper than the rest of them, the texture of an old wall.
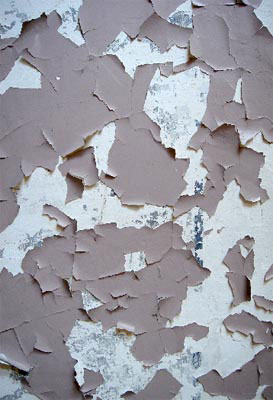
Decolorize it: Image – Adjustments – Desaturate (shift+ctrl+u and make the corrections on its brightness and contrast (ctrl+m).
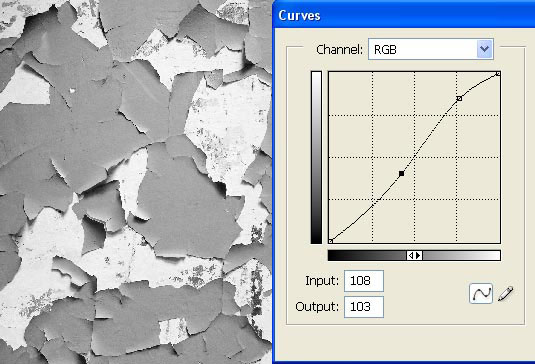
Change now the layer’s Blending Mode on Hard Light and add to this texture more luminescence (Selective Color).
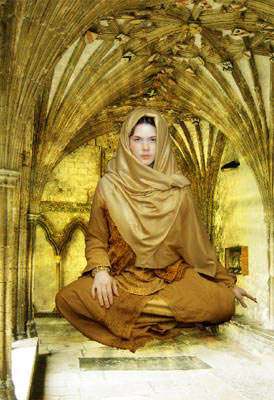
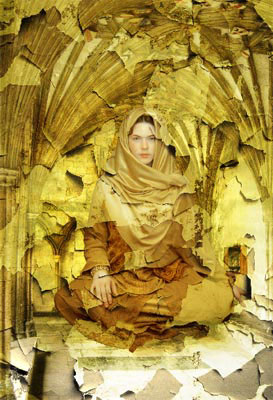
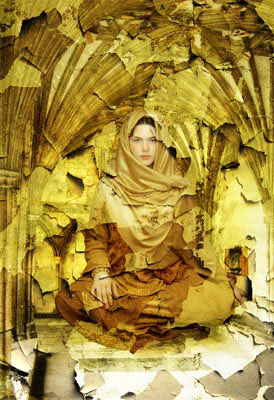
That is what we’ve got:
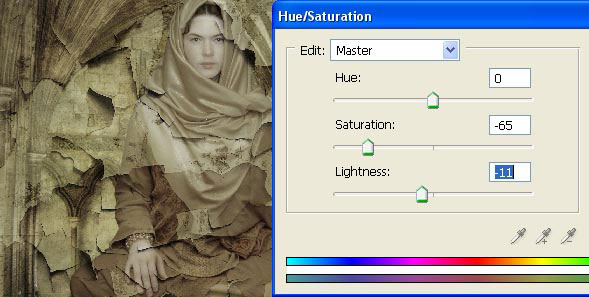
Insert
now more, darker nuances. But we must firstly merge down the layers
(ctrl+e), copy the new represented layer (ctrl+j) and change its colors
by selecting next combination: Image – Adjustments – Hue/Saturation (ctrl+u).
Change after the layer’s Blending Mode on Soft Light and minimize the Opacity till 50%.
Then merge down the layers (ctrl+e) and select the Burn Tool with the following adjustments:

Make the picture’s edges darker now:
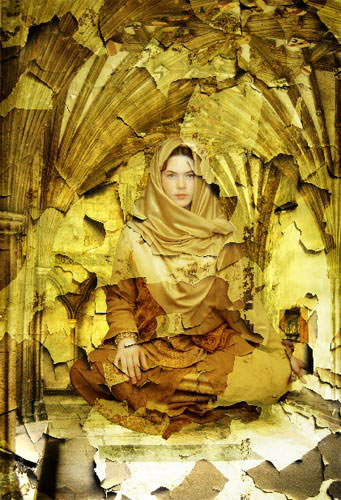
Finished!
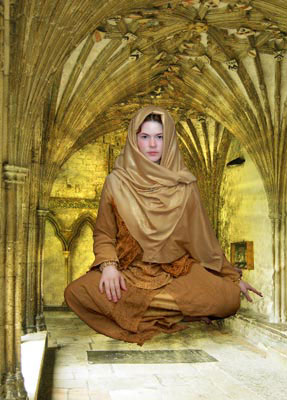
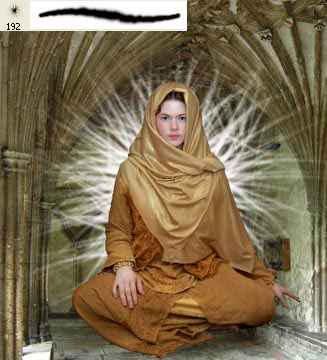
Made by Sigma The new lesson we’ll see how to represent a stylish illustration from several pictures, use different textures and create the effect of the luminescence. We’ll learn also to make the colors more intensive.
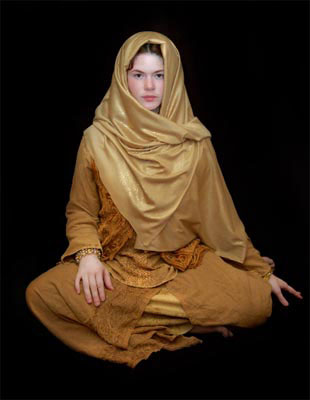
Open in a new window the photo of a girl: File – Open (ctrl+o).
Copy this layer to make it easier for processing by moving it on the corresponding icon in the Layers
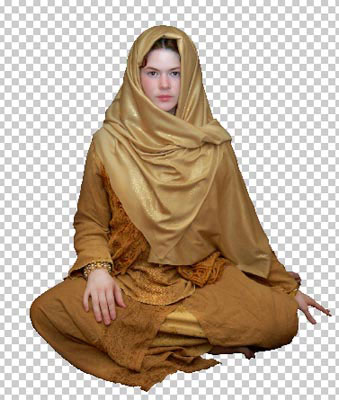
window. The previous layer must be erased. Separate now the girl from
the background and if it is of black color, we may just use Magic Wand Tool.

Apply the following command: Select – Modify – Expand of 2 px (it depends on the picture’s sizes) and erase the background.
Open in a new window the photo designed for the background to be (ctrl+o).

Mark it out with Rectangular Marquee Tool and make a copy of it: Edit – Copy (ctrl+c) . Get back to the girl’s window and insert the picture in a new layer: Edit – Paste (ctrl+v). Select the Crop Tool to increase the dimensions of the picture and correct the background’s placement: Edit – Free Transform (ctrl+t).

Create now a new layer, under the girl’s one and select a standard brush (Brush Tool) of “star” shape and big size to insert a dot behind the girl.
Make it look fluffier by copying the layer (??trl+j) and flipping it vertically: Edit – Transform – Flip Vertical. We also may increase a little the “star”‘s sizes: (ctrl+t).
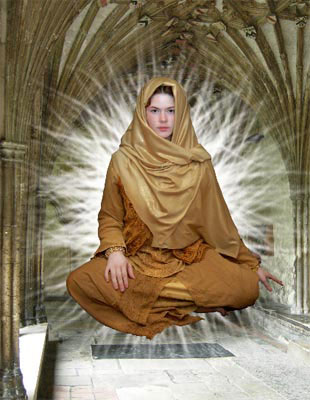
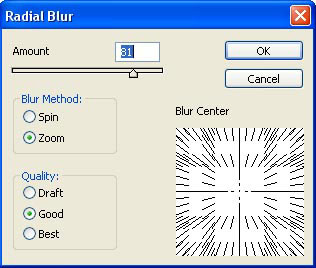
Merge down these layers: Layer – Merge Down (ctrl+e) and blur out the new layer by applying the next options: Filter – Blur – Radial Blur.
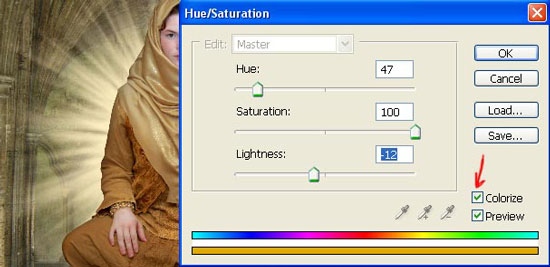
Make the “star” look yellow, using the next command: Image – Adjustments – Hue/Saturation (ctrl+u).
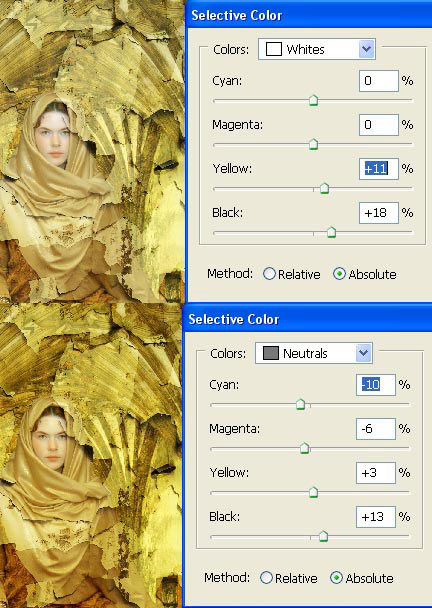
Make the necessary corrections on the background’s colors: Image – Adjustments – Selective Color.
Comments