
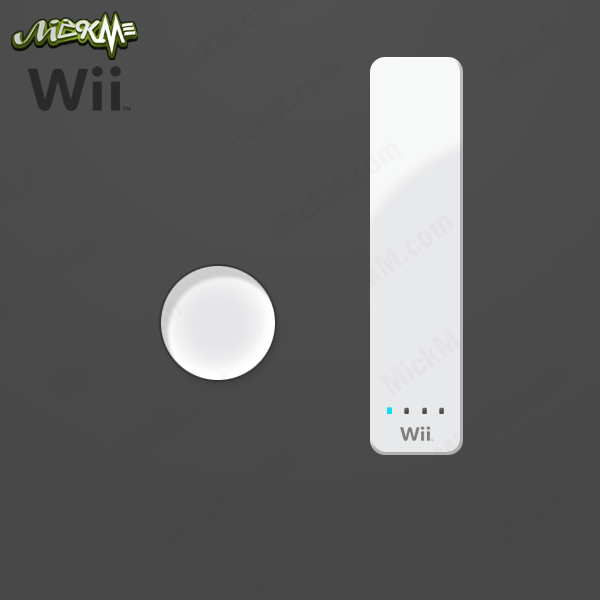
Nintendo Wii Console Game
Nintendo Wii
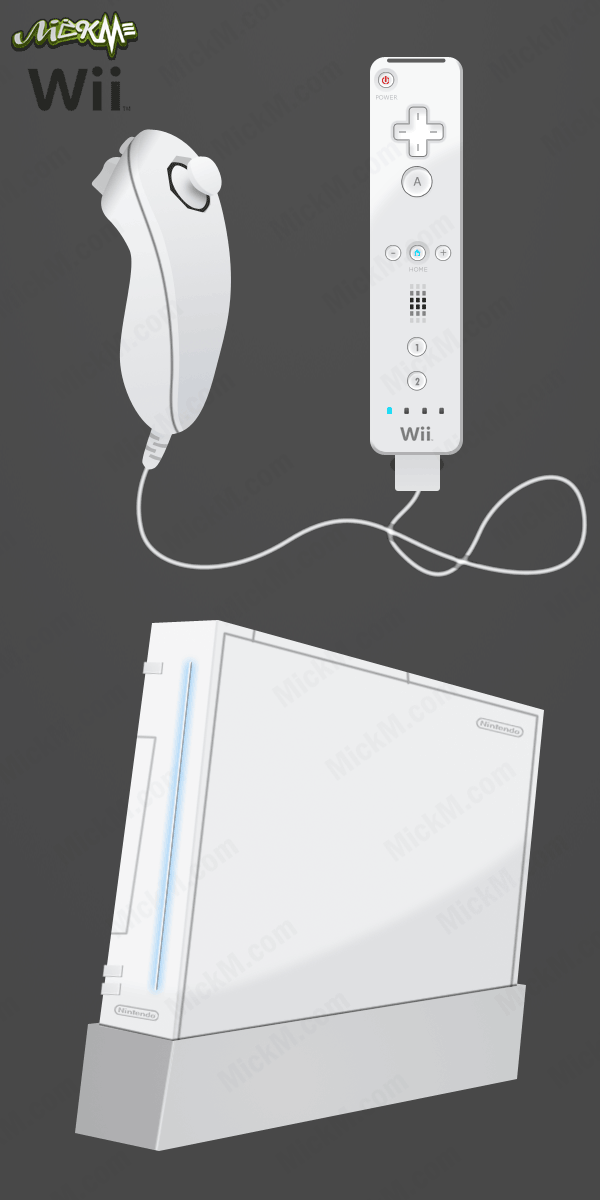
This may perhaps be one of my best tutorials ever (According to me). It sure is long though. In less then 45 steps I will teach you how to, not only, make the Wii, but also the Nunchuck and the Wiimote. Never done before. A serious MUST-DO for everyone out there!
Make a Wii
Yes, this is the first and only tutorial that not only teaches you how to make the Wii in photoshop, but also the Wiimote and the Nunchuck!
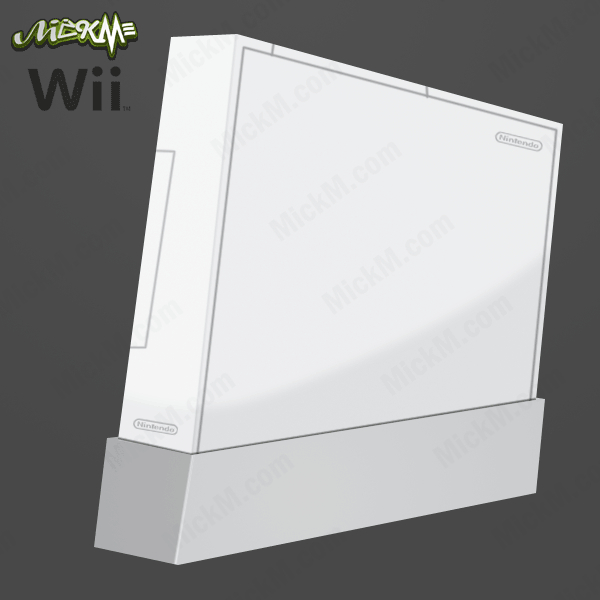
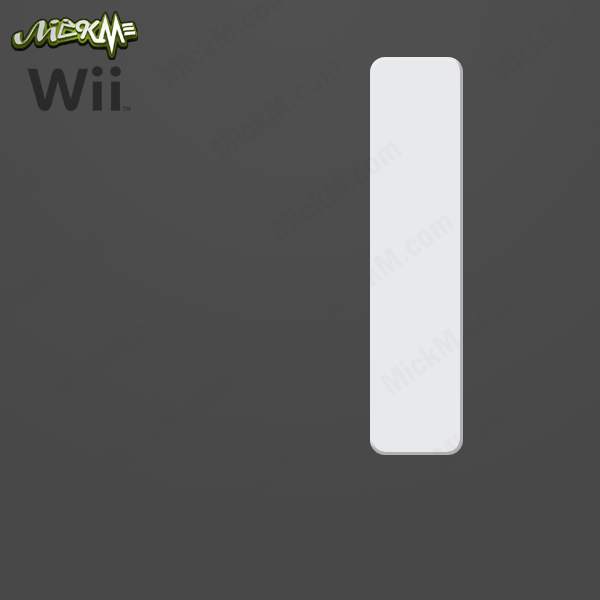
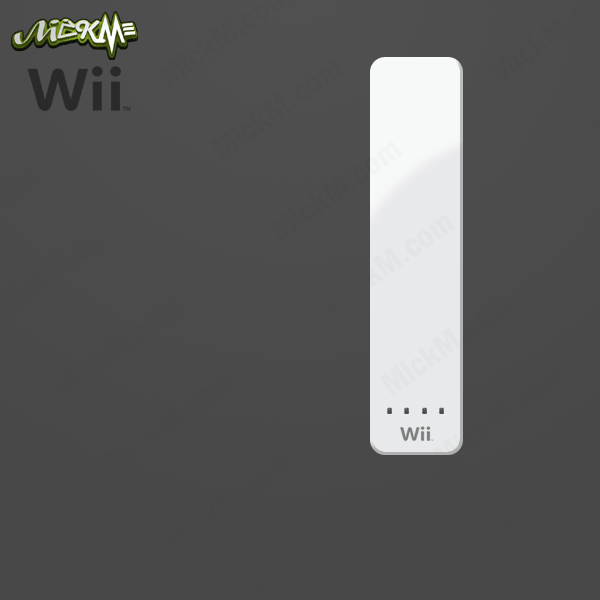
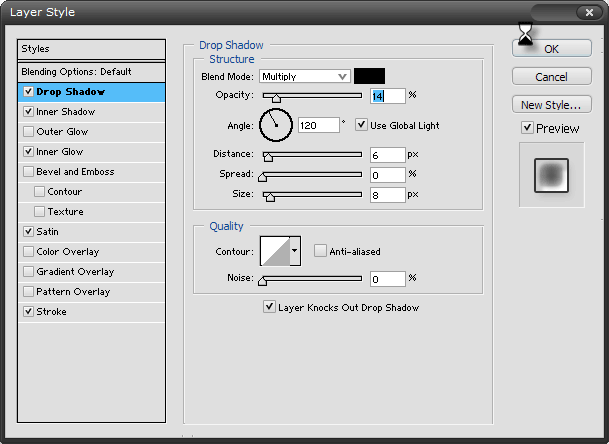
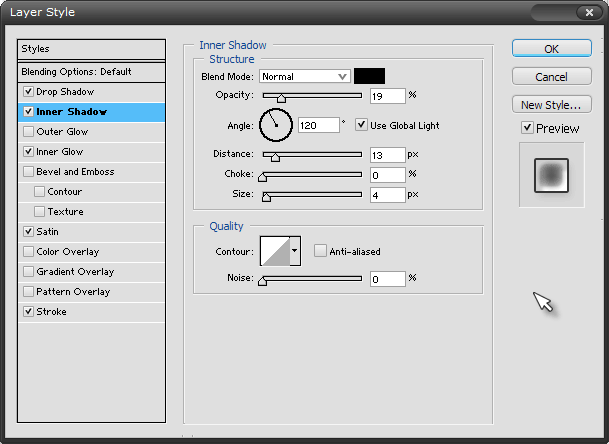
Step 1 Okay, we start with a retangular shape with a grey gradient in it. When you have that, select part of it and go to CTRL+U and darken it;
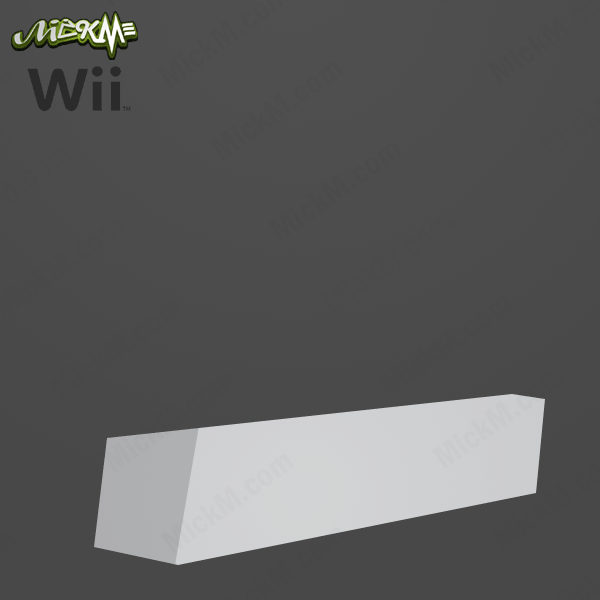

Step 2 With the same tool, I used the Pen-Tool, create another retangular shape on top of the previous.
This time also a grey gradient;

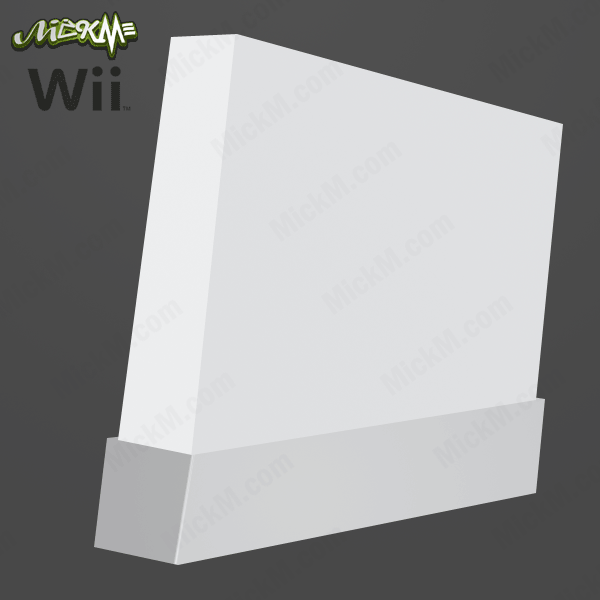
Step 3 With a 3px white brush selected, go back to the Pen-Tool and draw a line on the corner of the bottom of the Wii.
When it’s stroked, lower the opacity;

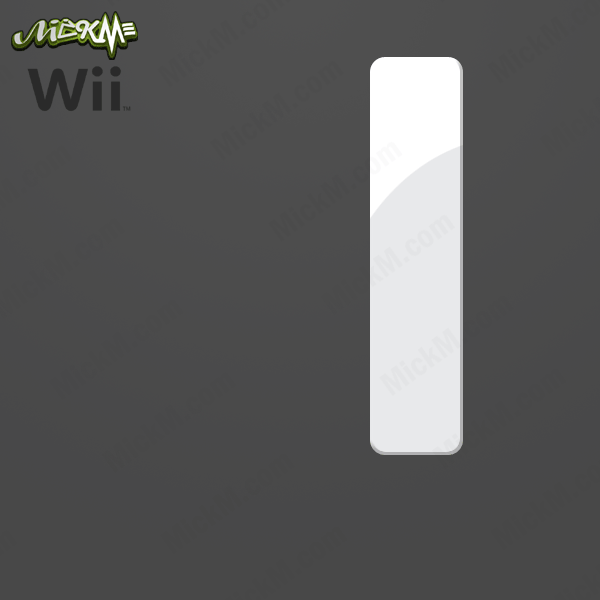
Step 4 Select a piece of the upper part and press CTRL+U and lighten it;
Step 5 With the Pen-Tool, draw a round white shape and place it over the upper part of the Wii;
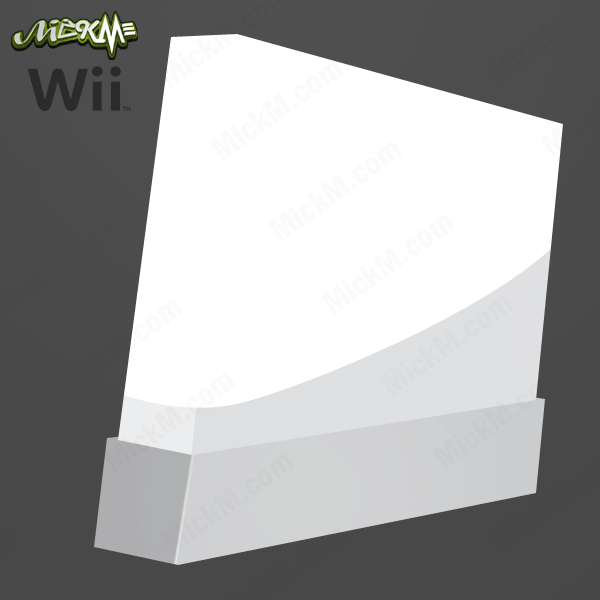
Step 6 Give it a little blur and lower the opacity;

Step 7 Use the stroking-technique again. But this time use a black 3px brush. Stroke around the bottom of the upper part of the Wii.
Again, once done, lower the opacity again a little;
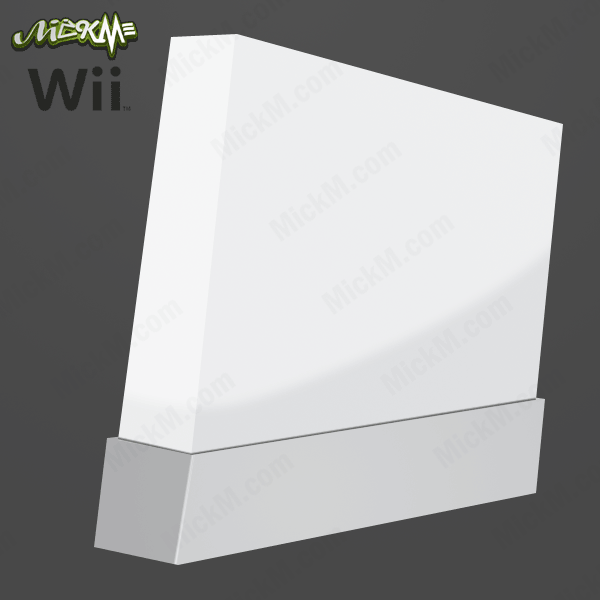
Step 8 Do this also with the corner of the highlighted side;

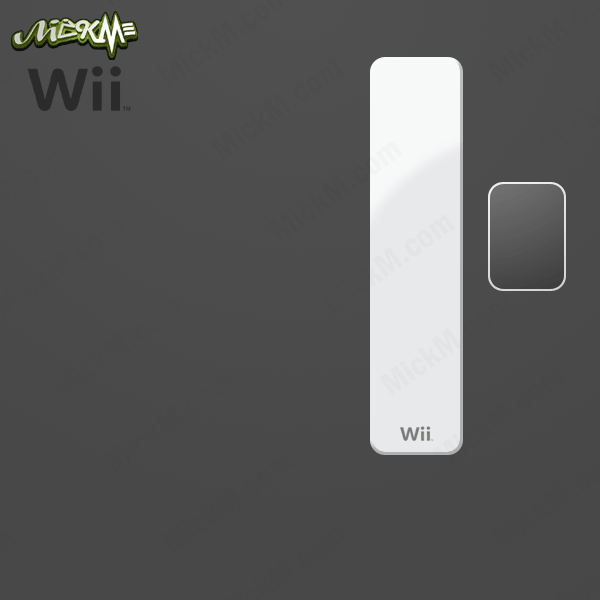
Step 9 Add the lines that are needed;

Step 10 Then add the famous Nintendo-logos;
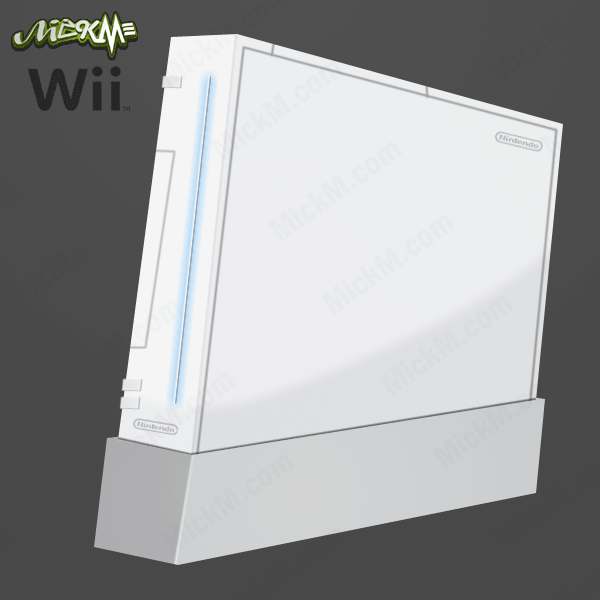
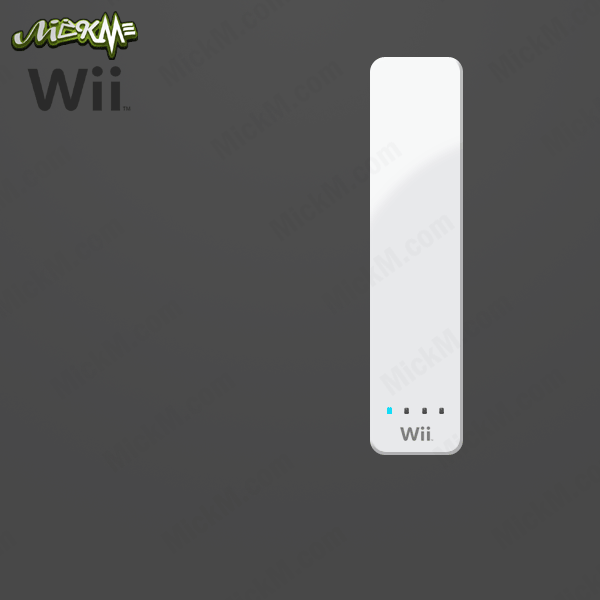
Step 11 Add a black and white 3px line with a blue outer glow;

Step 12 Then draw a slant box with also a grey gradient and select part of the bottom and the right and darken that with CTRL+U;
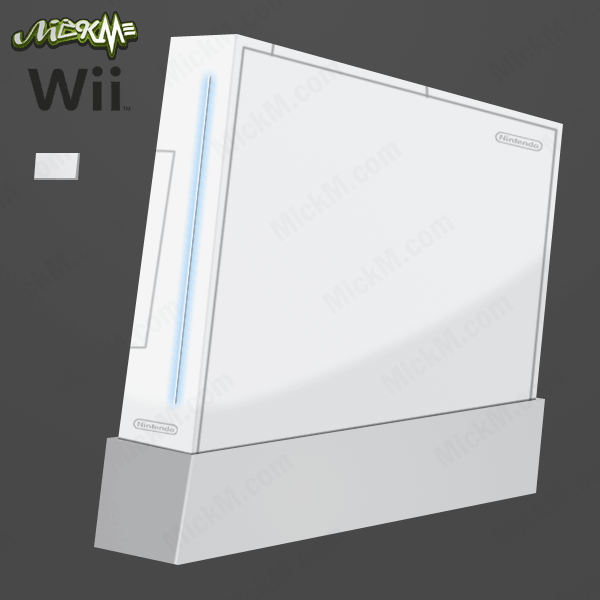
Step 13 Resize it using CTRL+T and place it 3 times on the Wii… now you’re done!
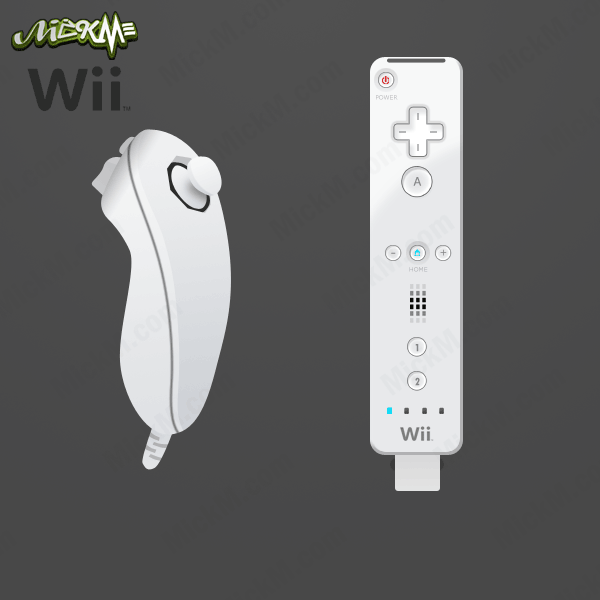
Step 14 …but not before you made the Wiimote.
With the Rounded Retangle-Tool, create a long shape like mine and fill it with grey;
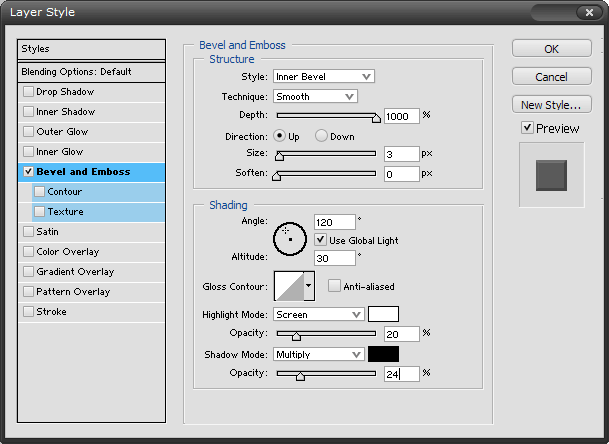
Step 15 Add a simple Bevel and Emboss as you can see below, and then add a small white circular shape over it;
Step 16 Blur the white shape;

Step 17 Add the Wii-logo!

Step 18 Create a rounded retangle with a dark-grey gradient and a white stroke. Then make sure you FULLY rasterise it!
Step 19 Resize it using CTR+T and copy it 3 times;
Step 20 add a new layer on top of it and fill it with a blue brush over ONLY 1 SQUARE… Then group it using CTRL+G;
Step 21 Then create the shape and layer-style for the buttons;
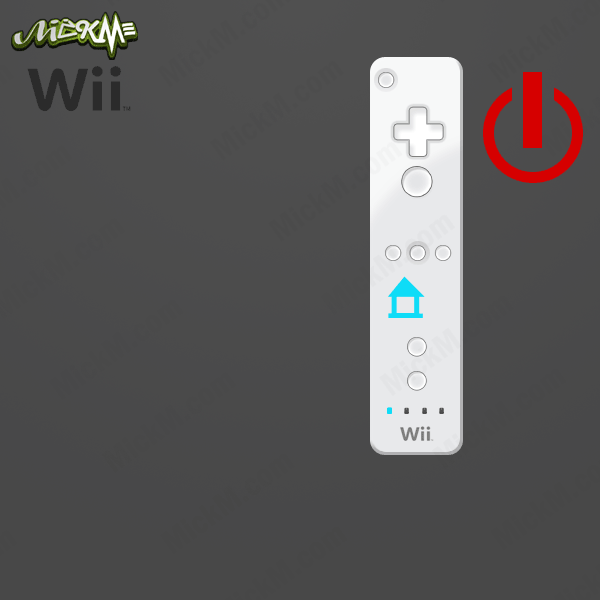
Step 22 And place it one time in the top-left corner, once in the middle, another pair of 3 in the middle and 2 at the bottom. Also use this style for the D-pad;

Step 23 Around the top-left and middle button, on a layer behind it, add a round gradient and lower the opacity.
This gradient is just a gradient from black to transparent;

Step 24 On both seperate layers, create with the same blue for the bottom-button a house, and with red an ON-sign.
They don’t have to be picasso-good, look at mine… they’re freakin easy…
Step 25 …because you’re gonna resize them. Haha!

Step 26 With the font Verdana, which every Computer/Mac has, write the following words you see down in the image. Words such as POWER and HOME and symbols as A, –, + and the others.
If, for some reason, you don’t have that font Verdana, you can use any other that is simple and sans-serif;
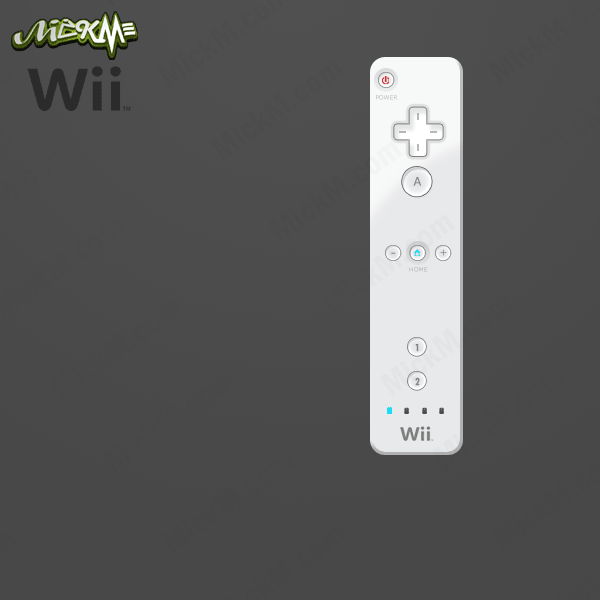
Step 27 Now create 18 squares and make sure that the first line’s opacity is 10%, the second’s 30% and the 3rd and 4th 100%… etc…
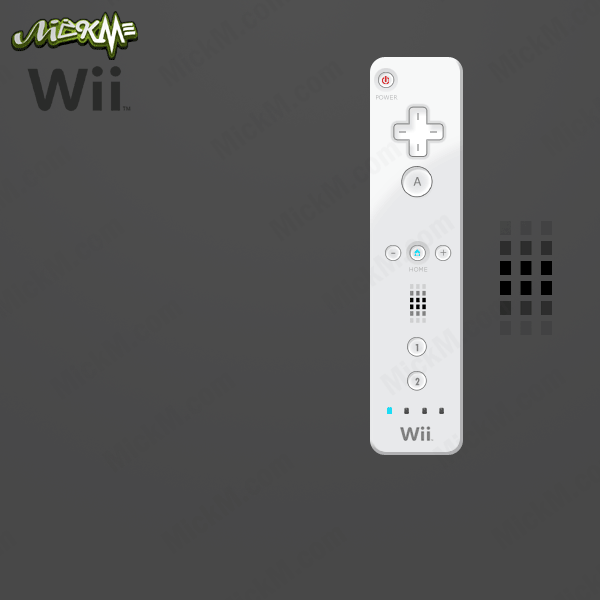
Step 28 Then use the Rounded Retangle-Tool to draw a darkgrey shape on the top of the Wiimote which will function as the Infrared-eye!

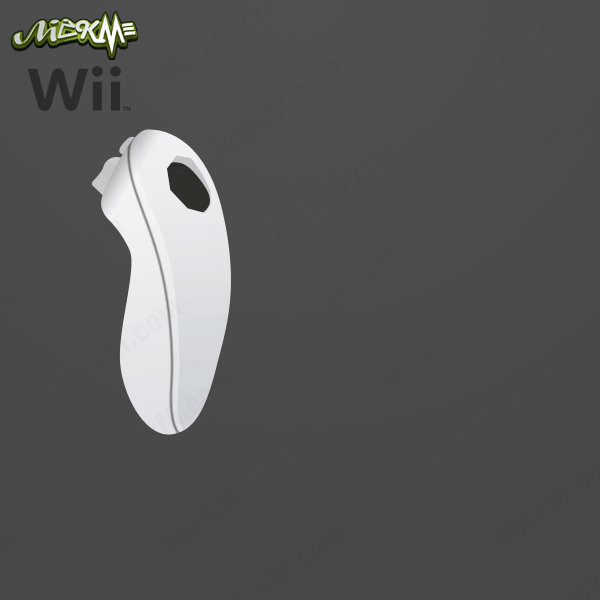
Step 29 And now we’re gonna continue with the Nunchuck!
Create a greyish shape like mine. Make sure it has a gradient again. Also look at mine and you see that I selected the half and used CTRL+U to lighten the left part;

Step 30 Behind that layer, draw 2 medium-gray funny shapes that are the 2 buttons of the Nunchuck;

Step 31 Remember the stroking-technique we used at the Wii? Now we will use it again with a 3pc black line to follow down the middle of the Nunchuck. Also lower the opacity on this one;
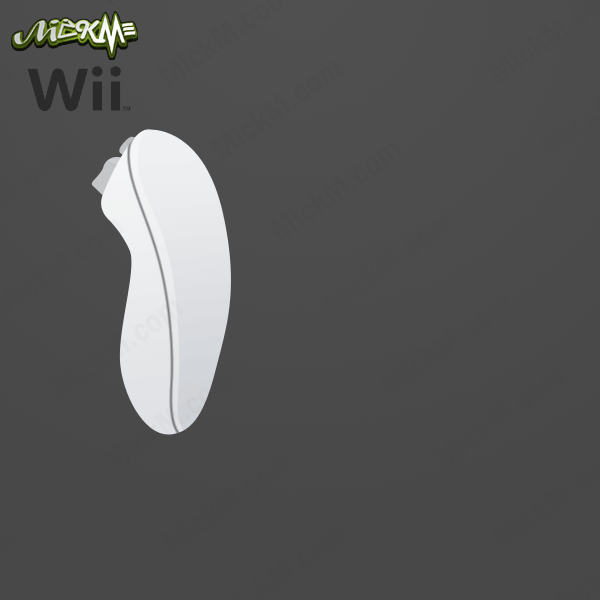
Step 32 With either a gradient or a black brush, make some vague shadow on the top of the Nunchuck.
Then lower the opacity again;

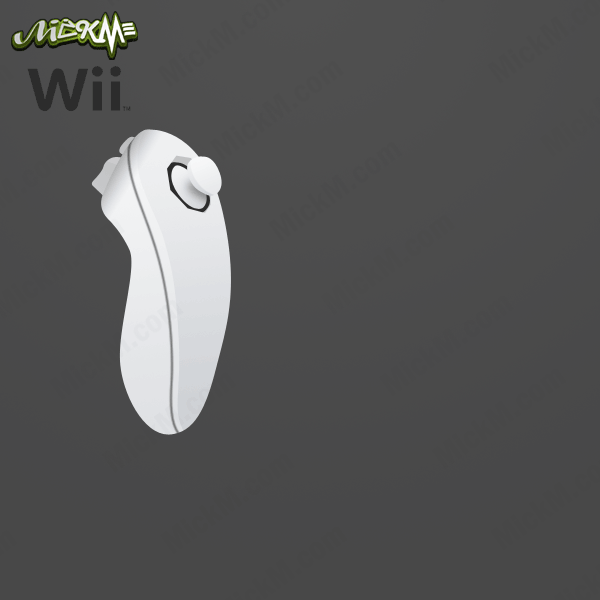
Step 33 With a grey color, draw a sharp shape like mine… kinda like the Pentagon…

Step 34 Insert a blackish circle-shape;
Step 35 And then add the control-stick, and this time, use your imagination, because I’m not gonna explain how I did it 🙂
Really, it’s not that hard. I have faith in you that you will pull it off after you’ve gotten this far 😀
Step 36 Wiiiiiiiiiiiii!!!! We got everything done… now for the cables, unhide the Nunchuck and the Wiimote;

Step 37 Add 2 VERY simple white shapes at the bottom of each controller.
Step 38 Then with a white color and a 5px brush, draw a wire that connects the Nunchuck with the Wiimote and vice versa.
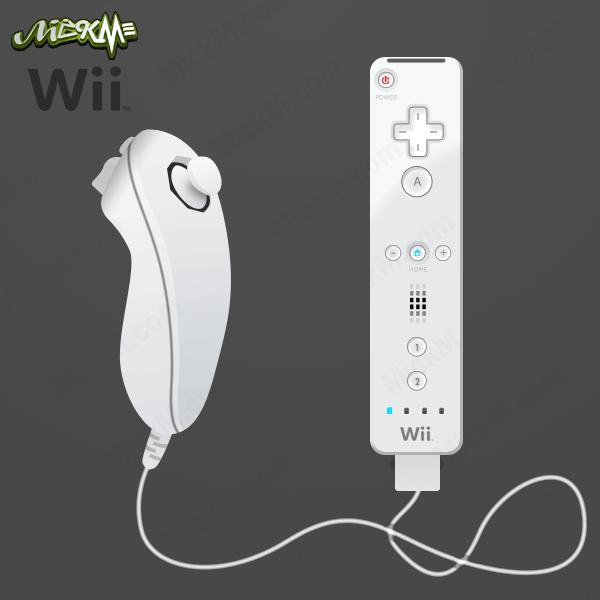
Step 40 And then you are done!!! Congratulations.
Owyeah, if you thought of ripping any of the images, good job, because I installed a very funny watermark you will only see once you darken the image, so we’ll know when you’ve used anything here 😀
Author : MICK MOOLHUIJSEN
HomePage : http://www.mickm.com
Comments