
Multiuse Web Layout Design Tutorial
May 8, 2006 | 0 comments
- Let’s get started. Start with a new file. RGB color mode, 780 x 800.
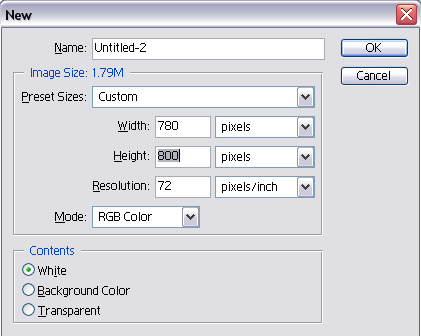
- Now let’s create the top portion of the layout First. Grab the rectangular Marquee Tool and make the selection as shown in following figure.
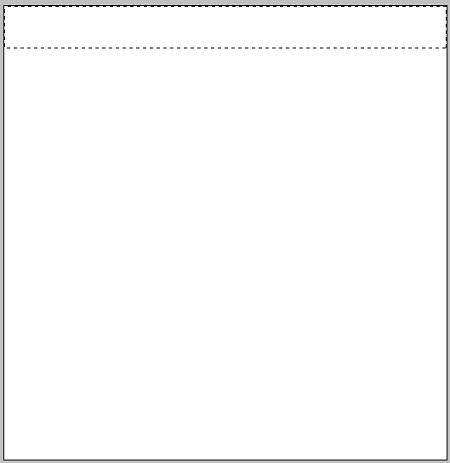
- Make sure your foreground color is set to #EBEBEB and background color is set to #EBEBEB. Now click on Create New Layer to crate a new layer rename this layer as “Top”. Grab the gradient tool and draw a gradient as shown in the following figure.


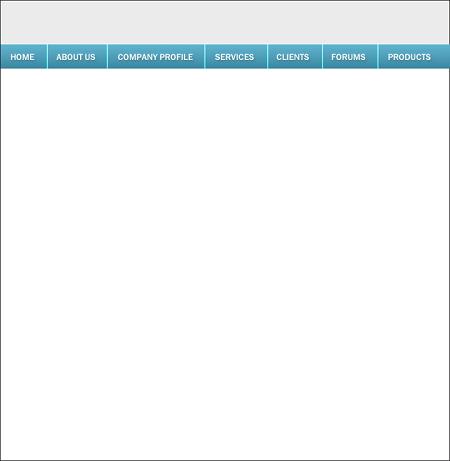
- Now again grab the Rectangular Marquee tool to create the selection for our Navigation bar.
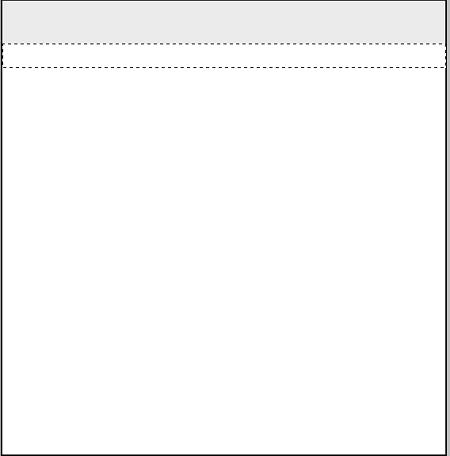
- Make sure your foreground color is set to #05465C and background color is set to #05465C. Now click on Create New Layer to crate a new layer rename this layer as “Navigation”. Grab the gradient tool and draw a gradient as shown in the following figure.
- Now go ahead and complete your navigation bar with links as shown in the following figure. Feel free to user color combinations and placements. J
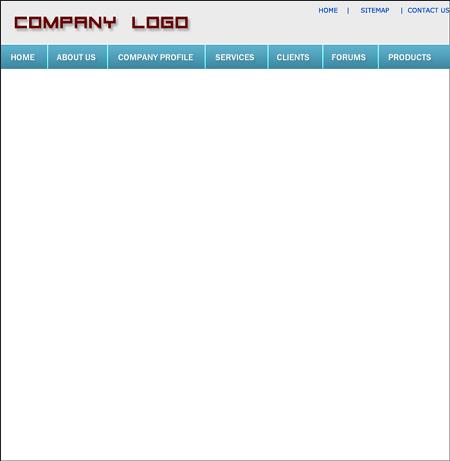
- As for the Top portion, go ahead and add the Company Logo Text as shown in the following figure.
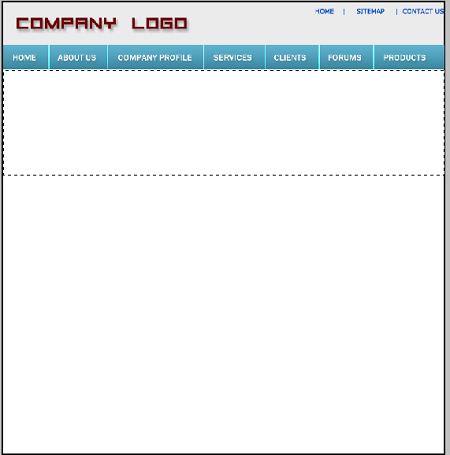
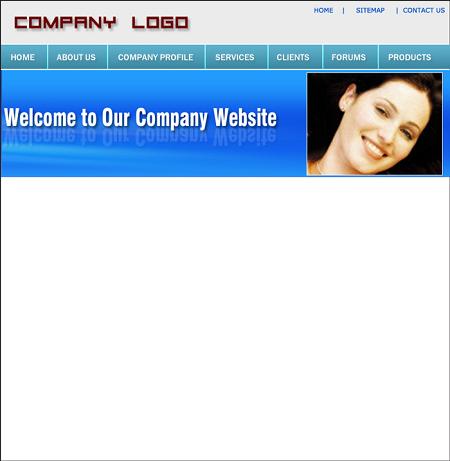
- Now we are going to create the layout Header. Go ahead and make a selection as shown in the following figure with Rectangular Marquee tool.
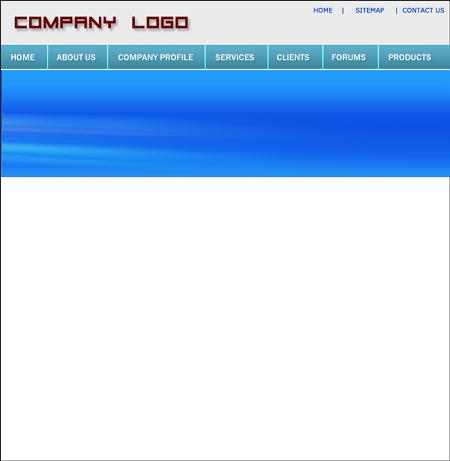
- Make sure your foreground color is set to #205AC4 and background color is set to #4591EA. Now click on Create New Layer to crate a new layer rename this layer as “Header”. Grab the gradient tool and draw a gradient as shown in the following figure.
- WOW… You got it…. Now go ahead and add some contents to the header as shown in the following figure.
- Now go ahead and add a Content box as shown in the following figure.
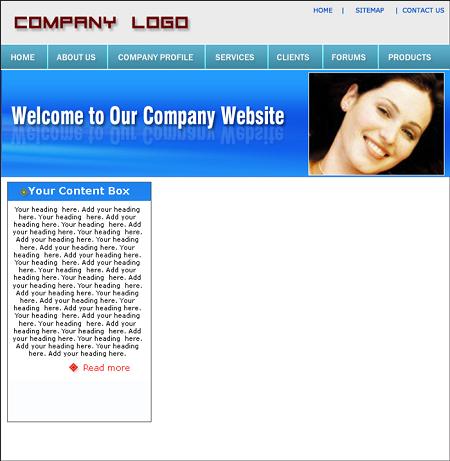
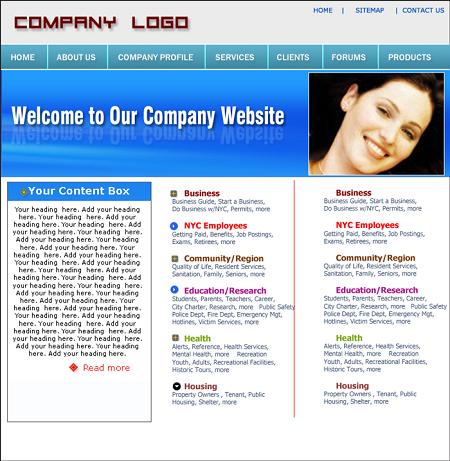
- Go ahead and add some body contents to give it more lively feel
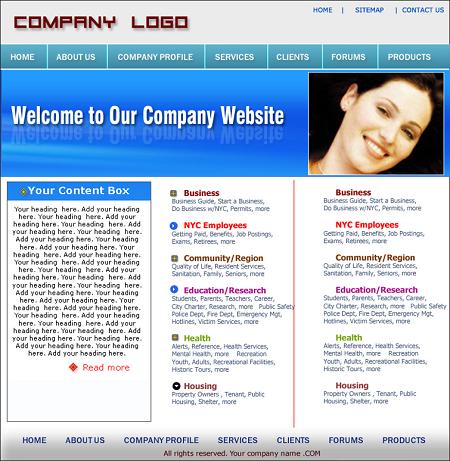
- Now it all boil downs to the Final Footer. Go ahead and complete that to finish up this Tutorial. I hope you have enjoyed the tutorial.
Comments