
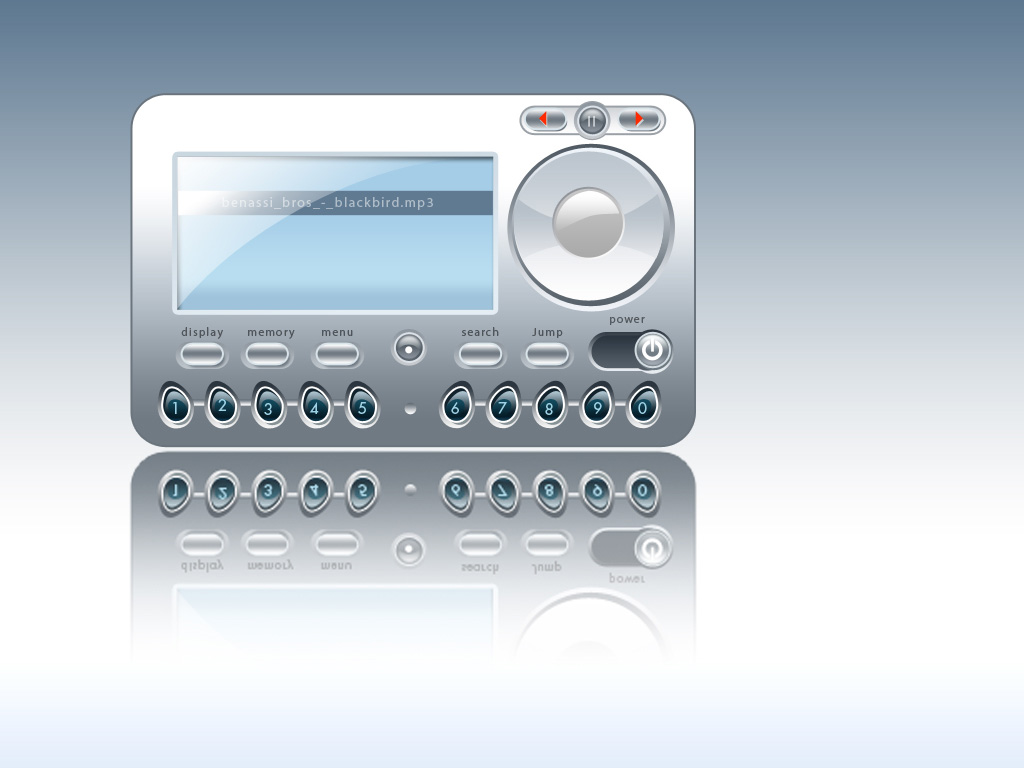
MP3 Player Interface
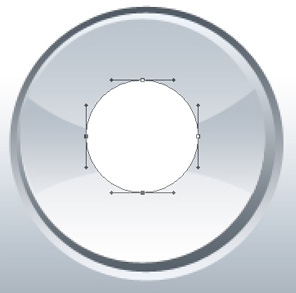
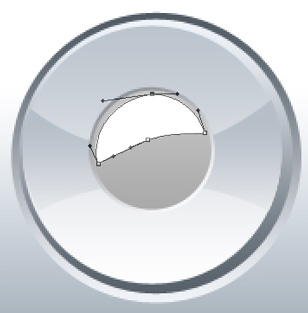
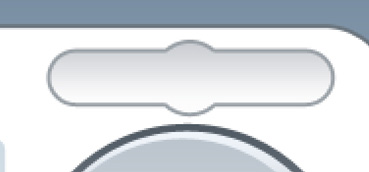
Try to represent another roundness that will be placed on the central part:
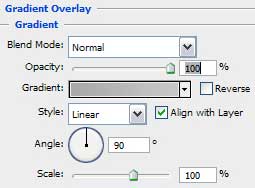
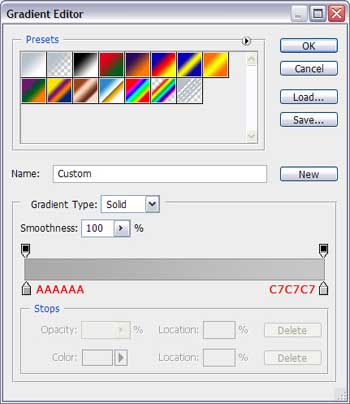
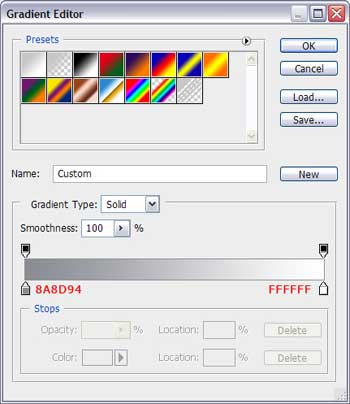
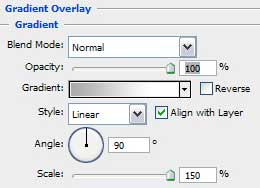
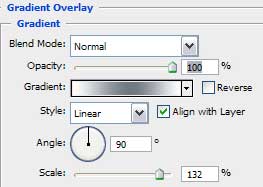
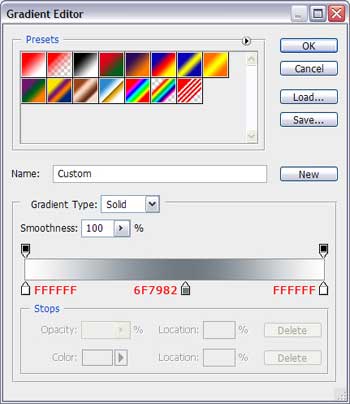
Blending Options>Gradient Overlay:


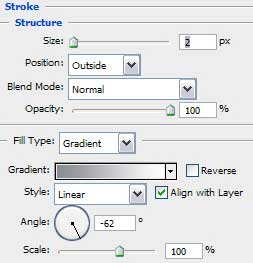
Blending Options>Stroke:

Make a copy of this layer, moving the tops the same way it is demonstrated next picture:
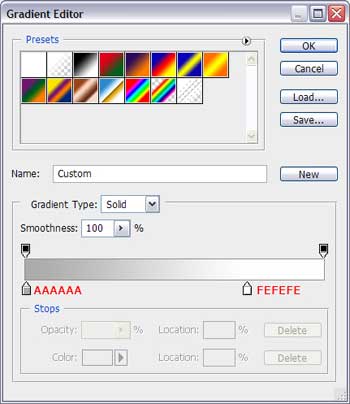
Blending Options>Gradient Overlay:

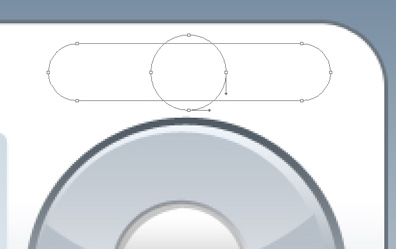
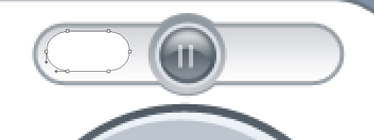
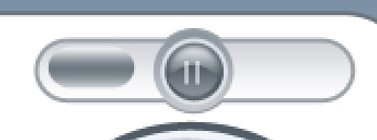
The Shuttle is also finished. Next we have to represent the Play and Pause buttons. Select for this operation the Rounded Rectangle Tool (U) with 30 px radius and represent the figure from below. Press on the Shift button and make a circle on the central part with the Ellipse Tool (U).
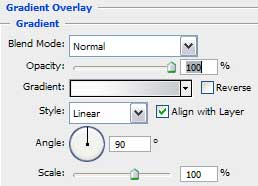
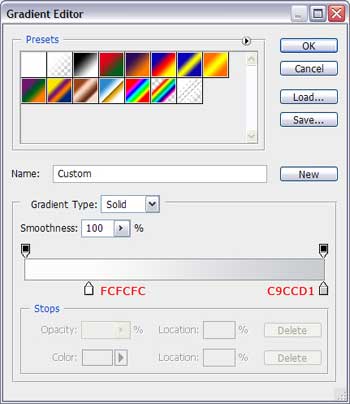
Blending Options>Gradient Overlay:

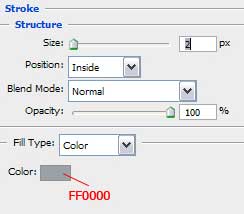
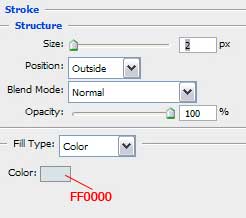
Blending Options>Stroke:
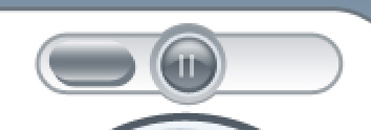
Select one of the buttons we already have and make a copy of it the same way it is demonstrated below. Insert two small stripes. It will compose the Pause button.

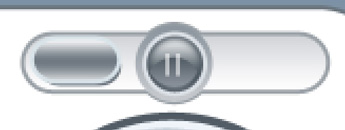
Represent one more button with the Rounded Rectangle Tool (U) on the left side of the previous made one.
Blending Options>Gradient Overlay:
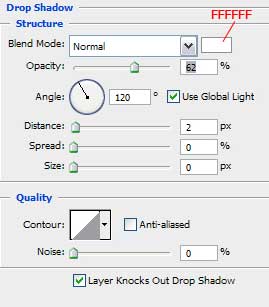
Blending Options>Drop Shadow:

Blending Options>Stroke:
Choose now the Pen Tool (P). Insert three points, colored with #FF2A00 the way it is shown next picture.

Blending Options>Drop Shadow:
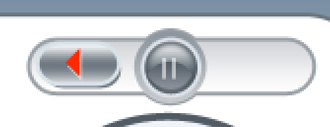
Make a copy of this layer and turn the button over horizontally:
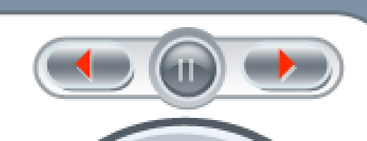
Insert the inscriptions and the representing the player came to end!
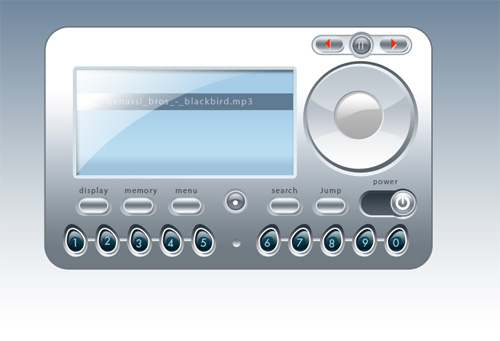
The last thing we need to do is the reflection. We need to make copies of all the layers the player is composed of and put them together, Free Transform> Flip Vertical and vector mask. After that we’ll select the Gradient Tool (G), choosing before this the mask:

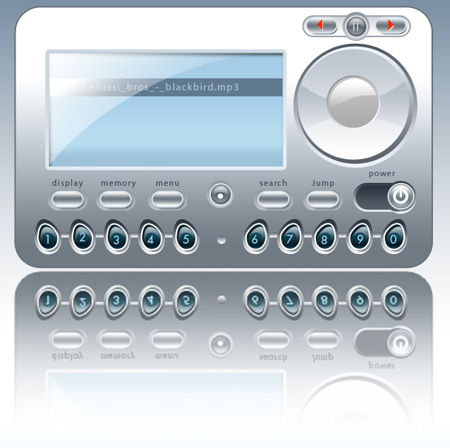
Working with the player is finished! Wish you good luck and more success with the inspiration!
View full size here.
Comments