
Mont Saint Michel (Dark)
May 13, 2007 | 0 comments
Making Of Mont Saint Michel (Dark)
Tips about how I made the Mont Saint Michel (Dark) wallpaper
As always, start with new document and fill it with solid color.
Use very large brush, different colors (similar to main color) and gaussian blur (with large radius) to fill background with chaotic color variations.
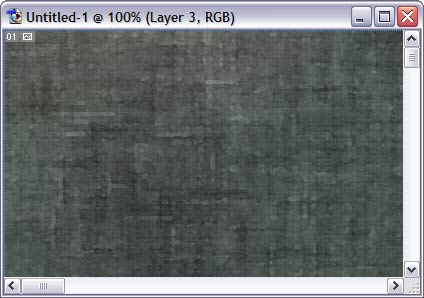
Use the following filters:
– noise / add noise
– sketch / water paper
– artistic / sponge
– artistic / water color

– noise / add noise
– sketch / water paper
– artistic / sponge
– artistic / water color
For each filter, adjust settings carefully and experiment to achieve “natural” look, not too “filtered”. After applying each filter, hit Ctrl-Shift-F (Fade) to reduce filter effectiveness and make it semi-transparent (40-60%).
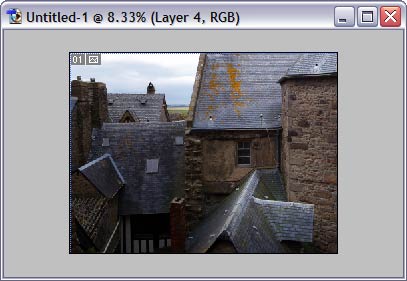
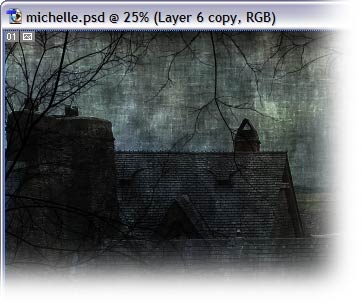
Here is the photo that I took in Mont Saint Michel. Copy it to the document…
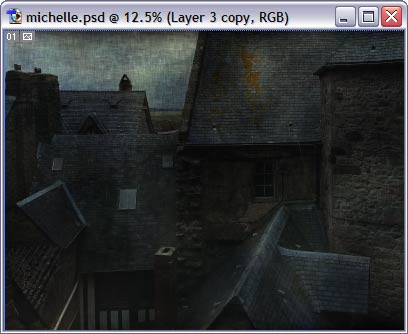
select the layer containing the photo, change its blend mode to “Multiply” and opacity to 80%. Duplicate layer (Ctrl-J), set duplicated layer blend mode to overlay and opacity to 50% (you may want to change these settings so that your photo looks best way possible)
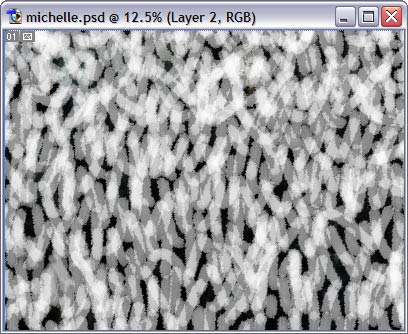
in default brush set, there is a brush called Rough Round Bristle. Select it, create new layer, and fill it with chaotic black and white strokes.
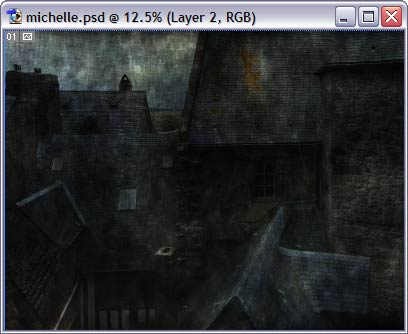
set this layer blend mode to overlay and opacity to 50%.
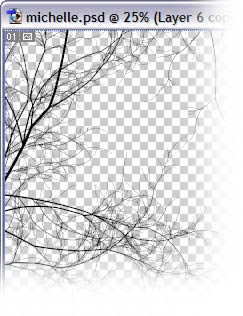
one final touch is the trees growing around the screen. I used ContextFree software to generate several trees…
…and then copied them into the document. That’s all!
Author: Vlad Gerasimov
URL: http://www.vladstudio.com
Comments