
Matte painting – tornado wallpaper
In this tutorial we will make tornado wallpaper. We will try to make a quick matte painting. We will take a photo and retouch it adding tornados to the background.
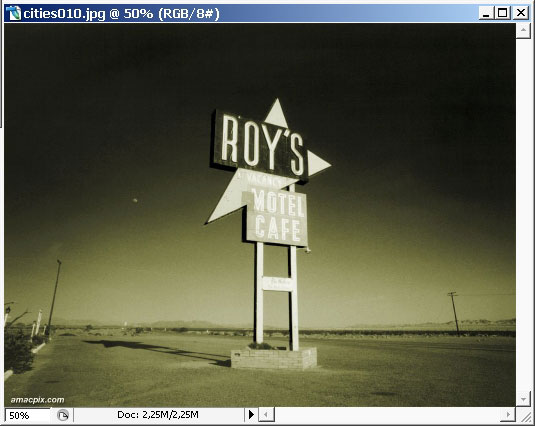
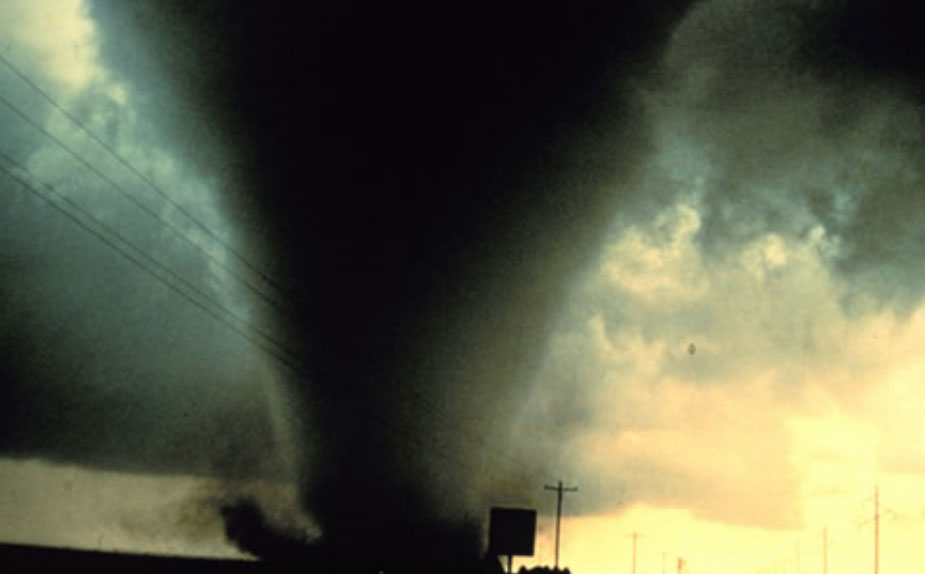
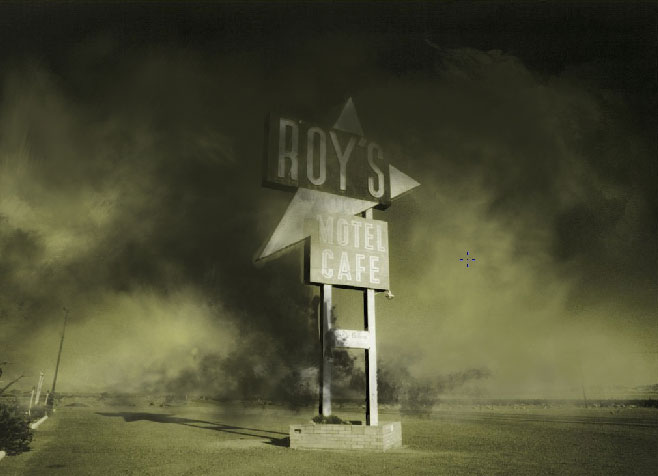
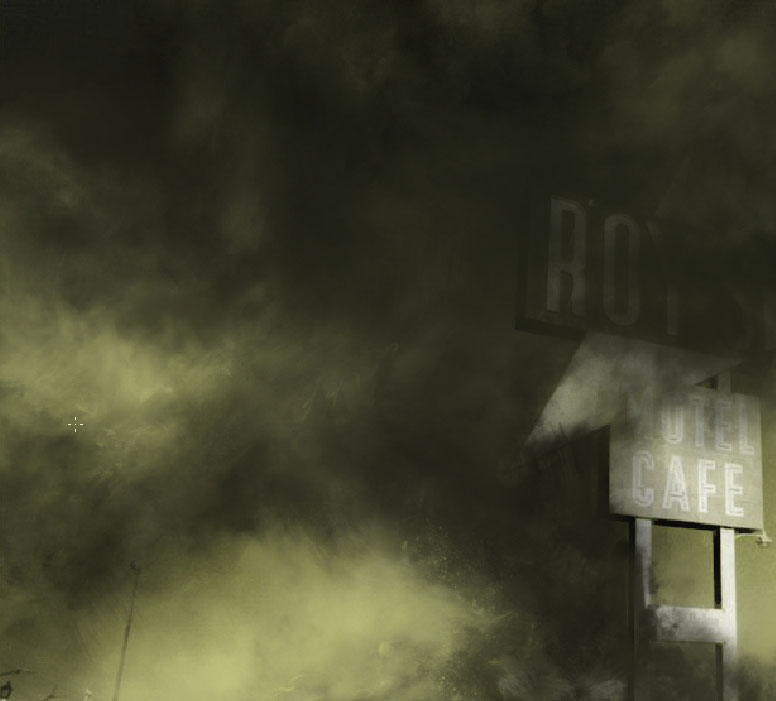
So let’s pick up the photo then. I’ve chosen this one – it has a very catastrophic like mood.
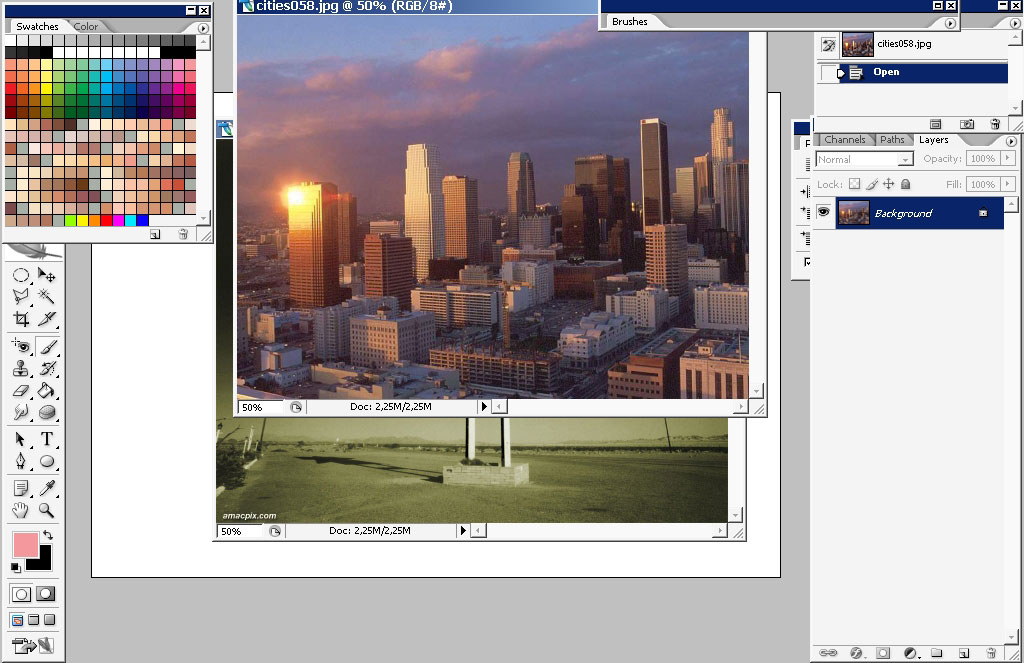
I’ve also chosen the other one to combine with the first one but we’ll decide this problem later if we need it. Always pick up several photos.
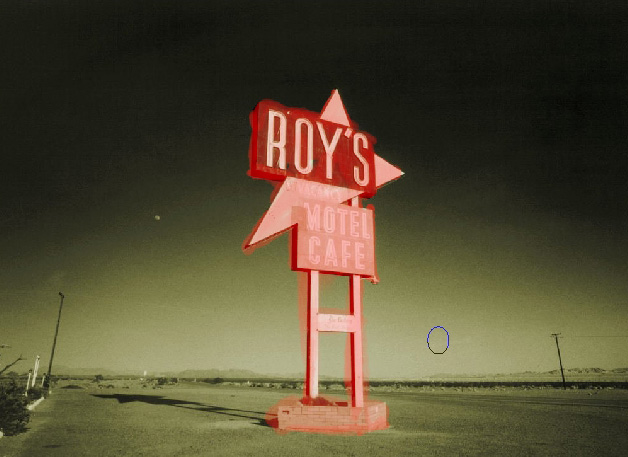
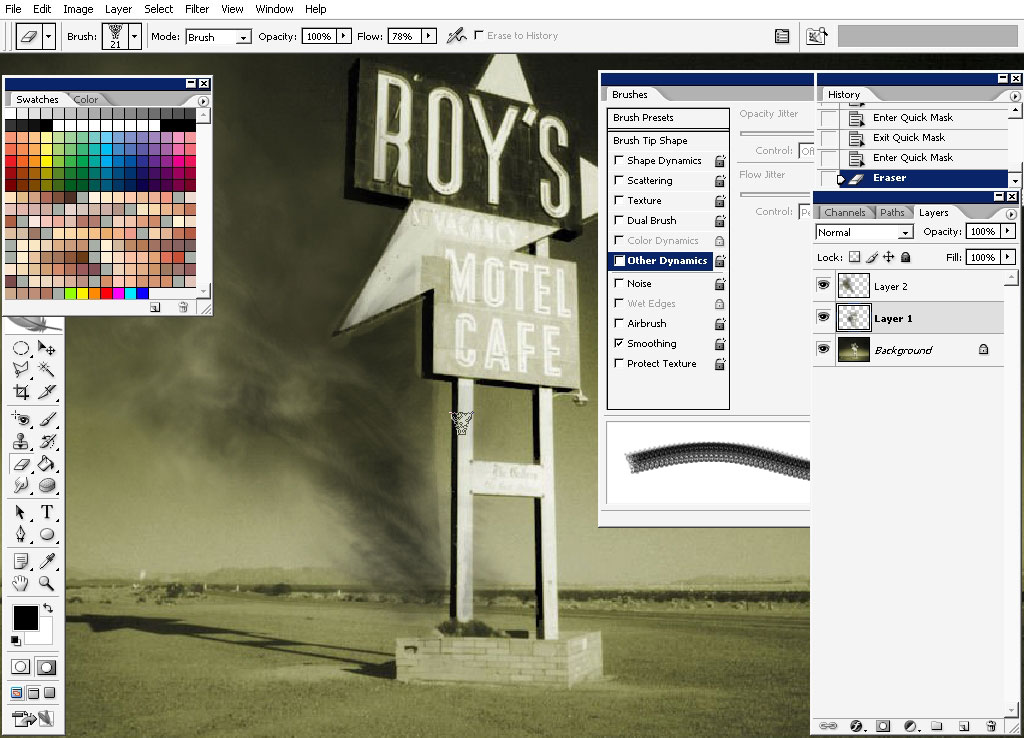
First thing I want to do is to separate foreground elements and copy it to a separate layer. I’ll use quick mask for that.

I’ve also found some reference photos. Luckily i haven’t seen the tornadoes ” in the flesh”.
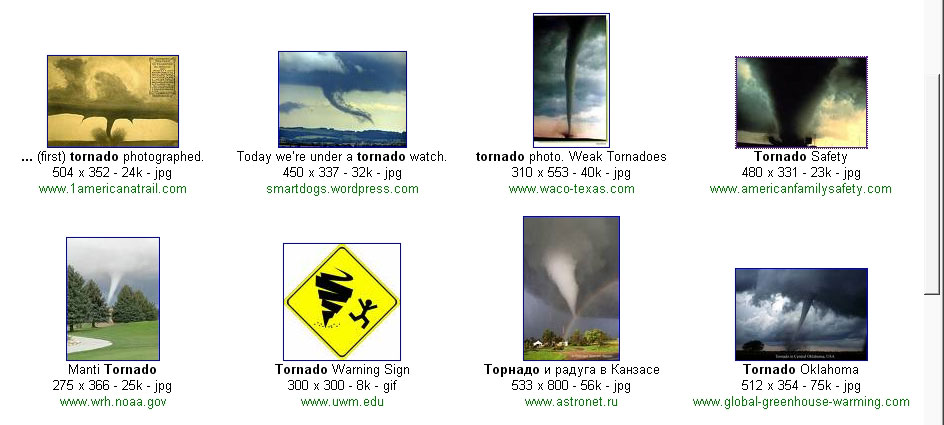
So I’ve chosen the first picture to work with and I also have some crowd imitating brushes.
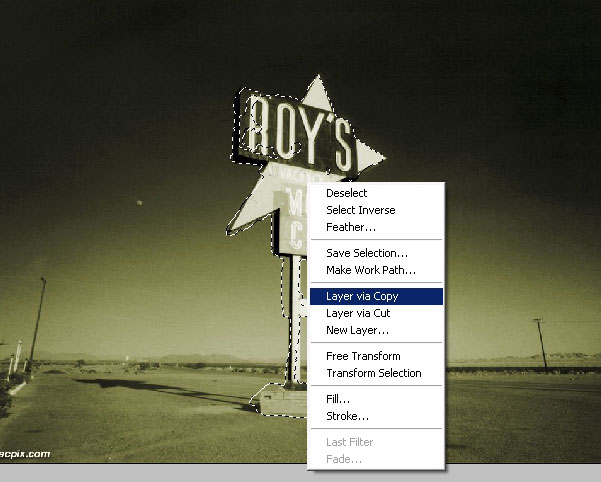
Here is my selection (background) – it is really rough – you should do it better. I did it very fast.
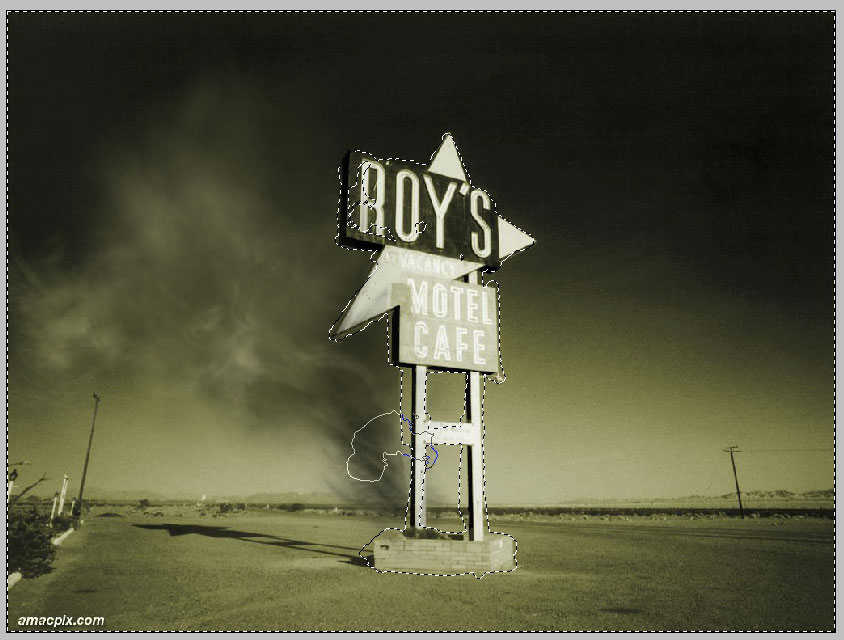
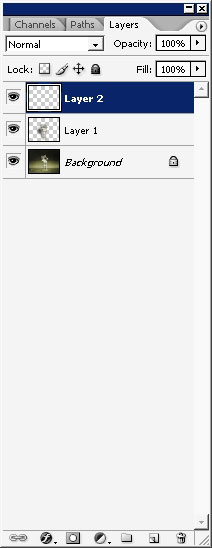
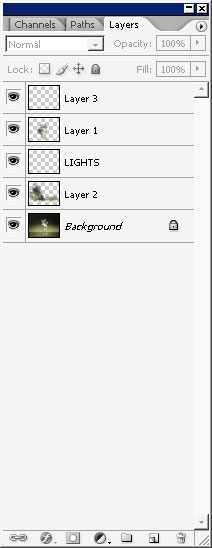
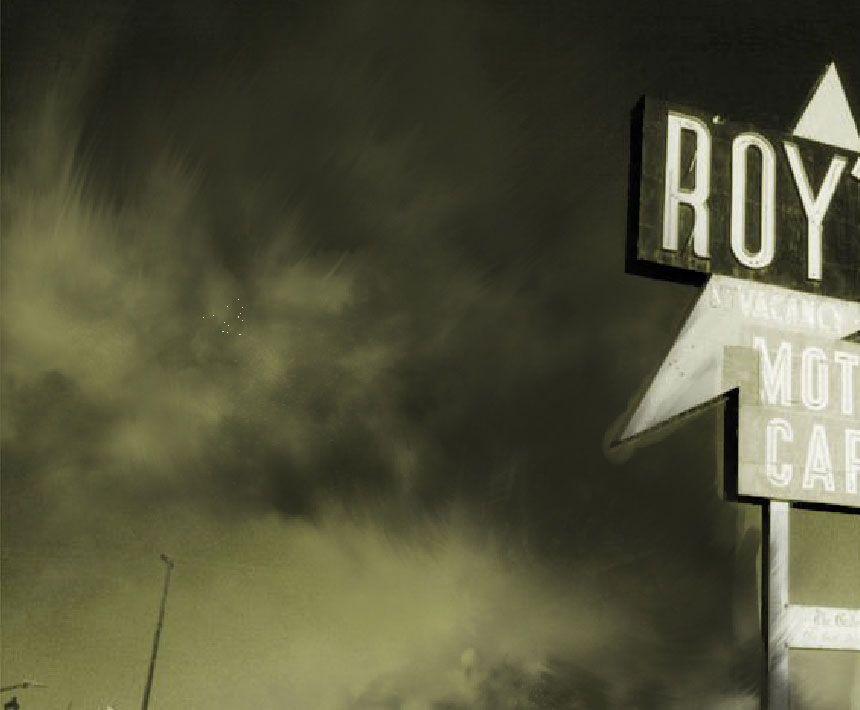
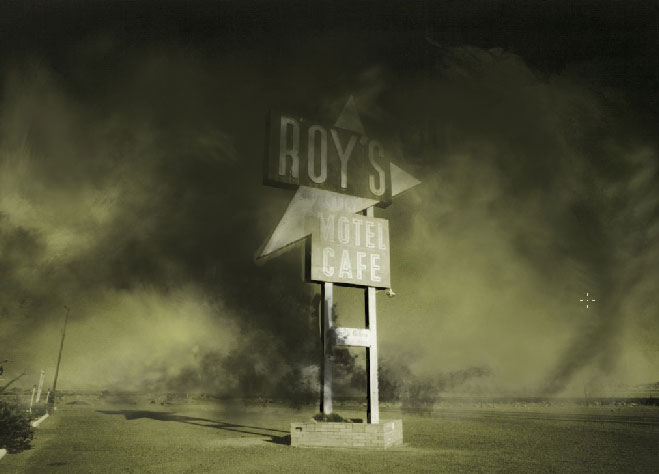
I’m beginning to paint now on the background. As we’ve made a copy of the foreground element and we are painting on the layer that is located underneath the foreground element layer. Also see my layer order:

Look and the reference one more time. Try to imitate all the elements of the tornado: the form the edges and how the value is connected between each other.
I would like to create some ripped edges with smudge tool and a dot brush.

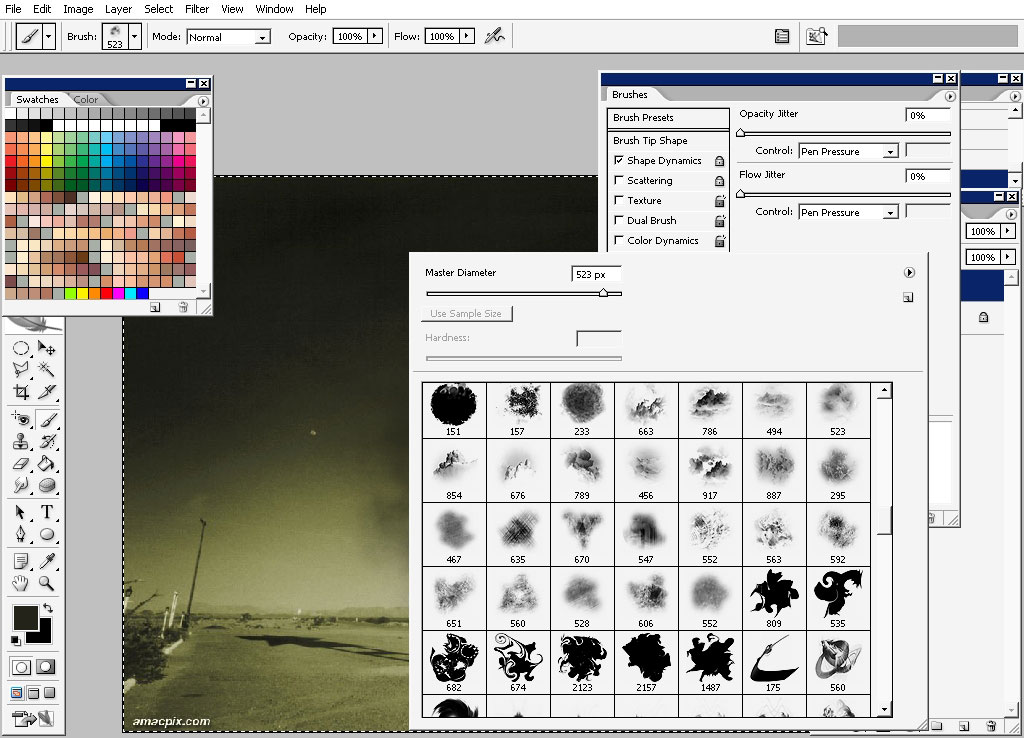
We’ll take some other brush because every brush has different edges. Try to pick up the colors from the original image.
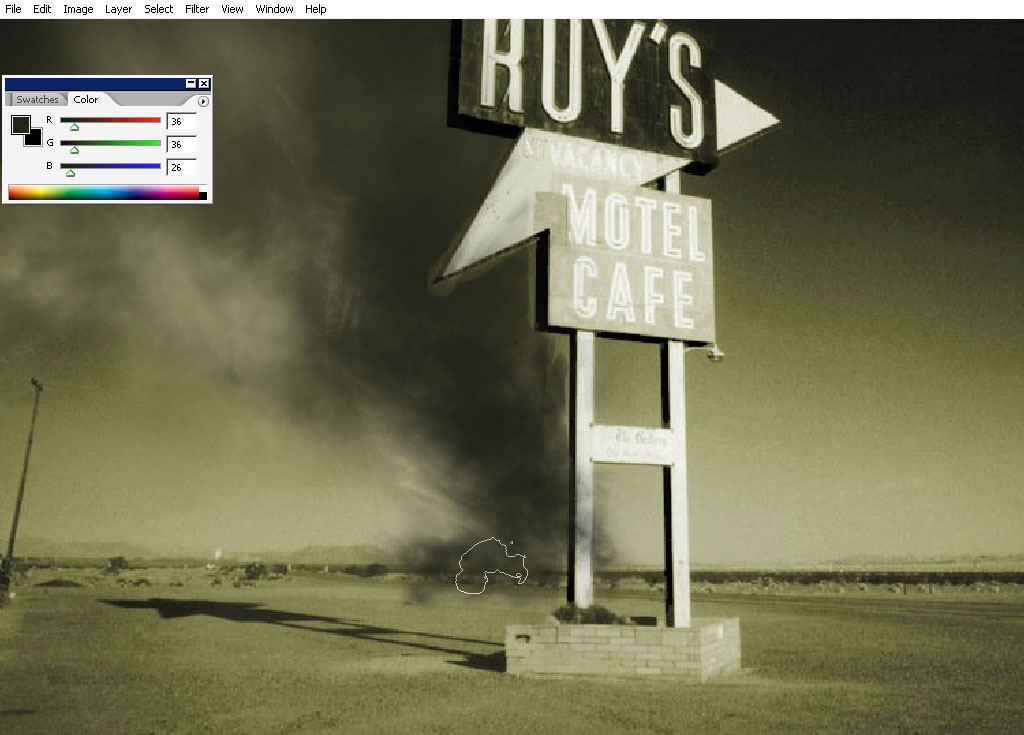
Here is my color palette.

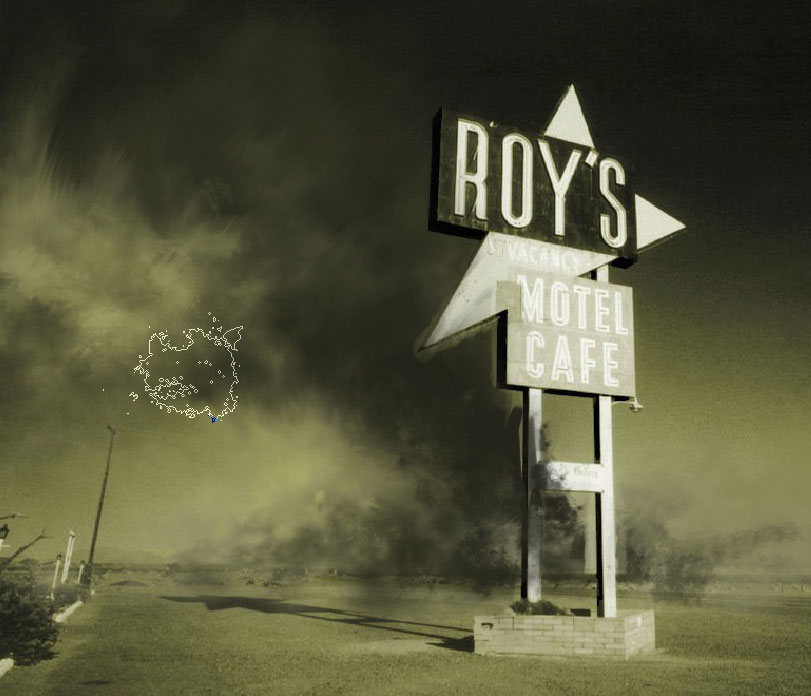
I’d like to create another tornado far in the distance on the right. So the same brushes were used there only with a smaller diameter. And the color gamma is different too. So you got to know 1 simple rule you should know that the further the object stays in foreground the more color of the background it gains.
Some detailing on the background too.
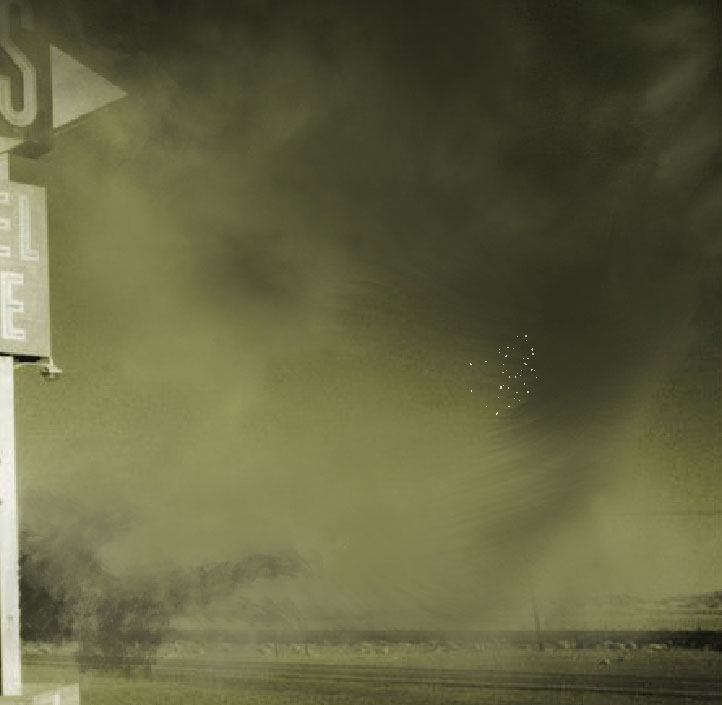
Some highlights too. I did it with a most contrast yellow on the picture. You just pick the most lightened color and make it a little bit lighter using color palette.
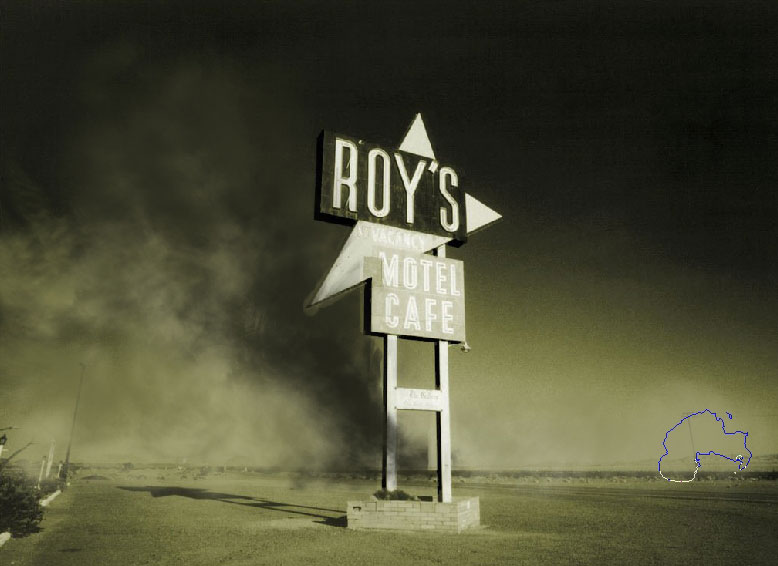
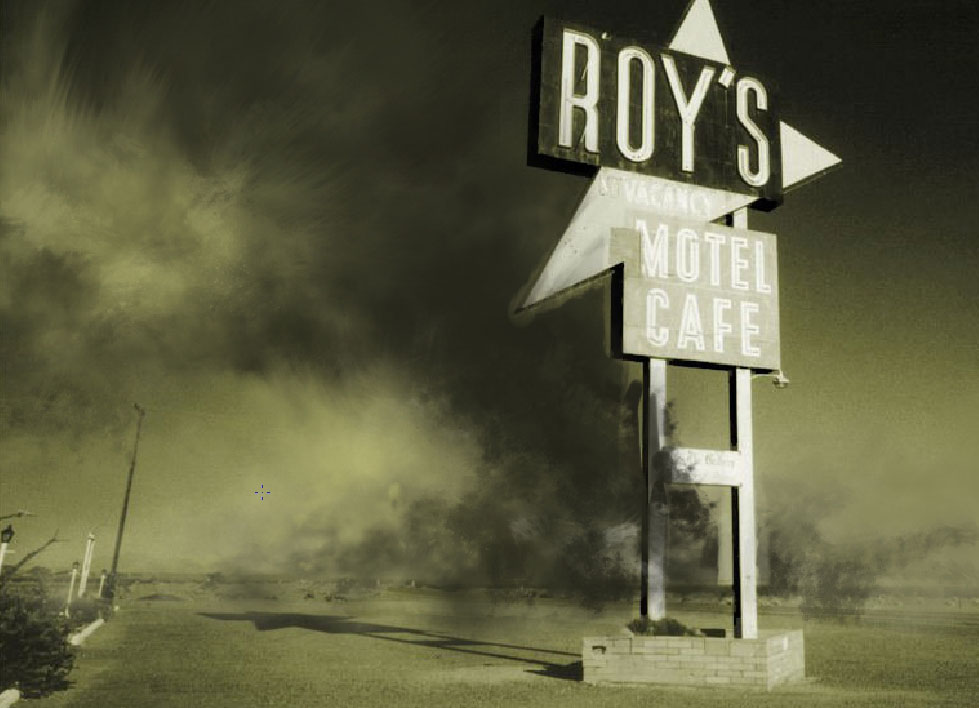
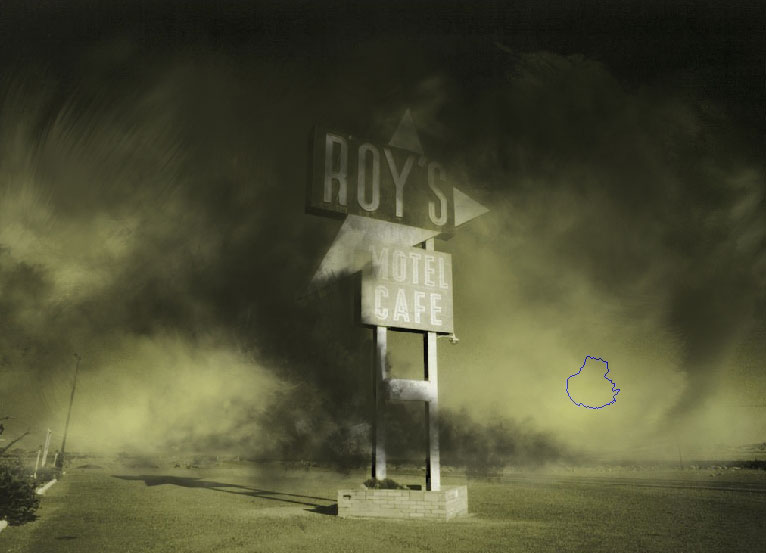
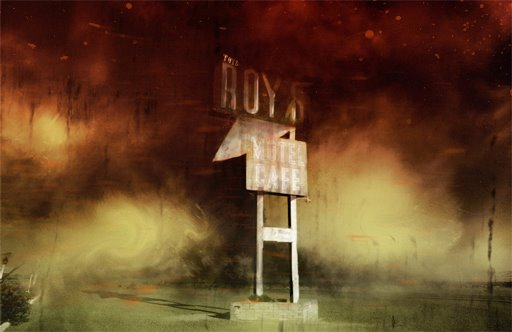
Here is the final sample:

Final steps: some coloring and foreground element erasing. I’ve created an color balance layer and just exposed the upper part of the image to this color.
So ‘I’ve hoped you learn something even if this one explained so good. Just practice and it will be ok.
Download support brush RippedEdgeSet.abr
Try Online Color Printing at PsPrint
Comments