
Marine Wallpaper – Special Effects
This new tutorial we’ll have to learn creating a “pictorial background“,
luminescent ornaments, create an own brush of bubbles shape. We’ll see
also how to move off the undesirable color from the picture and use the
Layer Mask.
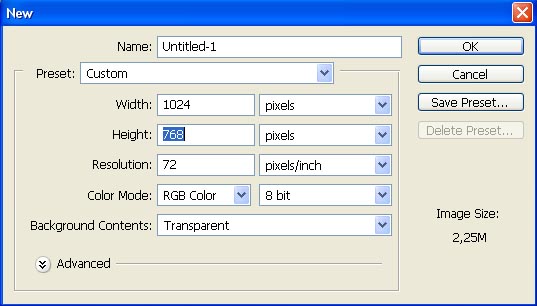
For the beginning we have to create a new document of standard size wallpapers: File – New (ctrl+n).
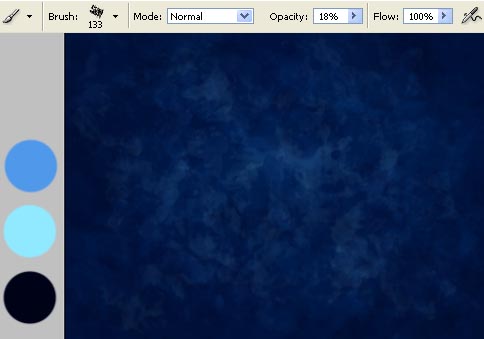
Then paint the layer in a darker color, selecting previously the Paint Bucket Tool.


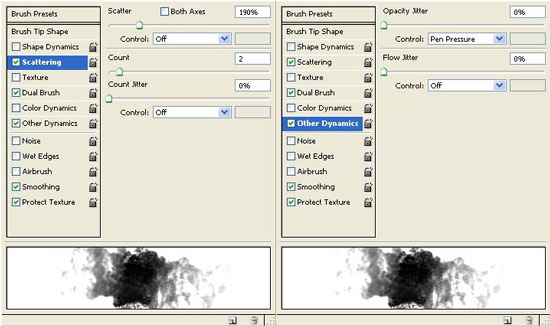
Select after that a brush named Heavy Smear Wax Crayon out of a standard set of brushes “Dry Media Brushes“:

Now we have to change its adjustments in the Brushes window the way it is demonstrated below:
Represent now the background, using several colors and pointed motions, like if you would use a sponge:
Create a new layer: Layer – New – Layer and represent on it an arbitrary ornament, making use of the Pen Tool and Fill Path command:
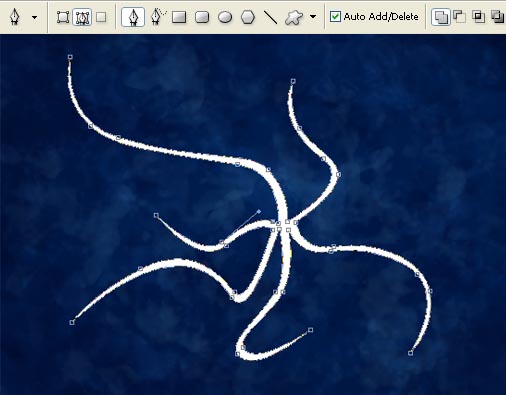
Make a copy of this layer: Layer – Duplicate Layer (ctrl+j) and the ornament on it should be smaller a little. Turn it around with Edit – Free Transform (ctrl+t).
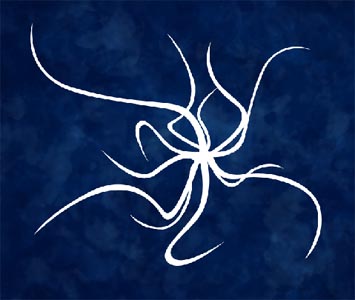
Merge down the layers: Layer – Merge Down and start using the Shape Tool (holding the shift button) to add several standard ornaments of different sizes (in this case we’ll add the circles).
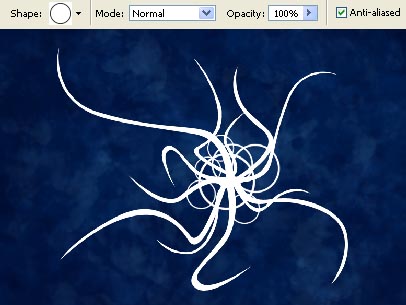
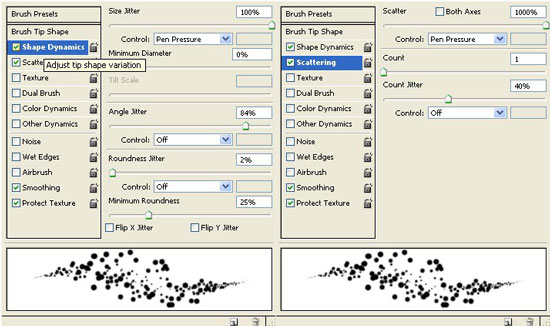
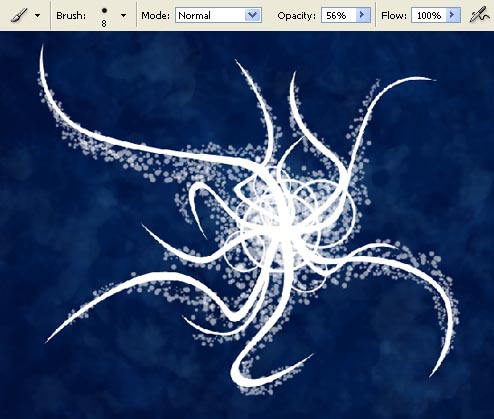
Now we have to change the Hard Round brush’s adjustments the way it is indicated in the tables below:
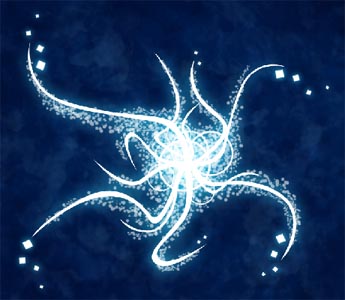
Introduce with the same brush several wavy lines:
Insert on a new layer have several small squares, selecting previously the Rectangular Tool and the command Edit – Free Transform (ctrl+t).
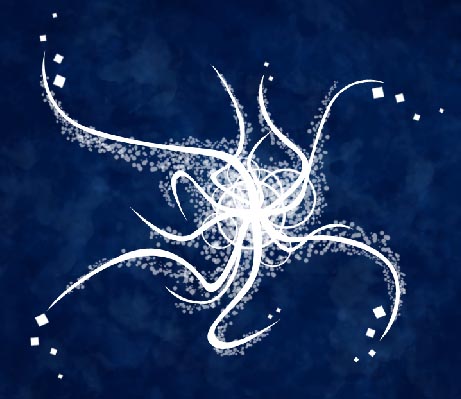
Then make a copy of the squares’ layer (ctrl+t) and blur out the copy, using the following options: Filter – Blur – Gaussian Blur.
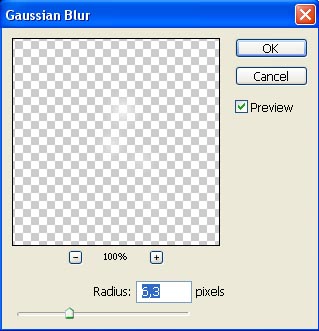
We have to copy the ornament’s layer and blur out the copy with another value:
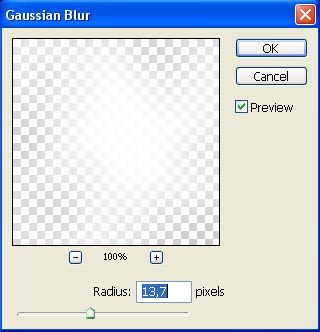
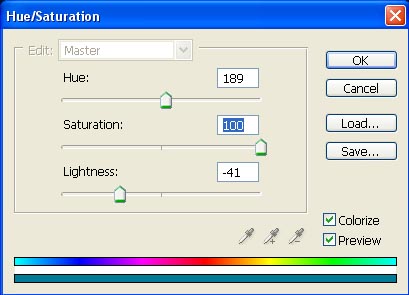
Place the blurred copies under the basic ornaments’ layers and change their colors, using Image – Adjustments – Hue/Saturation (ctrl+u):
Then I’ve combined all the layers containing the ornaments: Layer – Merge Down
(ctrl+e) and turned a little the new layer (ctrl+t), made a copy of it
(??trl+j), placed the copy under the basic layer and blurred it out,
using a different filter this time: Filter – Blur – Radial Blur.
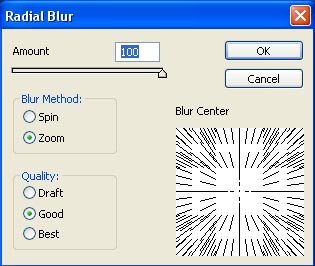
This operation can be repeated 3-4 times or use the next combination of buttons ctrl+f:
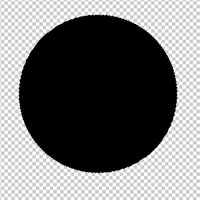
We’ll create now a brush of bubbles shape, but firstly we have to open a new file of small size (700/700 px). Insert on it a figure of round shape with the Elliptical Marquee Tool. Paint it in black color with Paint Bucket Tool. Our bubbles will be of black color, because the brushes’ originator recognizes only black colors.
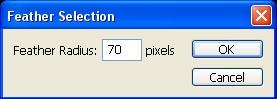
Apply now the next command Select – Feather (the value depends on the bubble’s size).
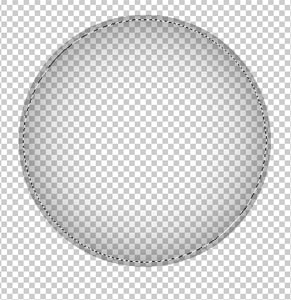
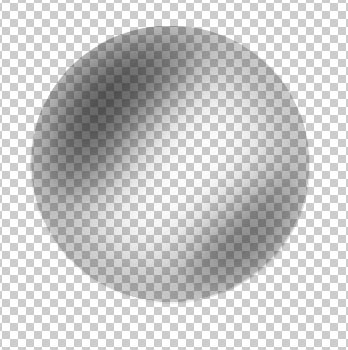
Erase everything that is situated in the marking’s zone:
Insert on a new layer several flares, using the Brush Tool:

Blur them out with Gaussian Blur:
Then apply the next command: Edit – Define Brush Preset
to create a brush out of our picture. Get back to the file with the
wallpapers and choose a white color and the brush we made up. The
brush’s size should be changed when adding the bubbles to the ornaments
we already have:
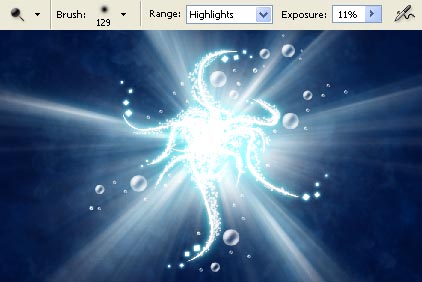
Select the Dodge Tool to decolorize the ornaments’ edges:
Merge down all the layers: Layer – Merge Visible
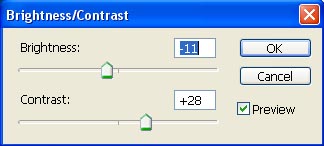
(shift+ctrl+e). We have to dark out a little the wallpapers edge in a
way to accentuate only the middle of the picture. Copy the new layer
and make the corrections on its brightness and contrast: Image – Adjustments – Brightness/Contrast:
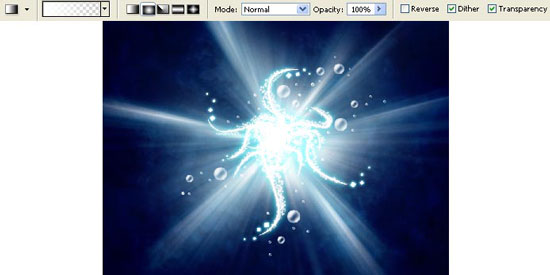
Create out of this layer a mask: Layer – Add Layer Mask – Hide All and choose the Gradient Tool of white color to make the layer visible only along its edges:
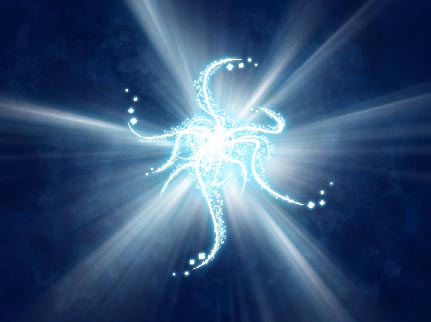
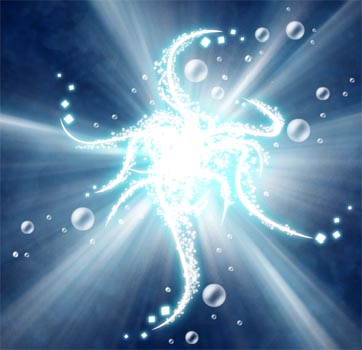
Combine the layers (ctrl+e) and the last step includes erasing the black color from the picture, using the next combination: Image – Adjustments – Selective Color.

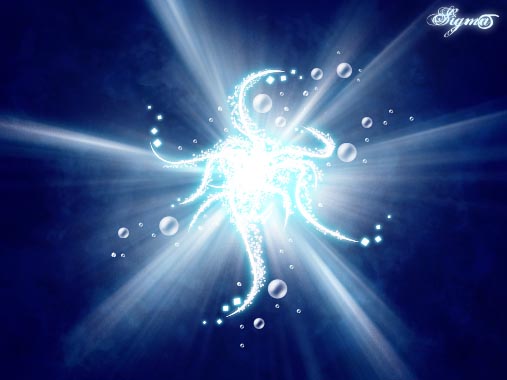
That is what we’ve got:
The picture is finished!
Made by Sigma
Comments