Tips about how I made the Missing Piece wallpaper ( see wallpaper ).
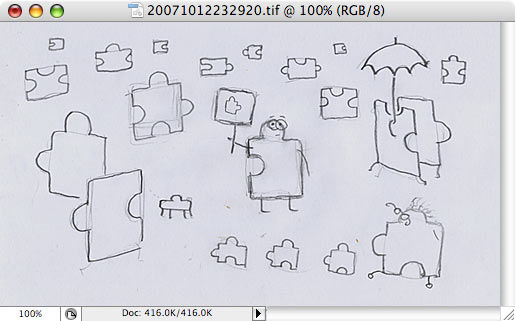
This tutorial is about Missing Piece wallpaper. The most important thing you need for good wallpaper is the idea 😉 So I came up with pencil sketch, which I then scanned and opened in Photoshop.
Create new document, fill it with background color of your desire (I chose greyish blue), and apply the following filters:
– Noise (Filters menu – Noise – Add noise)
– Sponge (Filters menu – Artistic – Sponge)
– Textutizer (Filters – Texture – Texturizer)
Important! After applying each effect, immediately hit Ctrl-Shift-F (Fade) and fade each filter down to 10-20%.
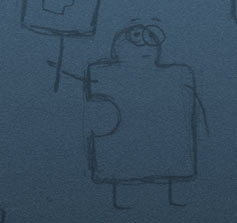
I overlayed my scanned image for reference…
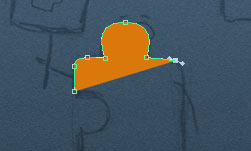
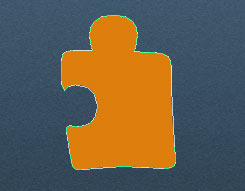
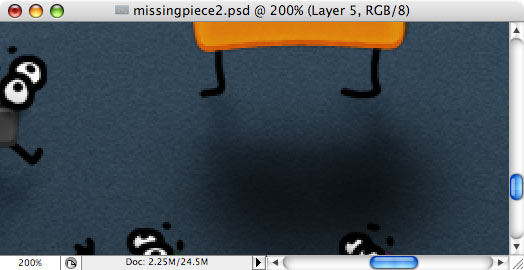
Set foreground color to orange, switch to Pen tool (P) and create a shape of puzzle piece, using pencil sketch as reference.
Here is the completed shape – I decided it does not need to be very symmetric!
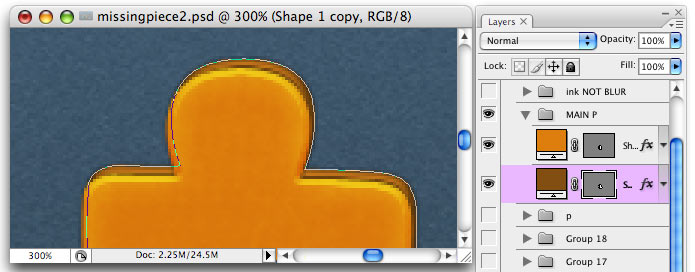
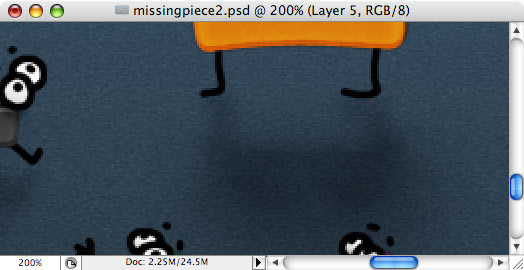
Open Layer menu – Layer Style – Blending Options (or simply double-click on layer) and apply the following layer effects:
– Outer glow: black, size 3px, mode=overlay
– Bevel and emboss: size 2px, highlight mode=overlay, shadow mode=overlay
– Pattern overlay: choose any pattern that fits 🙂 blend mode=overlay, opacity=10-15%
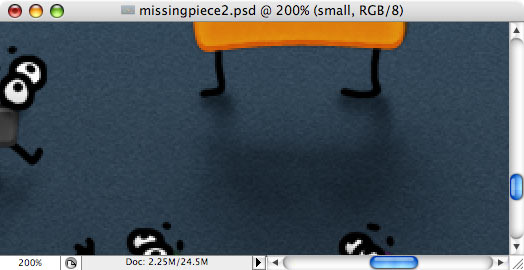
Duplicate this layer, change orange color to much darker (brown), then move this new layer down (so that it is behind original orange layer) and then move shape a little up and right. This will give additional depth to the puzzle piece.
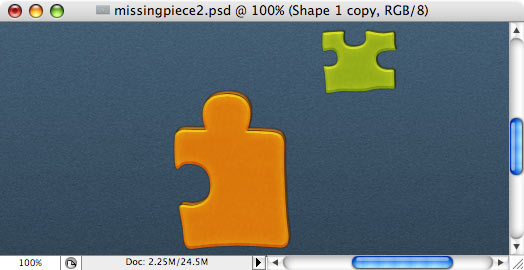
Well, one piece is ready! Repeat these steps and create another one…
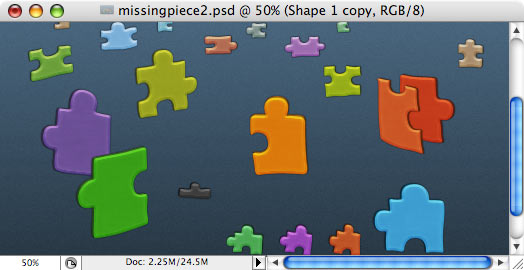
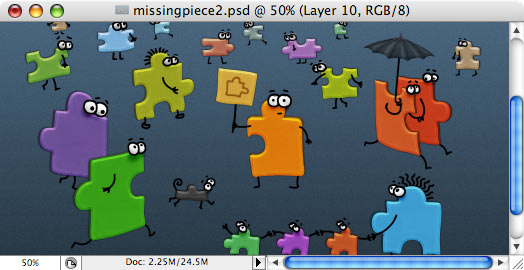
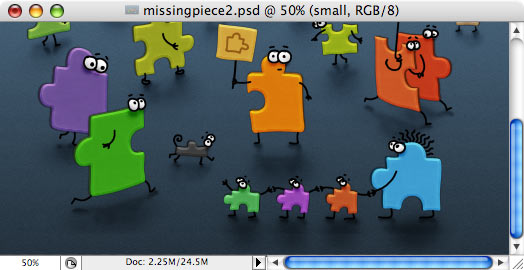
Then again, again, again, again, again, again, again, again, again, again, again, again, again, again and again 🙂
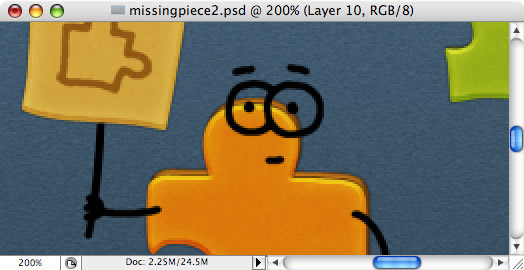
Use hard black brush (B) to draw hands, legs and eyes.
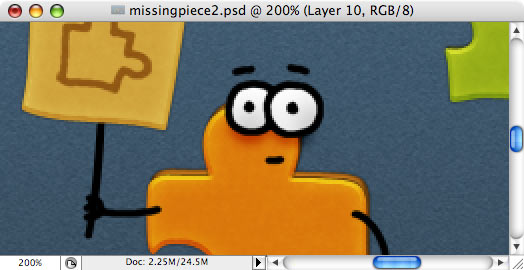
In new layer (behind brush layer), draw white eyes content with white brush. Apply some Drop shadow to it (blend mode=soft light).
Repeat for all pieces!
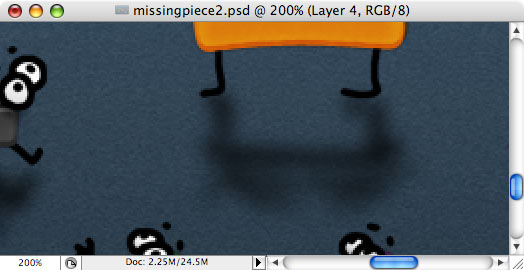
Shadows are very important in this wallpapers – they give convincing 3D look, without need of any 3D software. Switch to black soft brush, set brush opacity to 30-40%, and sketch the shadow.
Set shadow layer blend mode to soft light (so that the shadow is not so strong).
Create new layer, switch to very large (100-150px) black brush, and add some more strokes to the shadow.
Again, set this layer blend mode to Soft light.
And finally, in another new layer, use small soft brush for some more small shadow – right below the legs. Again, set layer blend mode to Soft light.
Repeat and create shadows for all pieces.
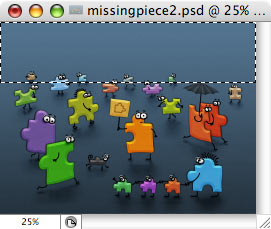
The final touch is to apply some blur to upper part of wallpaper – it will create illusion of macro photo shoot. First, we need “gradient selection” – that is, selection that goes from opaque on top to transparent on bottom. Here is how:
– switch to Quick Mask (Q). Switch to Gradient tool, make sure black-to-white gradient is selected. Draw gradient from middle to top of image. You should see red mask hiding not-selected area.
Turn off Quick Mask (hit Q again). This is approximately what selection should look like.
Apply Blur (Filter – Blur – Gaussian Blur, or Filter – Blur – Lens Blur) to selected image (you will need to merge your layers, so that entire wallpaper is in one layer). Experiment with blur size – 20-30px should be OK.
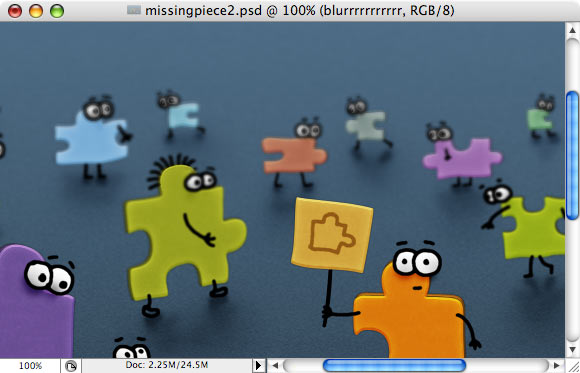
Enjoy! See wallpaper.
That’s all!
Author: Vlad Gerasimov
URL: http://www.vladstudio.com
Comments


Comments