
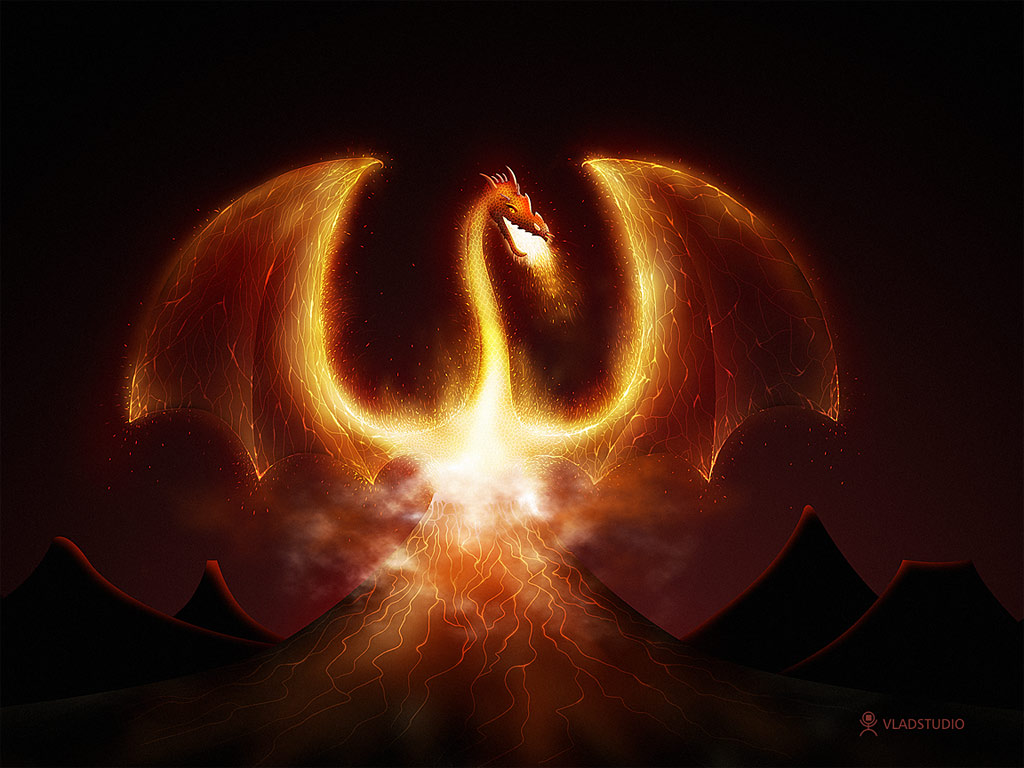
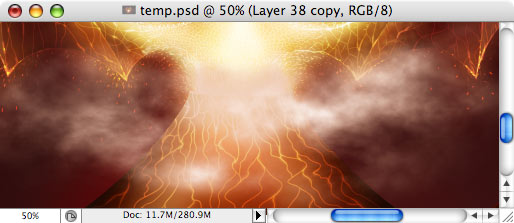
Making of Fire Dragon
Well the process of
designing Fire Dragon wallpaper is not full of interesting tips and
tricks. It was actually 24 hours of drawing with brushes of different
sizes and colors.

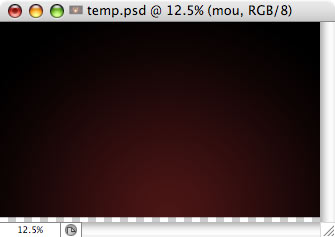
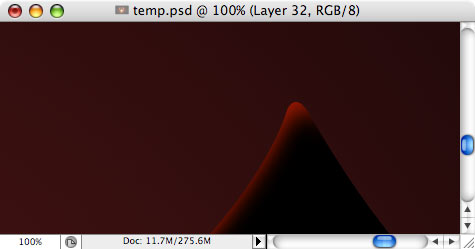
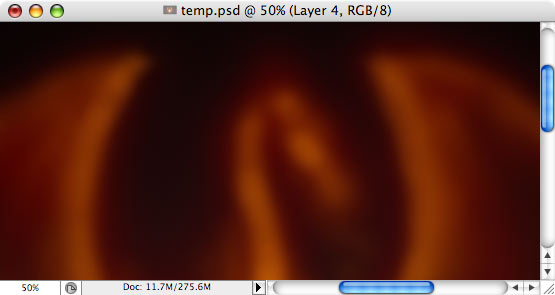
As always, to start, we need background. Set
foreground to dark red, background to black. Select Gradient tool,
choose Radial type, fill the document dragging the mouse from bottom to
top of image.
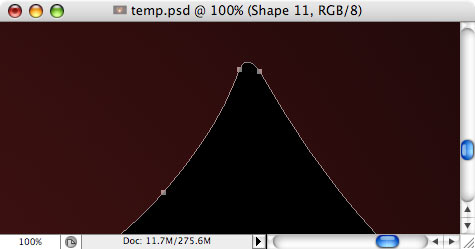
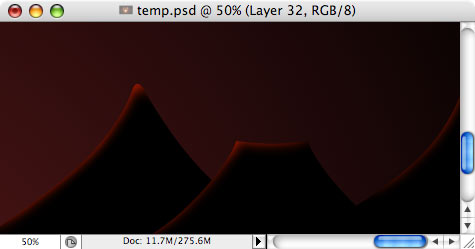
mountains in the background are very easy to do – they are simply black
shapes made with Pen tool. So, take a Pen tool and make a shape 🙂
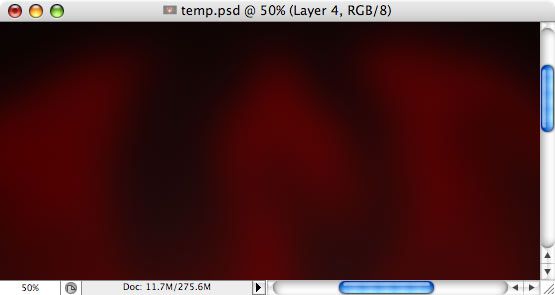
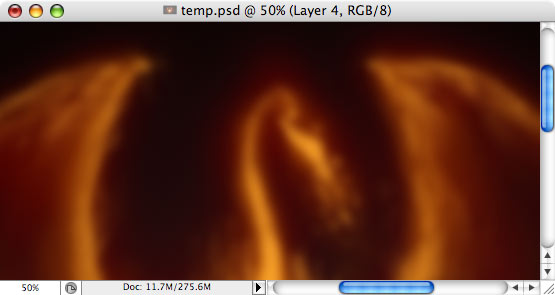
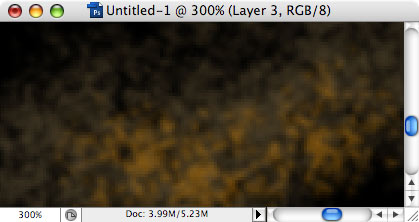
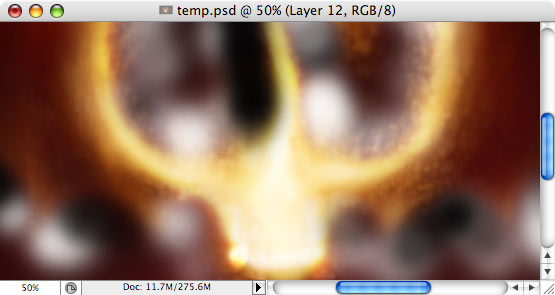
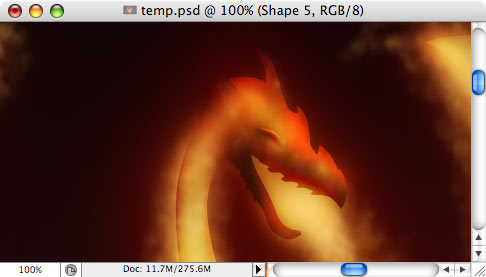
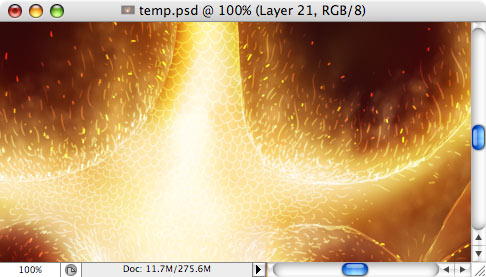
dragon itself consists of 2 parts: soft brushes and hard brushes
(outlines). Without many comments, let me show you soft brushes, layer
by layer. Start with dark red very large soft brush (you can apply
Gaussian Blur as well), and with each new layer, make brush smaller,
make color lighter and move it from red to yellow.
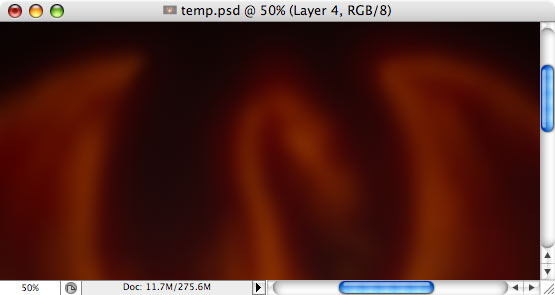
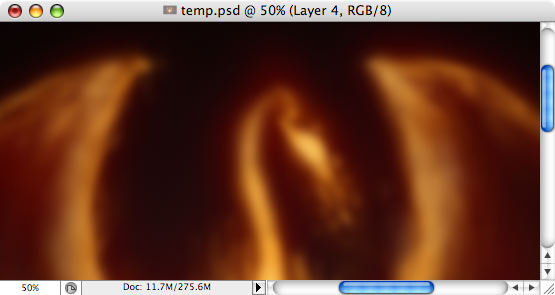
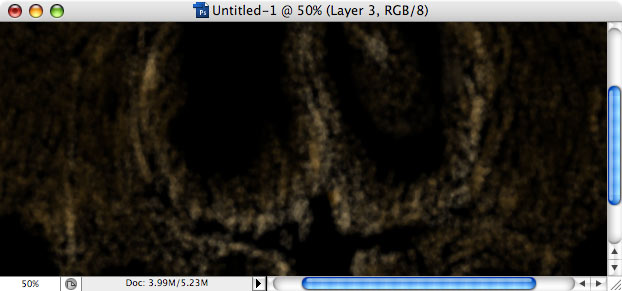
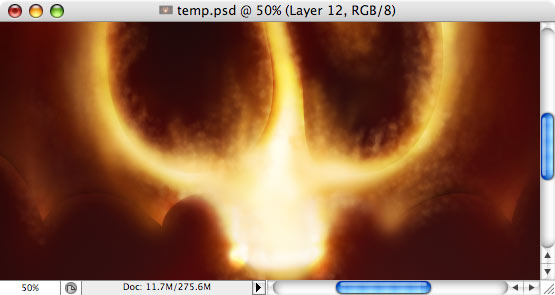
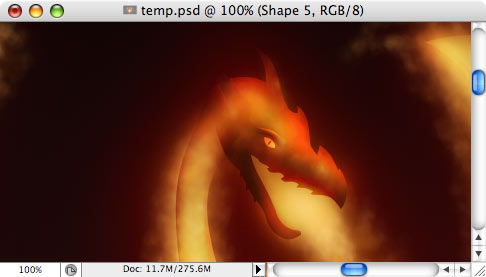
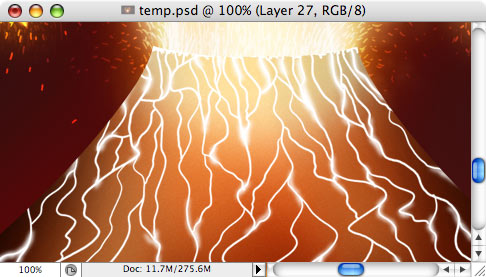
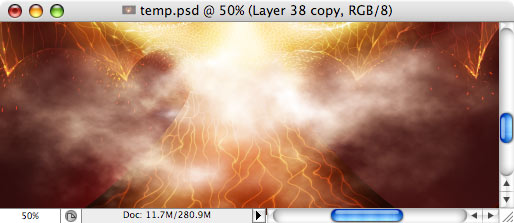
here goes real Photoshop trick! The soft brushes are good for
background colors, and hard brushes are good for outlines, but neither
are good enough to draw fire. I tried using my tablet pressing hard
brush gently, but I ended up with dragon made of fur, not fire 🙂 So I
started playing with changing settings of default Photoshop brushes.
Finally, I achieved something that satisfied me (I realize it is not
perfect but drawing fire takes a lot of skills, I am only starting my
way to it). You can download tool preset and try this brush yourself. DOWNLOAD TOOL PRESET.
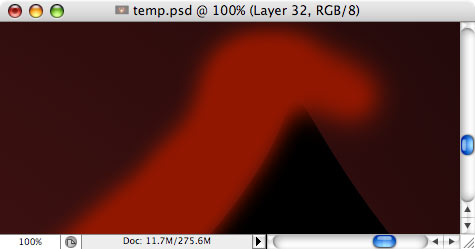
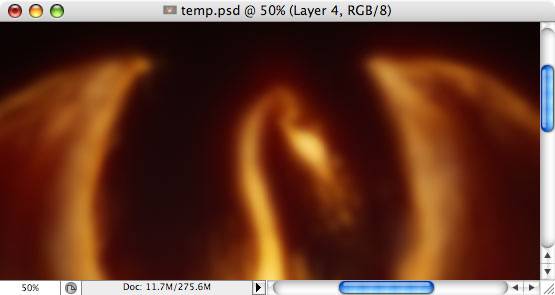
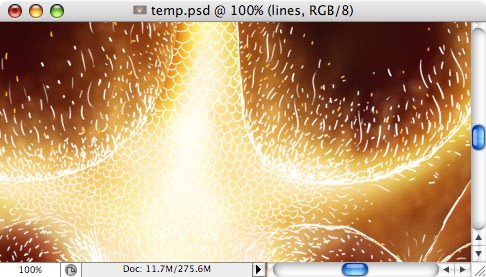
this brush, make some strokes around the edges of dragon… (on this
image, I show only this layer on black background, so you can better
see how this brush looks)
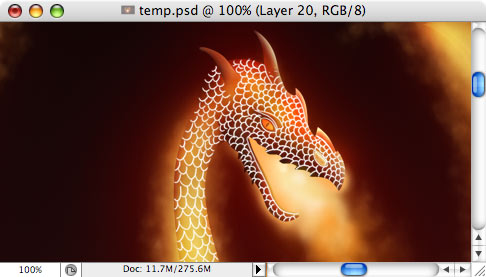
trick is usually used in tutorials like Make your own Aqua OSX
wallpaper! But I found I wanted this effect here too. Set color to grey
(HEX 808080). With pen tool, create a shape of dragon.
layer mode to Overlay. Because layer is grey, it will become invisible
– do not worry! 🙂 Create new layer, and with black and white large
soft brushes, put some dots here and there.
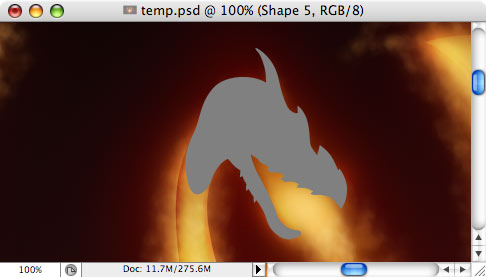
is how the head looks when I set shape layer mode to Overlay, then add
black and white brush dots, and create clipping mask.
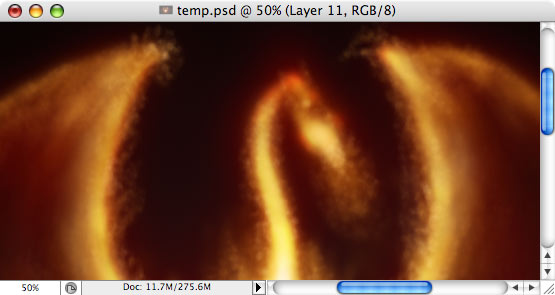
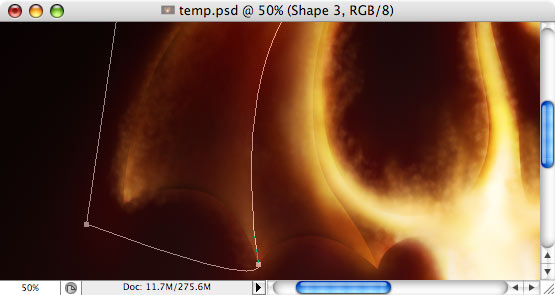
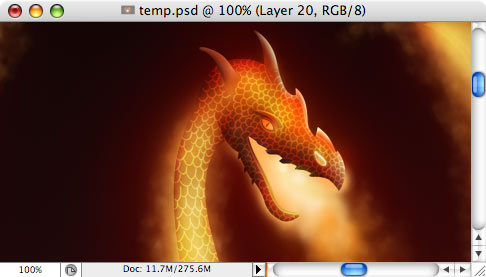
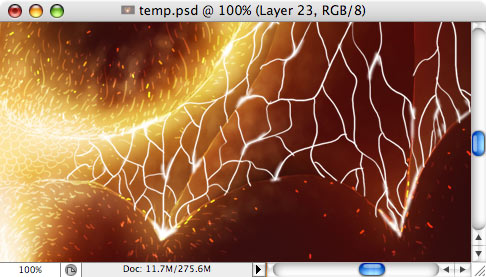
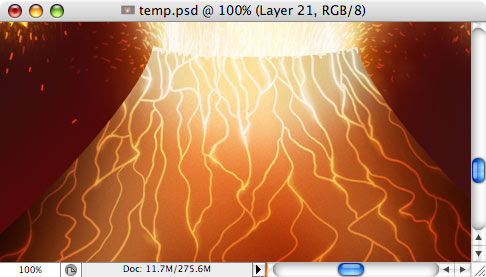
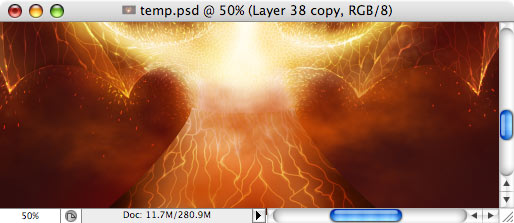
goes most fun and time-consuming part: outlines. For next steps below,

I made outlines with small hard white brush, then set layer mode to
Overlay.
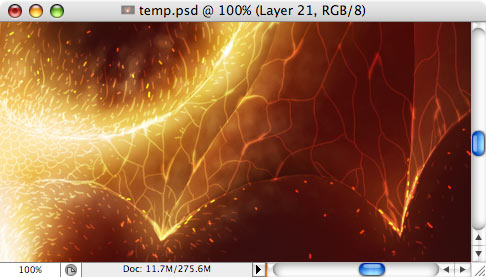

new layer, use large soft brushes (from dark red to gold) to fill
mountain with color. Create clipping mask (from layer menu). Apply
gaussian blur if needed.

final touch is clouds above the volcano (to tell the truth, I added
clouds to hide transition between volcano and dragon 🙂 I was not
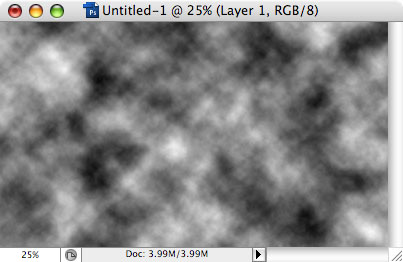
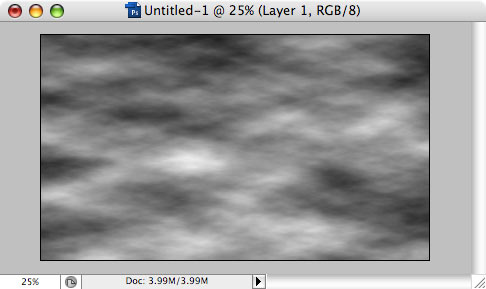
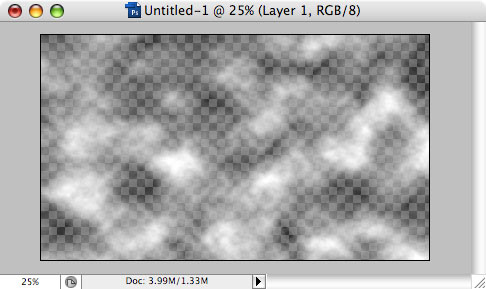
happy with it). Create new document, with width twice more than height.
set foreground to white and background to black. Then apply Clouds
filter (Filters menu – Render).
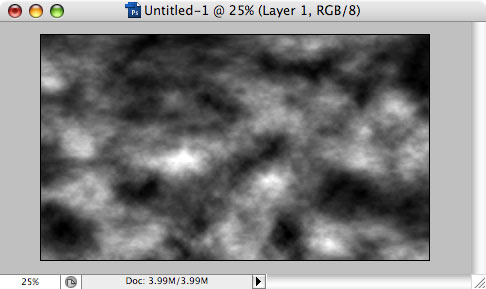
Quick Mask (Q key), apply Clouds filter again, disable Quick Mask (Q
key again). You should get selection similar to this.

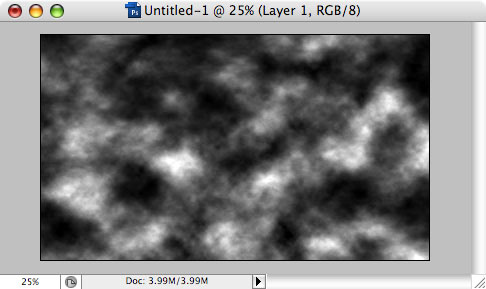
that again – enable quick mask, apply Clouds filter, disable quick
mask, fill selection with black, set auto levels (or, in shortcuts – Q,
Ctrl-F, Q, Ctrl-Backspace, Ctrl-Shift-F).
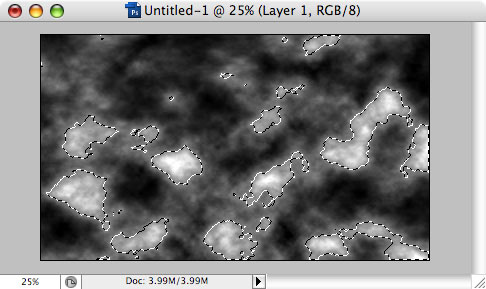
we need to remove black from this image. To do so, select all (Ctrl-A),
copy (Ctrl-C), enable quick mask (Q), paste (Ctrl-V), disabled quick
mask (Q). Note how white parts are selected.
selection (Ctrl-Shift-I) and delete (Del). Then open Hue/Saturation
window (Ctrl-U), and set lightness to 100. You should get white clouds
on transparent background.
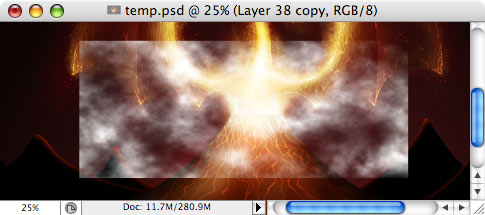
to Eraser tool (E). select very large soft brush, and erase edges of
clouds layer, so that clouds start to actually look like clouds.
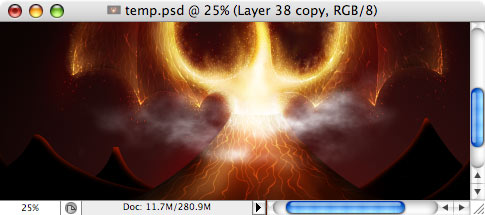
Hue/Saturation window again (Ctrl-U). set lightness to -40 .. -50,
saturation to 80..90. Then play with Hue to get vivid red clouds.
Author: Vlad Gerasimov
URL: http://www.vladstudio.com
Comments