
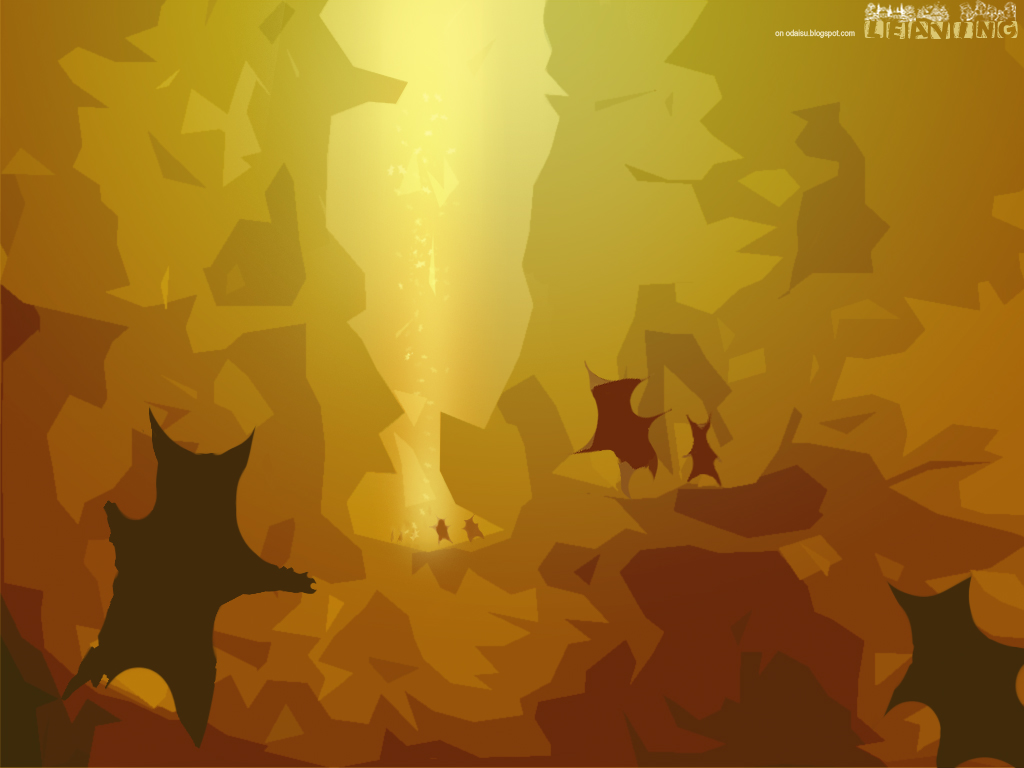
Leaving wallpaper – Cartoony look
Hello and welcome in making – the leaving wallpaper tutorial. I will basically use my paint skills. I also want to stay in that cartoony look. So let’s start the tutorial.
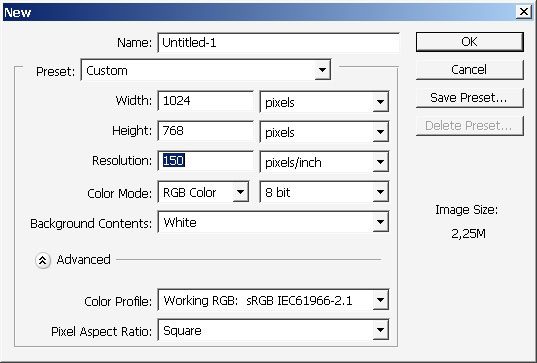
First create a new document.
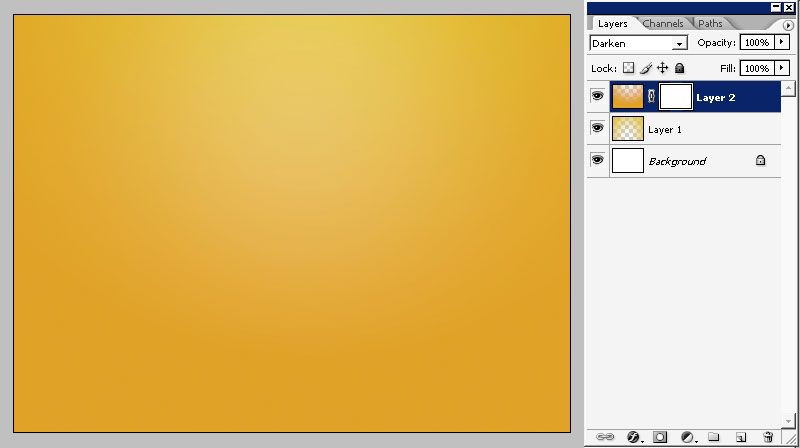
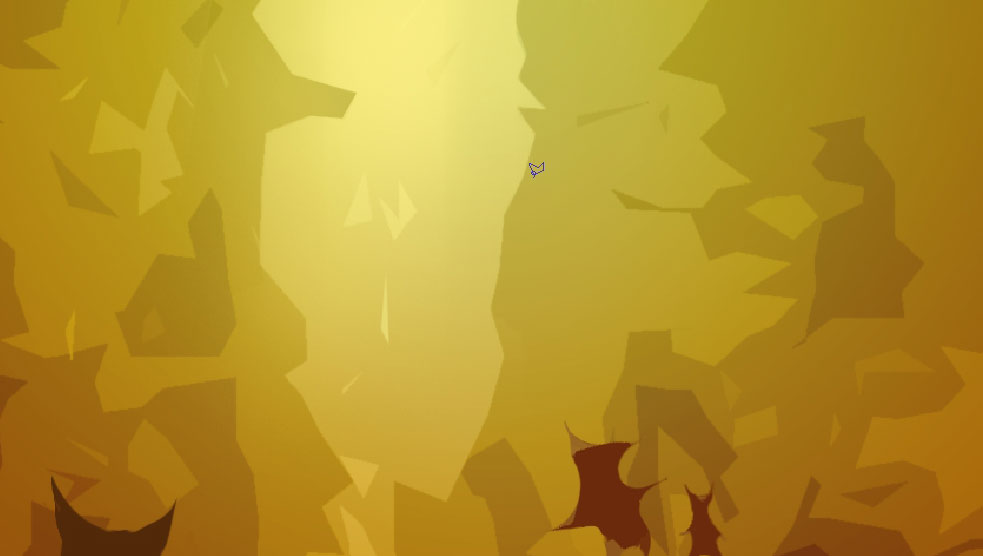
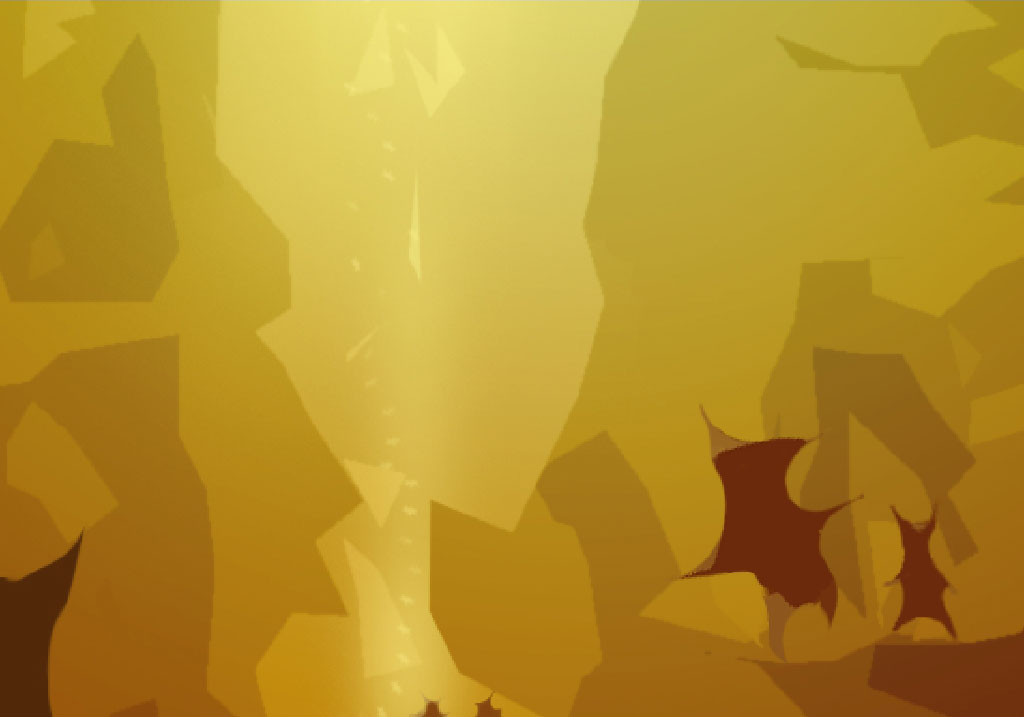
A good and fast way to fill a background with colors is airbrushing – actually it is all about soft edged color gradations so the gradients will do just fine. I’m playing with colors here: create several layers and overlay them with gradients.
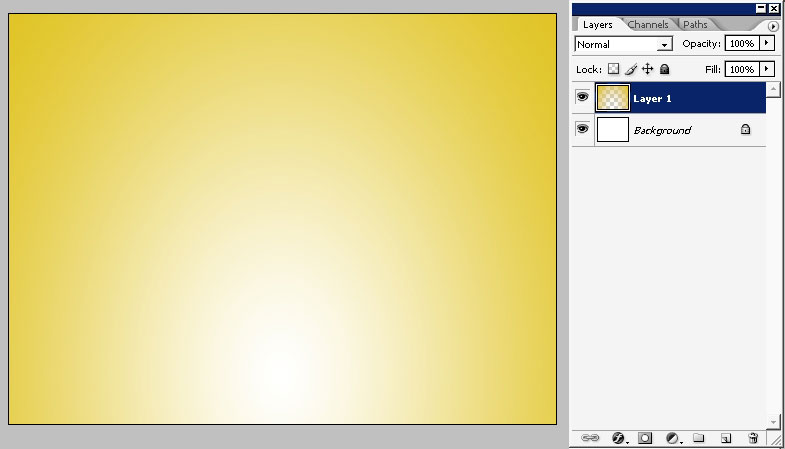

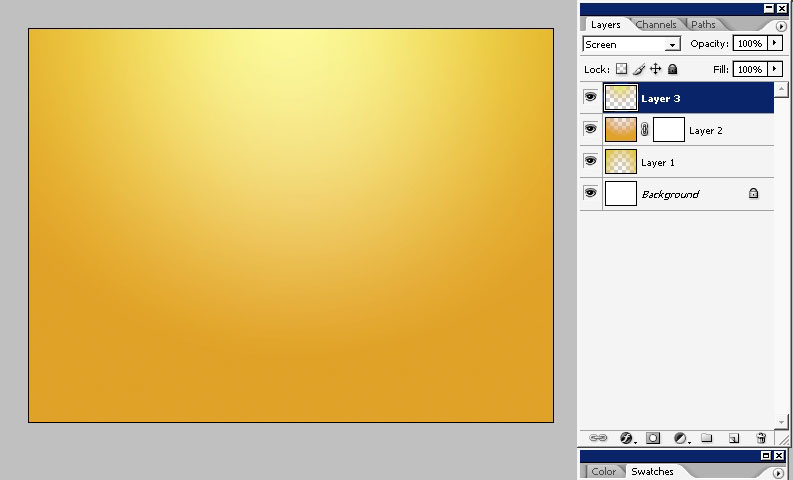
The top gradient mode – is screen because I really like the light source to be on the top.
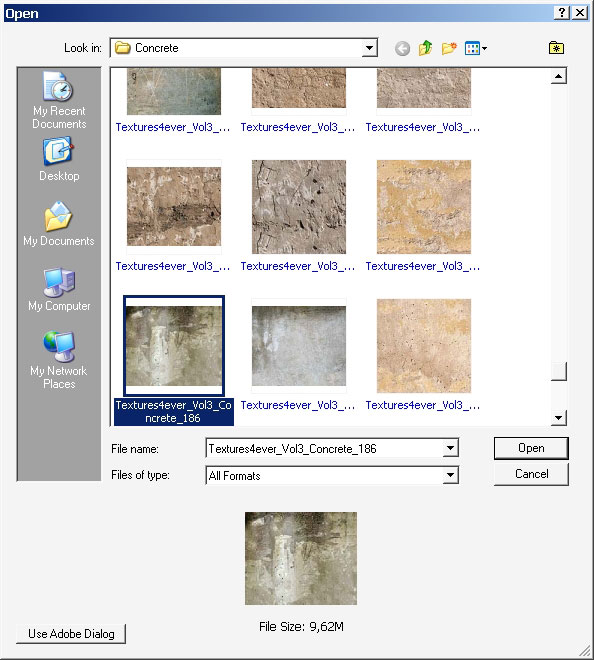
So the next thing I decided to do – is to apply a texture – because a really had no much experience with textures I guess. I have here some of my rock textures- high resolution images.
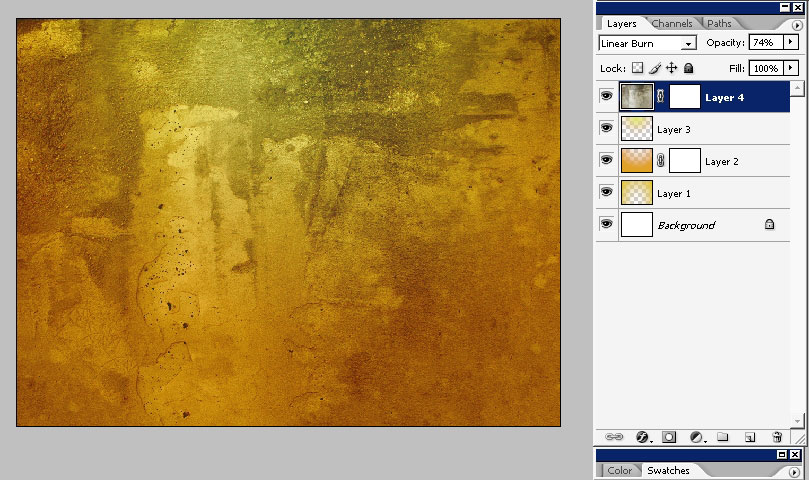
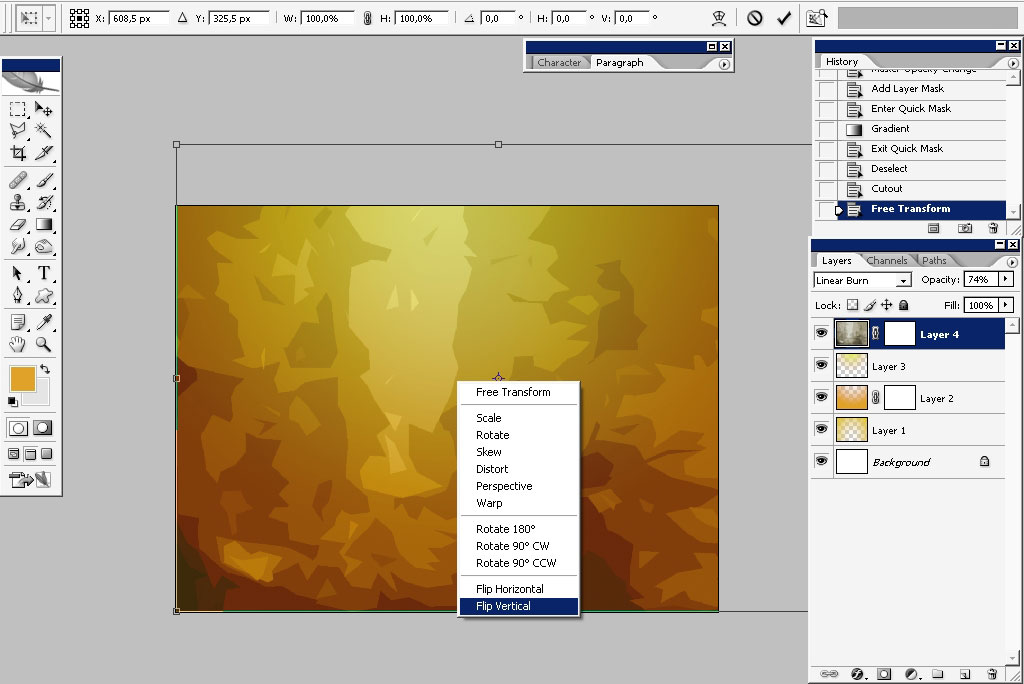
Change the mode to linear burn so we can see our layers that are beneath and add a layer mask (black). Oh ea and the overall layer’s opacity is set to about 70% too.
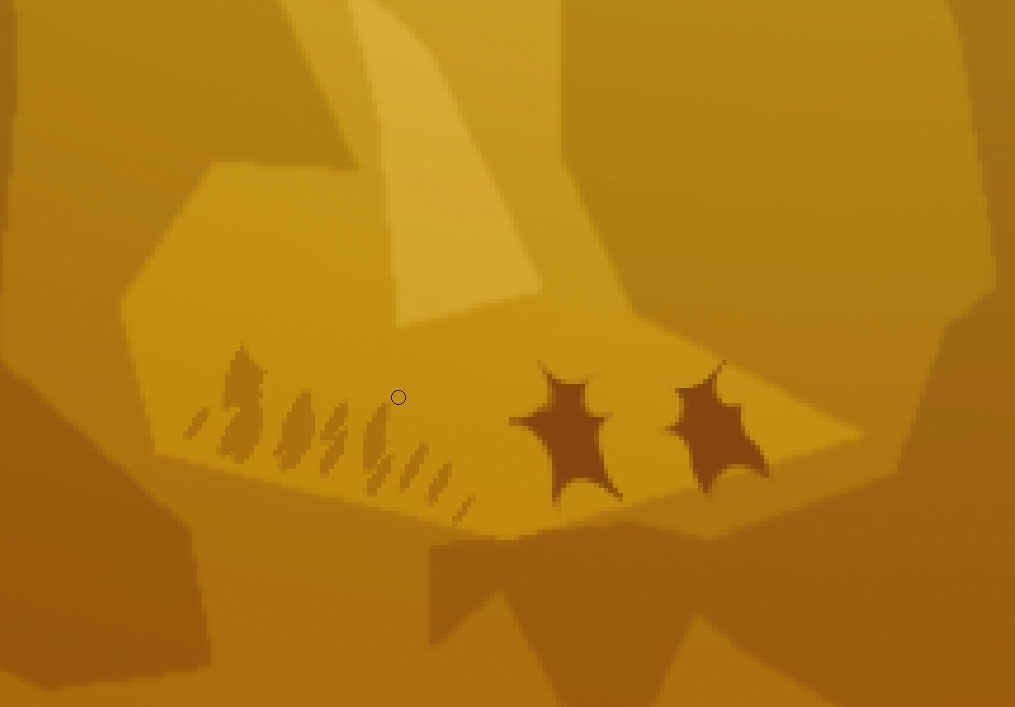
Not to get that tony look all you have to is to lower the quantity of tone gradations. I’ve decided to do it by applying a Cutout filter to my texture layer.
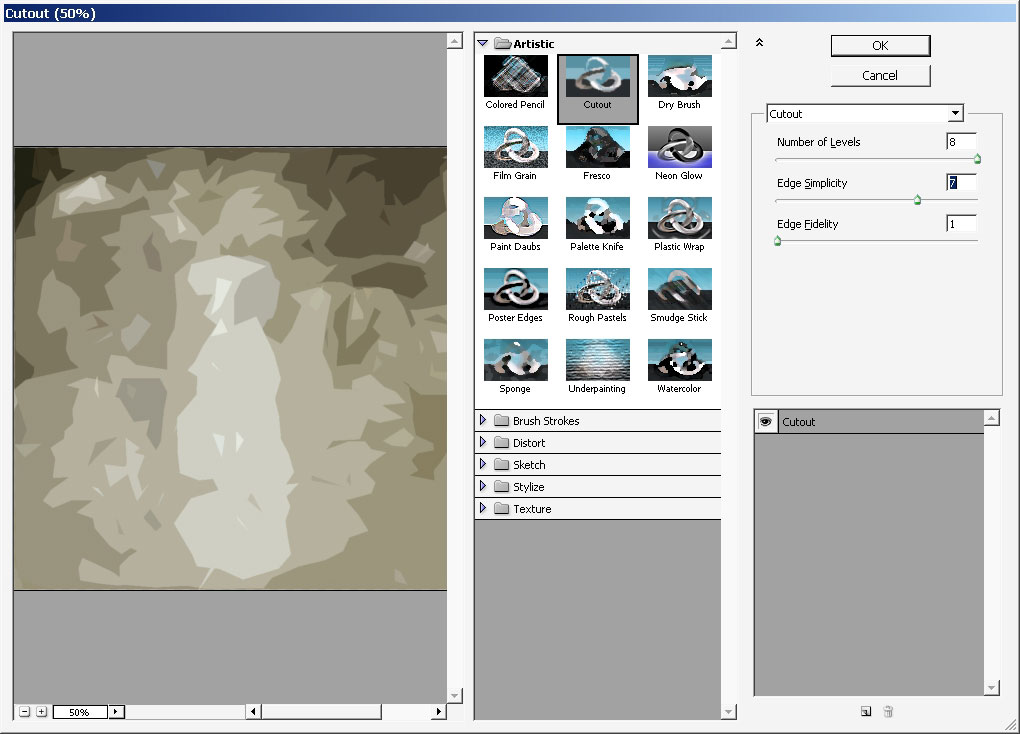
Flip the image vertically so the lightest part is on the upper part.
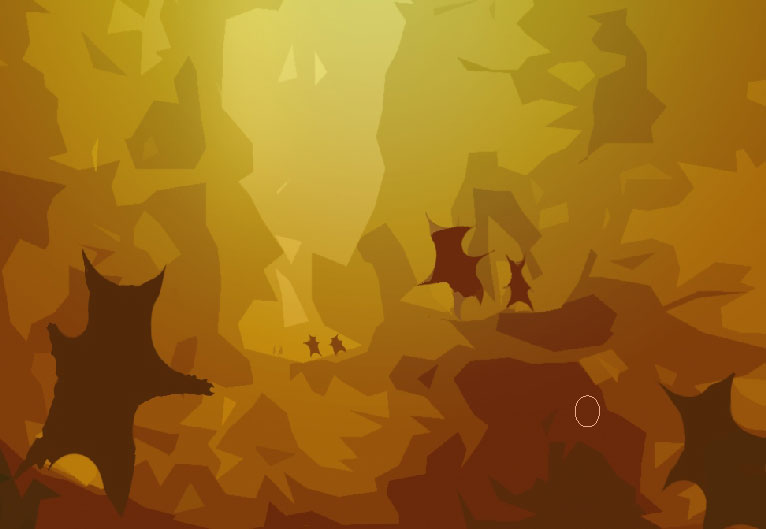
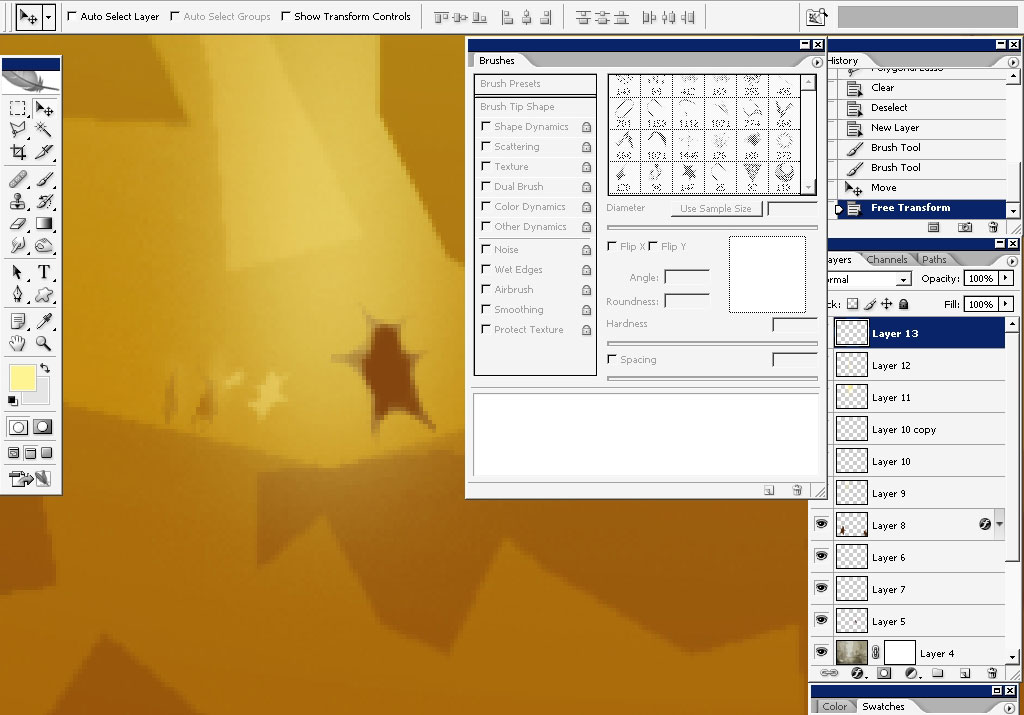
Now I will paint the characters – these funny creatures).
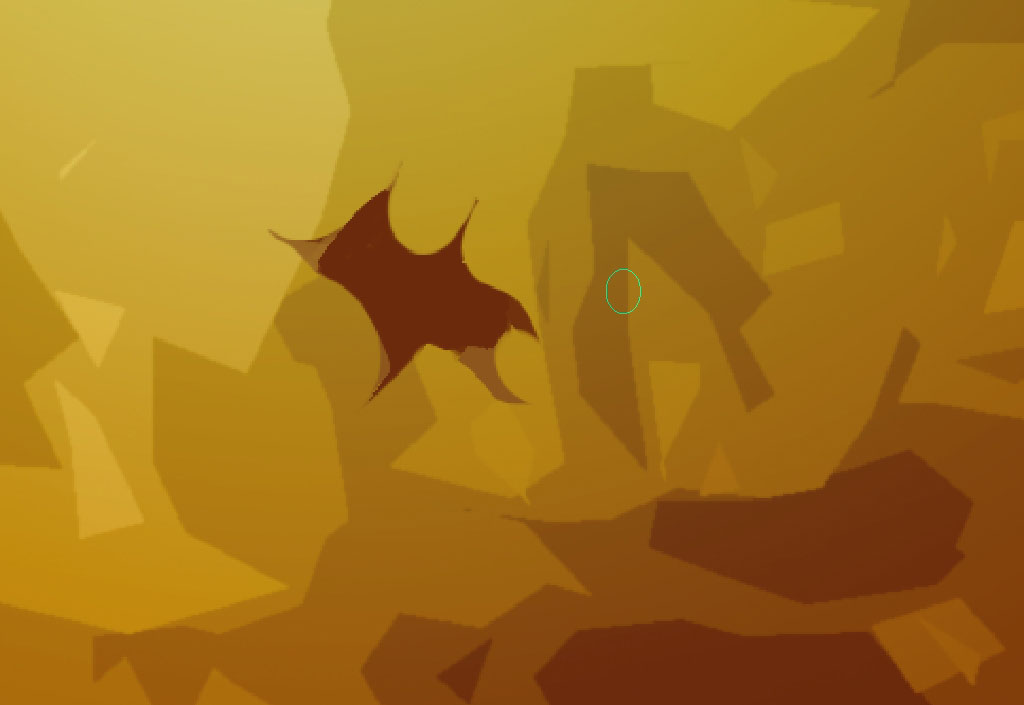
Some on the far – note that the further the object is the more contrast it loses, so pick up the color that is lighter.
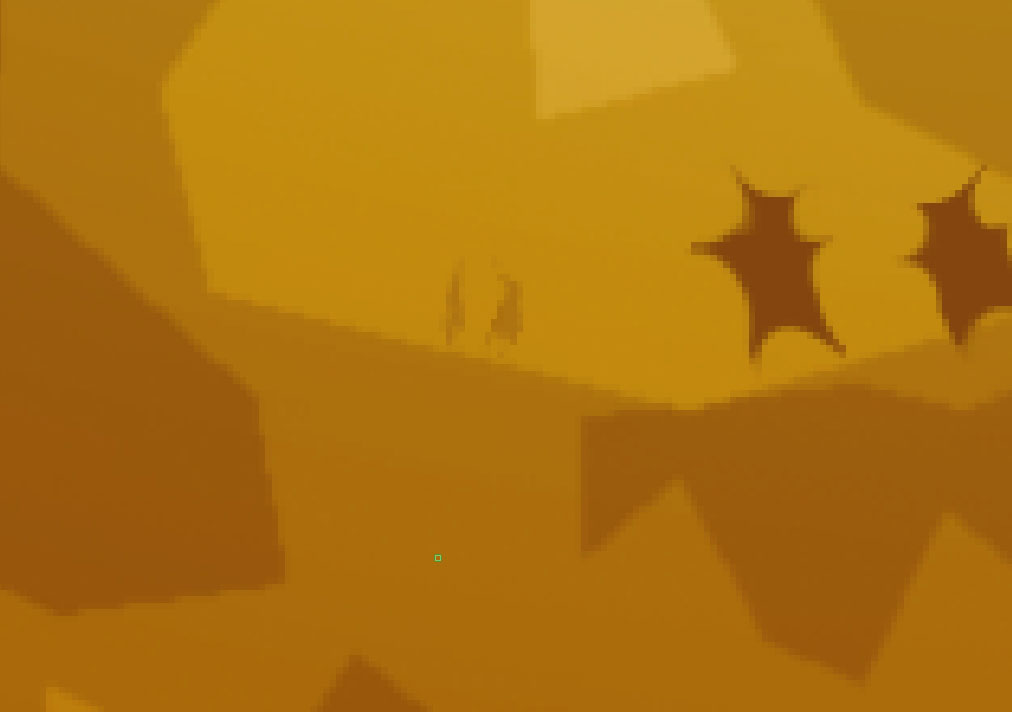
Now, one on the foreground – pick a dark tone.
The nearer the character is the darker it should be, but it also has to pop out from background. Actually the value definition is one of the hardest parts of the painting process I guess.
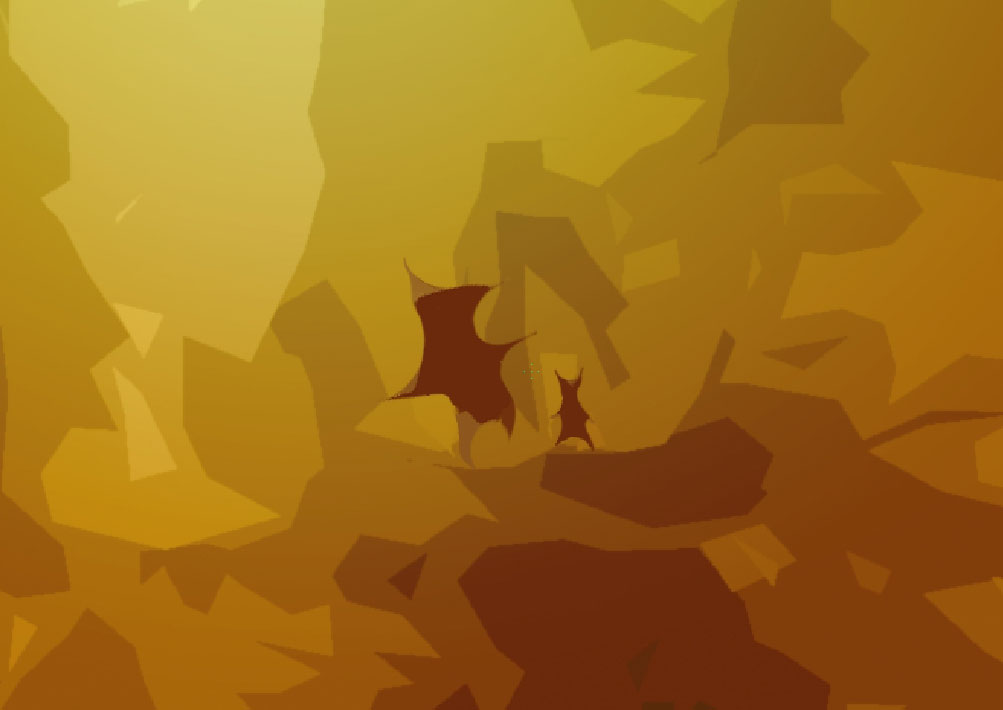
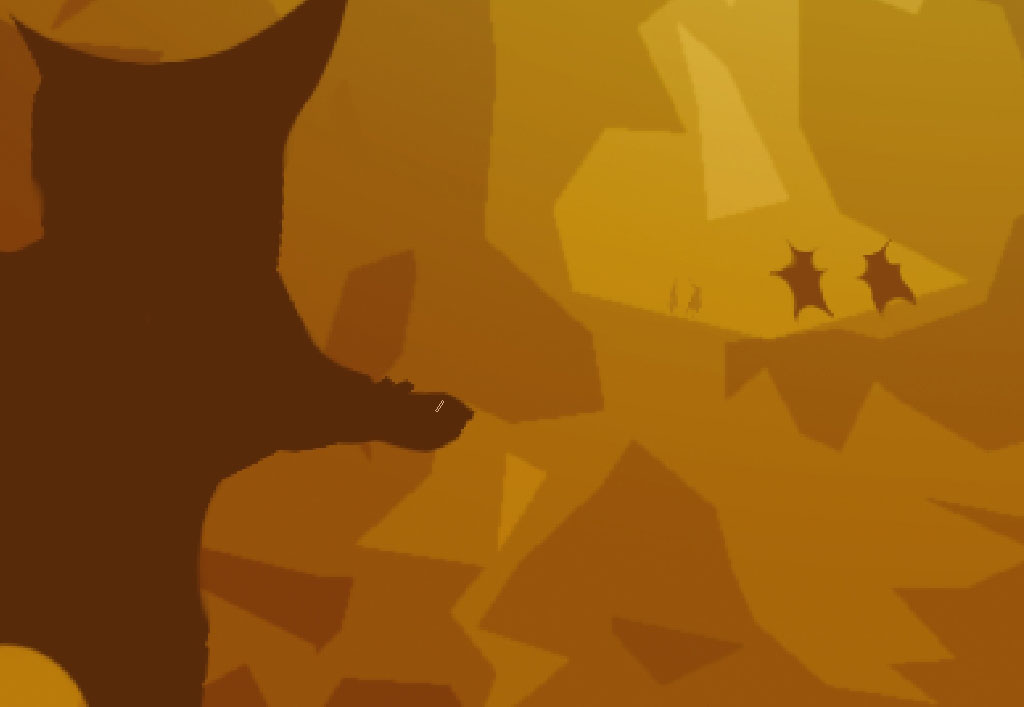
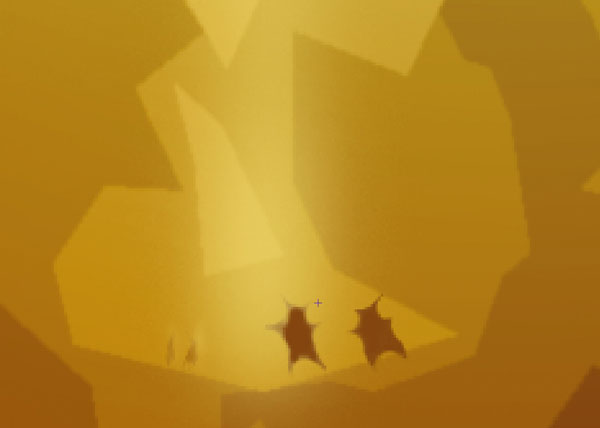
Use soft edged brush with flow set to about 3% or 5% to make that light more intense. Do this on a separate layer.
As it is a soft edged brush it will probably cover the areas you don’t want to be covered. Use Lasso Tool to create selections and the tapping delete. It is actually easing thing out -you can also use plain eraser if you confident enough that you will do this straight.
Drop some highlights on the characters too.
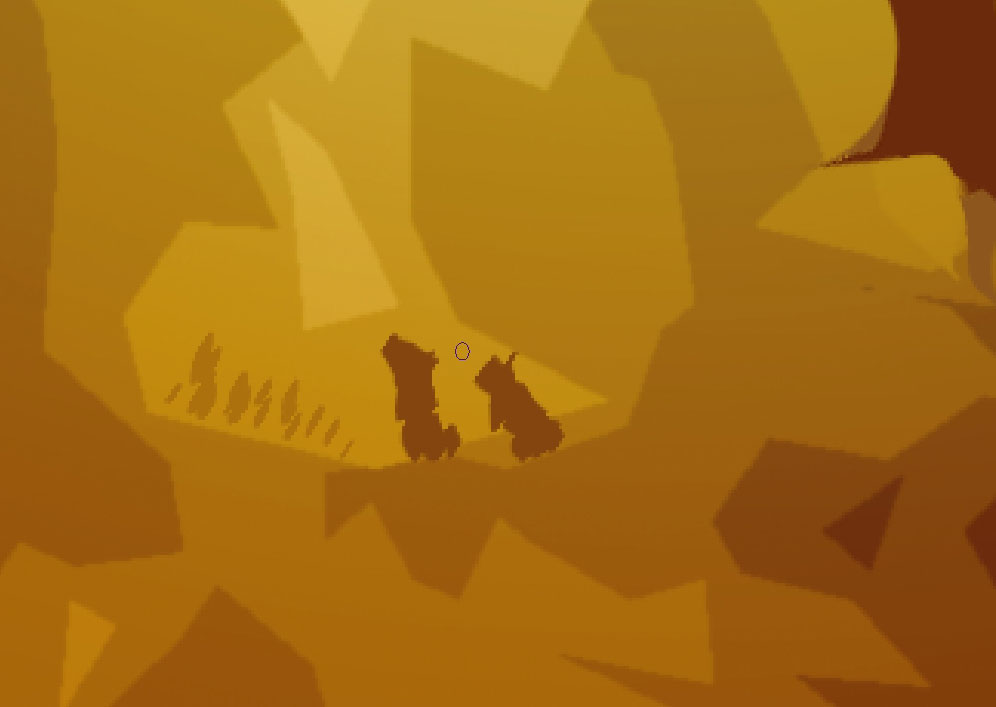
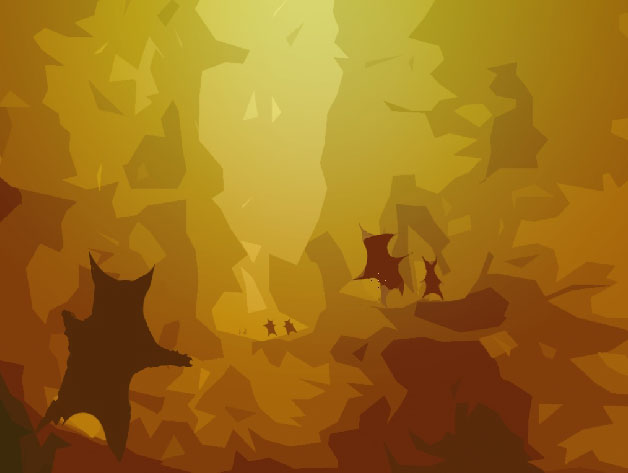
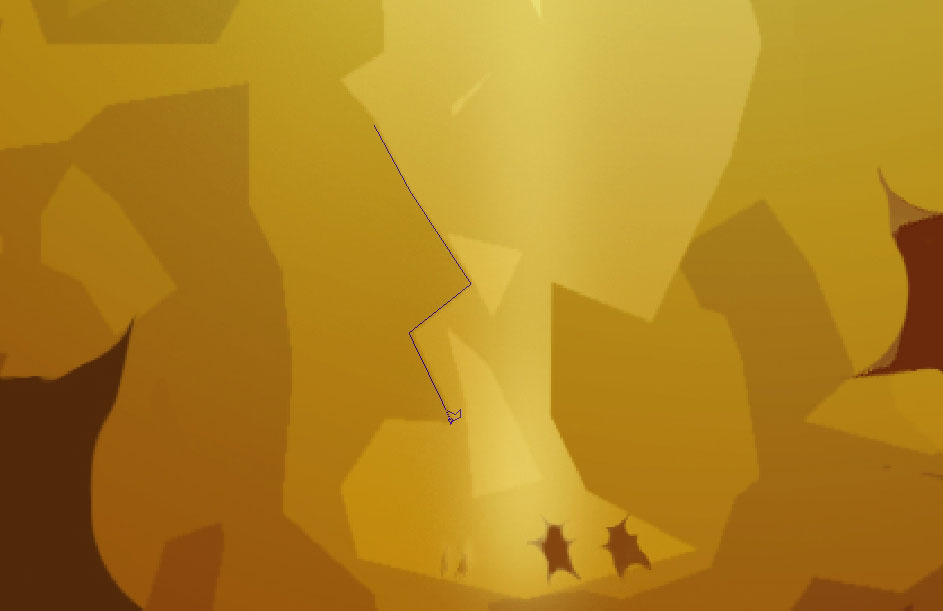
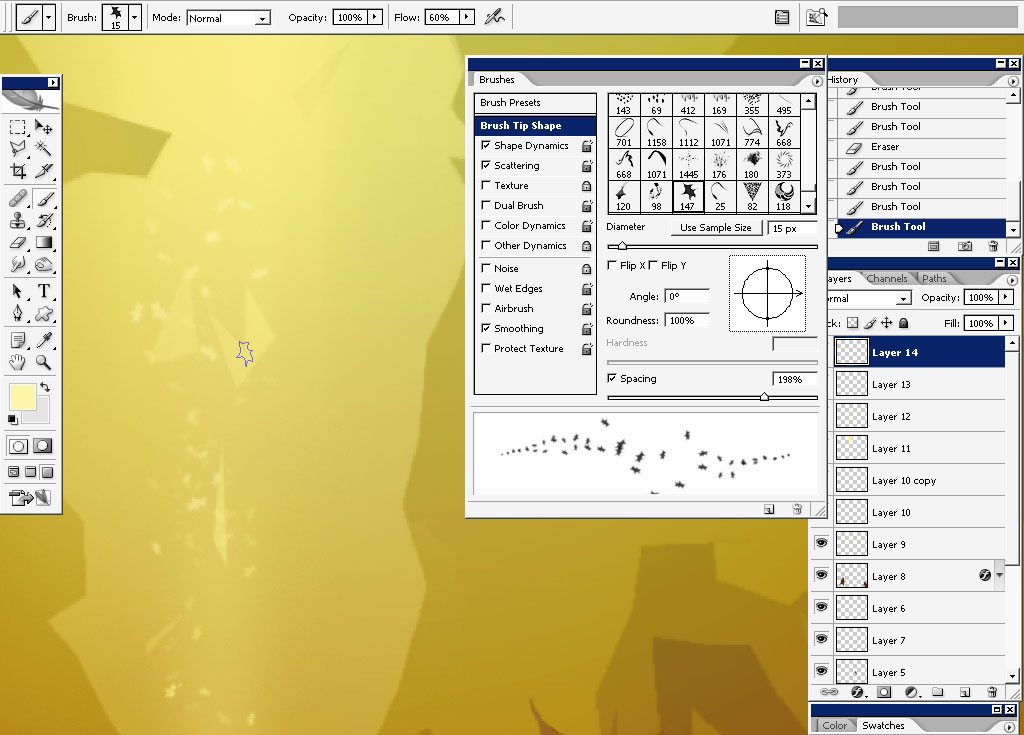
Almost forgot that for the nest step you will need to define one of our characters as a brush.
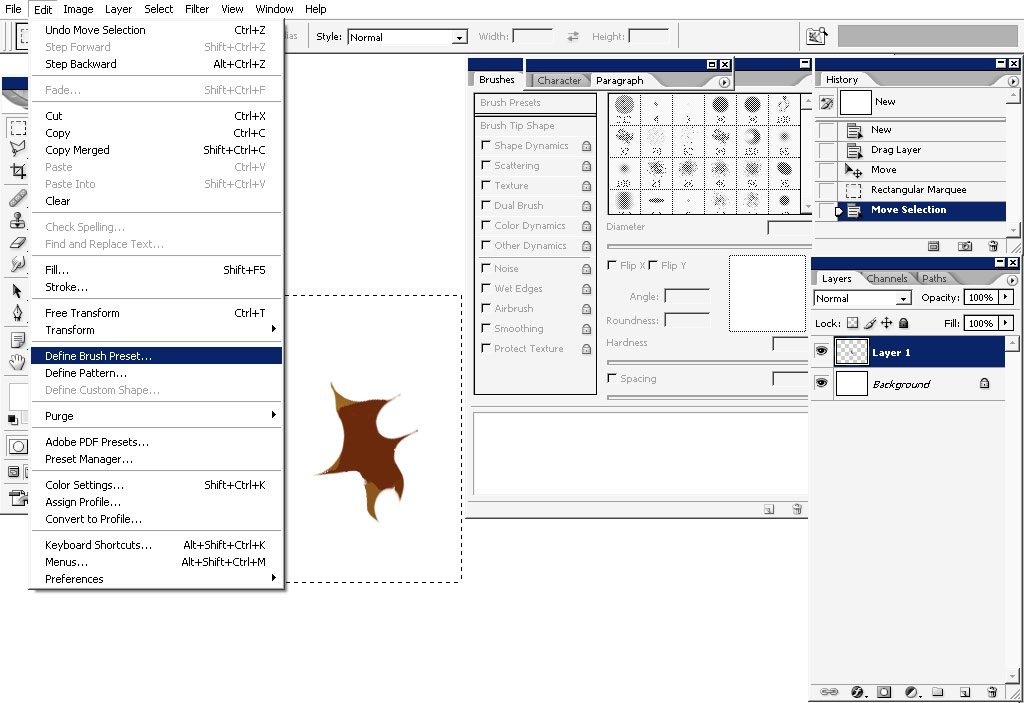
Settings:
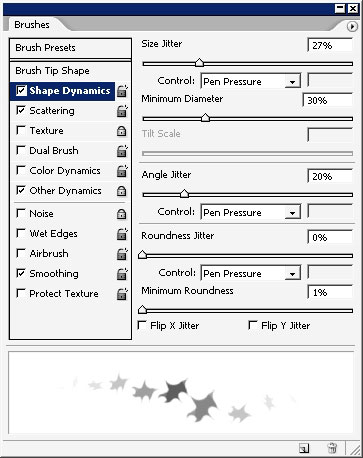
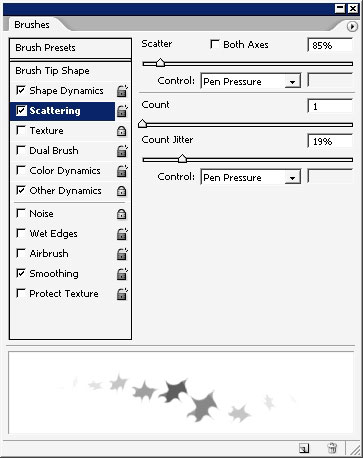
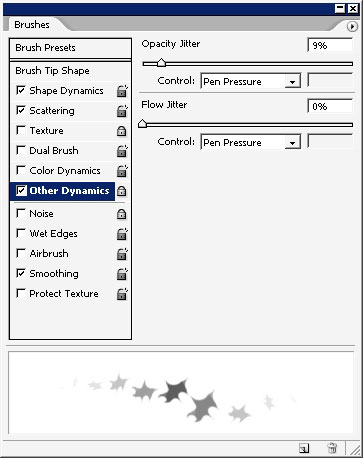
So use our brush, making the creatures are going into the light.
Well and this is it. Thank you for reading this one: more tutorials to come on eyesontutorials.com
Additional Files – Download brush
Comments