
Illumination Art Effects
This is a method of creating the illumination effects that may increase the picture’s brightness and saturation or intensity.
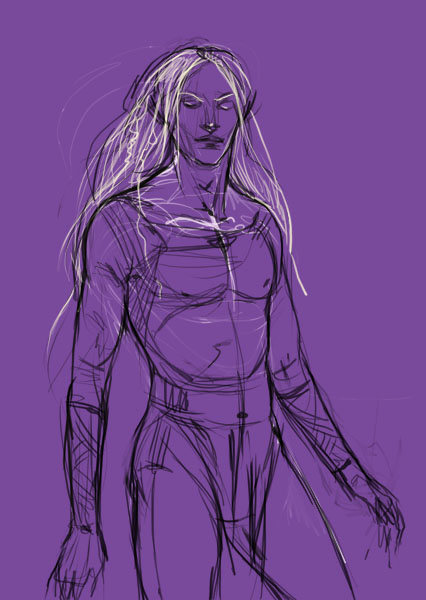
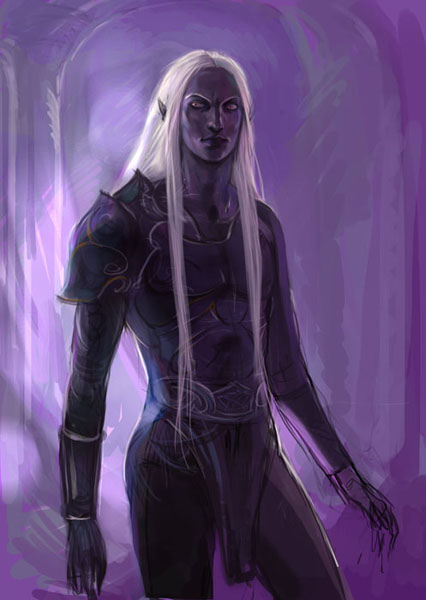
The picture from below is an outline situated on a new layer, separated from that of background.
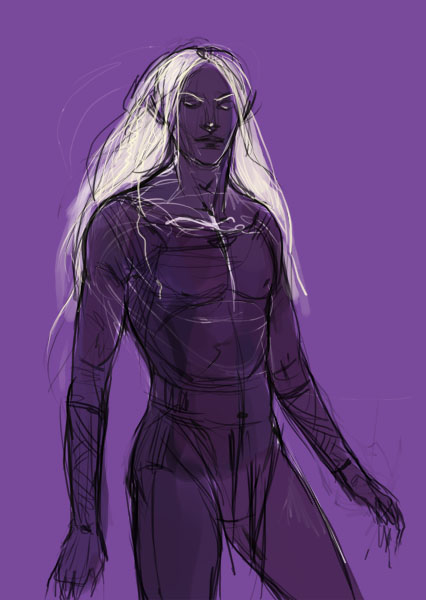
Create a new layer and place it under the layer containing the outlined figure. Set on it the tone and the color.

Merge down those two upper layers and start processing them by smoothing out the picture’s features.
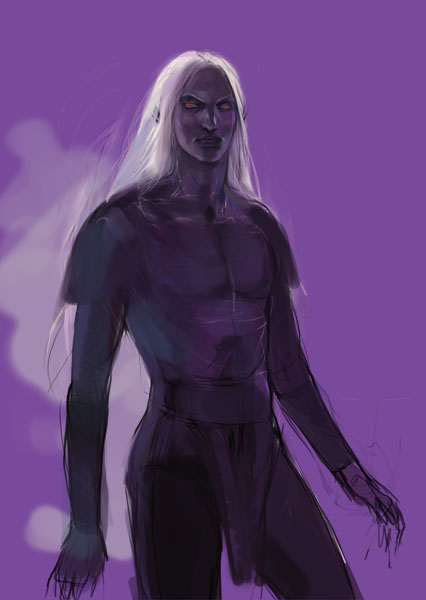
Try to represent on a new layer the details of the clothes to be on our figure.
Start working with the details. The illumination from the backside comes to accentuate the character of these beings ? draw. It also creates a magical atmosphere and mysteriousness. The world from underground should be represented in violet and blue nuances. On this stage I should determine the source of illumination and illuminate the figure. I’ve chosen the Dodge Tool and a tough brush for processing the layer. The features became lighter and a kind of mosaic appeared on the picture. Use the same instrument to accentuate also the lighter places on the figure.
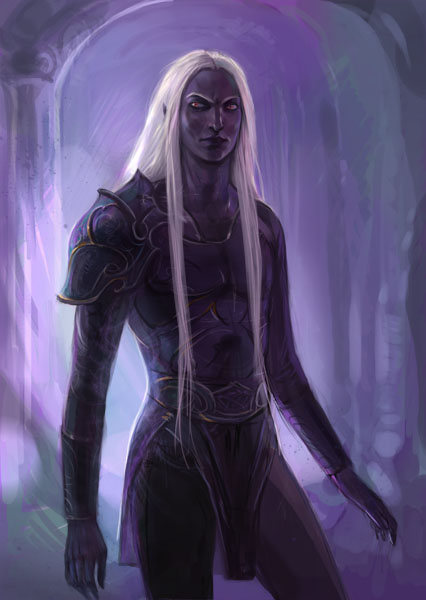
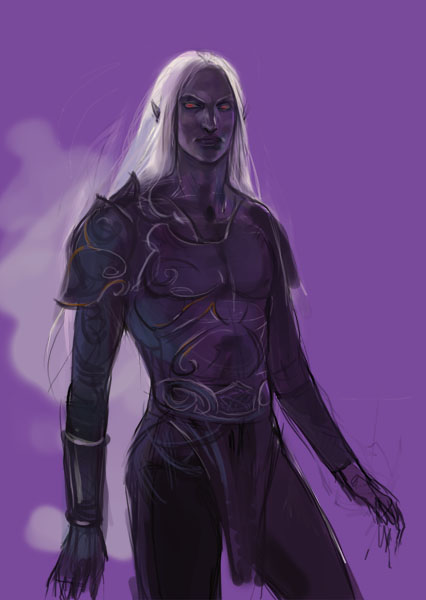
The stage before the final includes inserting more details. I just need a kind of stylish details on this picture that is why I need to make several corrections on the color and accentuate the pillars.
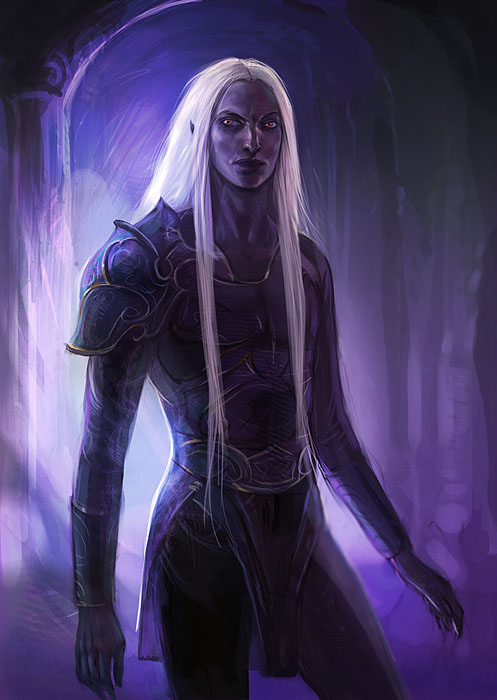
That is all. The last feature includes correcting the color of the background. Select a brush of Soft Light and Overlay regimes and paint the background and the figure. The blue illumination becomes more intensive and even burns out. These regimes we have selected are appropriate for all kinds of illuminations, increases the brightness and the picture’s intensity. Don’t be afraid to experiment and use different brush’s regimes. The effects may be quite interesting. Good luck in mastering the Photoshop.
Author: CG-Warrior
Comments