
How to make a planet in Adobe Photoshop
This task we’ll see how is it possible to picture a background with stars and planets.
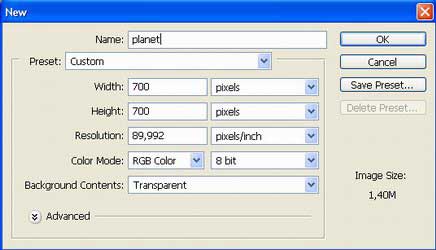
Opne new file: File ? New (ctrl+n)
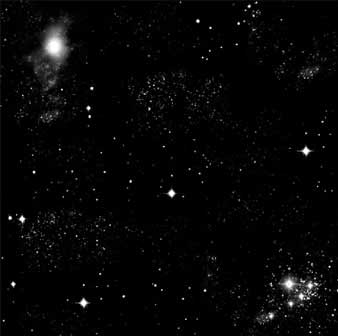
Paint the background in black, using Paint Bucket Tool and then picture on it the stars, on your wish, using a ready brush that is possible to download on this address: http://www.deviantart.com/deviation/30000107/ ?qo=20&q=by%3Aanarasha&qh=sort%3Atime+-in%3Ascraps
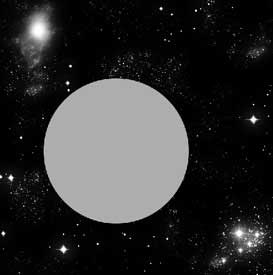
Draw on a new layer (Layer ? New ? Layer (shift+ctrl+n)), a circle of any color that you wish, applying the Ellipse Tool. To have a regular circle, click on shift button and hold it on.

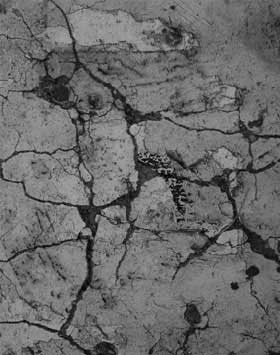
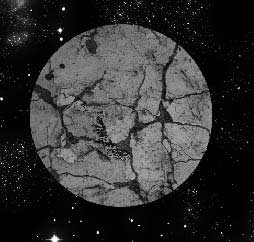
Then insert on the new layer the texture that will compose the planet’s surface.
Group this layer with that one containing the circle, applying Layer ? Create Clipping Mask (ctrl+g)
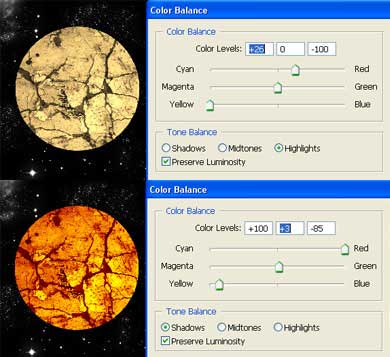
Add several fire colors, using Image ? Adjustments ? Color Balance (ctrl+b)
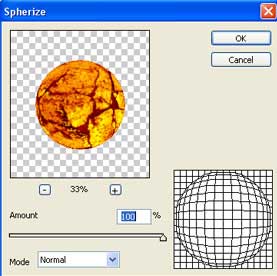
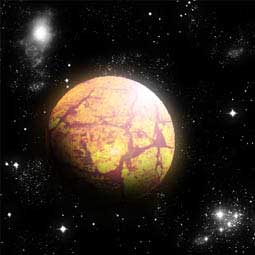
Mark out the circle now on the lowest layer with Magic Wand Tool. Get back to the texture’s layer and merge down both of them: Layer ? Merge Down (ctrl+e). Apply now Filter ? Distort ? Spherize
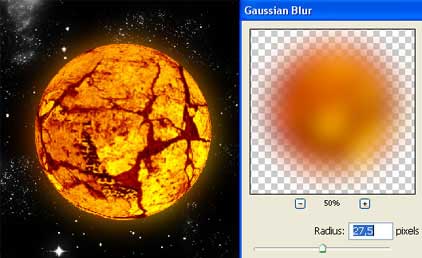
Erase the marked places now and copy the planet’s layer: Layer ? Duplicate Layer. Place the copy lower than the planet’s layer, just clicking on it and keeping the button pressed, move it on the necessary place. Blur the layer, applying Filter ? Blur ? Gaussian Blur.
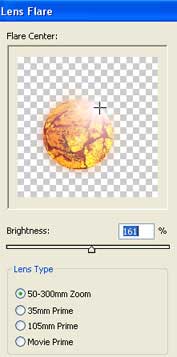
Combine those two layers, applying also Filter ? Render ? Lens Flare.
Having the Brush Tool, draw the planet’s shadow on a new layer.
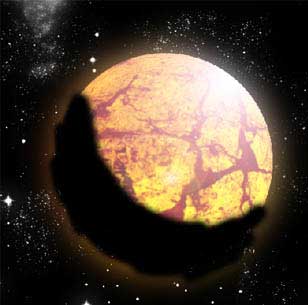
Blur it out: Filter ? Blur ? Gaussian Blur
Apply to the background’s layer Filter ? Render ? Lens Flare, in a way that the highlight could be seen behind the planet.
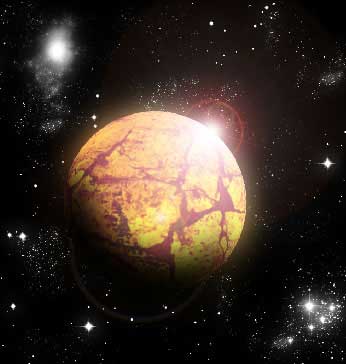
Finished!
Made by Sigma
Comments