
How to make a brush and how to use it
This is a brush test. Photoshop brushes are maybe the best ways to stylize your picture, you work. There are many settings that you can use to create different beautiful effects.
Moreover you can make a brush from almost every picture, every pattern, out of anything.
So in this tutorial I will show you how to make a brush and how to use your newly made brush.
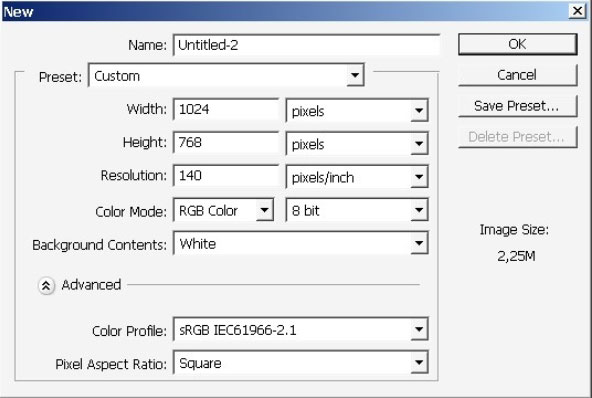
So let’s go. Here is our document- 1024 x 768 with 140 px/inch resolution. Create a layer instantly.
Now we will build a brush. My idea in the beginning was to create a brush that imitates NFS’s Carbon menu graphics: you know, the crosses there. But in the process IThis is a brush test. Photoshop brushes are maybe the best ways to stylize your picture, you work. There are many settings that you can use to create different beautiful effects.

Moreover you can make a brush from almost every picture, every pattern, out of anything.
So in this tutorial I will show you how to make a brush and how to use your newly made brush.
So let’s go. Here is our document- 1024 x 768 with 140 px/inch resolution. Create a layer instantly.
Now we will build a brush. My idea in the beginning was to create a brush that imitates NFS’s Carbon menu graphics: you know, the crosses there. But in the process I’ve changed my decision for what I’m going to use m brush.
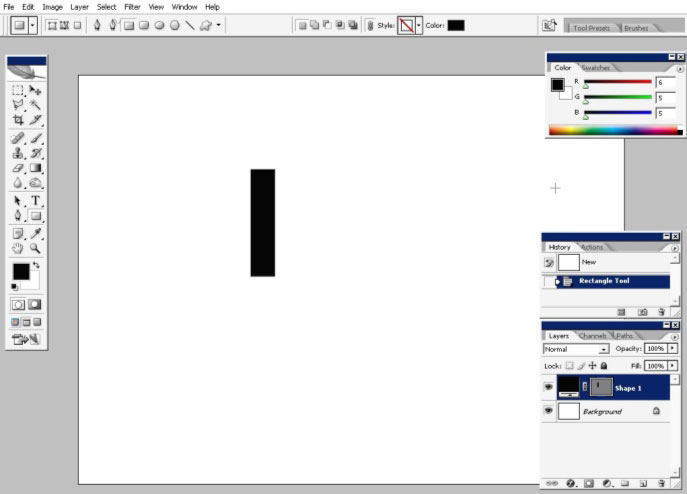
Choose shape tool and make just this kind of shape.
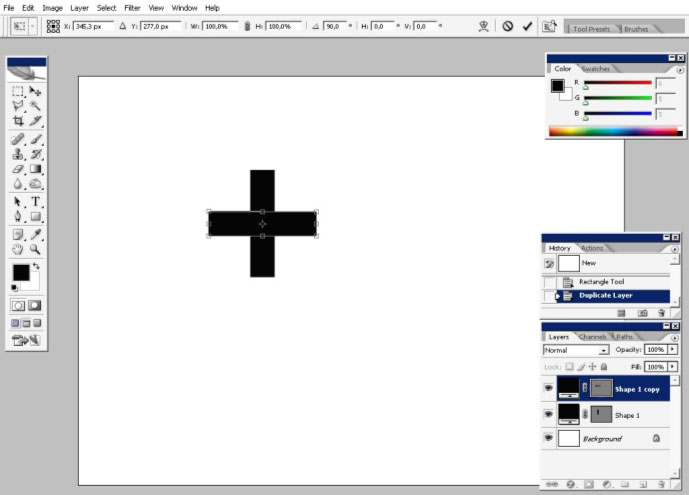
Then copy the layer itself. We have 2 similar layers now. Transform one of the layers to make a cross like object.
I haven’t really used any references for this, but I do remember that Carbon’s Crosses had cut out edges.
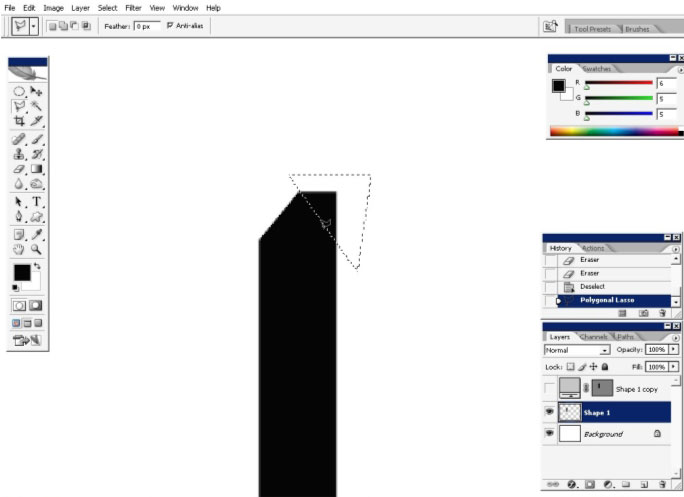
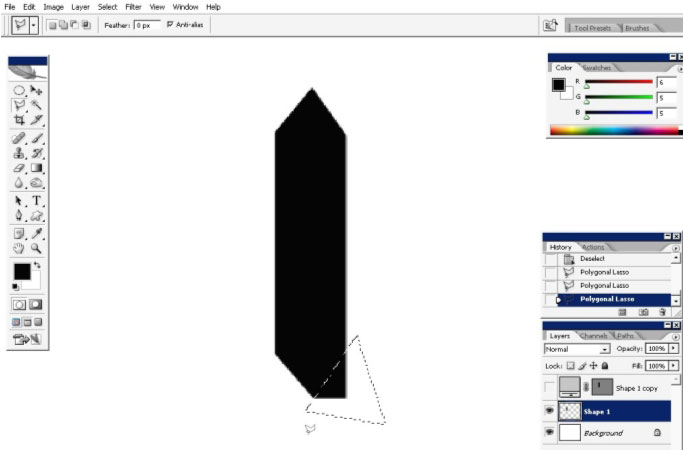
You cut the edges like you want but I feel the form a little bit that is why I will use basic lasso tool and plain eraser.
Make a selection.
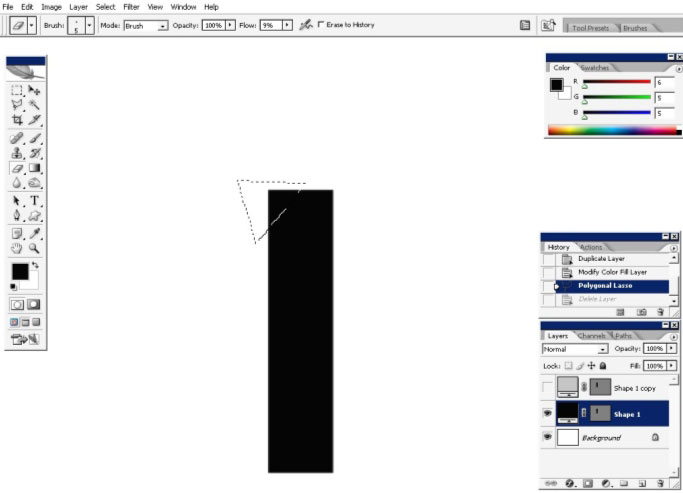
And erase.
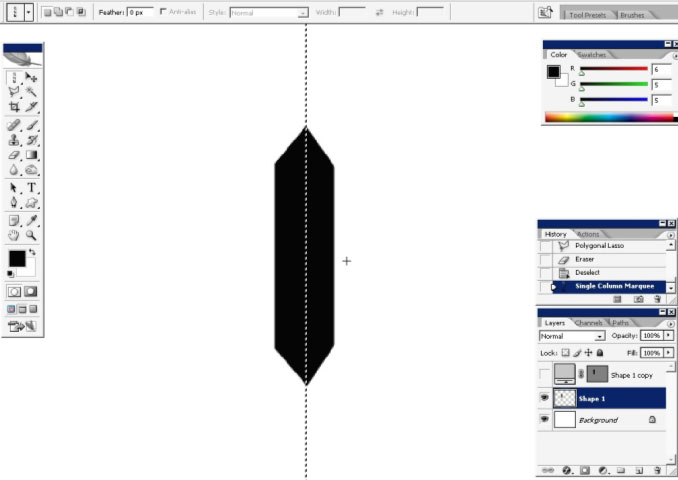
You can check this by making the selection line or any Straight line. Seems it’s quite straight there.
Copy this layer now and transform it again to make a cut edged cross. But before that I will cit a little bit more.
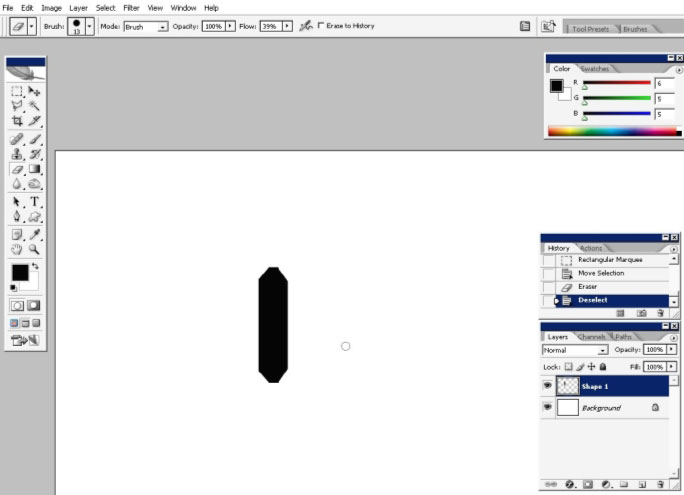
Yea, now we are ready.
Here is our cross.
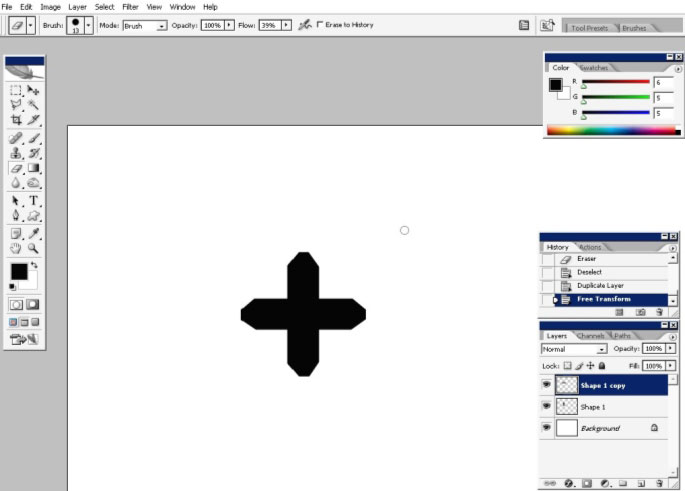
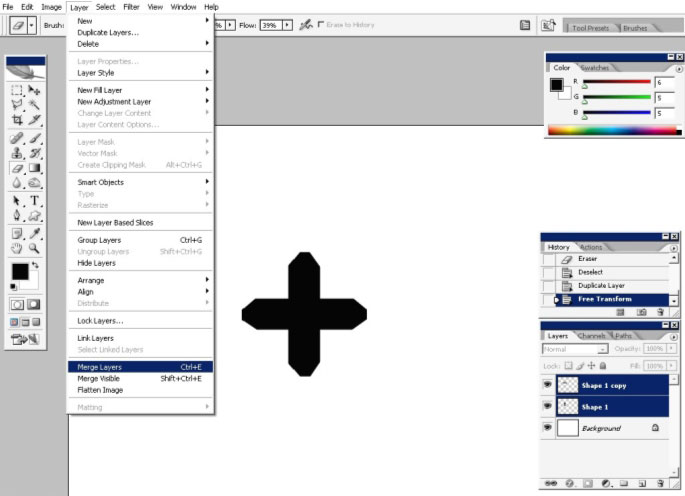
You can now merge the layer together.
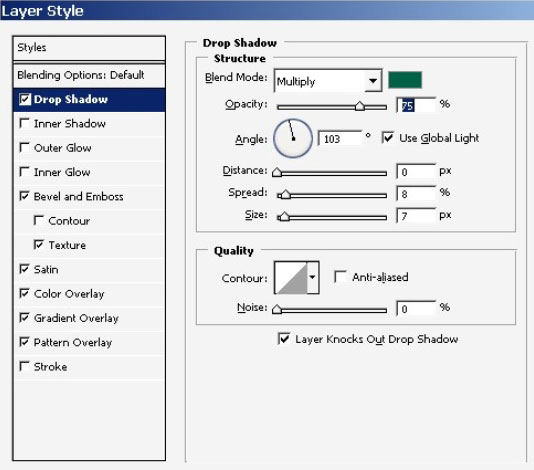
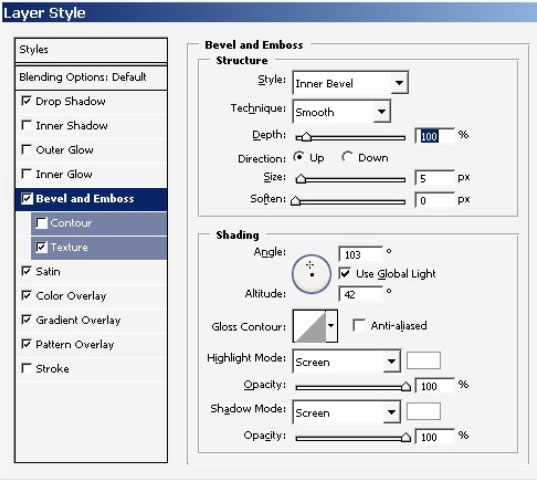
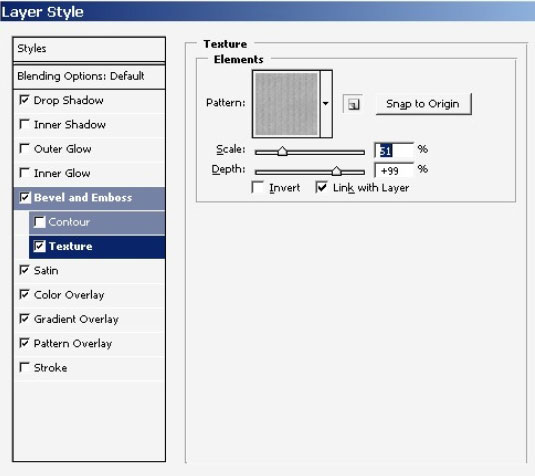
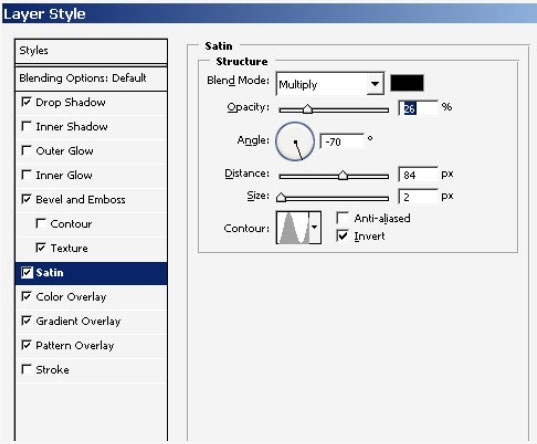
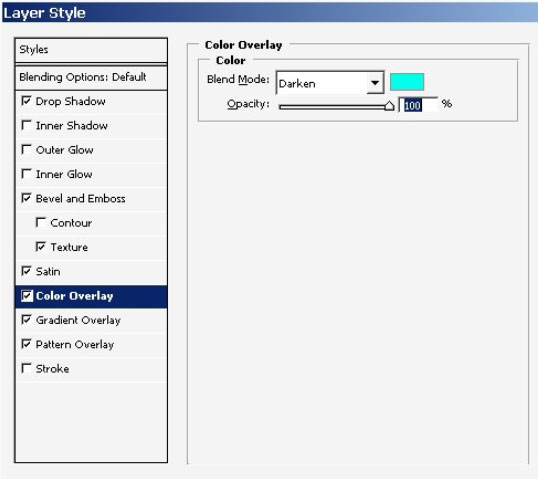
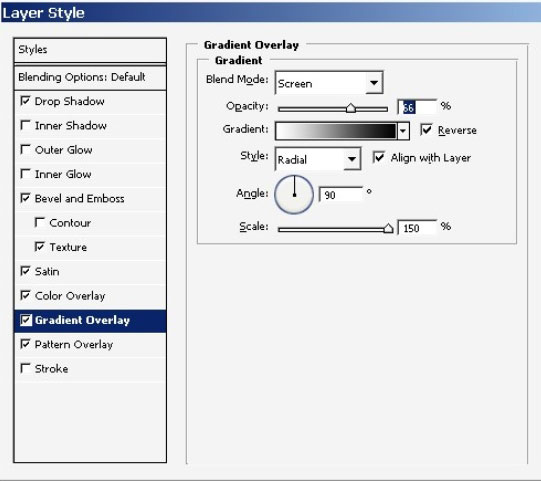
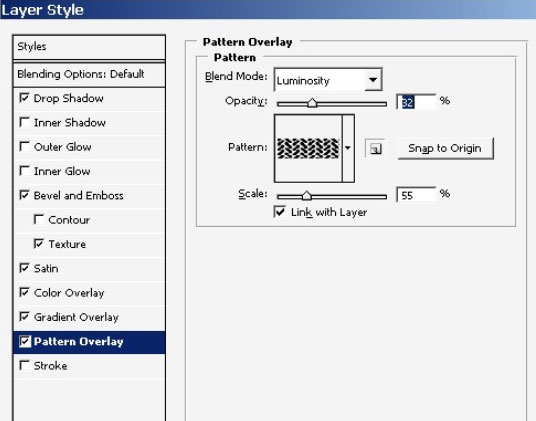
Now, I want my brush to have some texture and just to be very complicated one, so for that we will turn on some layer styles.
Watch carefully.
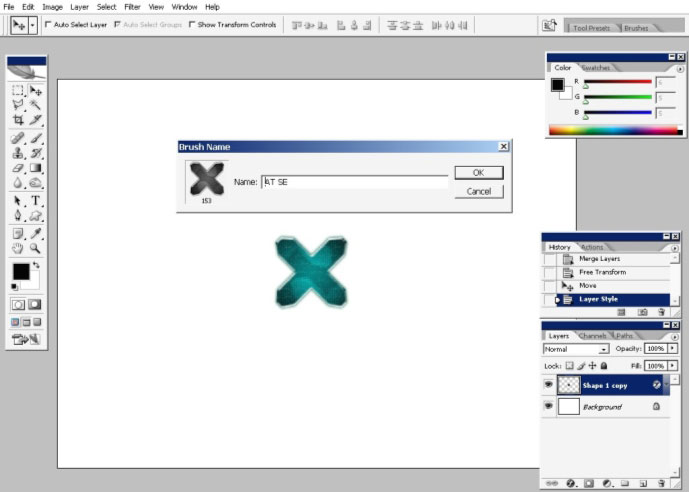
Ok. We have our sample now. Go Edit > Define Brush preset. I will name it AT SE.
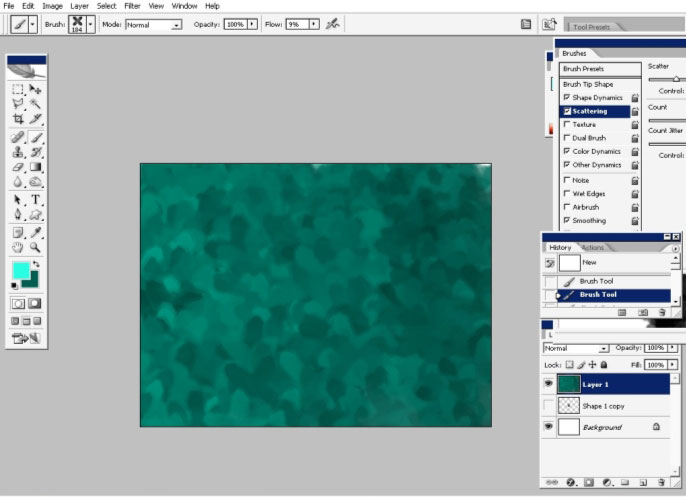
And here is our brush in action. I haven’t put any settings yet.
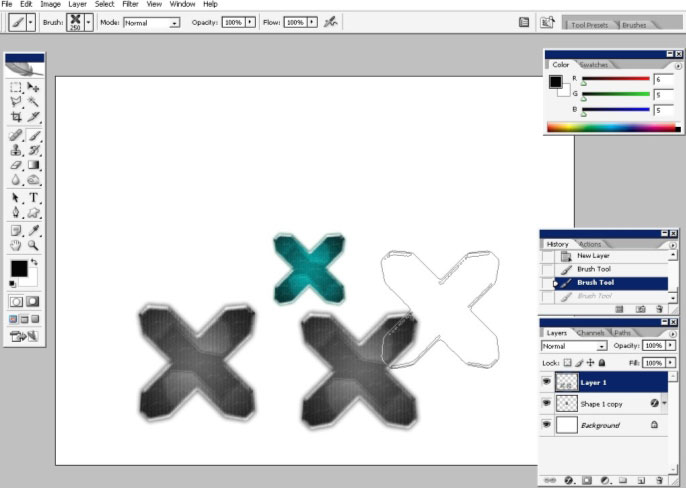
But now I will turn on a lot of settings.
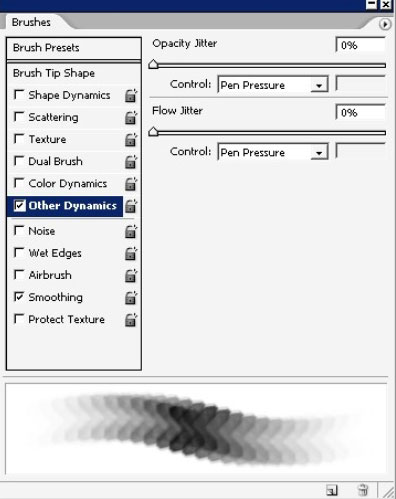
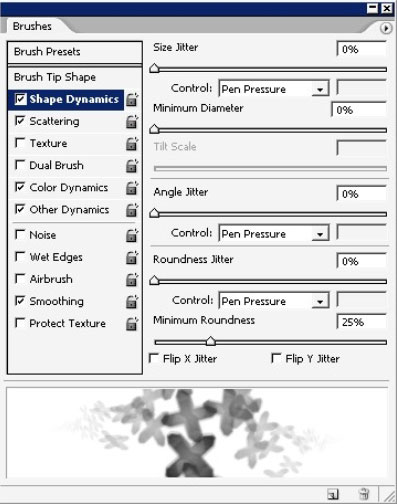
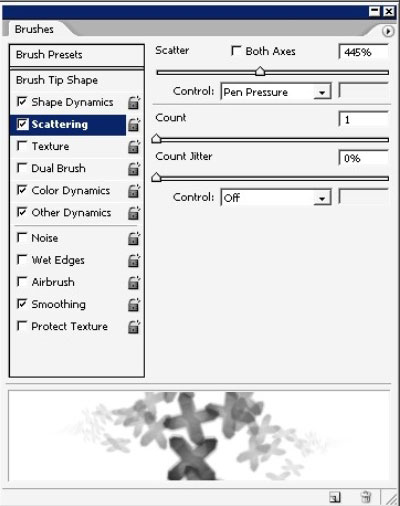
Final setting!
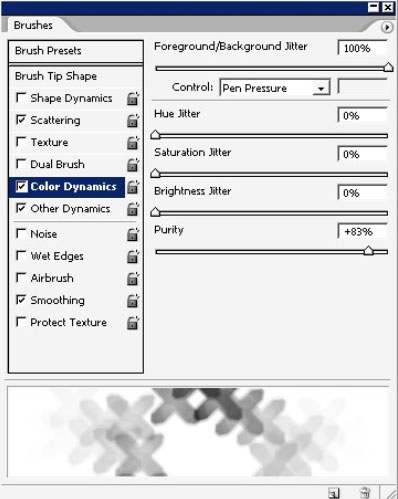
For Color dynamics you must consider your current Background and
Foreground Color in Photoshop. I have Darker green and lighter green
now.
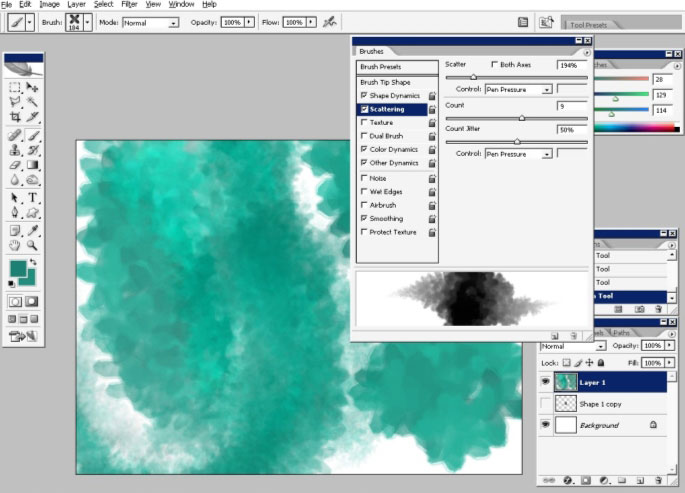
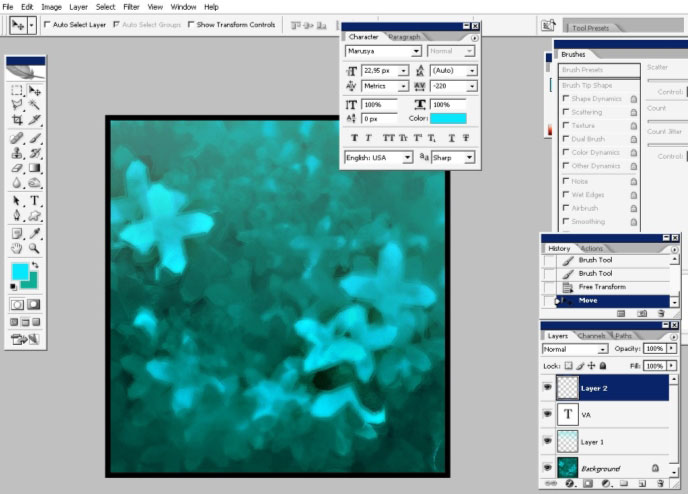
So just draw some shapes, without any idea what it is going to be.
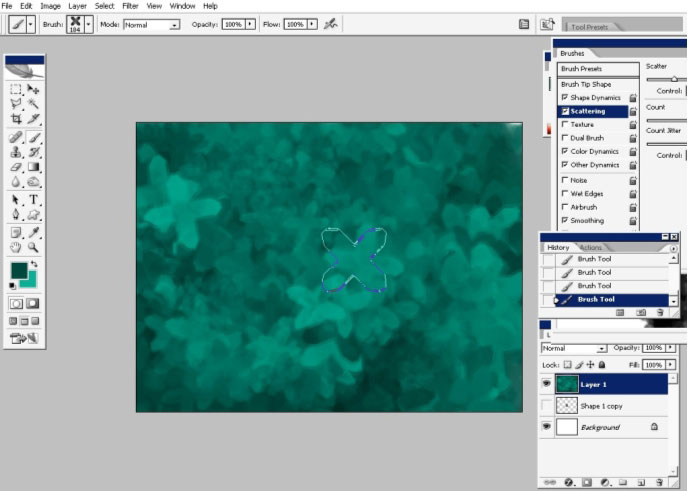
I’ve changed a little bit my B/F-ground colors.
And here is the moment when I’ve seen something there. It is one of happy accidents.
I will crop the image for accent what is all about there.
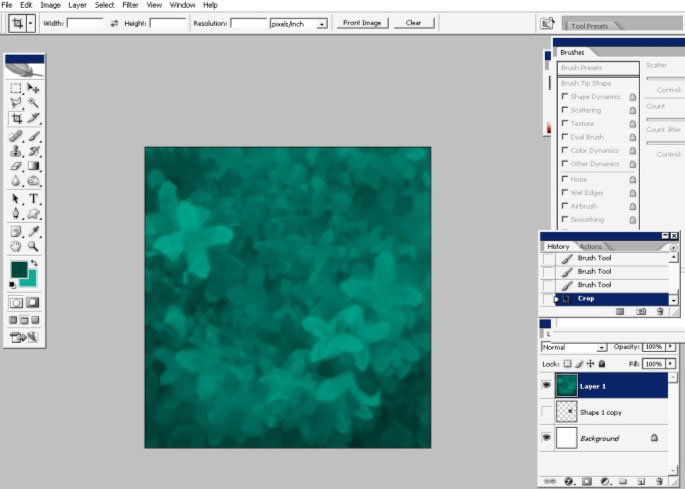
I see flowers there and you? )
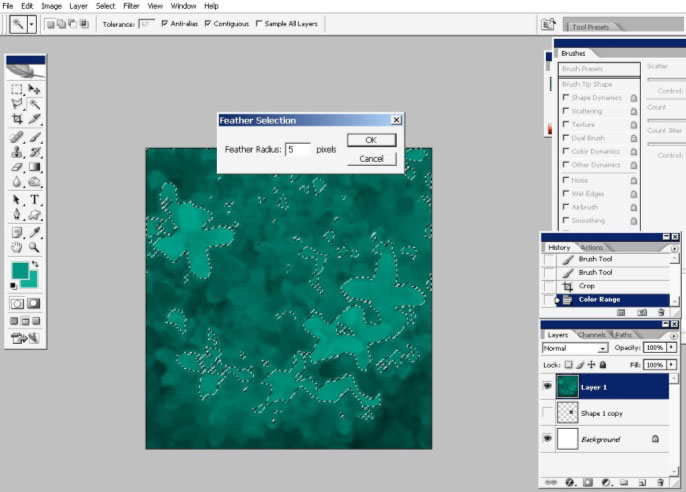
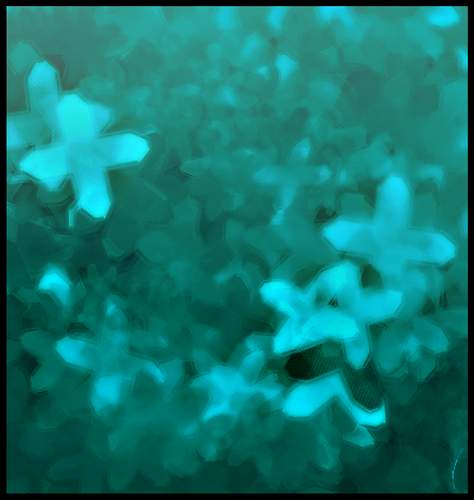
So I will just select the most lighten areas using color range tool.
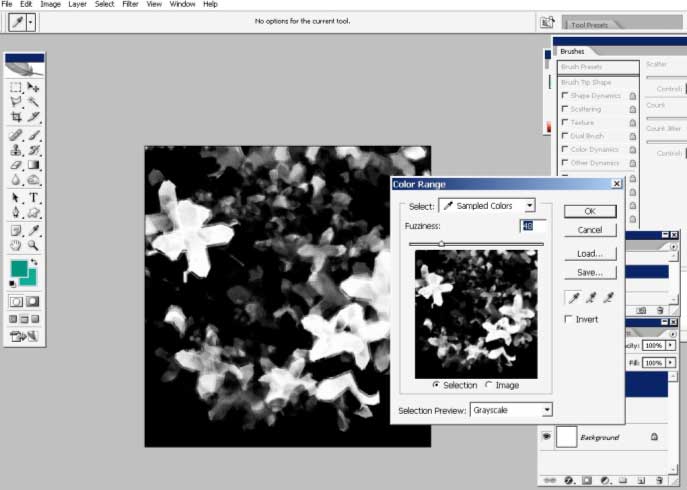
Further the selection a little bit and copy them to a new layer using layer via copy command.

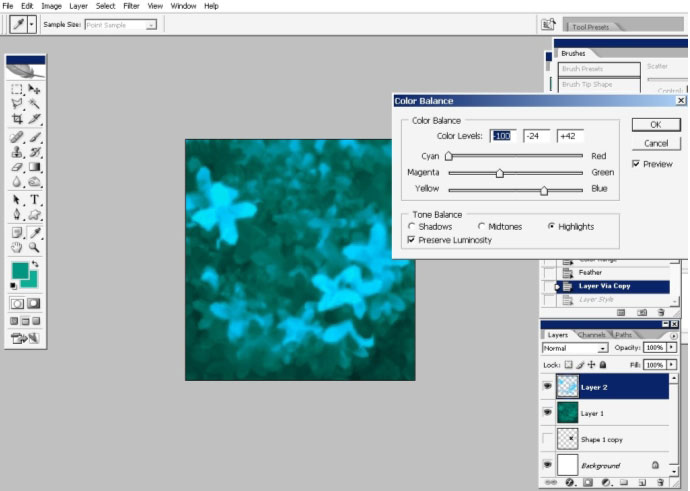
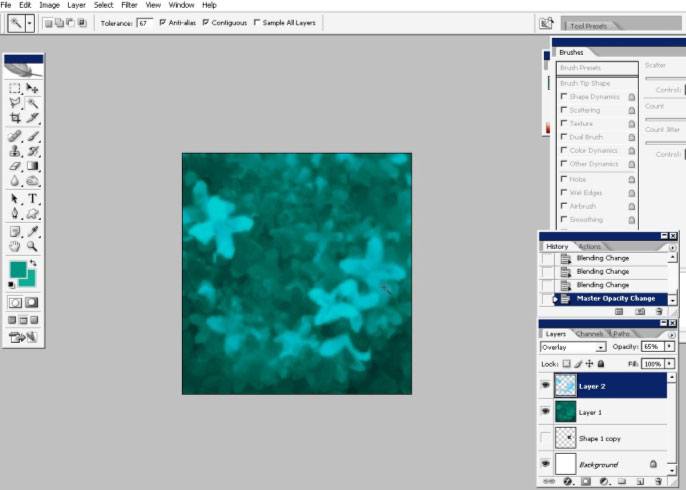
Now adjust the layer that you’ve just made.
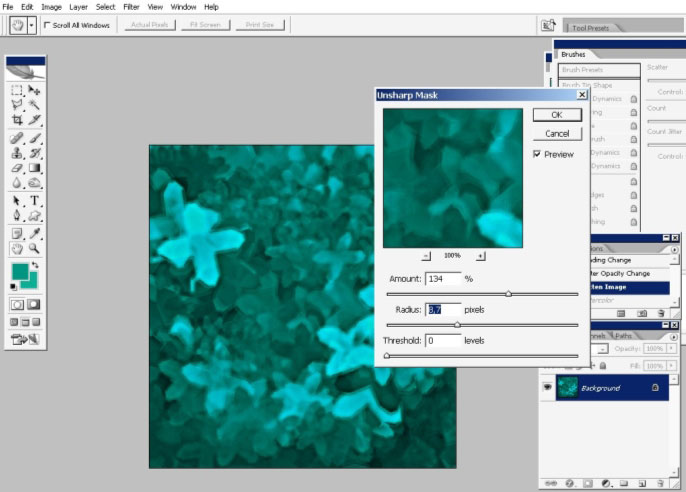
And the final step: Filters> Sharpen> Unsharpened Mask
and a hardly seen blue to transparency gradient form the top.
I took me about 5 -10 minutes to paint this one, because of the brushes and brush settings.
So practice with your brushes a lot I helps a lot in digital world.
AAAnd my abstract flowers are done here.
You are free to download my Antiscale brush pack (16_Mb)
http://designstacks.net/Jeka/MyAntiscaleBrushSet.abr
Comments