
How to create stylized greeting card with Christmas baubles in Photoshop CS5
In the following Quick Tip tutorial you will learn how to use Custom shapes, Ellipse Tool, and Gradients in Photoshop CS5 to create Christmas greeting card with stylized golden baubles. You can use these techniques and elements to create your own greeting card!
Final Image Preview

Start working by creating a new document (Ctrl+N) in Adobe Photoshop with the size 1280px by 1024px (RGB color mode) at a resolution of 300 pixels/inch. Take now the Rectangle Tool (U) and draw a rectangle on the whole canvas.
Click on Add a layer style icon from bottom part of the Layers panel and select GradientOverlay.
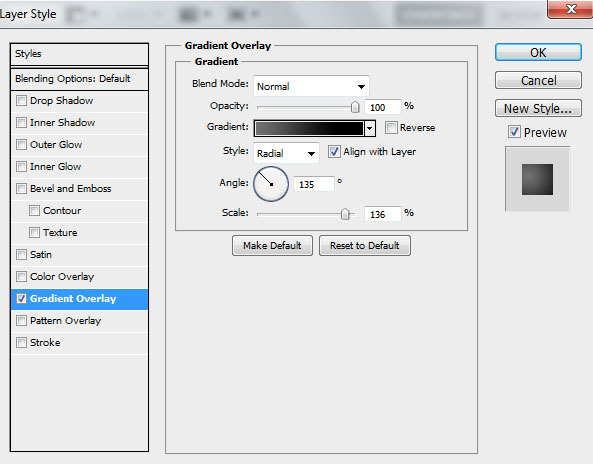

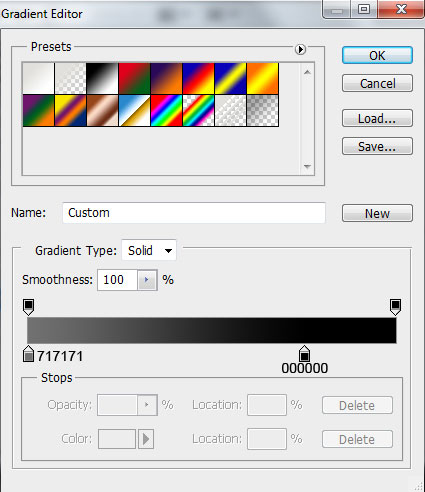
Click in the color bar to open the Gradient Editor and set the color stops as shown. Click OK to close the Gradient Editor dialog box.
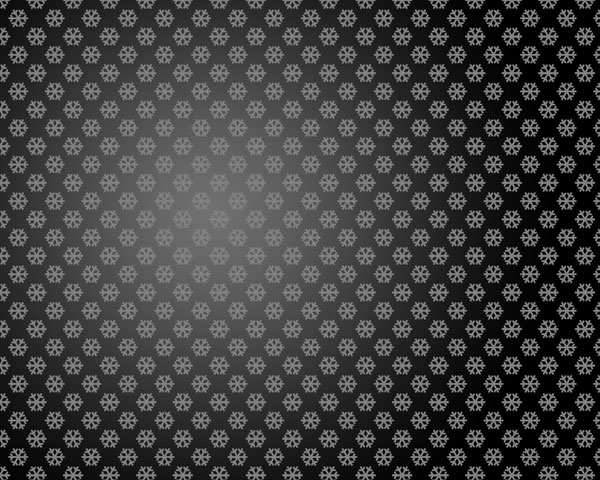
We’ve got the next background:

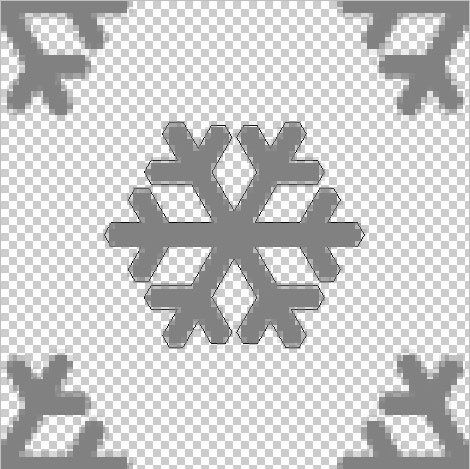
Next we have to create a pattern. First create a new document (Ctrl+N) in Adobe Photoshop with the size 78px by 78px (RGB color mode) at a resolution of 300 pixels/inch.
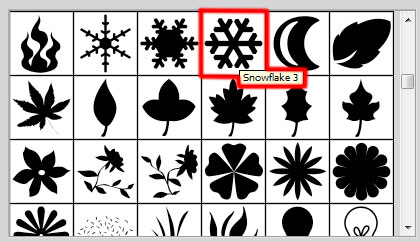
Select the Custom Shape Tool (U) in the Tools bar, in the Options bar click the Shape to open the selection menu. Find Snowflake 3 at the bottom of the menu, and then double-click a shape thumbnail to select it.
Draw several snowflakes with #818181 color on the central part and on the edges.
Choose Edit > Define Pattern. Enter a name for the pattern in the Pattern Name dialog box. Get back to the main document and represent a new layer (Create new layer) and choose Edit > Fill. In the Fill dialog box, for Use, choose Pattern, select recent created pattern from the pop-up panel, and click OK.
Set Fill to 9% for this layer.

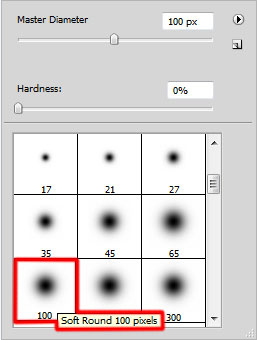
Insert the mask on the layer by choosing Add layer mask on the bottom part of the Layers panel and choose the Soft Round brush of black color (set Opacity to 20% in Options bar).
Paint in the mask using this brush to hide the snowflakes on the edges of the canvas.

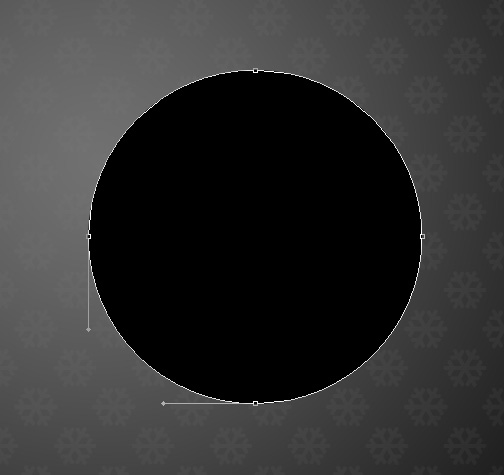
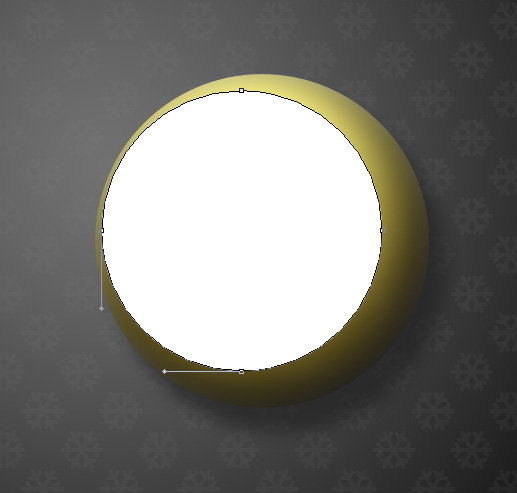
Now we have to represent a Christmas bauble, select the Ellipse Tool (U) and draw the next ellipse.
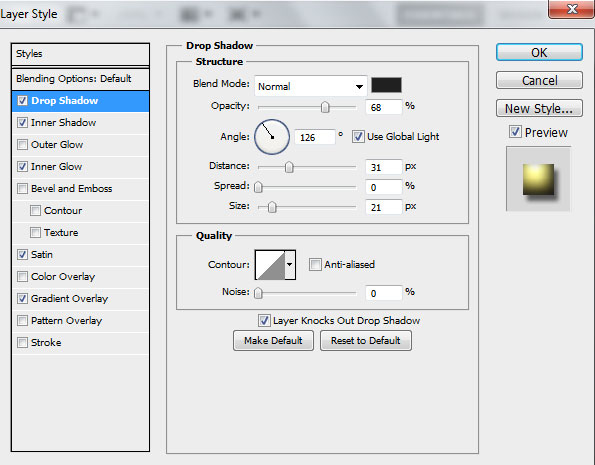
Click on Add a layer style icon from bottom part of the Layers panel and select Drop Shadow.
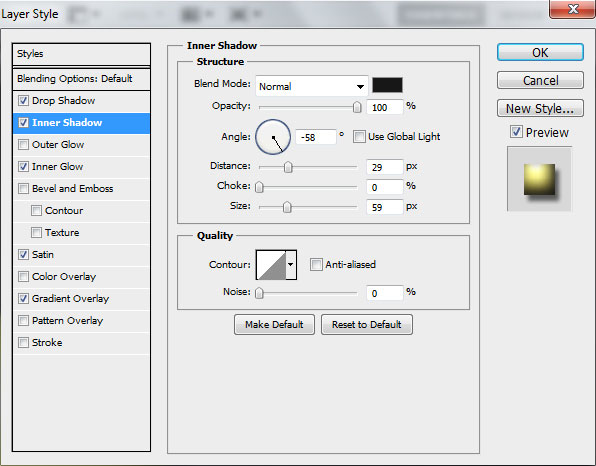
Add Inner Shadow.
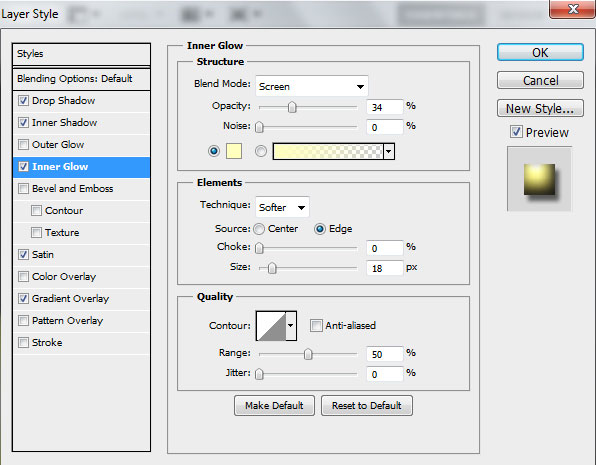
Go to Inner Glow.
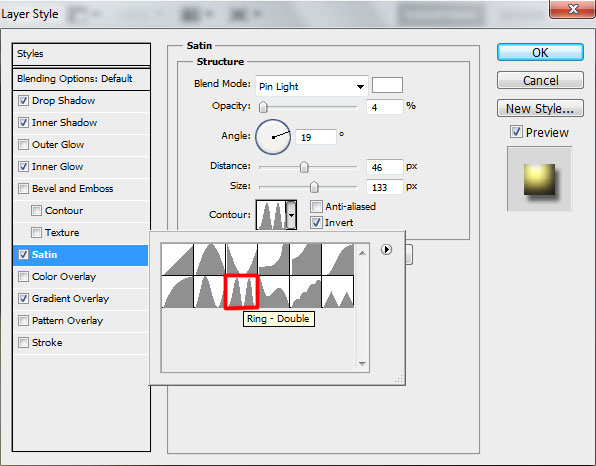
Add also Satin.
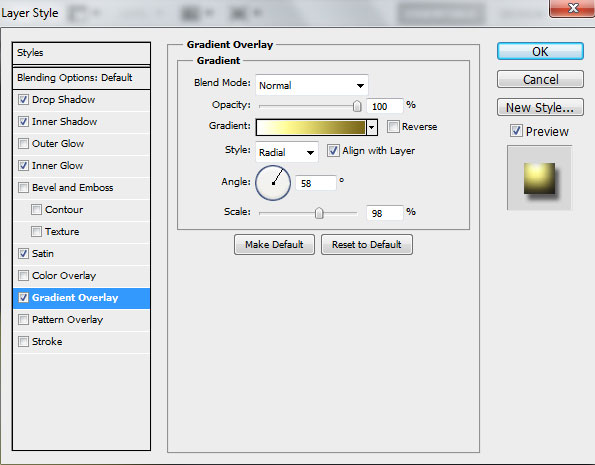
Apply Gradient Overlay.
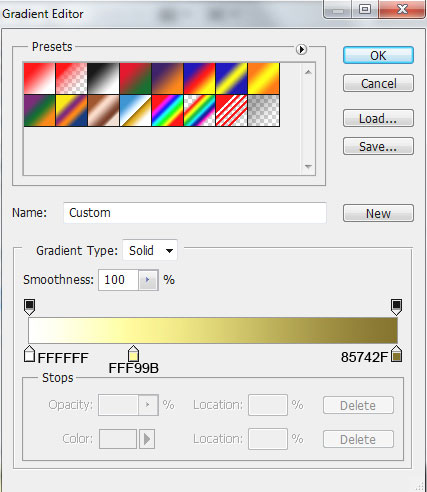
Click in the color bar to open the Gradient Editor and set the color stops as shown. Click OK to close the Gradient Editor dialog box.
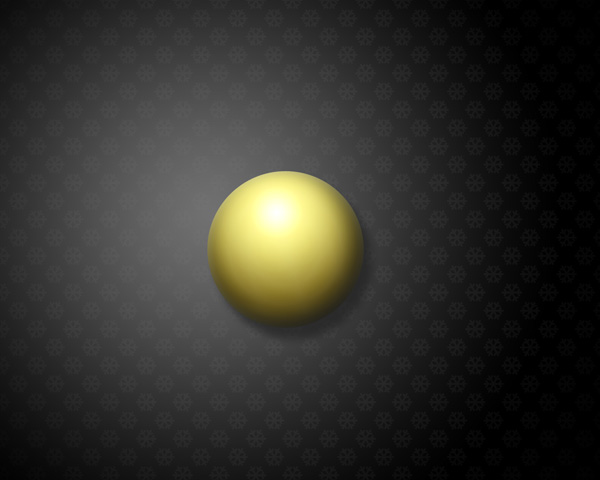
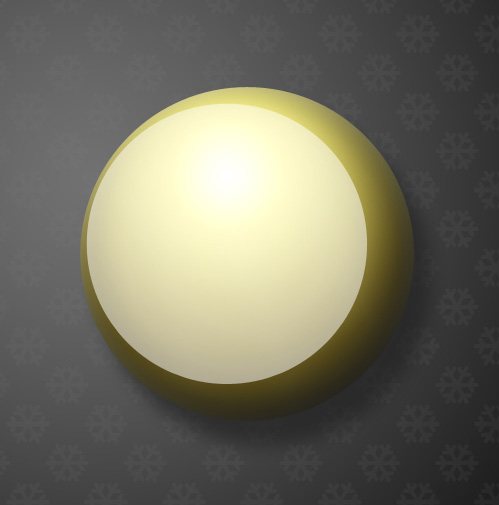
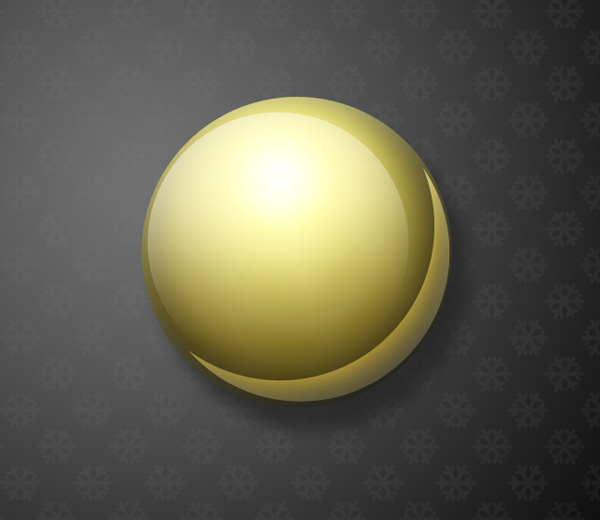
We’ve got the next bauble:
Let’s represent now a highlight on the bauble, using the same Ellipse Tool (U).
Set Fill to 53% for this layer.
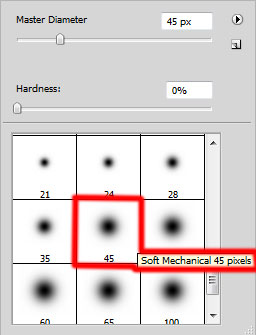
Insert the mask on the layer by choosing Add layer mask on the bottom part of the Layers panel and choose the Soft Mechanical brush of black color (set Opacity to 15% in Options bar).
Paint in the mask using this brush to hide the next zones on the highlight layer as it is demonstrated below:
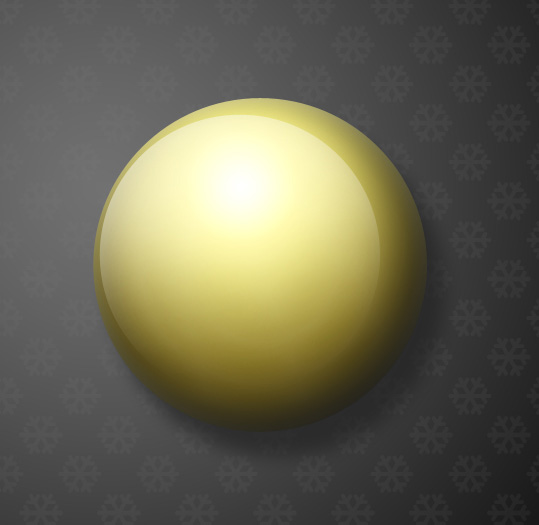
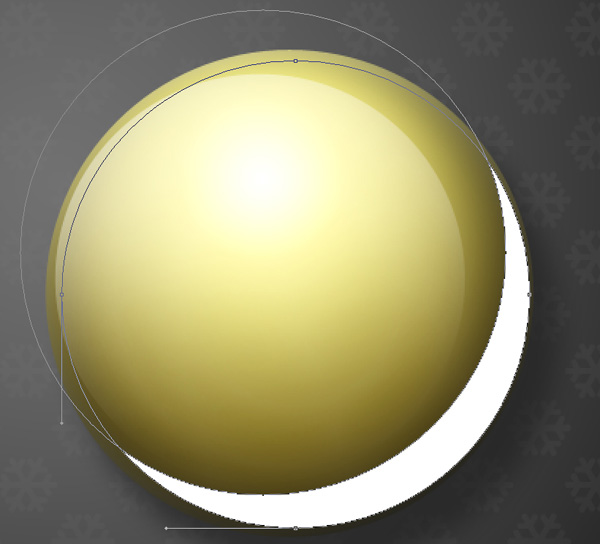
Now we’ll represent the highlight on the bototom part of the bauble, use the Ellipse Tool (U) to draw the first ellipse. Press Alt button or select Subtract from shape area (-) from Options bar and draw another ellipse to cut the top part as shown.
Set Fill to 53% for this layer and change the Blending mode for this layer to Vivid Light.
Page: 1 2
Comments