
How to create Greeting Card with Christmas ball and Green Ribbon in Adobe Photoshop CS6
Using the Pen Tool (P) and the Convert Point Tool, we’ll draw next the support element for the Christmas ball. We need to represent for the beginning the anchor points, marking the contour of the element to be. Then select the Convert Point Tool to correct the final shape.

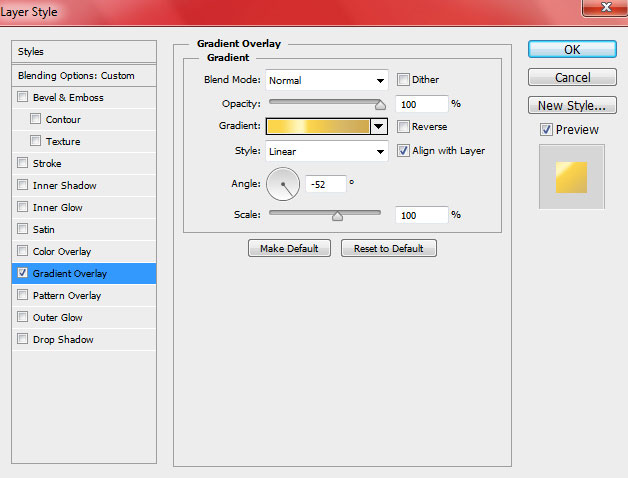
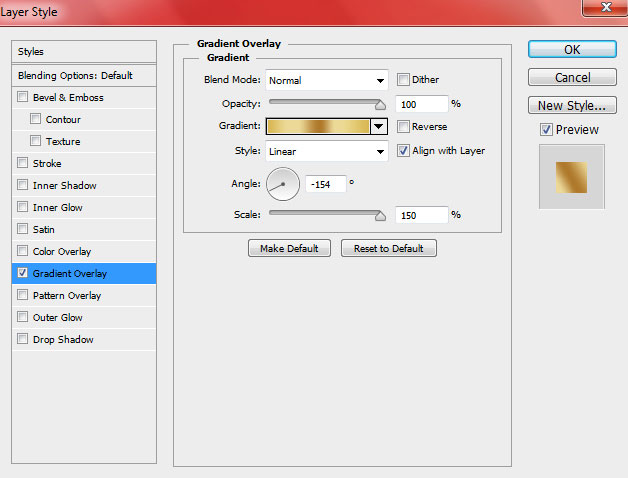
For the layer containing the ball’s support element click on Add a layer style icon from bottom part of the Layers panel and select Gradient Overlay.
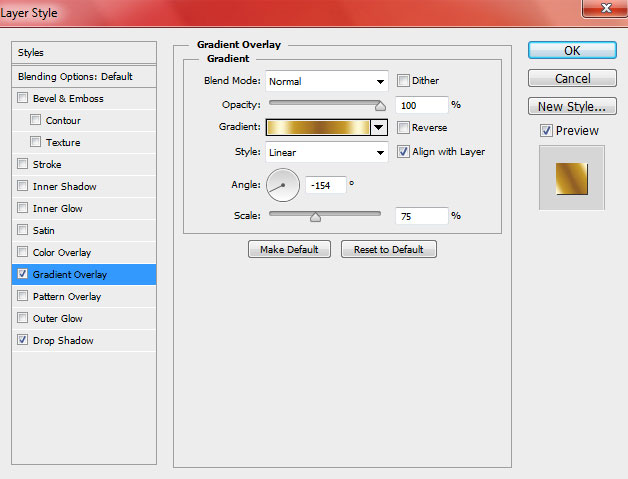
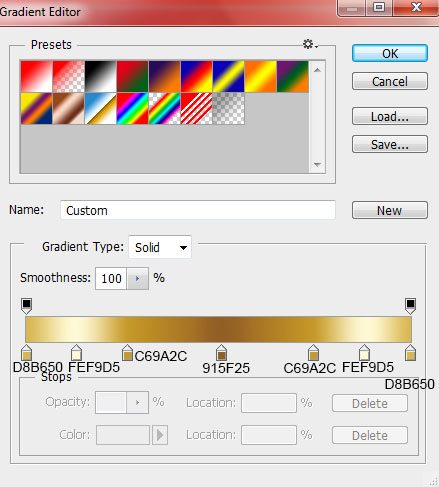
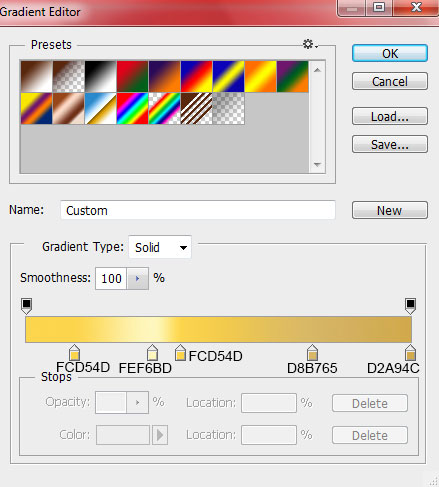
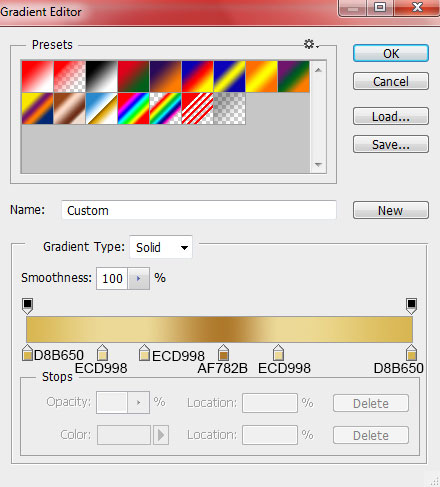
Click in the color bar to open the Gradient Editor and set the color stops as shown. Click OK to close the Gradient Editor dialog box.

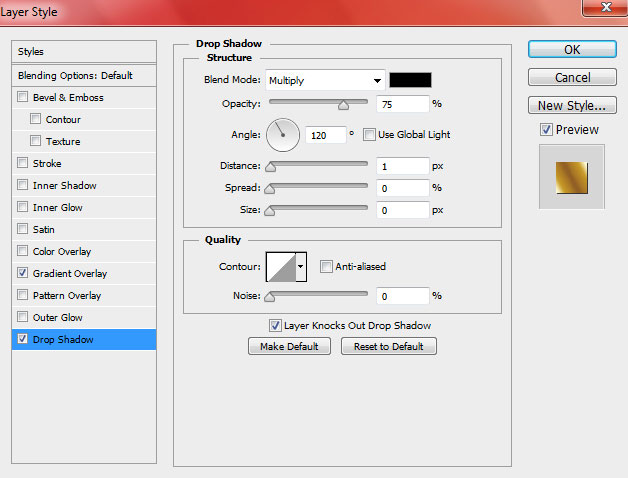
Add Drop Shadow:
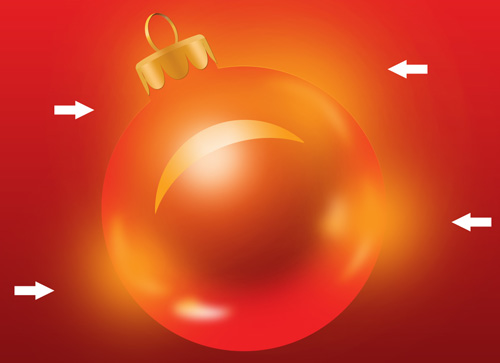
We’ve got the next result:

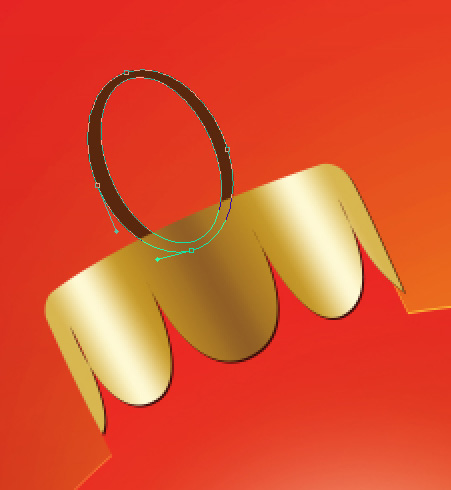
Using the Ellipse Tool (U), we’ll represent a small ring on the support. For the beginning we’ll draw the first ellipse. Press Alt button or select Subtract from shape area (-) from Options bar and draw another ellipse to cut the middle part of the ring as shown. The ring’s layer must be situated under the layer containing the ball’s support element. The ring color is #59270D.
Set Fill to 74% for this layer.

Make a copy of the last made layer and choose the Free Transform (Ctrl+T) command to displace the copy’s layer to the left the same way demonstrated below. This layer will be situated also lower than the layer containing the support element of the Christmas ball.

Click on Add a layer style icon from bottom part of the Layers panel and select Gradient Overlay.
Click in the color bar to open the Gradient Editor and set the color stops as shown. Click OK to close the Gradient Editor dialog box.
We’ve got the next result:

Make a copy of the recently made ring’s layer and then remove the Gradient Overlay style and fill the layer with the next color: #541715.

Set the Blending mode for this layer to Darker Color.
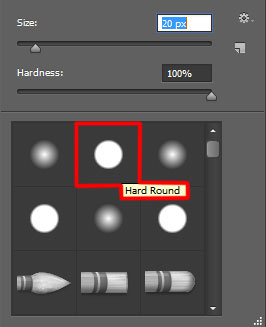
Insert the mask on the layer we’ve got by choosing Add layer mask on the bottom part of the Layers panel and choose the Hard Round brush of black color.
Paint in the mask to hide the layer leaving only a small darkness inside the ring. Apply a brush of different Hardness and different Opacity values.

Represent now a highlight element on the ball’s support above the layer containing the support itself. Use the same tools: the Pen Tool (P) and the Convert Point Tool.
Click on Add a layer style icon from bottom part of the Layers panel and select Gradient Overlay.
Click in the color bar to open the Gradient Editor and set the color stops as shown. Click OK to close the Gradient Editor dialog box.
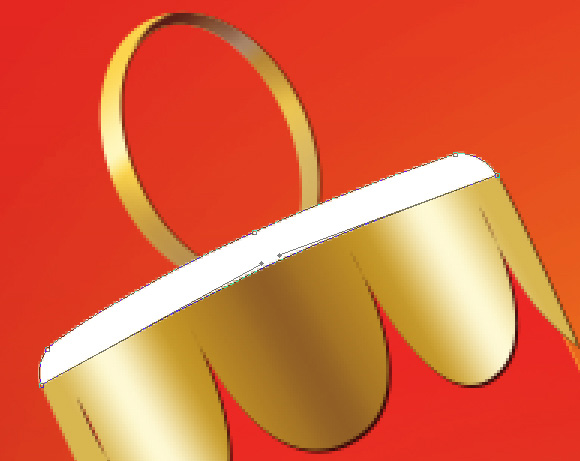
We’ve got the next result:

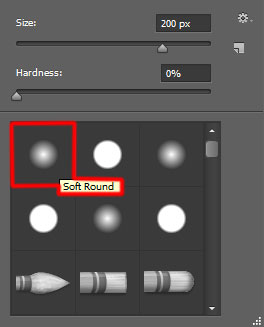
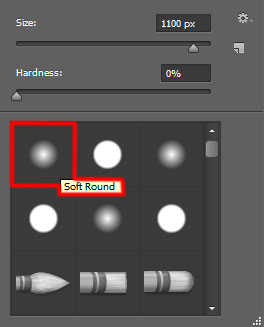
Create a new layer again and select the Soft Round brush from Brush Tool (B).
Use this brush to add some spot the same way shown on the next picture, using the color #F68700 (brush Opacity – 30%).
Set Fill to 67% for this layer and change the Blending mode to Color Dodge.

Hold Ctrl button and click on the very first ball’s layer in Layers panel to get the next selection.

Select the layer with the brush in Layers panel and click on the bottom part of the Layers panel on Add layer mask to cut the brush’s layer around the ball:

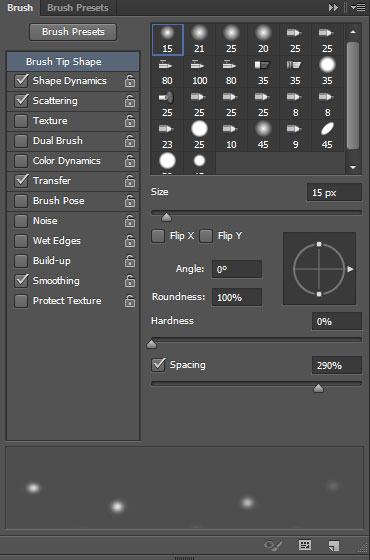
Create a new layer and select the Soft Round brush from Brush Tool (B). We need to customize our brush in Brushes panel (F5), select the Brush Tip Shape. Click and drag any of the sliders to change the size, the spacing and brush angle as show. The Preview window displays the changed brushstroke.
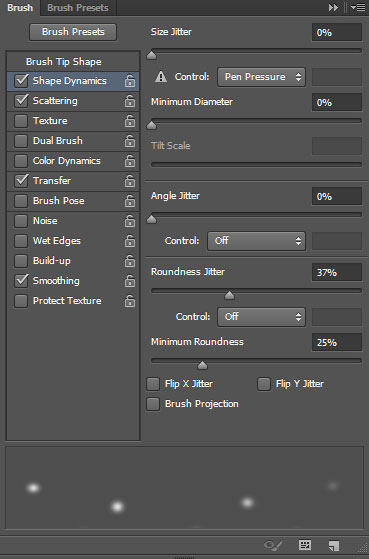
Go to Shape Dynamics and apply the next settings:
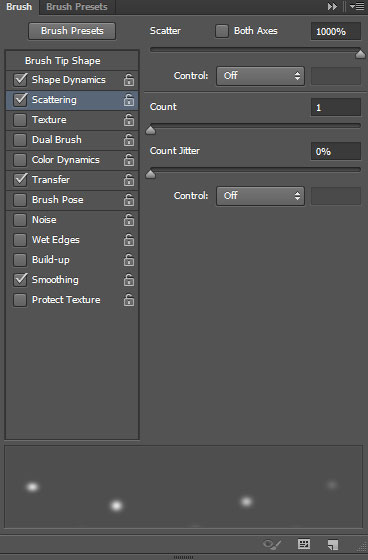
Apply Scattering:
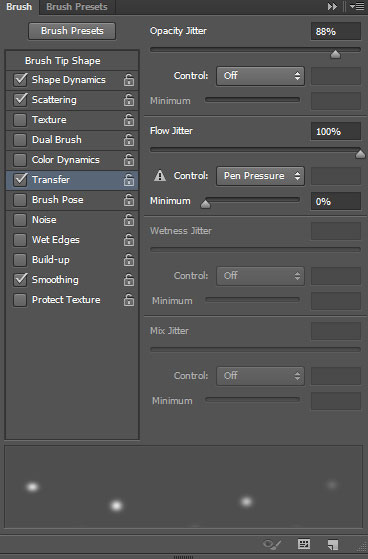
Go to Transfer:
Now you can use this brush of white color to represent the snow (brush Hardness – 100%).

Set the Blending mode for this layer to Overlay.

Make a copy of the last made layer and change the Fill to 40% on the copy’s layer, also set the Blending mode to Normal.

Create a new layer and apply the same brush before of white color, Opacity – 60%, Hardness – 0%.

Make a copy of the recently made layer with the brush:

Next we’ll draw a ribbon that would contain the greeting text. Choose the Pen Tool (P), set the drawing mode on Shape Layers in Options bar and draw the next shape as shown with #299546 color. Use Convert Point Tool to correct the shape. The ribbon’s layer must be situated under the layer containing the brush used when representing the snow.

Create a new layer above the ribbon’s one and select the Soft Round brush from Brush Tool (B). The brush’s color is #91CD00 (Opacity 40%).
Add two big spot on the ribbon’s edges on the left and right sides. On the left side we’ll apply additionally the yellow color.

Hold down Alt (Windows) or Option (Mac OS) and click between the brush’s layer and the ribbon’s layer in the Layers panel to create a clipping mask.
We’ve got the next result:

Comments