
How to Create Greeting Card for Valentine’s Day with Cute Glossy Hearts in Adobe Photoshop CS6
Make three copies of the recently made layer containing the dashed line and choose the Free Transform (Ctrl+T) command to change the copies’ sizes, placing them the same way indicated below.

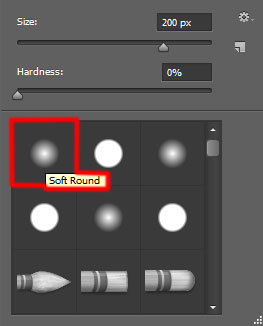
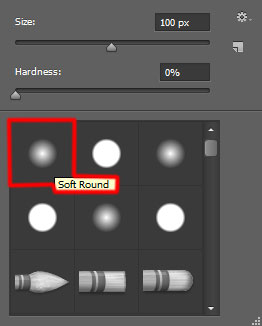
Create a new layer and select the Soft Round brush of white color (brush Opacity – 60%).

Use this brush to paint above the circles as shown:


Set the Blending mode for this layer to Overlay.

Create a new layer and select for it the same Soft Round brush mentioned in the previous example to paint above the rings with the color #FFE400 (brush Opacity – 7%):

Set Fill to 60% for this layer and change the Blending mode to Hard Mix.

Create a new layer again, choosing for it the Soft Round brush.
Use this brush to paint again above the rings with the color #FE0042 (brush Opacity – 20%):

Set the Blending mode for this layer to Overlay.

Next we’ll draw a small heart, using the Pen Tool (P) and the Convert Point Tool. Using the Pen Tool (P), insert the anchor points of the shape, but the second tool may be used when correcting the heart’s shape.

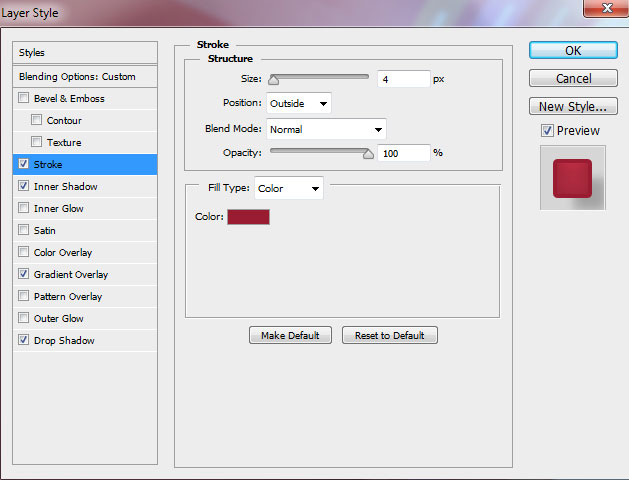
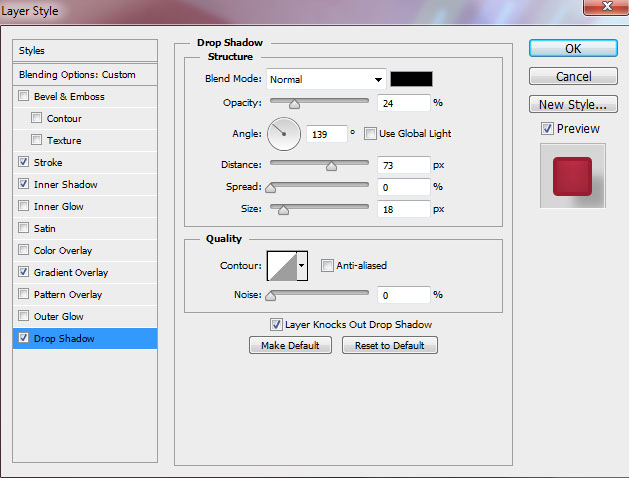
Set Fill to 0% for this layer and click on Add a layer style icon from bottom part of the Layers panel to select Stroke.
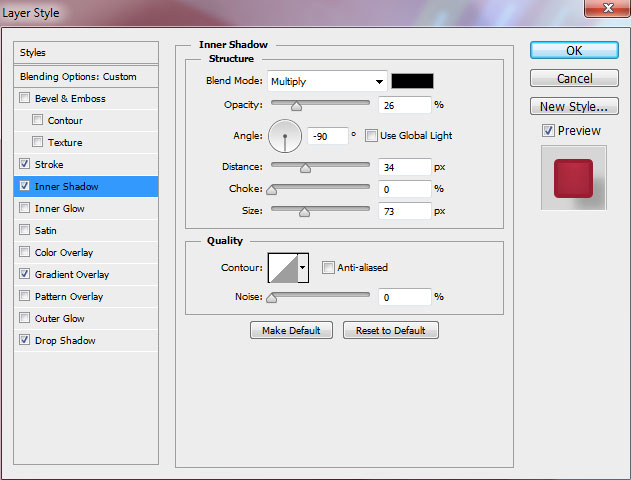
Add Inner Shadow:
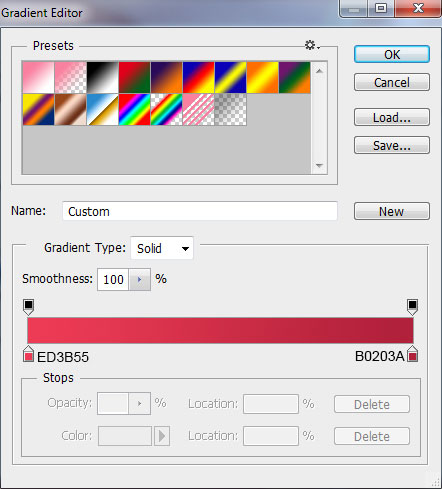
Apply Gradient Overlay:
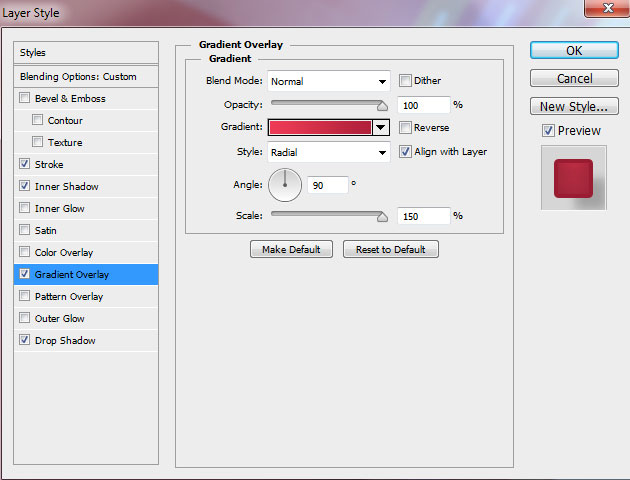
Click in the color bar to open the Gradient Editor and set the color stops as shown. Click OK to close the Gradient Editor dialog box.
Add Drop Shadow:
We’ve got the next result:

Now we’ll insert a highlight on the heart, applying the Ellipse Tool (U).

Make sure that highlight’s layer is active in Layers panel and hold CTRL button when clicking on the heart’s layer on the Layers panel to get the next selection:

Insert the mask on the highlight’s layer by choosing Add layer mask on the bottom part of the Layers panel.

Set Fill to 32% for this layer.

Rasterize now the highlight’s layer. In this case create a new layer above the old one and select them both layers in Layers panel. Press CTRL+E to Merge Down. Using the Free Transform (Ctrl+T) command, displace a little the rasterized layer.

Make sure that highlight’s layer is active in Layers panel and hold CTRL button when clicking on the heart’s layer on the Layers panel to get the next selection:

Insert the mask on the highlight’s layer the same way we did before, this time, cutting out a part of the highlight’s element.

Choose in the mask a Soft Round brush of black color (brush Opacity – 15%).
Paint in the mask using this brush to hide out the highlight’s edges:

Create a new layer and hold Ctrl button when clicking on the layer containing the heart in Layers panel to get the next selection:

Use the Paint Bucket Tool (G) on the new layer to fill the selection with the color #700E19:

Press Ctrl+D to remove the selection. Insert the mask on this layer by choosing Add layer mask on the bottom part of the Layers panel and choose the Soft Round brush of black color.

Paint in the mask using this brush to hide the heart on its central part.

Comments