
How to create elegant Christmas postcard with ornamented ball in Photoshop CS5
Now select the Pen Tool (P), set the drawing mode on Shape Layers in Options bar and draw the loop of the color #FFF962.
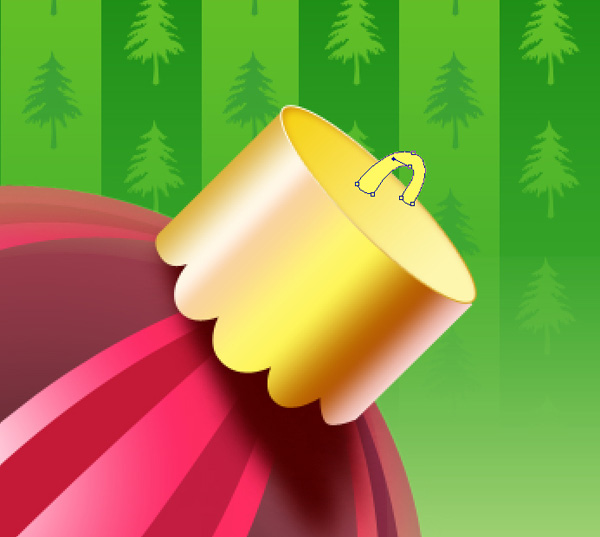
Click on Add a layer style icon from bottom part of the Layers panel and select Bevel and Emboss.
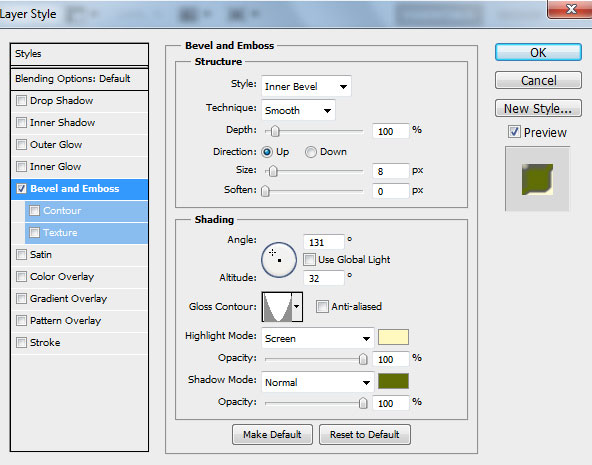
We’ve got the next result:


Now we have to create the ring for the loop, take the Ellipse Tool (U) and represent the first ellipse and then press Alt button or select Subtract from shape area (-) in Options bar and draw the next ellipse to cut the middle part of the first ellipse. The color is #F0F230. The ring’s layer will be situated under the layer with the loop.
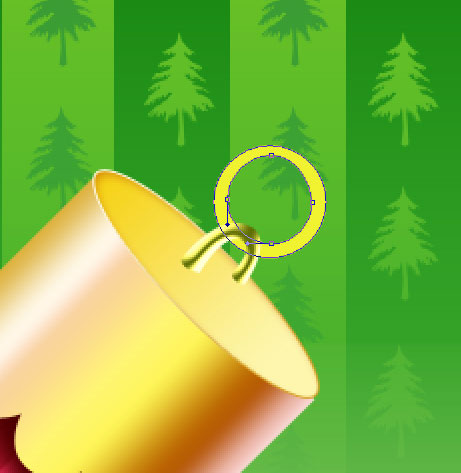
Click on Add a layer style icon from bottom part of the Layers panel and select Bevel and Emboss.
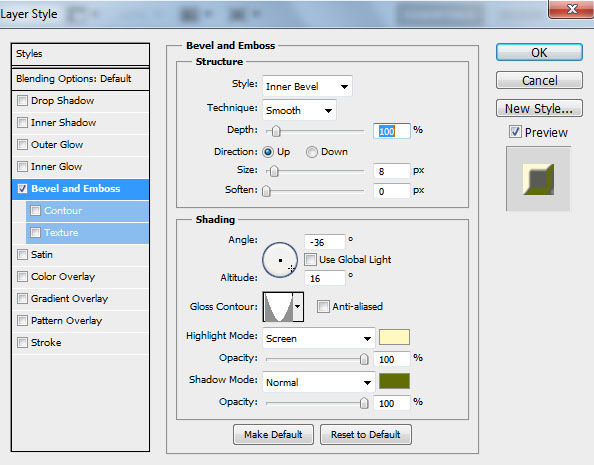
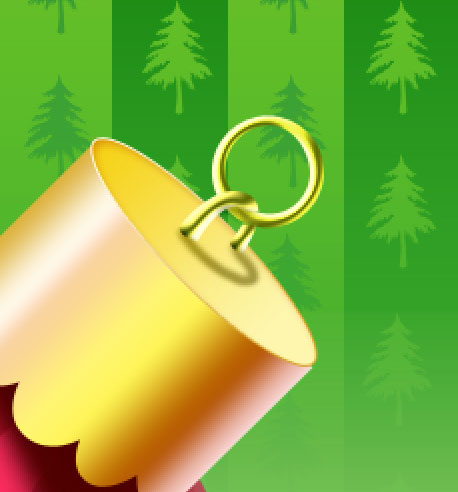
We’ve got the next result:

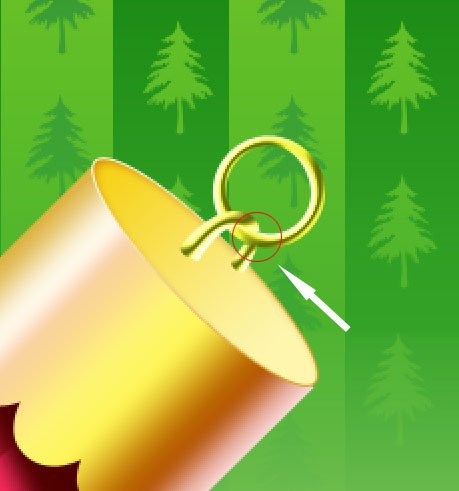
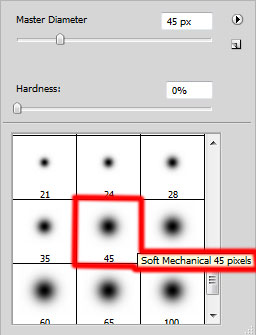
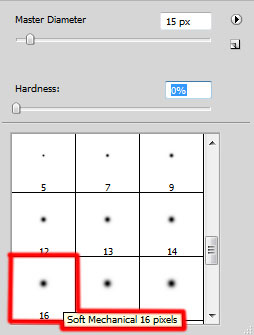
Insert the mask on the loop’s layer by choosing Add layer mask on the bottom part of the Layers panel and choose the Soft Mechanical brush of black color.

Paint in the mask using this brush to hide the next part from layer.
Create a new layer and select the Soft Mechanical brush of black color.

Use this brush to represent the shadow from the loop.

Set Fill to 45% for this layer and change the Blending mode to Linear Burn.
Create a new layer and select the Soft Mechanical brush of white color.
Use this brush to represent the highlight on the ball and its support. On the ball it may be created with a brush of bigger diameter and smaller Opacity value.

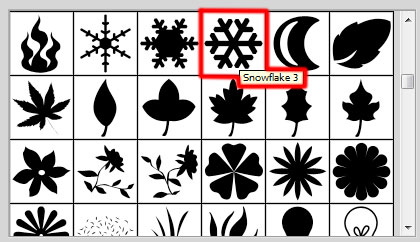
Select the Custom Shape Tool (U) in the Tools bar, in the Options bar click the Shape to open the selection menu. Find Snowflake 3 at the bottom of the menu, and then double-click a shape thumbnail to select it.
Drag to draw the next snowflakes on the ball’s ornament. Foreground color is #FF9023.

Combine in a group all the layers with the snowflakes, press CTRL button to select the necessary layers and hold on the left mouse’s button while dragging the selected layers on Create a new group icon from bottom part of the Layers panel. Press CTRL+E to Merge Down all layers into a single one. Make a copy of the new rasterized layer. Next we need to warp this layers with snowflakes, select Free Transform command by pressing Ctrl+T, click the Switch Between Free Transform And Warp Modes button in the Options bar.
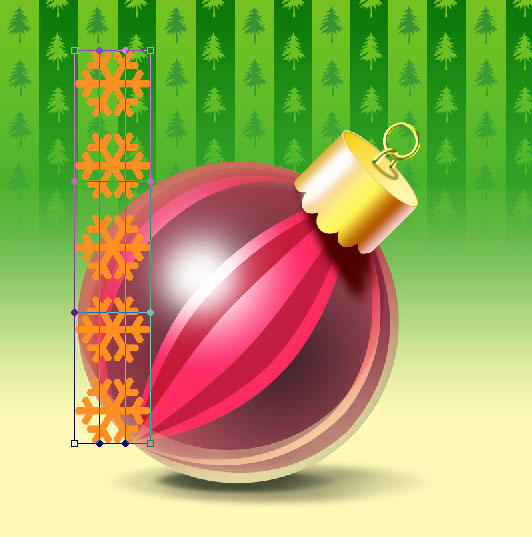
Use the control points to distort the layer the same way as it is shown below:

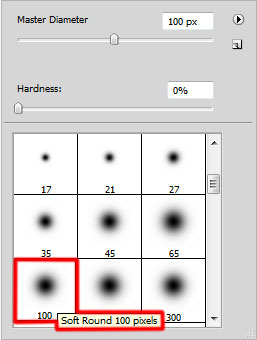
Insert the mask on the snowflakes’ layer by choosing Add layer mask on the bottom part of the Layers panel and choose the Soft Round brush of black color (set Opacity to 20% in Options bar).
Paint in the mask the same way we did before and hide the next part from layer. Set the Blending mode for this layer to Lighten.

The same things we have to do with the other rasterized layer with the snowflakes on it. Warp the layer with the Free Transform command and hide in the mask with the same brush the unnecesary part of the layer.

Click Create new fill or adjustment layer from bottom part of the Layers panel and click to Curves to adjust the curve shape as shown to make a little color corrections.
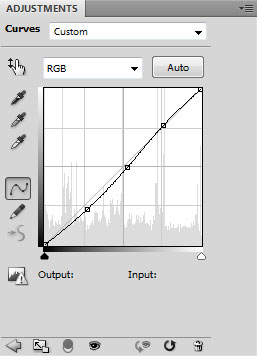
We’ve got the next result:

On this stage we’ll create a new layer and choose the Soft Mechanical brush. The color is #FE180E (set Opacity to 50% in Options bar).
Use this brush to represent the effect of ball’s shining through the bottom reflection. Smudge the brush’s layer on the left and right sides along the ball’s edge, using the Smudge Tool.

Insert the mask on the layer by choosing Add layer mask on the bottom part of the Layers panel and choose the Soft Mechanical brush of black color (set Opacity to 20% in Options bar).

Paint in the mask to hide the next zones as it is represented below.

Happy New Year and Merry Christmas!
View full size here.
Comments