
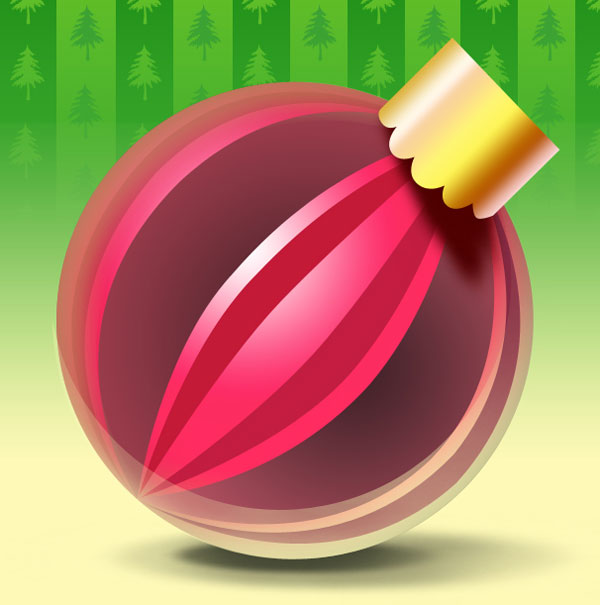
How to create elegant Christmas postcard with ornamented ball in Photoshop CS5
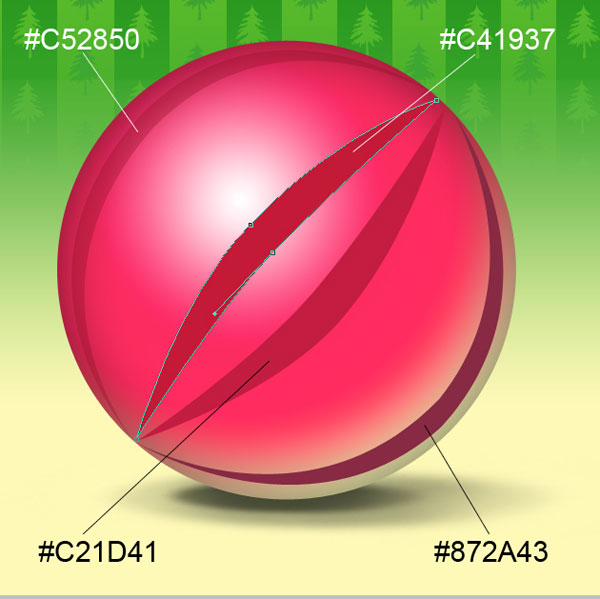
Now we have to decorate the ball with ornaments, use the Pen Tool (P), set the drawing mode on Shape Layers in Options bar and draw the next shapes as shown.
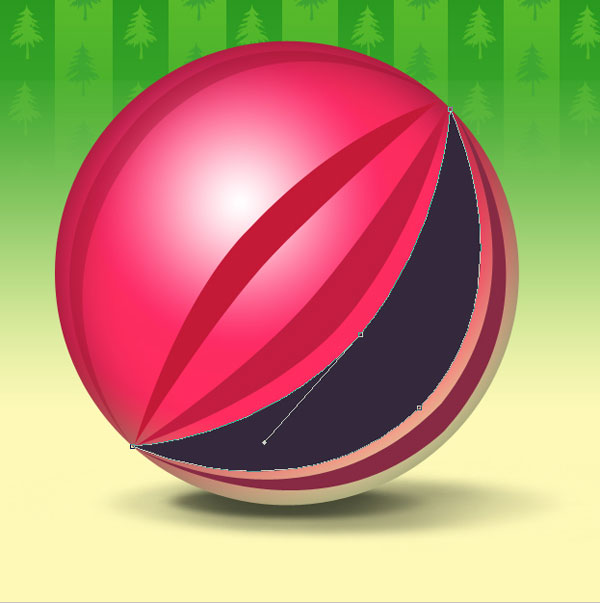
Next we have to use the same tool to add the next element on the ornaments.
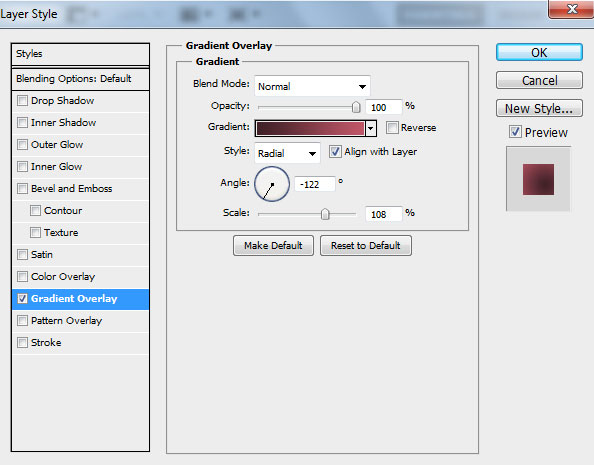
Click on Add a layer style icon from bottom part of the Layers panel and select Gradient Overlay.

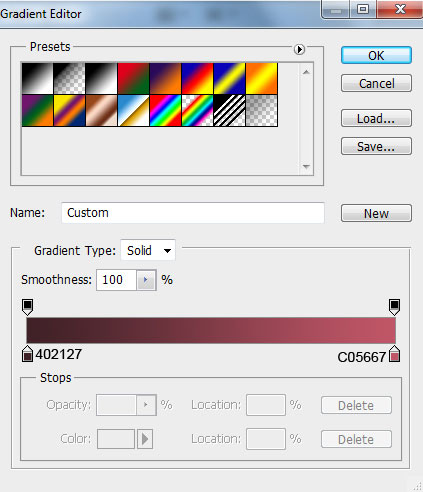
Click in the color bar to open the Gradient Editor and set the color stops as shown. Click OK to close the Gradient Editor dialog box.
We’ve got the next result:

Make a copy of the recently made layer with the shape and select the Free Transform (Ctrl+T) command to turn over the copy’s layer, placing it as below:

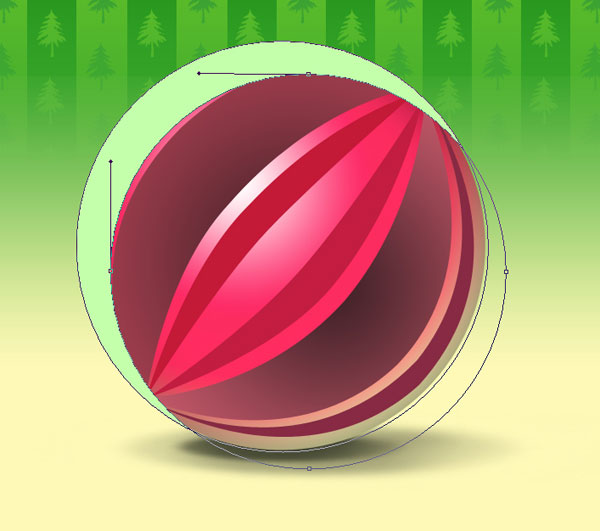
Let’s represent now the highlight on the top by representing firstly a ellipse with the Ellipse Tool (U), then press Alt button or select Subtract from shape area (-) from Options bar and draw another ellipse to cut the lowest part. The color is #C4FFAB.
Insert the mask on the layer by choosing Add layer mask on the bottom part of the Layers panel and choose the Soft Round brush of black color (set Opacity to 15% in Options bar).
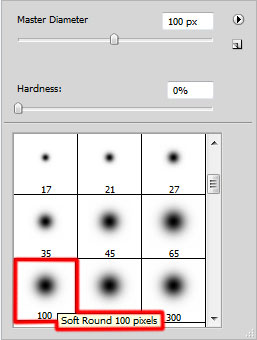
Paint in the mask using this brush to hide the highlight edges as below.
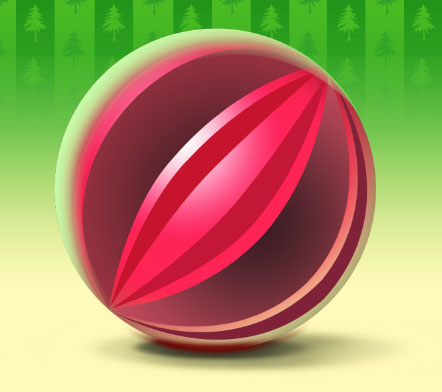
Set Fill to 40% for this layer and change the Blending mode for this layer to Hard Light.

Using the same tool and the same method applied earlier, we’ll represent the reflection coming out of the surface from the bottom part of the ball, having the color #FEF9B7.
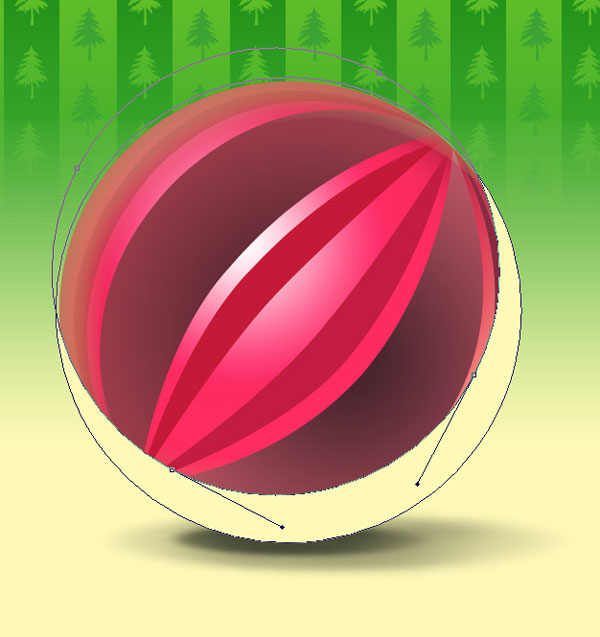
Insert the mask on the layer by choosing Add layer mask on the bottom part of the Layers panel and choose the Soft Round brush of black color (set Opacity to 15% in Options bar). Paint in the mask using this brush to change the visibility of the reflection.

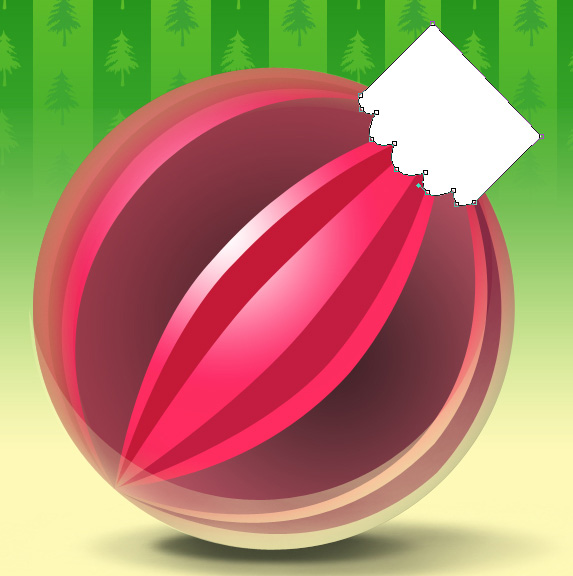
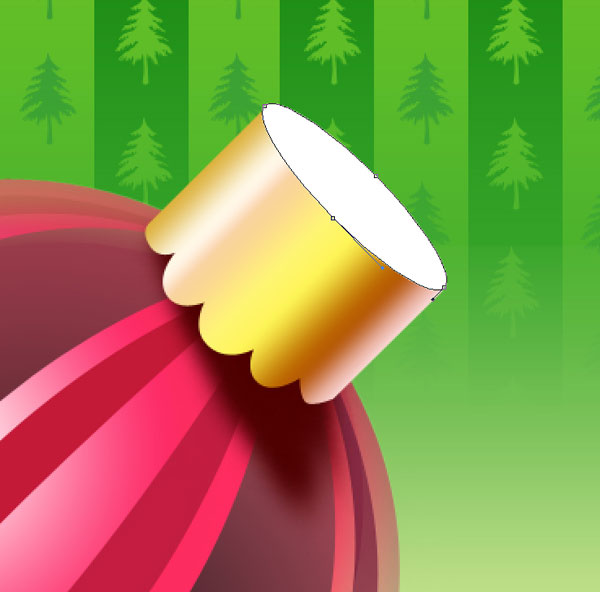
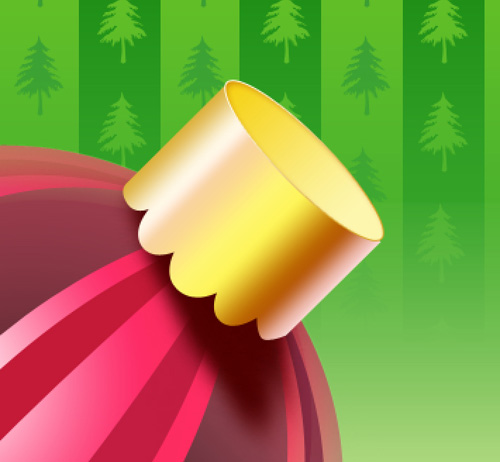
Now we have to represent the ball’s support, using the Rectangle Tool (U) draw a rectangle. Incline it a little with the Free Transform (Ctrl+T) command, use Add Anchor Point Tool to insert on the bottom part 9 anchor points, the shape may be corrected with the Convert Point Tool.
Click on Add a layer style icon from bottom part of the Layers panel and select Gradient Overlay.
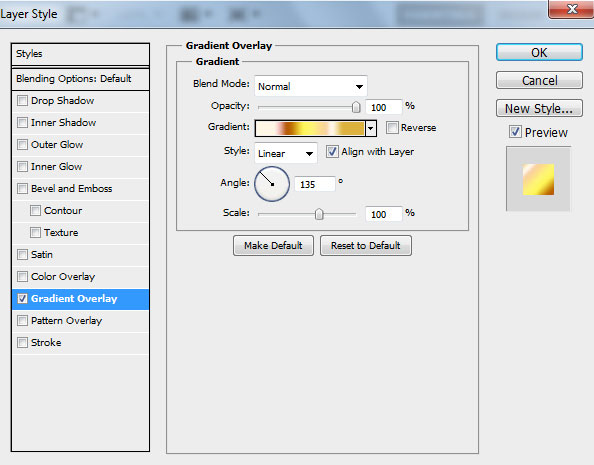
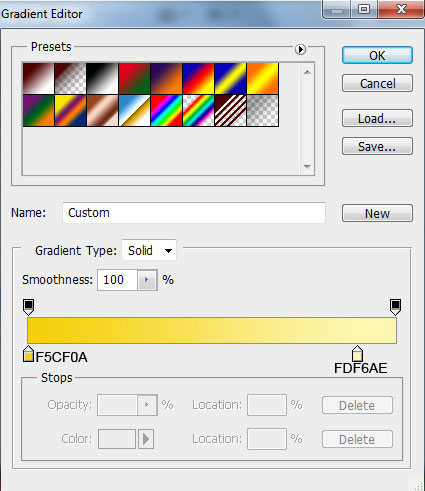
Click in the color bar to open the Gradient Editor and set the color stops as shown. Click OK to close the Gradient Editor dialog box.

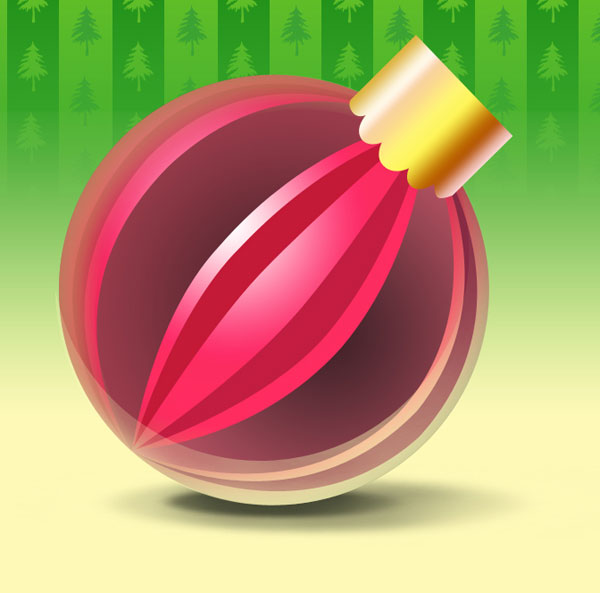
We’ve got the next result:
Create a new layer and select the Soft Mechanical brush of #4E0101 color.
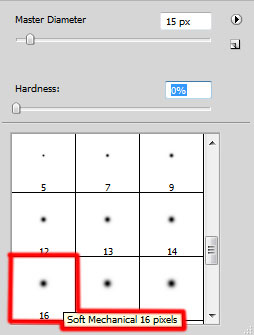
Use this brush to represent the shadow. The layer should be placed under the previous one.
Next we have to take the Ellipse Tool (U) to create the next element of the ball’s support.
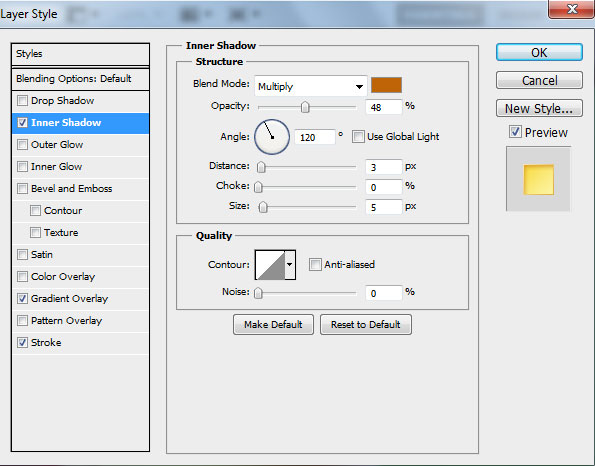
Click on Add a layer style icon from bottom part of the Layers panel and select Inner Shadow.
Add Gradient Overlay.
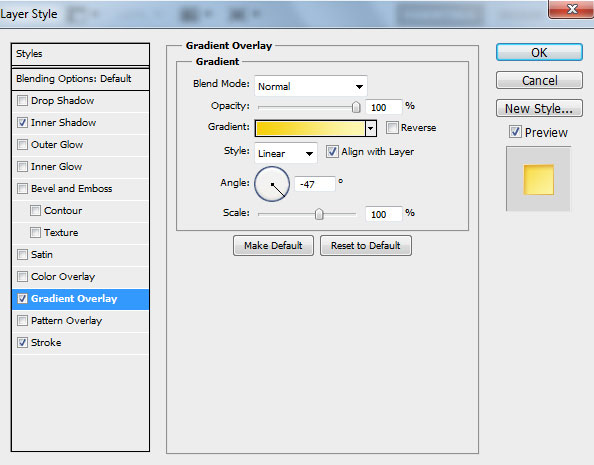
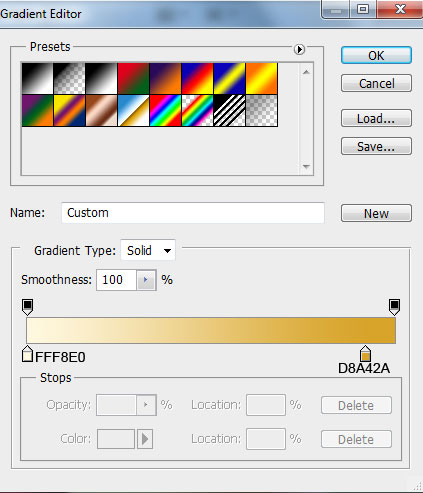
Click in the color bar to open the Gradient Editor and set the color stops as shown. Click OK to close the Gradient Editor dialog box.
Setting for Stroke:

Select File type – Gradient and click in the color bar to open the Gradient Editor and set the color stops as shown. Click OK to close the Gradient Editor dialog box.
We’ve got the next result:
Comments