
How to Create Bent Pipes in Photoshop
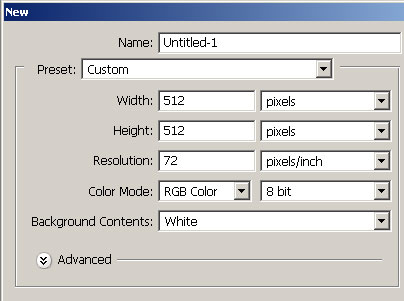
1. Create a new document with dimensions 512×512 pixels at 72 dpi
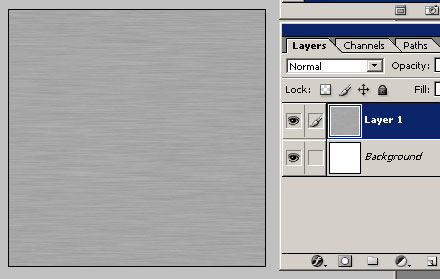
2.Create a new layer. Place the brushed metal texure on this layer.
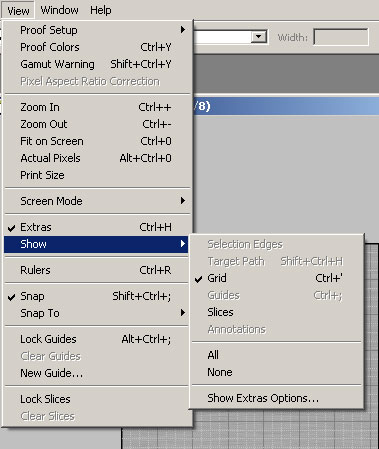
3.Enable the snap and grid features.

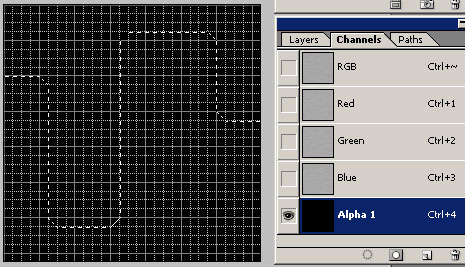
4. Using the polygonal lasso tool, create a selection similar to the one below:

5. Create a new channel in the channels palette
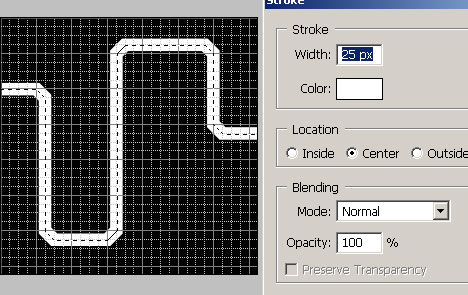
6. Select Edit > Stroke and stroke the selection with white, 25px
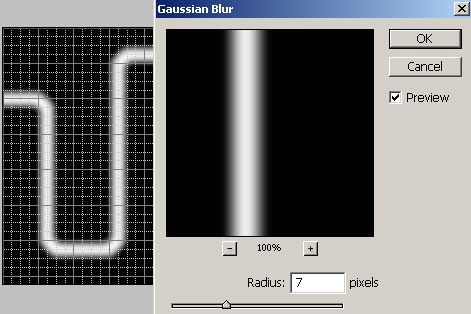
7. Press Ctrl + D to deselect the selection. With the new channel still open, select filter > blur > gaussian blur of about 7 pixels
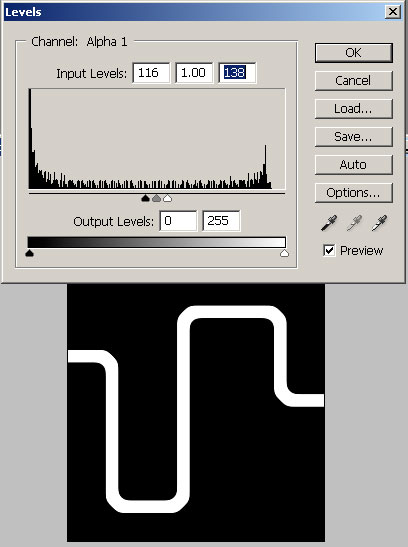
8. Next, choose Image > Adjust > Levels, and move the markers toward the center. This creates the rounded corners.
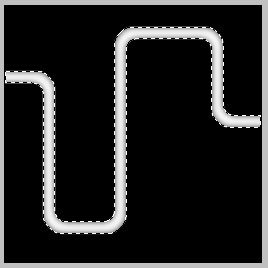
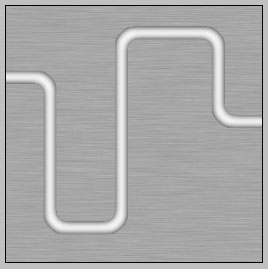
9. Now that we’ve created a rounded corner selection through the use of the alpha channel, it’s time to create the pipe. Ctrl + click the channel to load the selection, and apply the gaussian blur filter again with the same settings as before. Your image should now look like this:
10. Now press Ctrl + C to copy the pixels in the selection.
11. In the layers palette, paste the copied pixels. The image should look like the one below:
12. Desaturate this new bent pipe layer by choosing Image > Adjustments > Desaturate
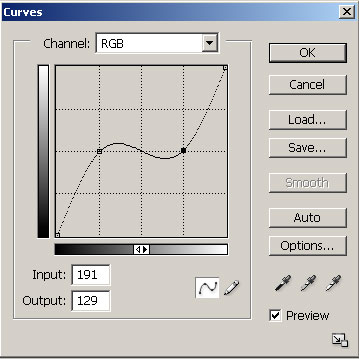
13. To give the pipes a shinier look, choose Image > Adjustments > Curves, and adjust the curves as shown below:
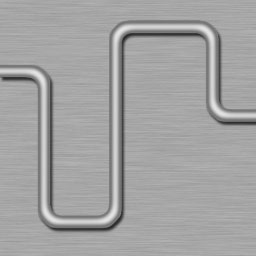
14. Add a drop shadow so that your image looks like this:
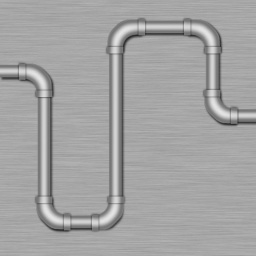
15. Now we need to make some fittings to make the pipe look more realistic.
a) create a small rectangular selection around one of the rounded corners of the pipe.
b) right click the selection and choose layer via copy.
c) select Edit > Transform > Scale and scale the fitting so that it’s slightly larger than the pipe.
d) apply a slight drop shadow to the fitting layer.
Your finished image should look something like this:
Comments