
How to Create a Beautiful Abstract Artwork using Light Effects in Photoshop CS5
Insert the mask now on the Hue/Saturation adjustment layer by choosing Add layer mask on the bottom part of the Layers panel. Then select the mask and press CTRL+I to Inverse the color. Choose the Soft Round brush of white color.

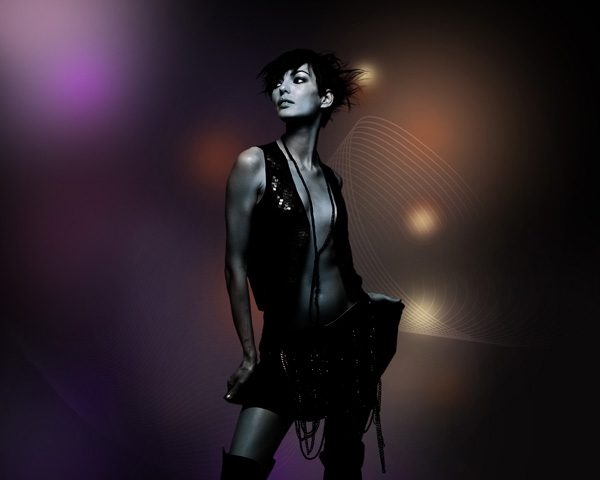
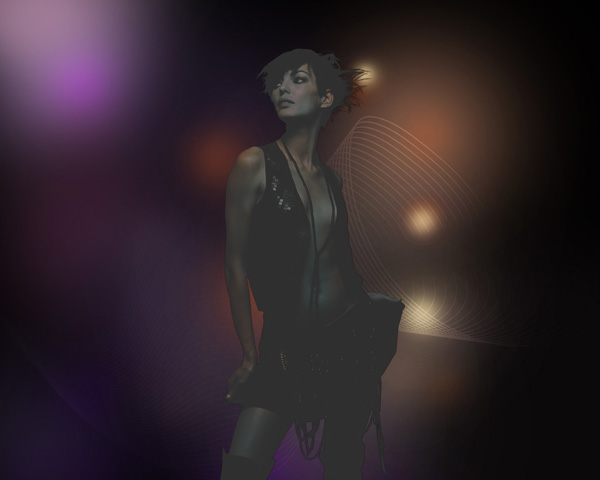
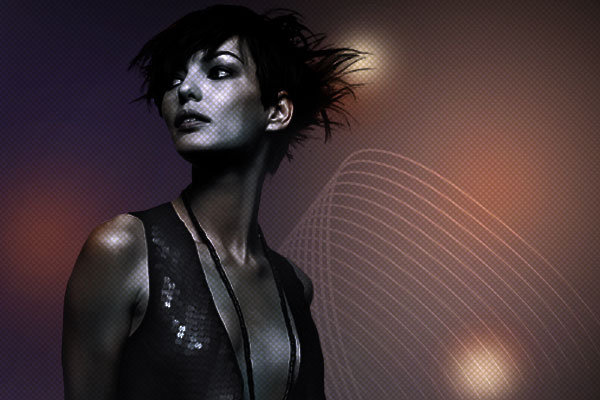
Paint in the mask using this brush to change the color of the model’s body as shown.
Now we have to make a copy of the model’s layer and place the copy above the Hue/Saturation adjustment layer.

Set Fill to 70% for this layer and set the Blending mode to Multiply.
Make a copy of the last made layer and set Fill to 70% for this layer and set the Blending mode to Luminosity .

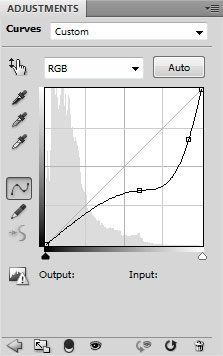
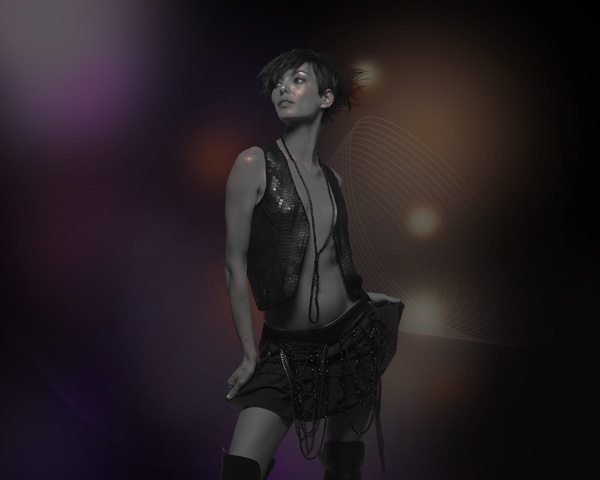
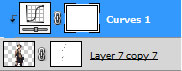
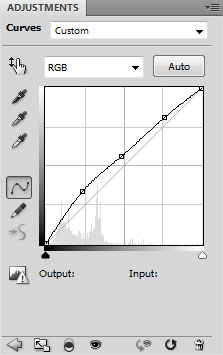
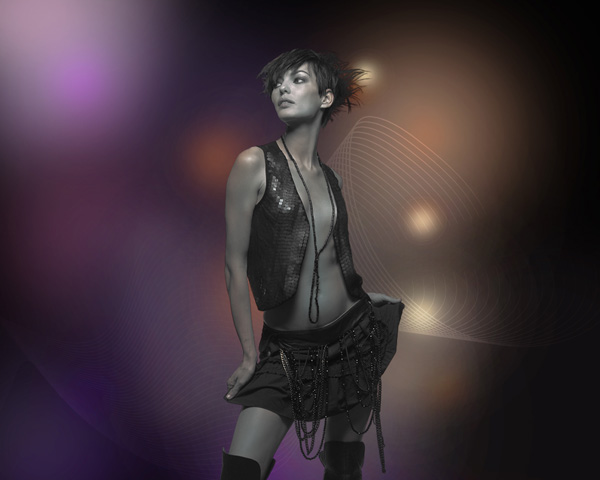
Click Create new fill or adjustment layer from bottom part of the Layers panel and click to Curves to adjust the curve shape as shown to make a little color corrections.
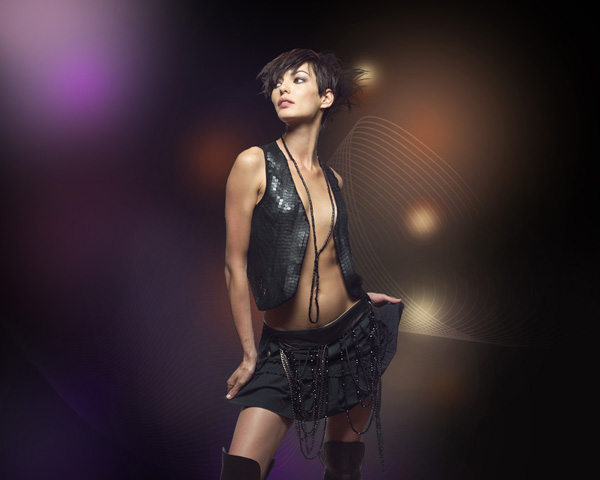
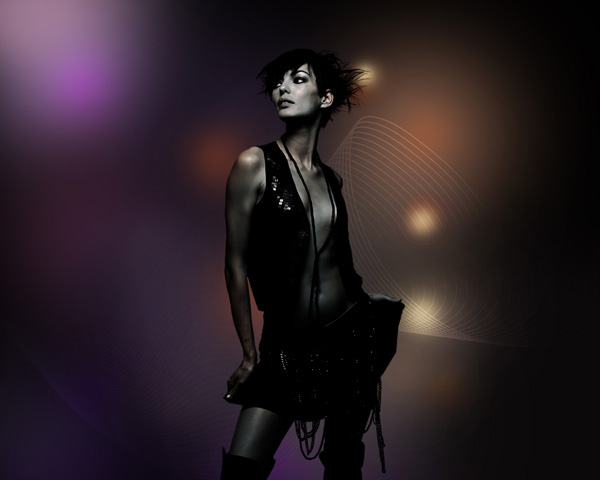
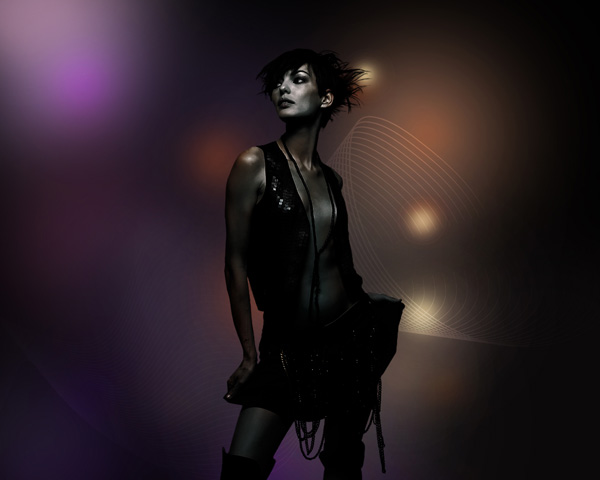
We’ve got the next result:
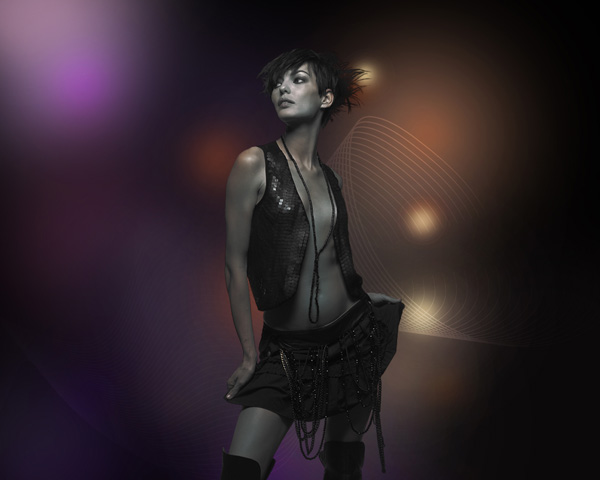
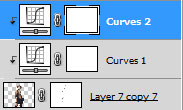
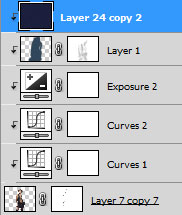
Hold down Alt (Windows) or Option (Mac OS) and click between layers in the Layers panel to create a clipping mask.
We’ve got the next result:
Click again Create new fill or adjustment layer from bottom part of the Layers panel and click to Curves to adjust the curve shape as shown to make a little color corrections.
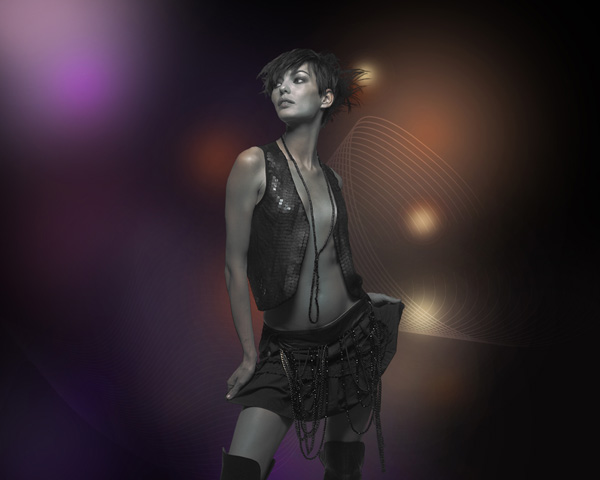
We’ve got the next result:
Hold down Alt (Windows) or Option (Mac OS) and click between layers in the Layers panel to create a clipping mask.
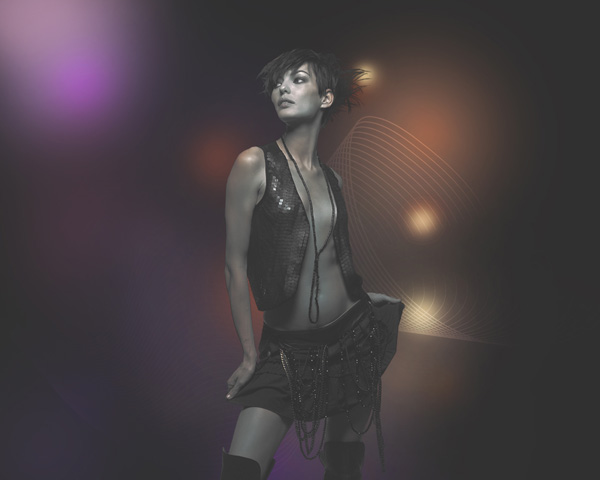
We’ve got the next result:
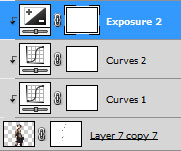
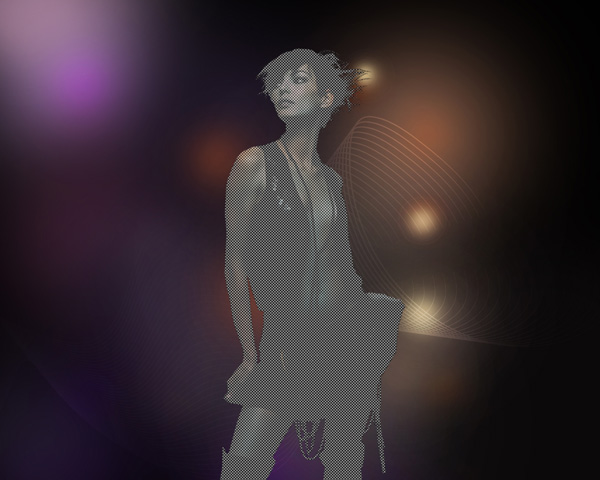
Click Create new fill or adjustment layer from bottom part of the Layers panel and click to Exposure to adjust tonality by performing calculations in a linear color space.
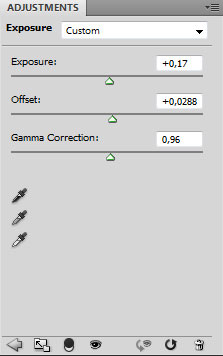
Set the next value for Exposure, Offset and Gamma.
Hold down Alt (Windows) or Option (Mac OS) and click between layers in the Layers panel to create a clipping mask.
We’ve got the next result:

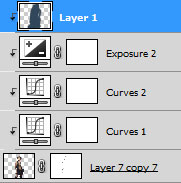
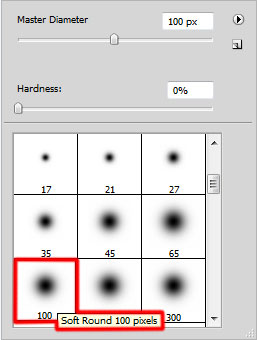
Create a new layer now and select the Soft Round brush.

Use this brush to paint the model’s with #31485C color.
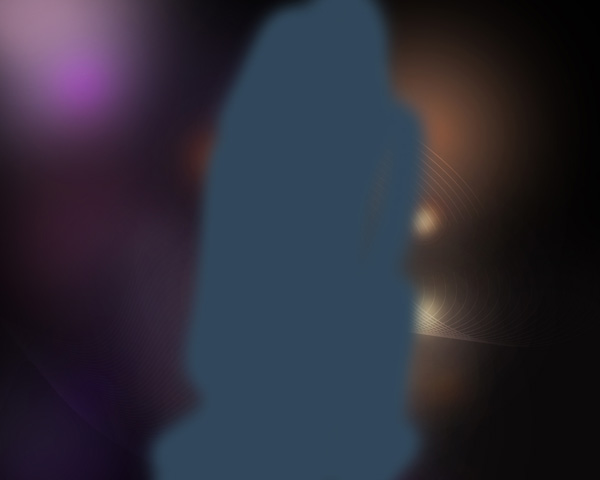
Hold down Alt (Windows) or Option (Mac OS) and click between layers in the Layers panel to create a clipping mask.
We’ve got the next result:
Set the Blending mode for this layer to Vivid Light.
Insert the mask on the layer by choosing Add layer mask on the bottom part of the Layers panel and choose the Soft Round brush of black color (set Opacity to 15% in Options bar).
Paint in the mask using this brush to hide some zones on the model’s body to get the same effect as on the next picture it is demonstrated.

Create a new layer and apply here the Paint Bucket Tool (G) to fill the layer with #2E376C color.

Next we have to set the Foreground and Background colors on the Tools panel.

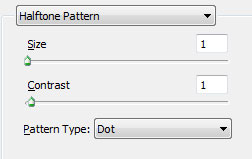
… and apply on this layer the next filter: Filter > Filter Gallery > Sketch > Halftone Pattern.
We’ve got the next result:

Set Fill to 85% for this layer and set the Blending mode to Color Dodge.
Hold down Alt (Windows) or Option (Mac OS) and click between layers in the Layers panel to create a clipping mask.
We’ve got the next result:
Create a new layer and choose the Paint Bucket Tool (G) to fill the new layer with white color.

Next we have to set the Foreground and Background colors on the Tools panel.

… and apply on this layer the next filter: Filter > Filter Gallery > Sketch > Halftone Pattern.
(as in the previous example).

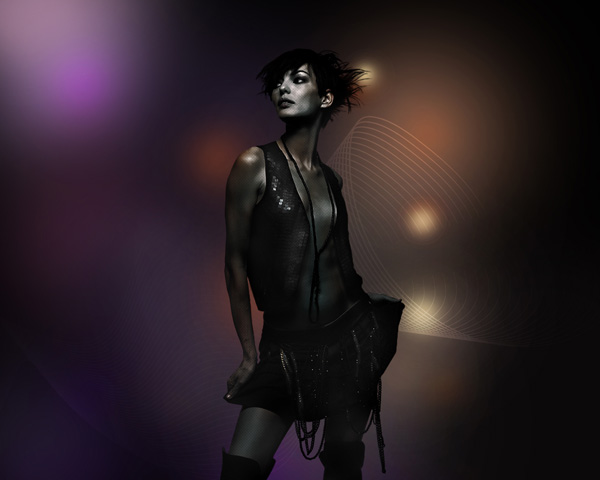
Hold down Alt (Windows) or Option (Mac OS) and click between layers in the Layers panel to create a clipping mask.

We’ve got the next result:
Comments