
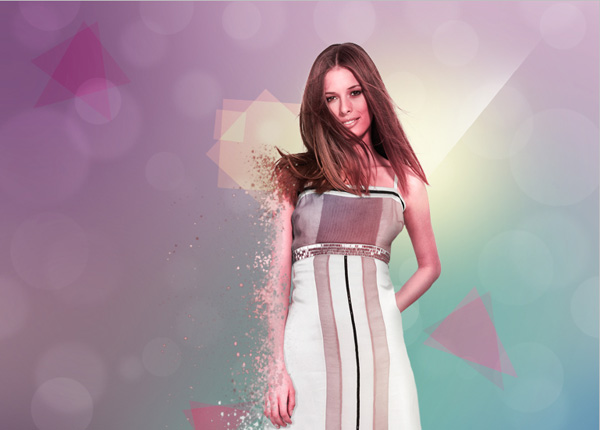
How to create a stunning photomontage in Adobe Photoshop CS5
Create a new layer and use on it the Hard Mechanical brush of black color.
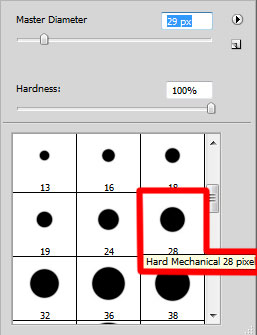
Use this brush to represent a kind of shadow. The layer needs to be placed lower than the girl’s layer.
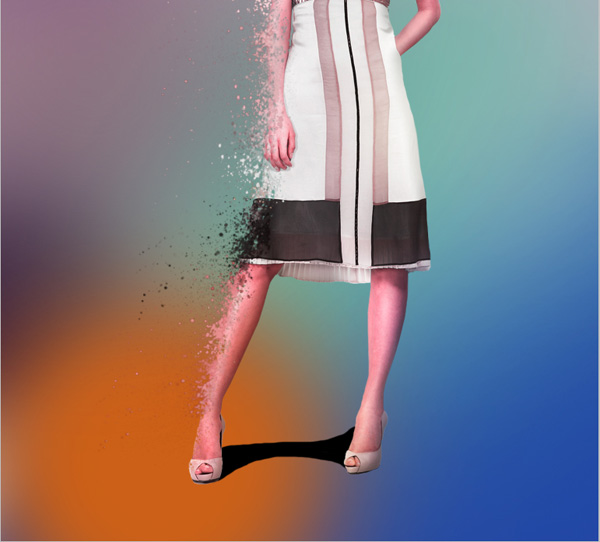
Set Fill to 34% for this layer in Layers panel.
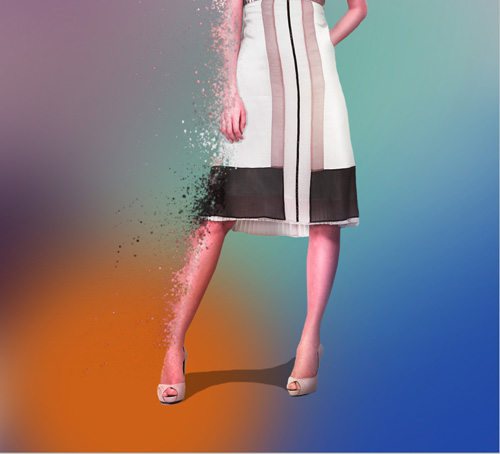
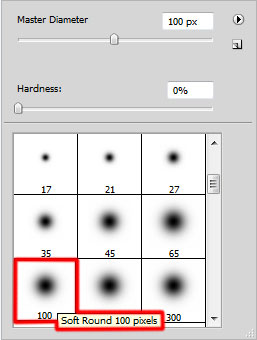
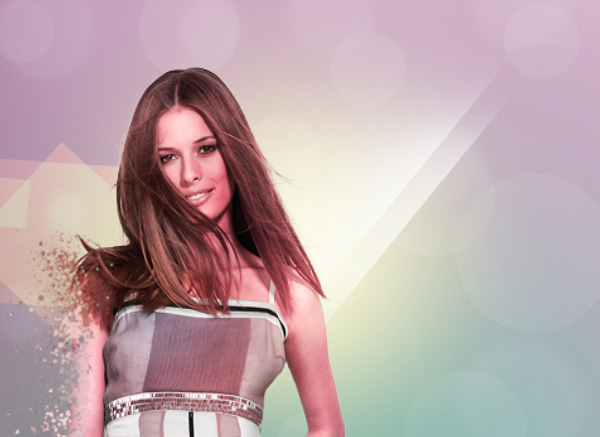
On the next new layer we’ll select the Soft Round brush.

Use this brush to paint the background as shown. The brush’s color is #F6E800 (Opacity 15%). The layer will be situated under the girl’s one.
Create the next new layer and apply here the Hard Round brush of white color with different Opacity value to represent many small circles.

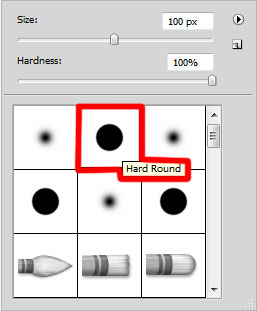
For the first circle the Opacity value is 20%. The layer will be situated lower than the girl’s layer.
Set Fill to 76% for this layer and change the Blending mode to Overlay.
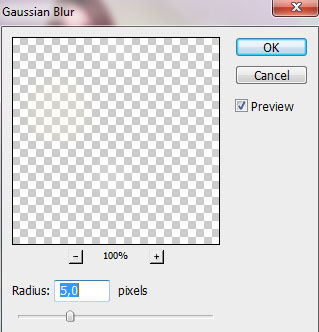
Make a copy of the last made layer and apply Free Transform (Ctrl+T) command to place it the same way indicated below. The layer will be placed under the previous made layer. Select also for this layer Filter>Blur>Gaussian blur.
Set Fill to 91% for this layer and change the Blending mode to Overlay.

Combine in a group both layers containing the small circles (Press CTRL button and select the indicated layers and then press the left mouse’s button while dragging the selected layers on Create a new group icon from bottom part of the Layers panel).
Insert the mask on the group by choosing the Add layer mask and select the Soft Mechanical brush of black color (Opacity 15%).
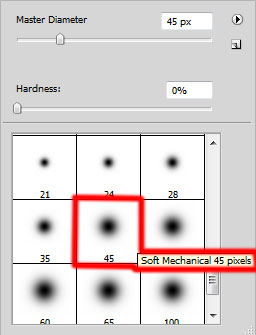
Use this brush to hide some circles as shown.
Create a new layer and select the Hard Round brush of white color.
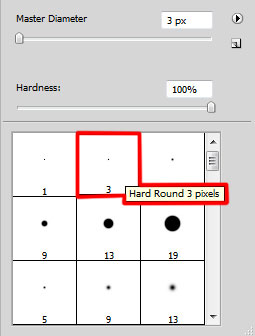
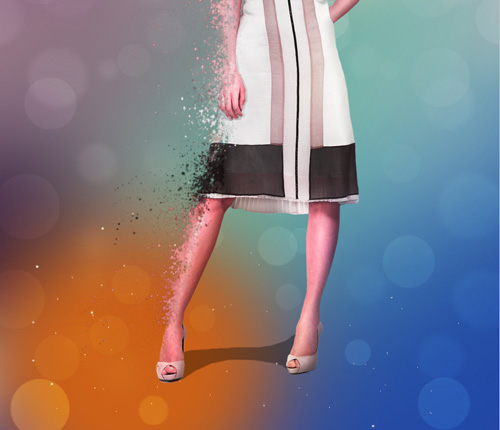
Use this brush to represent many dots under the girl’s feet. Place the layer under the girl’s one.
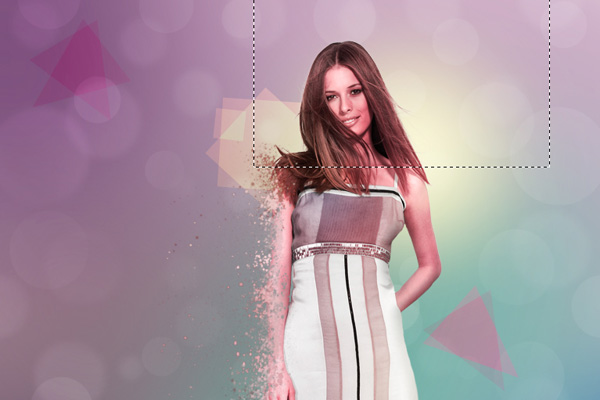
Create a new layer and apply on it the Polygonal Lasso Tool (L) to represent a selection as shown. Use the Paint Bucket Tool (G) to fill the selection with white color. Place the layer under the girl’s layer.
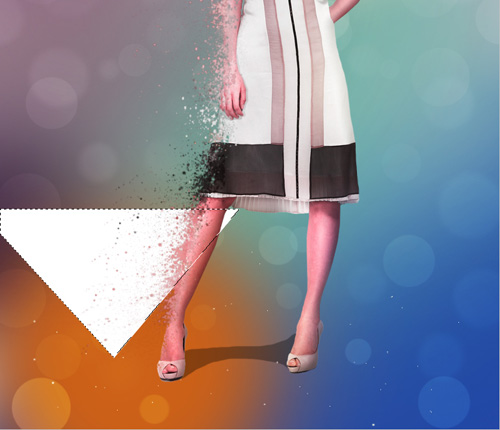
Insert the mask on the layer (Add layer mask) and press Shift+Ctrl+I to inverse the color. Select the Soft Round brush of white color from Brush Tool (B).

Use this brush to paint in the mask to hide the central part of the triangle and make visible just the triangle edges.
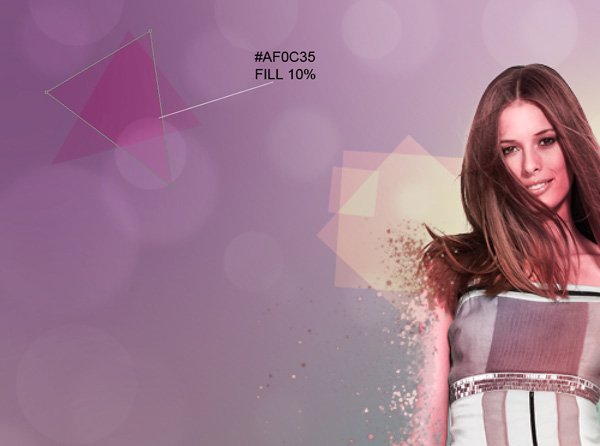
Change the Blending mode to Overlay for this layer.

Make a copy of the last made layer and apply the Free Transform (Ctrl+T) command to place the copy’s layer as it is shown below:
Next we have to choose the Rectangle Tool (U) to represent several squares which layers must be situated lower than the girl’s layer.
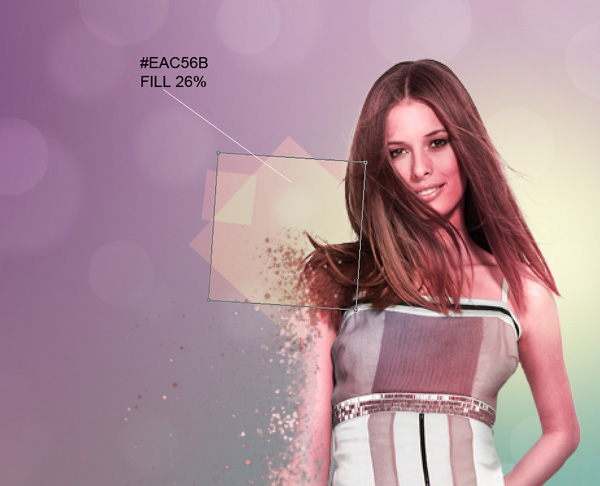
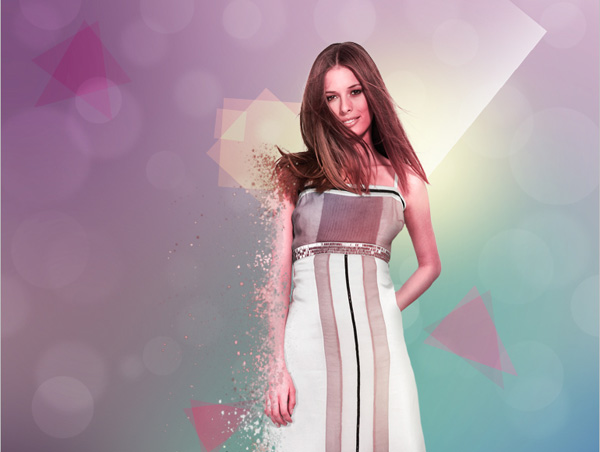
Take the Custom Shape Tool (U) in the Tools bar, in the Options bar click the Shape to open the selection menu. Find Triangle at the bottom of the menu, and then double-click a shape thumbnail to select it.
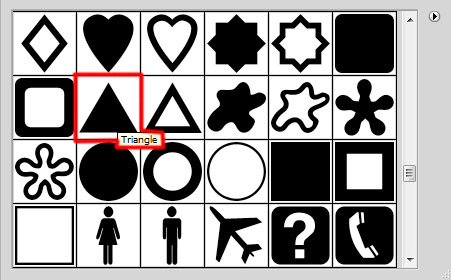
Click and drag to represent several triangles, pacing their layers under the girl’s layer.
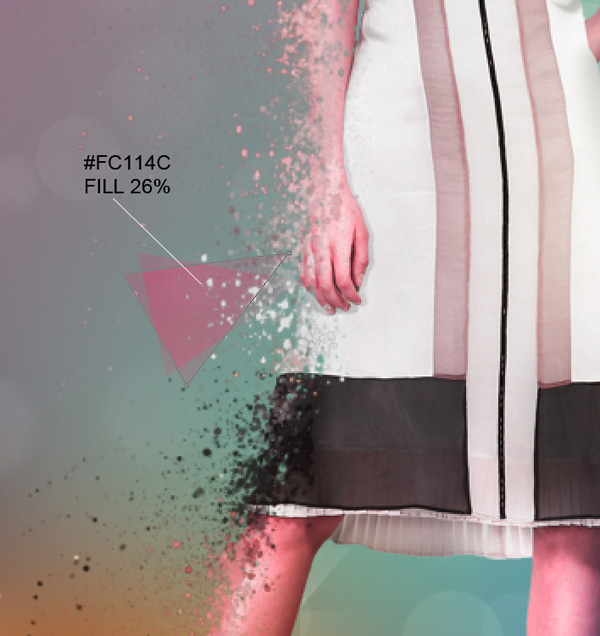
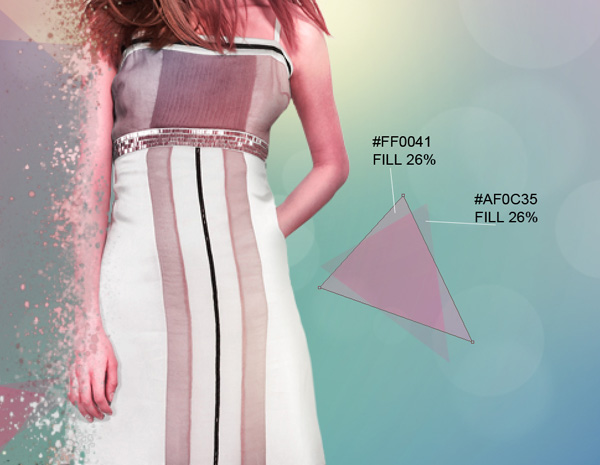
Use the same method for representing several triangles more. Place their layers under the girl’s one.
Create a new layer and apply here the Rectangular Marquee Tool (M) to create the next selection indicated on the picture.
Select then the Soft Round brush of white color (Opacity 10%).
Use this brush to paint the bottom part of the selection as shown. Place this layer under the girl’s one.
Using the Free Transform (Ctrl+T) command, try to incline the layer to get the same result as on the picture below:
Add layer mask on the layer and select the Soft Round brush of black color.

Use this brush to hide the layer’s edges as shown.
Make a copy of the recently made layer and apply the Free Transform (Ctrl+T) command to put the copy in the same position as on the next picture.
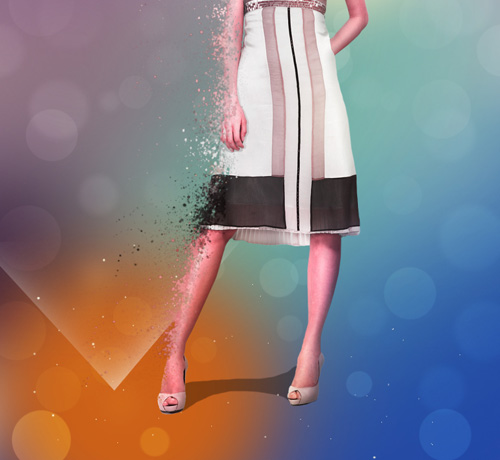
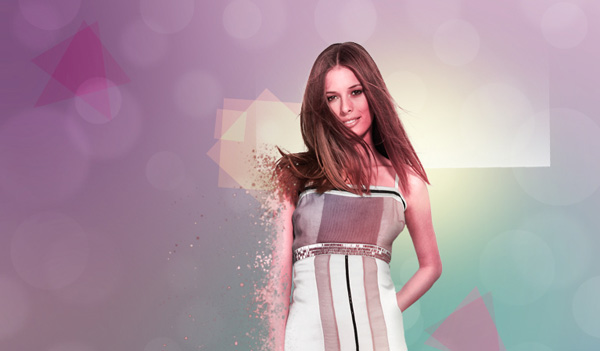
Create a new layer and select the Soft Round brush with the color #B20074 (Opacity 15%).

Use this brush to paint the background as shown. Place this layer under the girl’s one.
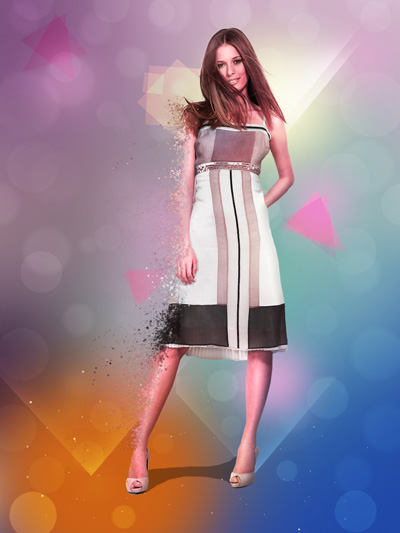
Create one more new layer and apply the same Soft Round brush of different diameter to draw several colored spots. The brush has the color #F7EE00 (Opacity 10%). Place this layer above the girl’s one.
Change the Blending mode to Overlay for this layer.

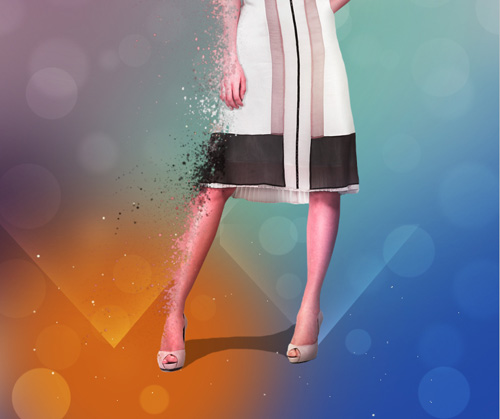
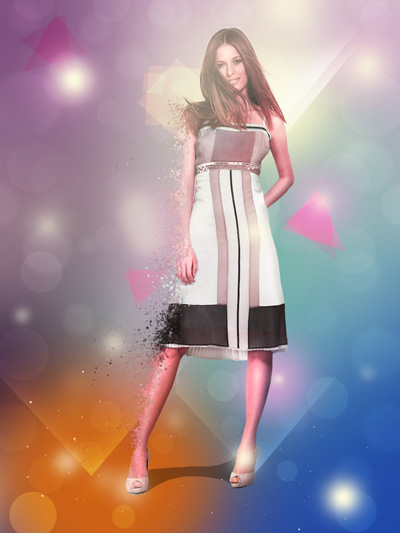
Create a new layer and use the next brush of white color form Lep reflections set.
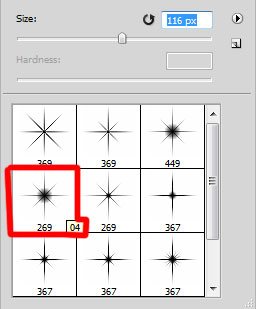
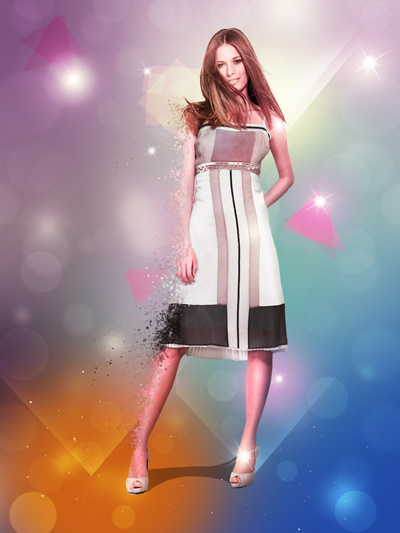
Use this brush to add star-like sparkle.
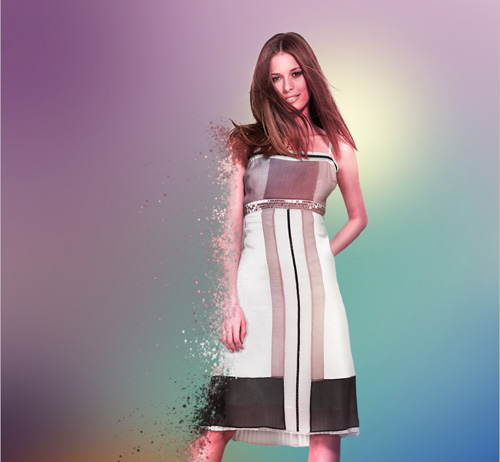
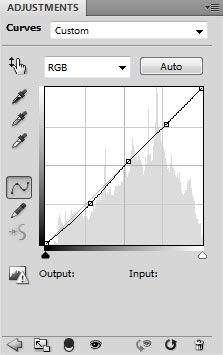
Click Create new fill or adjustment layer from bottom part of the Layers panel and select Curves to adjust the curve shape as shown to make a little color corrections.
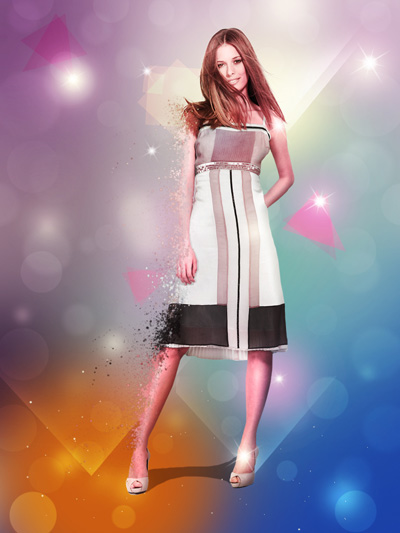
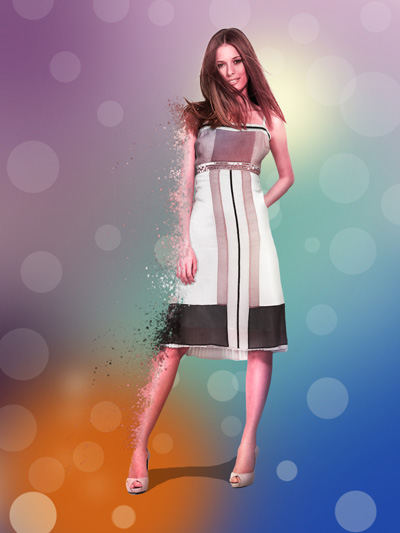
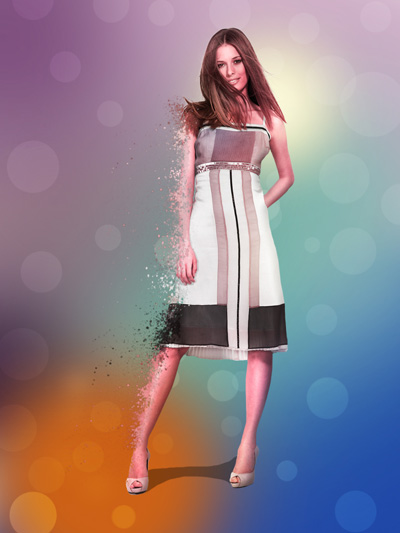
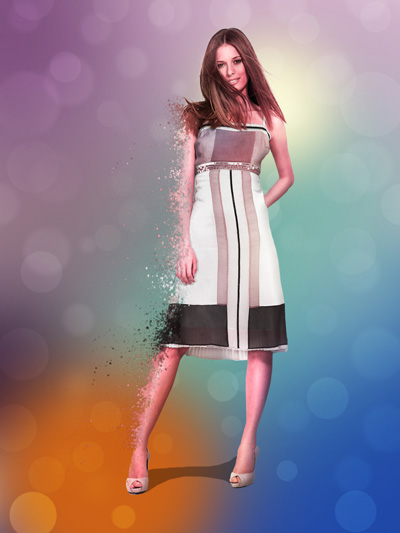
The final result!
View full size here.
Download free Layered PSD file.
Page: 1 2
Comments