
How to Create a Colorful Abstract Photo Manipulation in Photoshop CS5
Create a new layer and select the Hard Round brush.
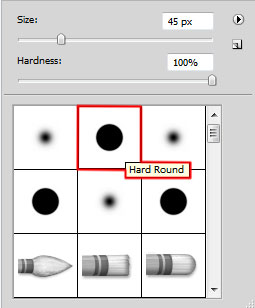
Use this brush to represent many small ellipses of the color #FCF29A (brush Opacity – 70%).

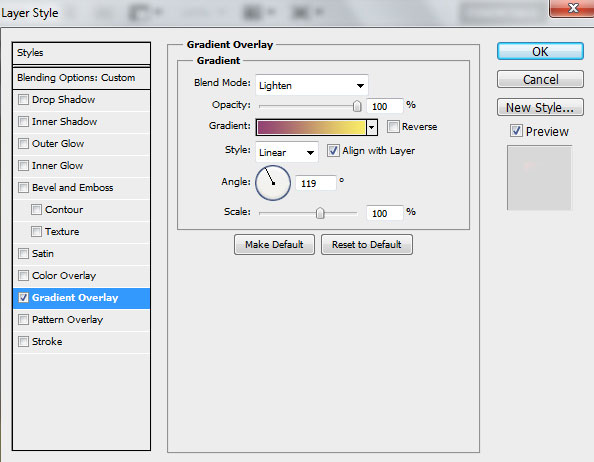
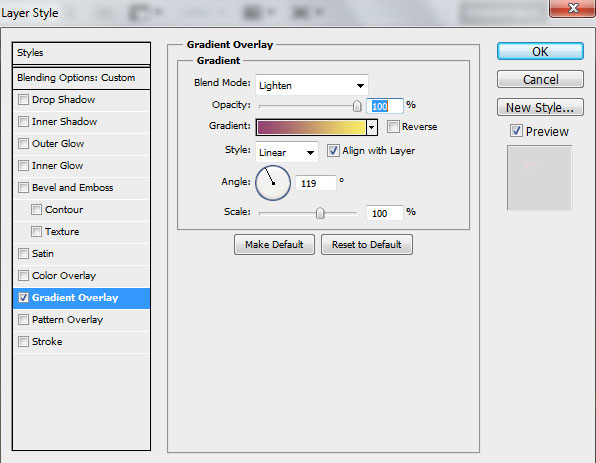
Make a copy of the last made layer containing the triangle. Choose after that the Free Transform (Ctrl+T) command and change the copies’ sizes, placing them as below. Change the Gradient Overlay style:

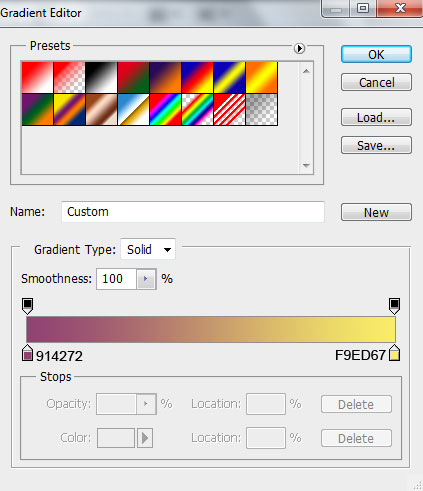
Click in the color bar to open the Gradient Editor and set the color stops as shown. Click OK to close the Gradient Editor dialog box.
We’ve got the next result:

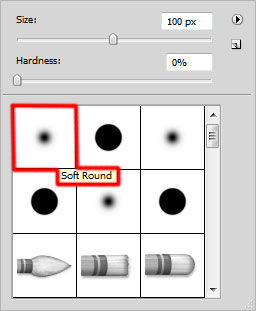
Insert the mask on the layer by choosing Add layer mask on the bottom part of the Layers panel and choose the Soft Round brush of black color.

Paint in the mask using this brush to hide the next zones on the triangle as shown.

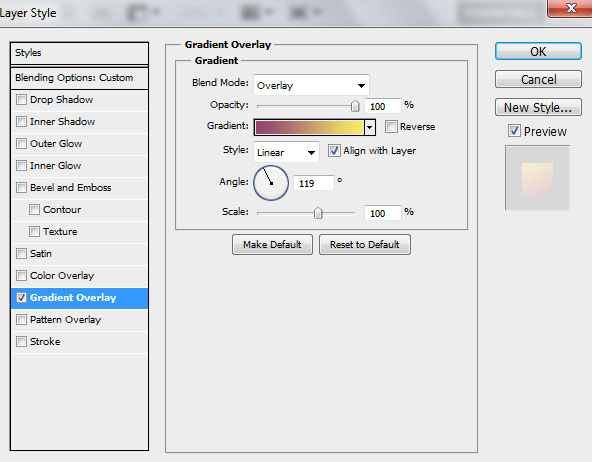
Make a copy of the recently made triangle’s layer. Remove the mask out of the layer’s copy and choose the Free Transform (Ctrl+T) command to change the copies’ sizes, placing them as below. Insert several changes on the Gradient Overlay style of the layer’s copy.
We’ve got the next result:

Insert the mask on the layer the same way we did before. Choose also the Soft Round brush of black color (brush Opacity – 15%).
Paint in the mask using this brush to hide out the next zones on the layer containing the triangle.

Make one more copy of the triangle’s layer and remove the mask out of the copy. Use the Free Transform (Ctrl+T) command to place the copy as on the next picture. Change the Gradient Overlay parameters.
We’ve got the next result:

Insert the mask on the layer again and use the same Soft Round brush of black color to hide out the next zones on the triangle’s layer.

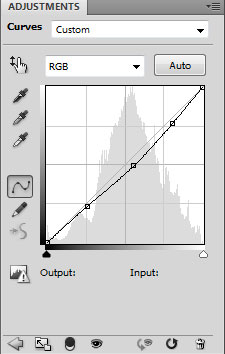
Click Create new fill or adjustment layer from bottom part of the Layers panel and click to Curves to adjust the curve shape as shown to make a little color corrections.
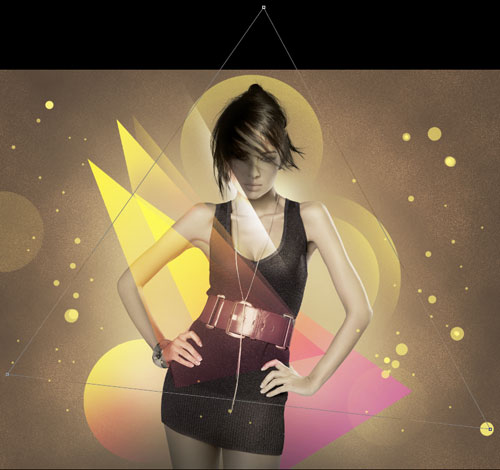
We’ve got the next result:

Choose the Pen Tool (P), set the drawing mode on Shape Layers in Options bar and draw the next shape of white color as shown.
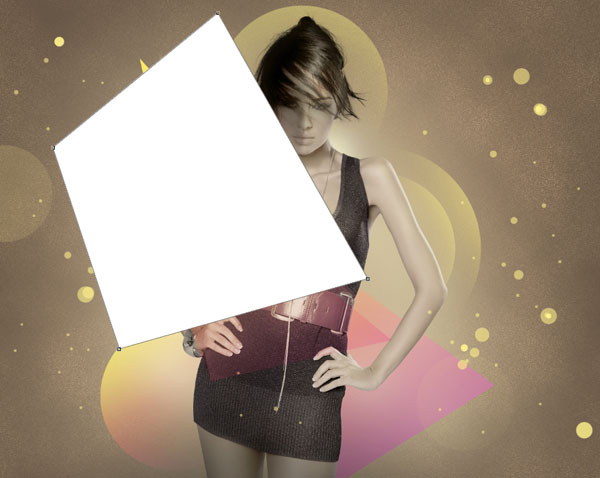
Set the Blending mode for this layer to Overlay.

Insert the mask on the layer by choosing Add layer mask on the bottom part of the Layers panel and then press CTRL+I to Inverse the color. Choose the Soft Round brush of white color.

Paint in the mask using this brush to hide out some zones on the rectangle’s layer the same way as it is shown on the picture.

Click Create new fill or adjustment layer from bottom part of the Layers panel and click to Curves to adjust the curve shape as shown to make a little color corrections.
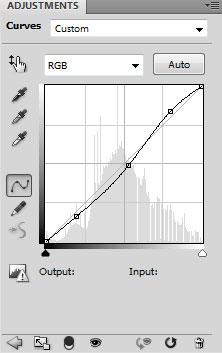
We’ve got the next result:

Choose the Pen Tool (P), set the drawing mode on Shape Layers in Options bar and draw the next triangle as shown.
Set Fill to 0% for this layer and click on Add a layer style icon from bottom part of the Layers panel to select Stroke.
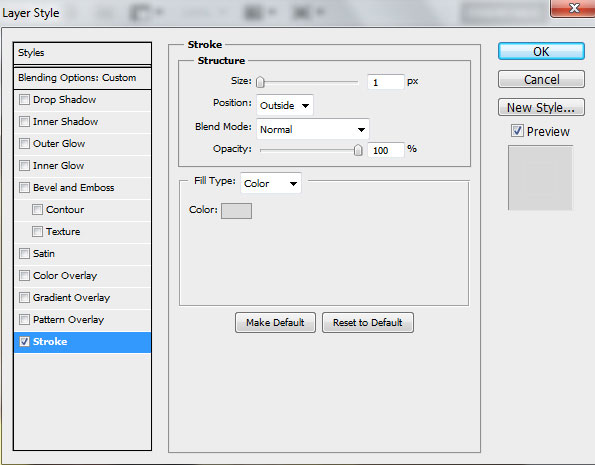
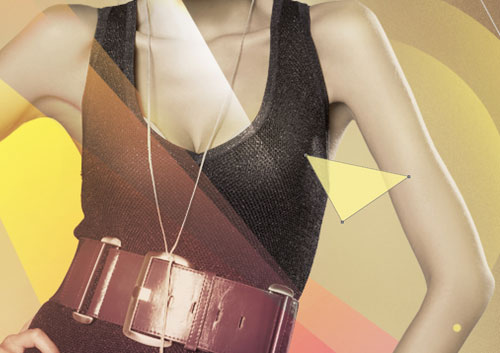
We’ve got the next result:

Using the same tool, we must represent another triangle of smaller size of the color #FEF49B. Set Fill to 80% for this layer.
Finally we have to create a new layerand draw a small circle using Hard Round brush of #835DA6 color.

We’ve got the next result:

View full size here.
Comments