
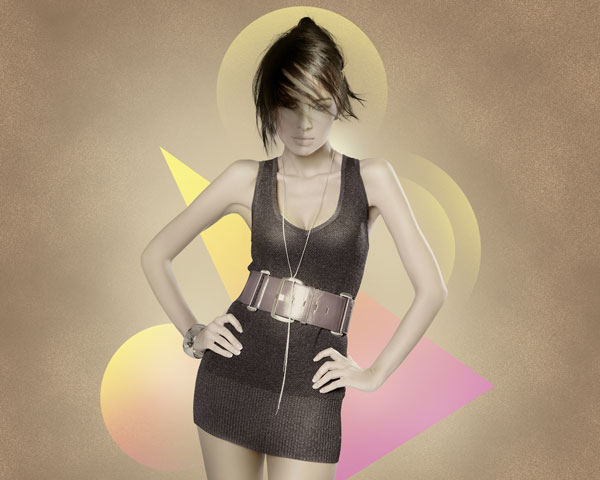
How to Create a Colorful Abstract Photo Manipulation in Photoshop CS5
Hold down Alt (Windows) or Option (Mac OS) and click between the brush’s layer and the model’s layer in the Layers panel to create a clipping mask.
We’ve got the next result:

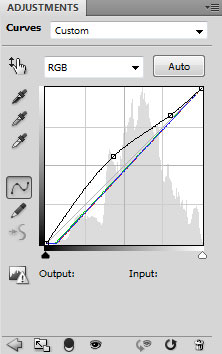
Click Create new fill or adjustment layer from bottom part of the Layers panel and click to Curves to adjust the curve shape as shown to make a little color corrections.

We’ve got the next result:

Hold down Alt (Windows) or Option (Mac OS) and click between layers in the Layers panel to create another clipping mask.
We’ve got the next result:

Click Create new fill or adjustment layer from bottom part of the Layers panel and click to Levels to adjust tonal range.
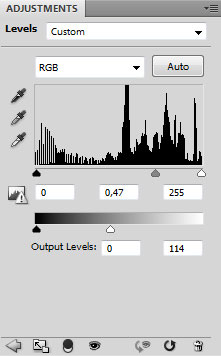
Adjust the white point with Levels Output slider. Output slider must be in the next position (0 and 114).

Hold down Alt (Windows) or Option (Mac OS) and click between layers in the Layers panel to create another clipping mask.
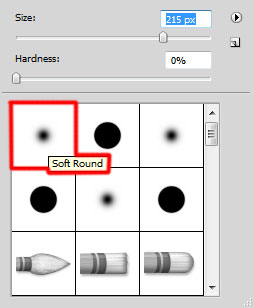
Insert the mask on the layer by choosing Add layer mask on the bottom part of the Layers panel and press CTRL+I to Inverse the color. Choose the Soft Round brush of white color.
Paint in the mask using this brush to hide out those places on the model which must be lighter, leaving the effect for the shadows’ zone.

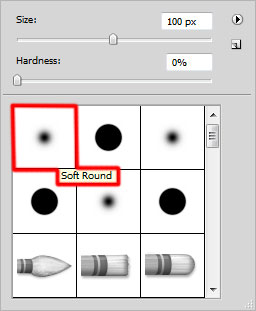
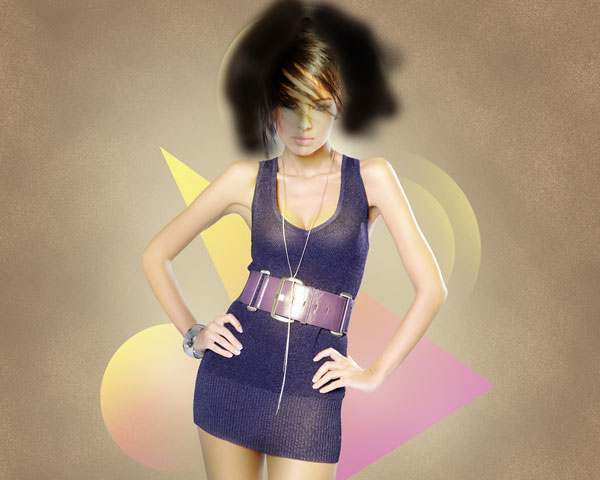
Create a new layer and choose the Soft Round brush of black color (brush Opacity – 30%).
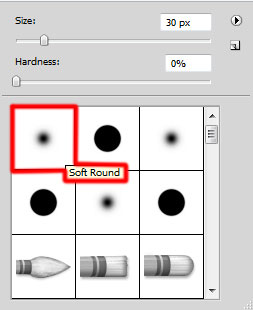
Use this brush to paint the model’s hair edges.
Hold down Alt (Windows) or Option (Mac OS) and click between layers in the Layers panel to create a clipping mask.

We’ve got the next result:

Create a new layer again and use the Paint Bucket Tool (G) to fill it with #B3A593 color.

Hold down Alt (Windows) or Option (Mac OS) and click between layers in the Layers panel to create a clipping mask. Choose the Soft Round brush of the color #94877C and paint the model on the marked zone.

Set Fill to 30% for this layer and change the Blending mode to Multiply.

Create a new layer and fill it with #EBE2D3 color, using the same tool.

Hold down Alt (Windows) or Option (Mac OS) and click between layers in the Layers panel to create a clipping mask. Paint the next zone with Soft Round brush the same way we did with the previous example.

Set Fill to 70% for this layer and change the Blending mode to Color.
Create a new layer and select the Soft Round brush of black color (brush Opacity – 10%).
Use this brush to make darker the canvas edges.

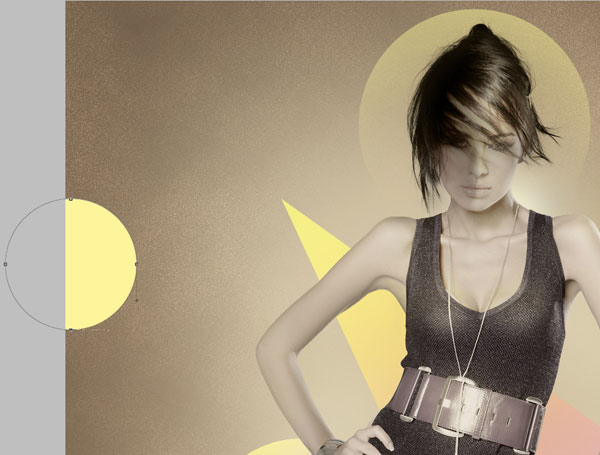
Use the Ellipse Tool (U) to represent a small ellipse of the color #FEF49B.
Insert the mask on the layer by choosing Add layer mask on the bottom part of the Layers panel and choose the Soft Round brush of black color (set Opacity to 70% in Options bar).

Paint in the mask using this brush to hide the next zones on the circle.

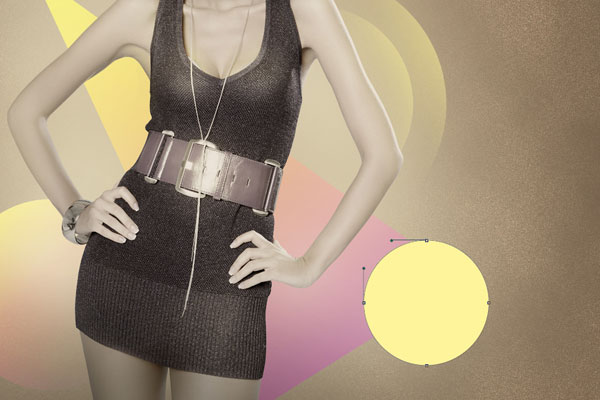
Use the same color and the same tool to represent the next ellipse.
Insert the mask and hide some zones on the ellipse as shown with Soft Round brush of black color (brush Opacity – 80%.

Comments