
Happy Birthday Postcard
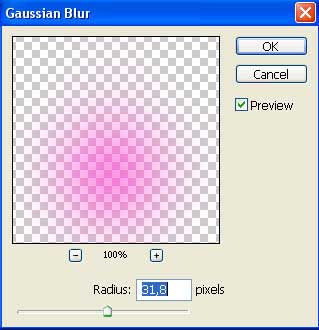
Place this layer under the basic layer containing the stars and blur it out with the usual option Gaussian Blur.
Create now a new layer above the girl’s layer and select the Brush Tool of Starburst – Small type to picture the flares on the girl’s jewelry, changing a little the brush’s size.
Insert
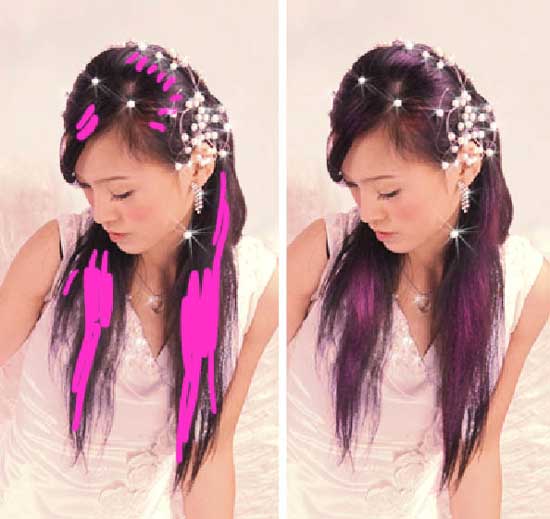
on her hair a little more brightness and nuance. At the beginning we
have to draw white stripes on that places we want the hair look
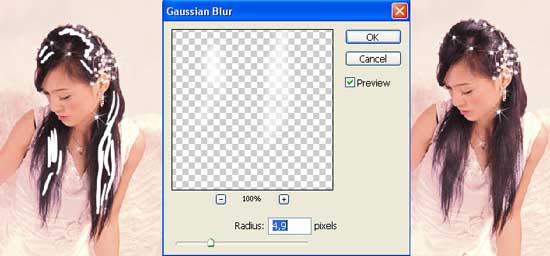
brighter. Select the Brush Tool of Hard Round type for this operation and do it on a new layer. Blur out this layer (Gaussian Blur) and change its type on Overlay.

Process the same way the color which we want to be on her hair, but don’t forget to minimize the Opacity till 35%,for example, just for the color not to look too mush intensive.
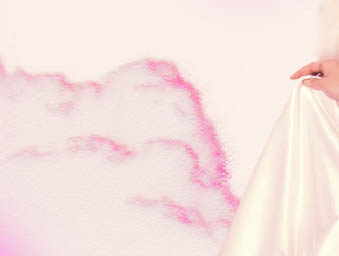
Make a copy of the sky’s layer now (ctrl+j) and apply to this copy the following combination: Filter – Artistic – Rouge Pastels.

Change the layer’s type on Soft Light and minimize the Opacity till 75%.
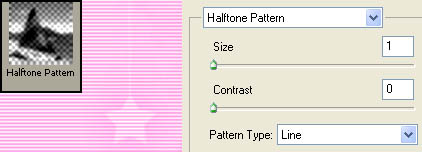
Combine now all the layers: Layer – Merge Visible (shift+ctrl+e) and make a copy of this final layer (ctrl+j). Apply the next filter for the new layer too: Filter – Sketch – Halftone Pattern.
Take now the Eraser Tool with smooth edges and erase the stripes situated upper the stars and the girl, and then minimize the Opacity of the layer till 20%.
Insert the illustration in a frame finally by choosing the next usual instruments designed for this manipulation: the Crop Tool and the Rectangular Tool.
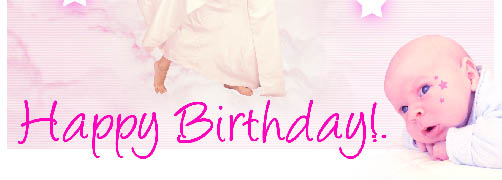
Insert on a new layer now the picture of a little baby.
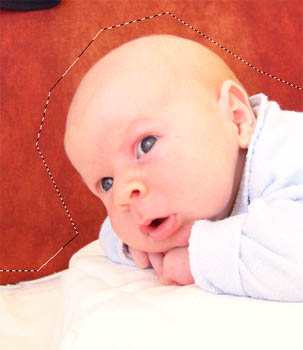
Erase the background the child is situated on with Polygonal Lasso Tool and insert this picture in our illustration’s corner.
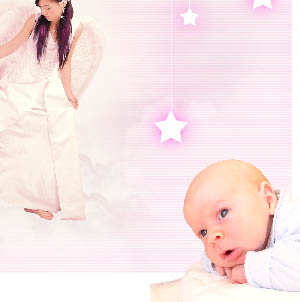
Create the layer’s mask: Layer – Add Layer Mask – Reveal all. Take now the Gradient Tool to hide the picture in that place it covers the frame.

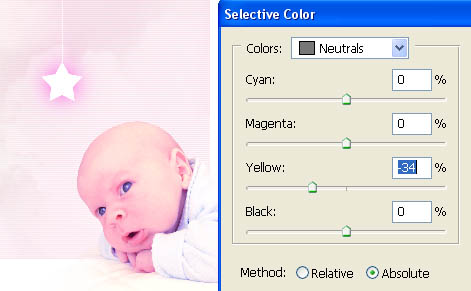
Select the next command: Layer – Remove Layer Mask – Apply and correct baby’s color (Selective Color).
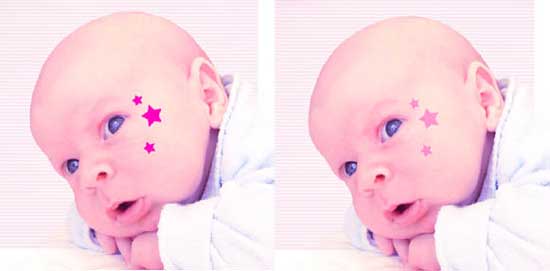
Create a new layer now and insert several stars on the baby’s cheek then minimize the layer’s Opacity till 30% (change the angle of their placement selecting the usual option, Free Transform).
Using the Type Tool, write the next expression, applying Angelina type.
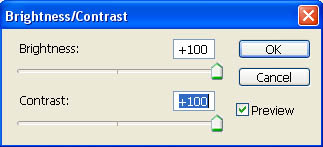
Applying the next command Layer – Rasterize – Layer, copy it and make it white with the next combination: Image – Adjustments – Brightness/Contrast.
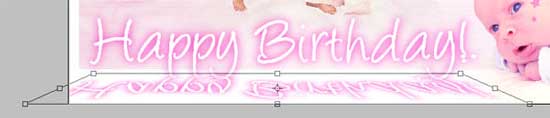
Blur out the colored layer (Gaussian Blur) and combine the layers containing the text (ctrl+e). Then make a copy of the final layer and turn it vertically: Edit – Transform – Flip Horizontal. The command Edit – Transform – Perspective will help us to make the corrections on it.
The layer’s Opacity should be around 55%.

Introduce
several more stars and threads, separated one from another, placed on
both girl’s sides. Change the stars’ angle to create the illusion of
the stars’ breaking away and falling down:
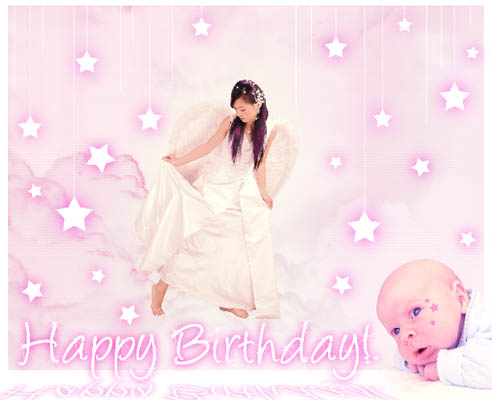
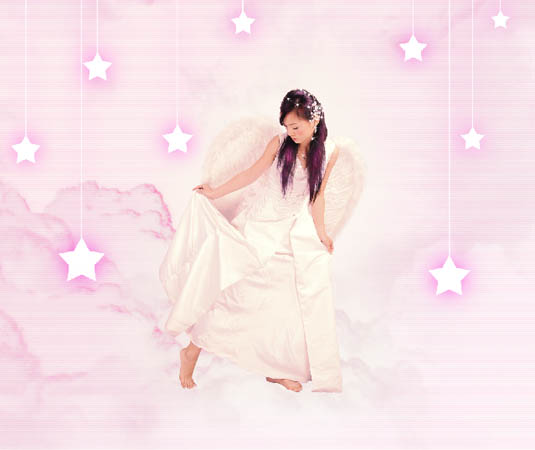
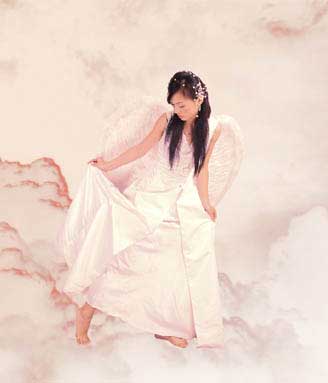
The illustration is ready!
Made by Sigma
Learn how to make an illustration by combining several pictures, use some of the program filters and learn using the instrument Custom Shape Tool, increase the quantity of the clouds on the sky and represent the text’s reflection also.
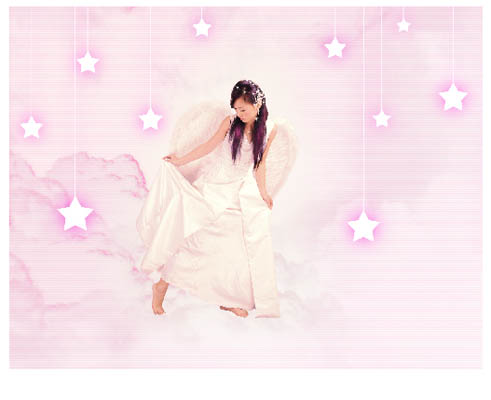
Now open in a new window the picture of a girl we want to process next: File – Open (ctrl+o).
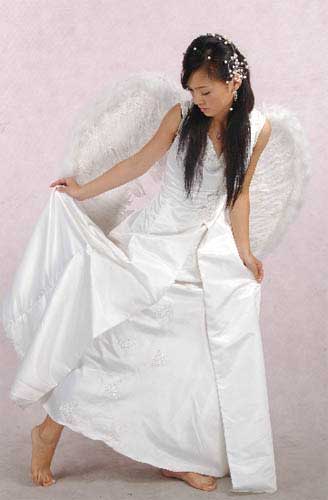
Make a copy of the layer with the girl: Layer – Duplicate Layer (ctrl+j) and delete the previous one moving it on the recycle bin’s icon in the Layers window. Choose now the Polygonal Lasso Tool and mark out the background around the girl, and then erase it with the Delete button on the keyboard.
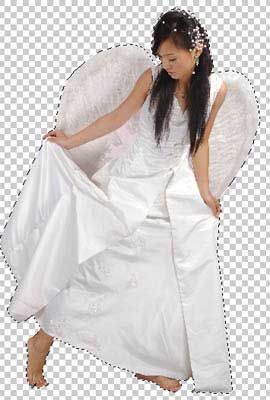
Move off the markings: Select – Deselect
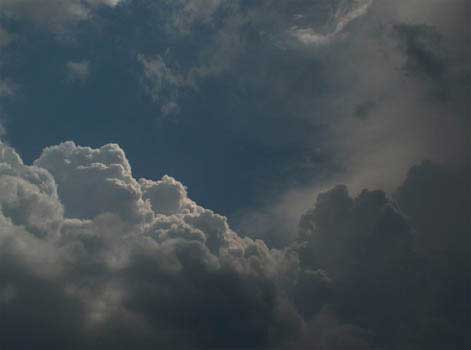
(ctrl+d) and insert on a new layer the picture of the sky. It’s
necessary to open the sky in a new window (ctrl+o), mark it out with Rectangular Marquee Tool and copy it: Edit – Copy (ctrl+c). Then get back to the processed picture and insert it on a new layer: Edit – Paste (ctrl+v).
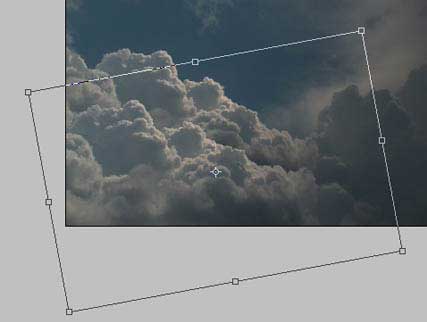
Place
this layer lower than the girl’s layer and correct the size of both
layers referring one to another. Use for this operation the command Edit – Free Transform (ctrl+t).

As
you may see, on the girl’s right side it’s necessary to add more
clouds, this is why we need to hide the visibility of the girl’s layer
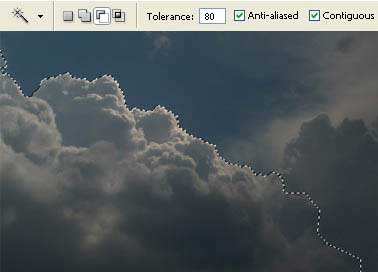
by clicking on the eye’s icon near the sky in the Layers window and mark out the already present cloud on the sky’s layer with Magic Wand Tool. Correct the markings applying the Polygonal Lasso Tool.
Copy this marked zone (ctrl+j) and make the necessary corrections of the new cloud’s placement (ctrl+t).
Create a mask out of this layer: Layer – Create Clipping Mask – Reveal all, then select the Brush Tool of a big size with smooth edges and hide all the clear edges of this cloud with very accurate motions:

Select the next command now Layer – Remove Layer Mask – Apply.
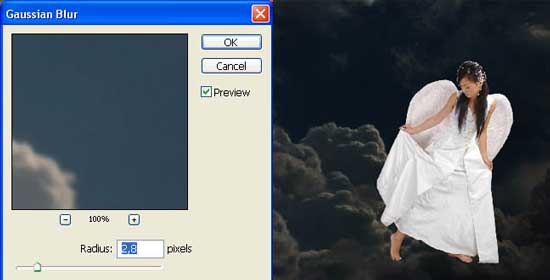
Start correcting the colors after that. Minimize a little the intensity
on the sky’s layer by copying it (ctrl+j). Blur it out with the
necessary filter (Filter – Blur – Gaussian Blur) and change the layer’s type on Multiply.
Merge down these layers: Layer – Merge Down (ctrl+e). Then make the operation of inverting the colors, selecting this combination: Image – Adjustments – Invert (ctrl+i).
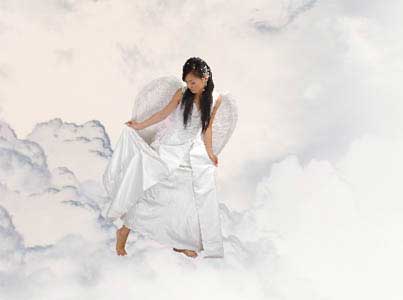
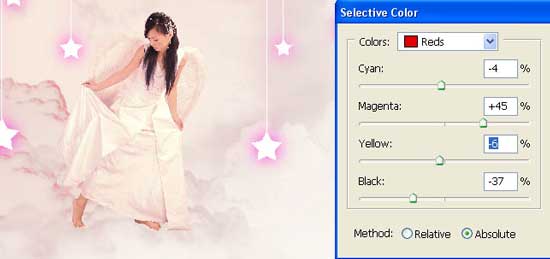
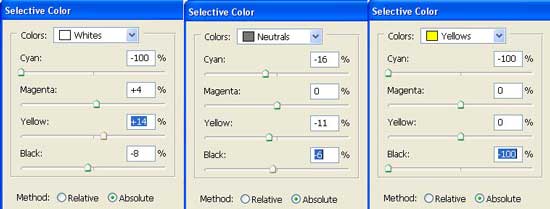
Change the sky’s color after that, using Image – Adjustments – Selective Color.
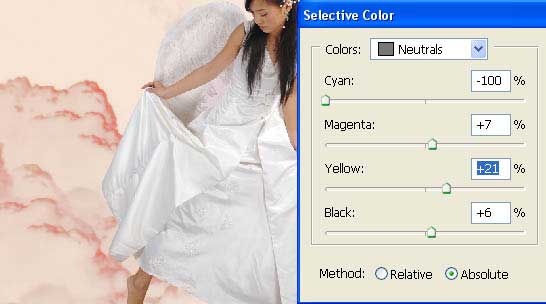
Applying the same command, it’s possible to make the corrections on the girl’s layer:
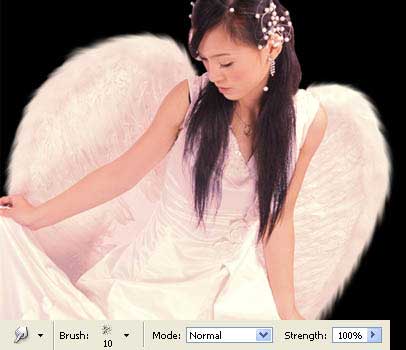
Select now the Smudge Tool and set in the Brushes option the following adjustments:
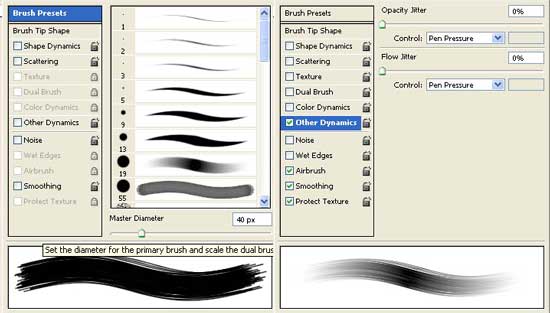
We
have to represent now the wing’s edges more fluffy by applying short
smudging motions. On a black background it would look this way:
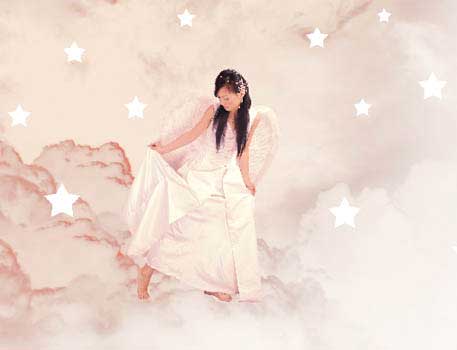
Create now a new layer above the sky’s layer and select a star from the table below Custom Shape Tool.
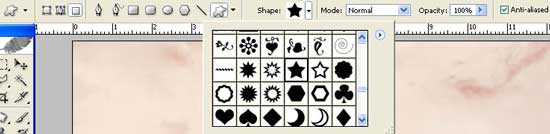
Represent several stars by holding the shift button:
Then take the Line Tool of 3 px, depending on the picture’s size and draw the threads the stars are hold on with.
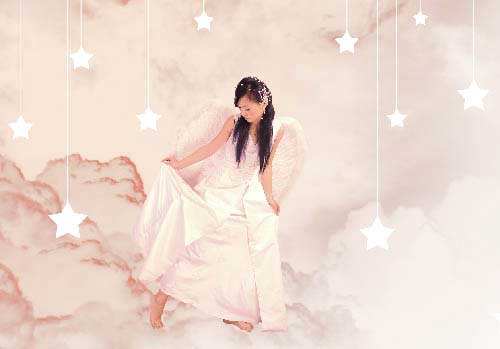
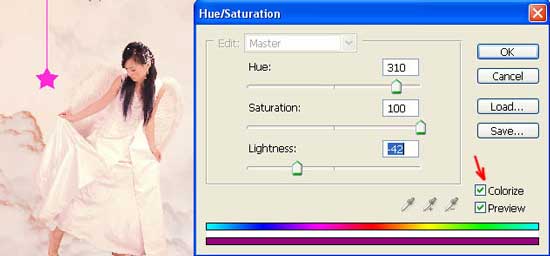
Make a copy of this layer and change the color of the copy, selecting the next combination: Image – Adjustments – Hue/Saturation (ctrl+u).
Comments