
Grunge Text Photoshop Tutorial
With this tutorial I am going to show you how you can create grungy text using displacement maps, an almost similar technique.
Let’s start by creating a displacement map. (You can skip these steps and use a grungy displacement map if you already have one)
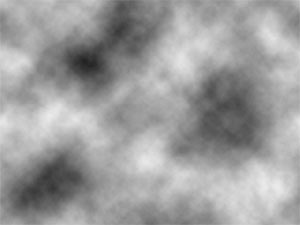
1. Create a new document, for this tutorial I created a 640*480 pixels document, press D to reset the colors palette and go to Filter->Render->Clouds
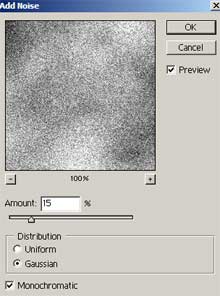
2. Now we are going to add some noise. Go to Filter-> Noise -> Add noise and use these settings
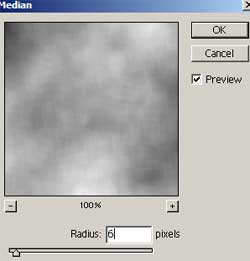
3. Go to Filter-> Noise -> Median and use these settings.
4. Next we are going to sharpen a bit our displacement map. To do this we are going to apply the Unsharp Mask filter. Go to Filter-> Sharpen -> Unsharp Mask and use this settings.


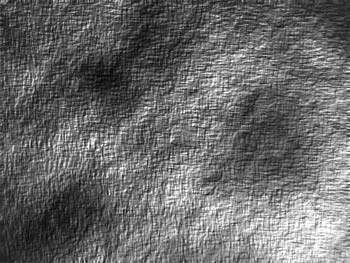
5. Finally, we are going to add some texture to our displacement map. To achieve this we are going to apply a lighting effect. Go to Filter -> Render -> Lighting Effects and use this settings.

Note that I have used a Texture Channel (you can see that at the bottom of the previous screenshot)
So here is our final Displacement map. (If you already have some grungy, textured displacement maps there is no need to create one using this technique you can use the ones you already have)
6. Now create a new document and type your text. I typed Photoshop Grunge Type.
7. Right click on the text layer at the layers palette and select rasterize layer.
8. Now Go to Filter-> Distort -> Displace

and use these settings.

A window will come up in order to select the displacement map you are going to use, locate the one you just created and select it and press open.
And here is our final result
Comments