
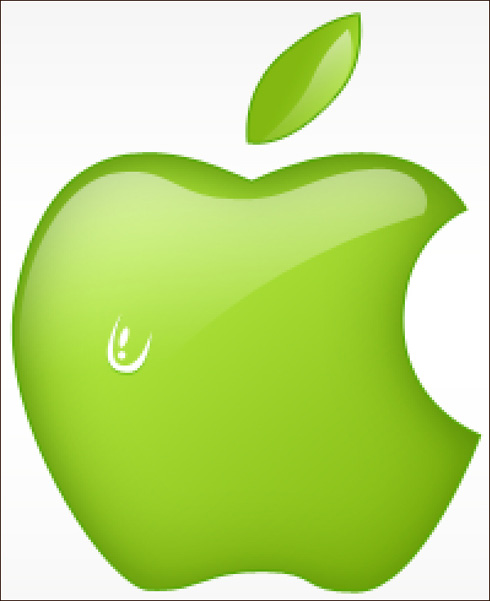
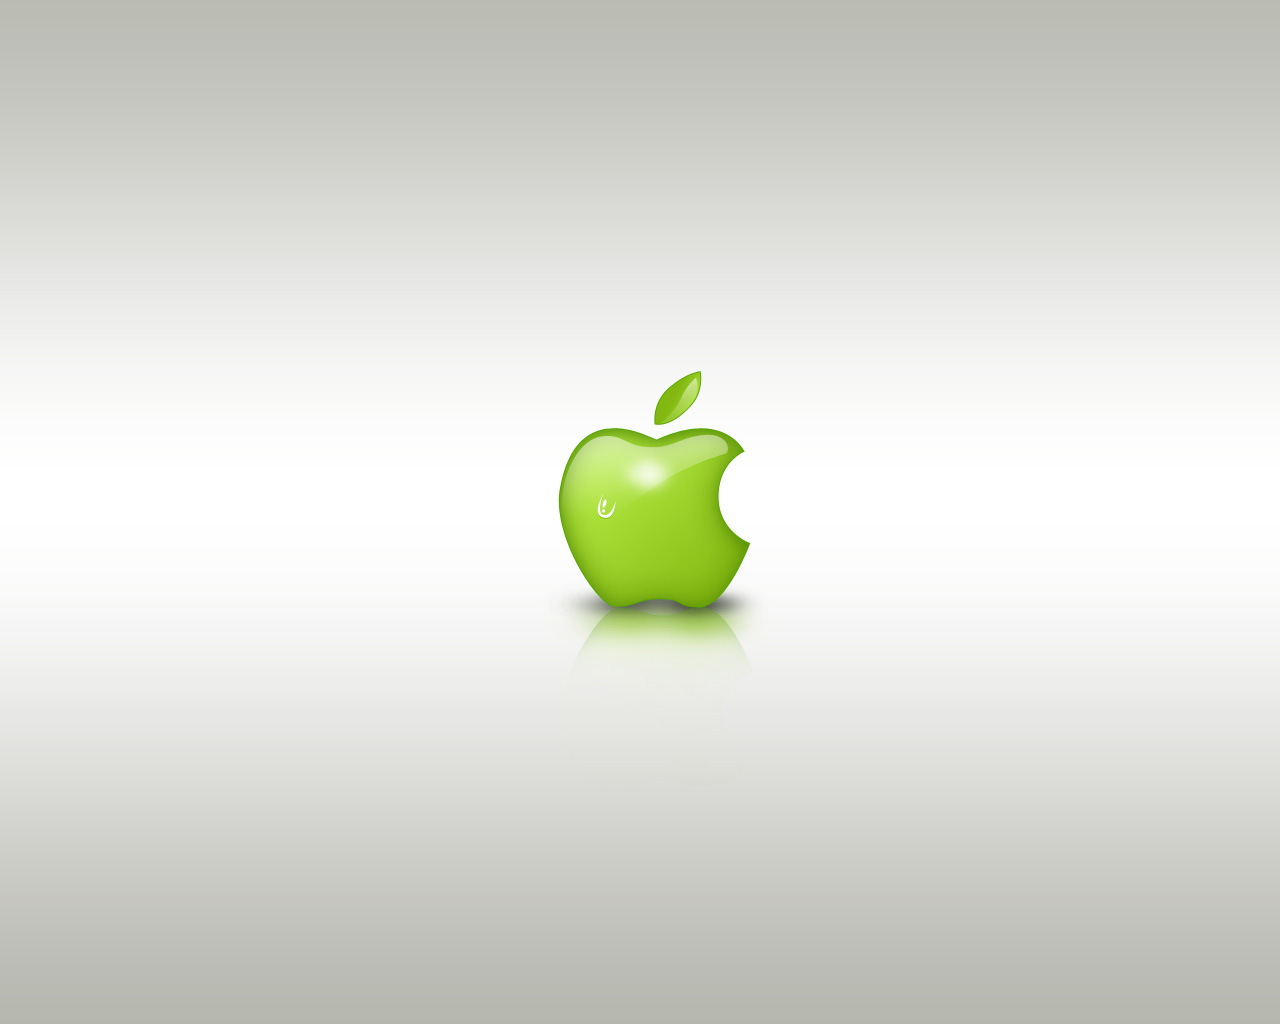
Green Apple Style Design
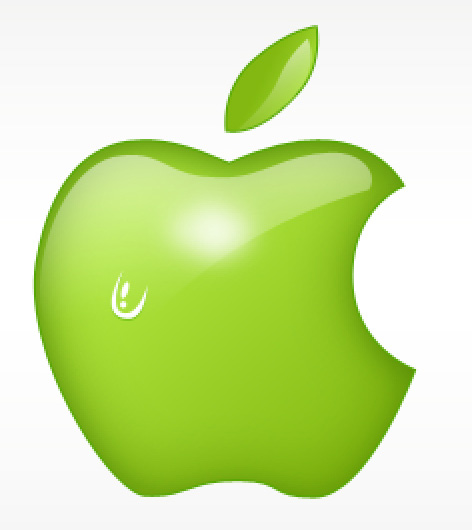
Create a new layer and use on it the Brush Tool (B) (Opacity of 20%) to draw one more highlight on the apple, which color is white too.
Combine in a group all the layers composing the apple (press Ctrl button to mark out the corresponding layers and hold on the left mouse’s button while taking down the marked layers on Create a new group selection). Make a copy of the recently made group and choose the Free Transform solution to turn over the copy and place it the same way as it is represented below:
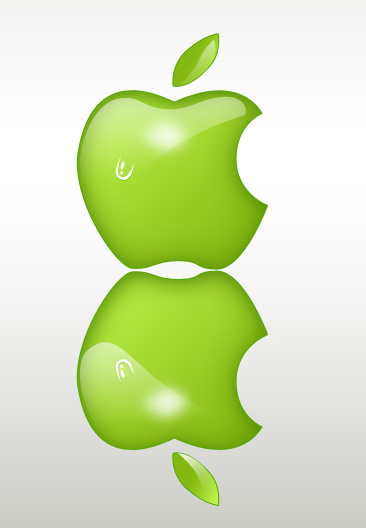

The Eraser Tool (E) should be applied on the made reflection (Opacity of 30%) to erase the same part on the reflection as it is indicated next image:
Create a new layer and use on it the earlier indicated standard brush of black color (Opacity of 20%) for drawing the shadow under the apple. This last layer should be placed under the layers, composing the apple, but upper than the reflection’s layer (on the layers’ palette).
Make a copy of the earlier made shadow’s layer and use the Free Transform option to place the copy lower, applying for the copy the next demonstrated layer’s parameters: Fill 72%
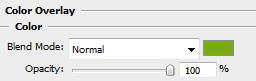
Blending Options>Color Overlay
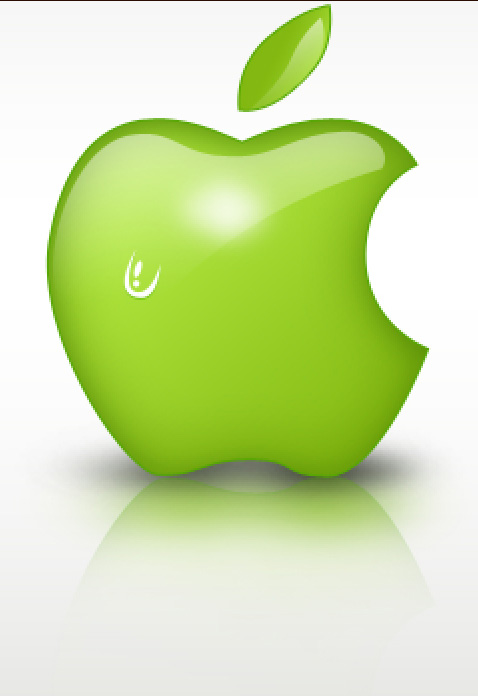
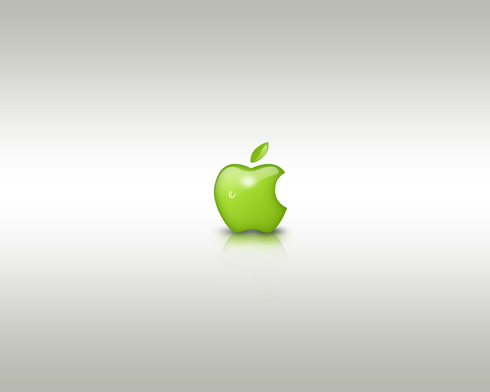
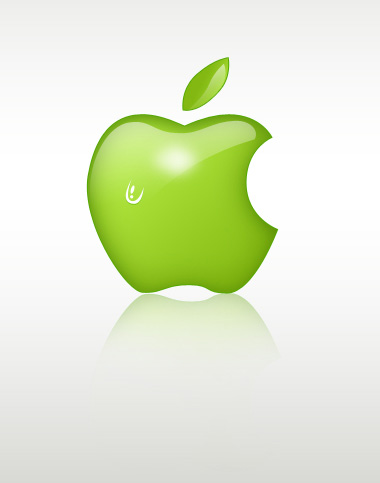
The apple is finished!
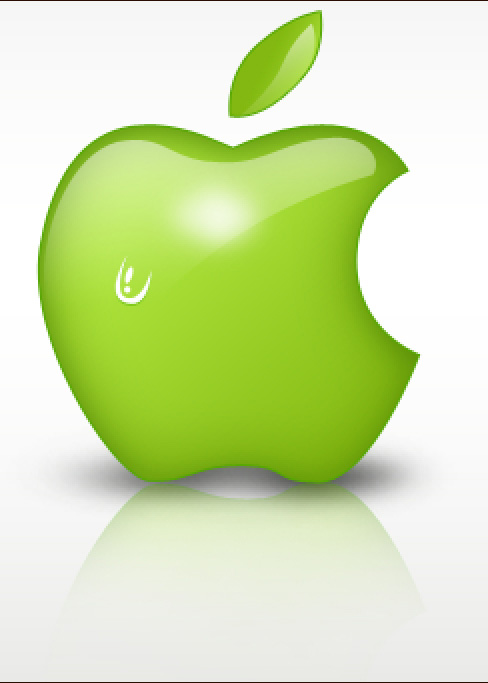
View full size here.
Comments