
Graphics Design – Part 2
This is part 2 of making a power puff (as gets) tutorial. In part 1 of our tutorial we’ve made basic form of our character and began to render hair. It this part we will finish to render our hair, color the hair and refine the edges.
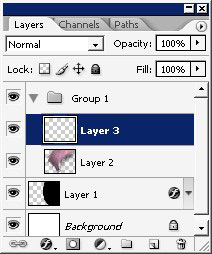
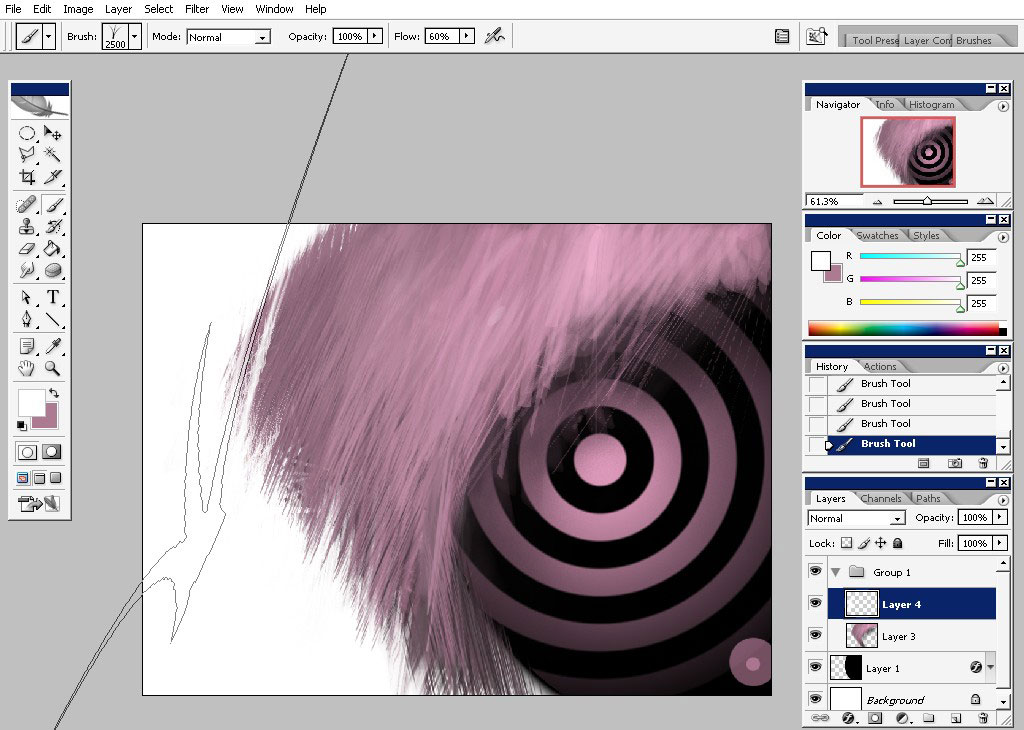
So let’s go. We will begin this part by creating a new layer on the top of all the others.
… And begin to render our hair, our top hair layer, the one that must have the most detailed and thin hairs. I will paint mouth as well.
I’m just searching how to paint mouth for this particular style of the image. This is another cause to render the whole image in the end, and not to do it by parts.

In the end I’ve just put 2 dots there. This is going to be our mouth.
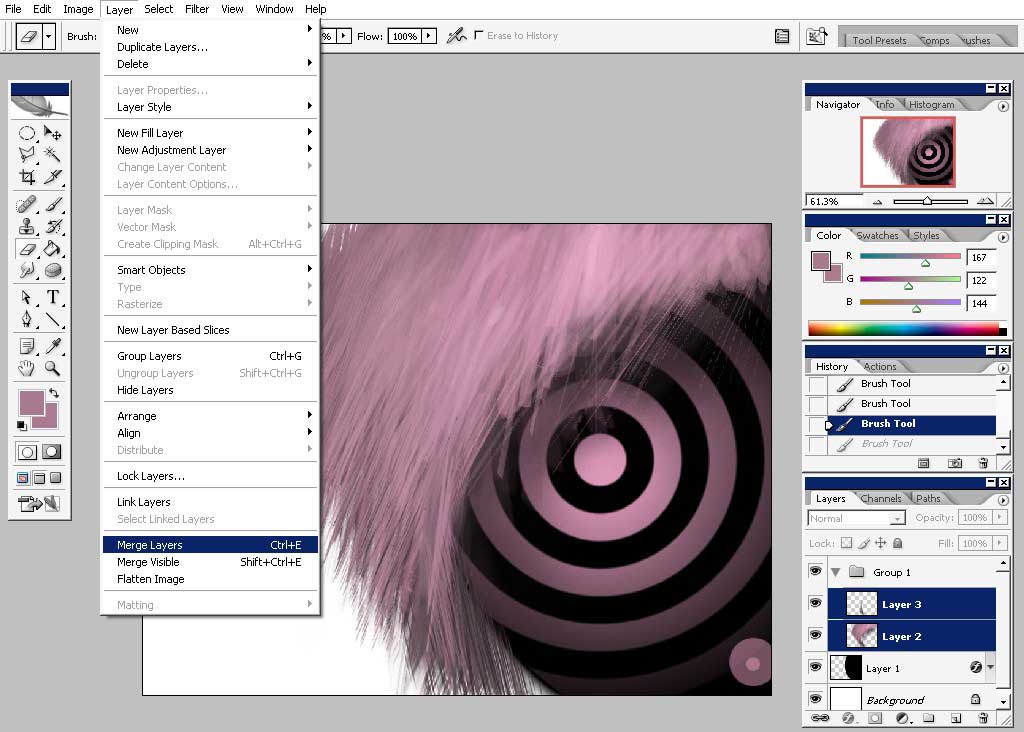
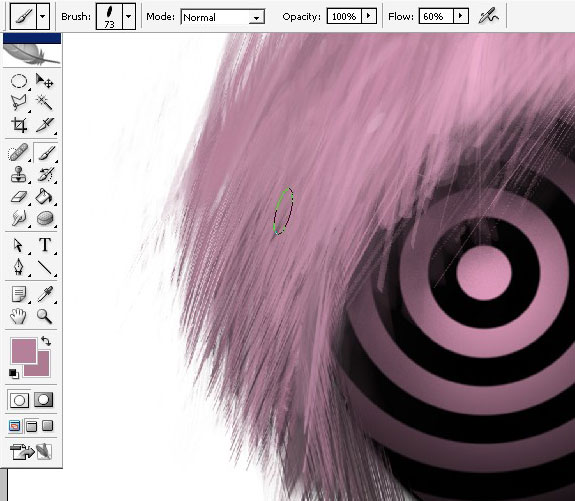
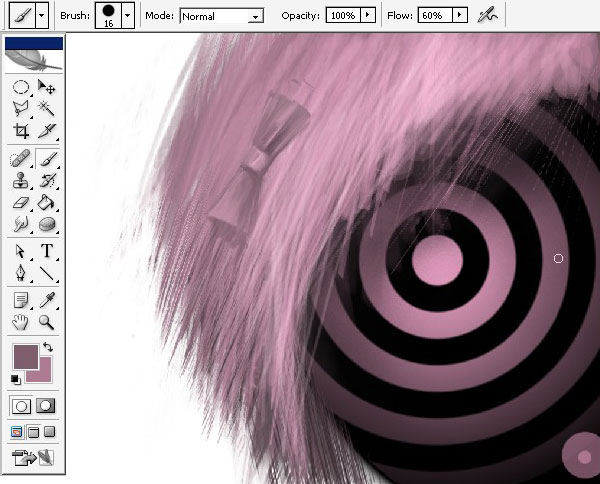
I’ve changing the brush right now. I will use his brush to refine the edges of our hair. I will just pick a flat brush or just make one.
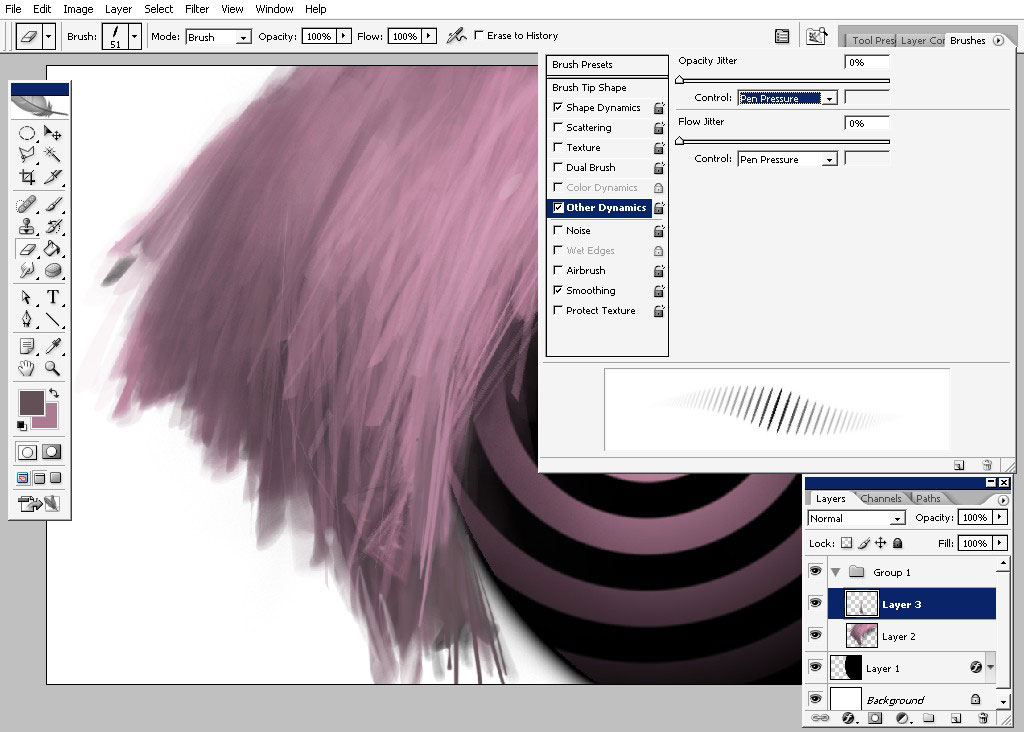
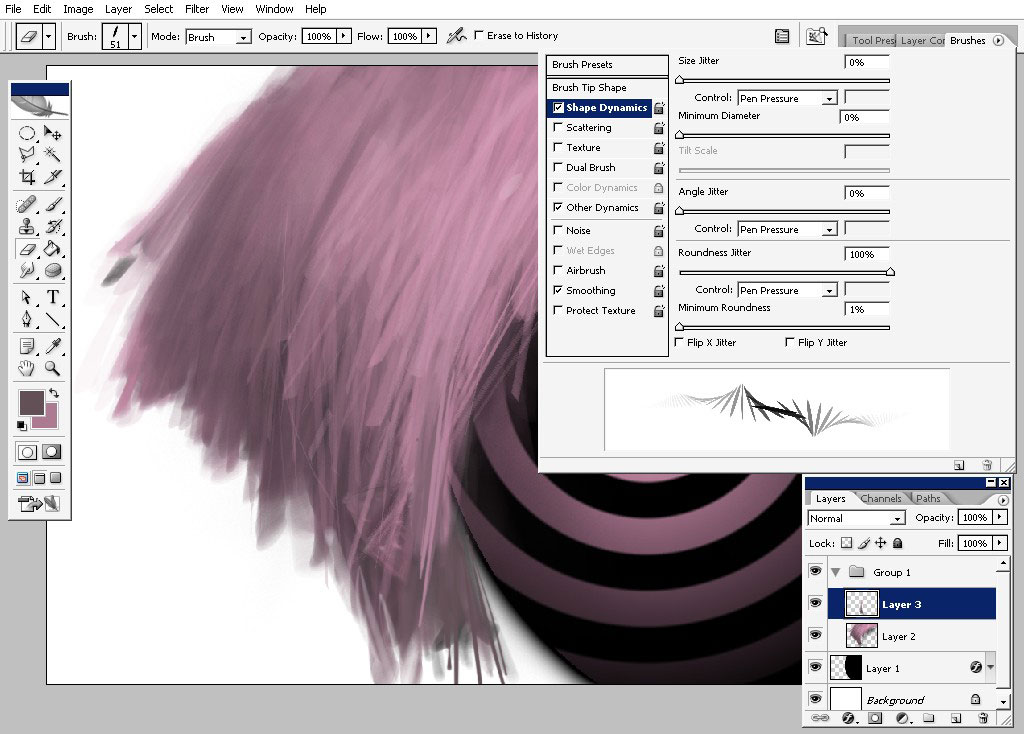
Here are my brush settings. As you can see I’ve put Angle and roundness jitter to pen pressure.
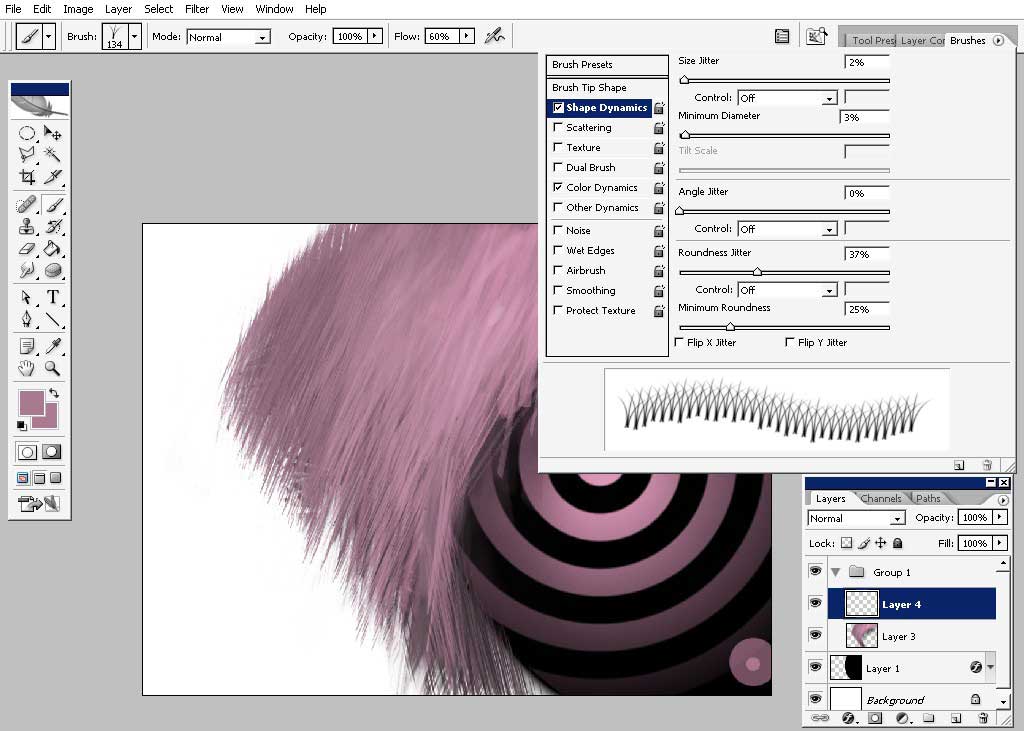
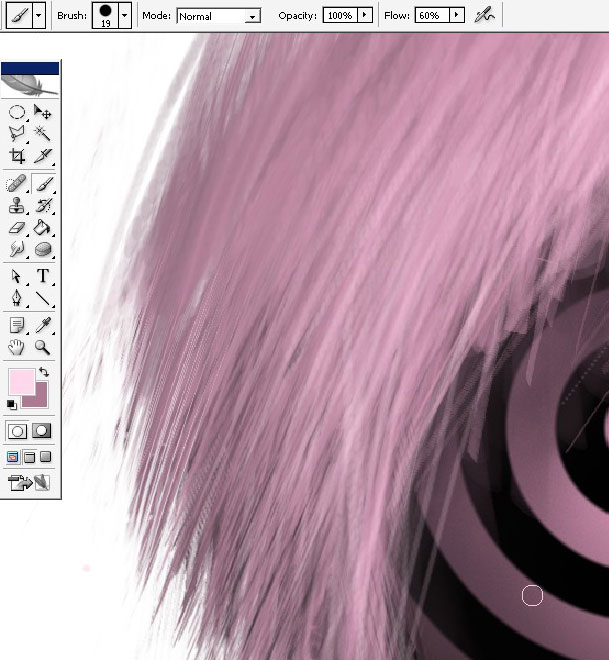
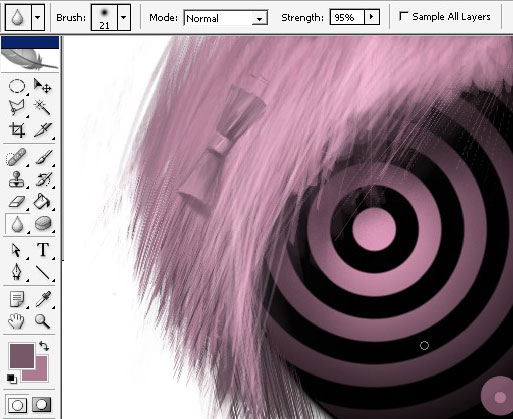
I am watching right now how the brush reacts to all these settings. I’m just picking white color and as our background is white too the brush works like an eraser.

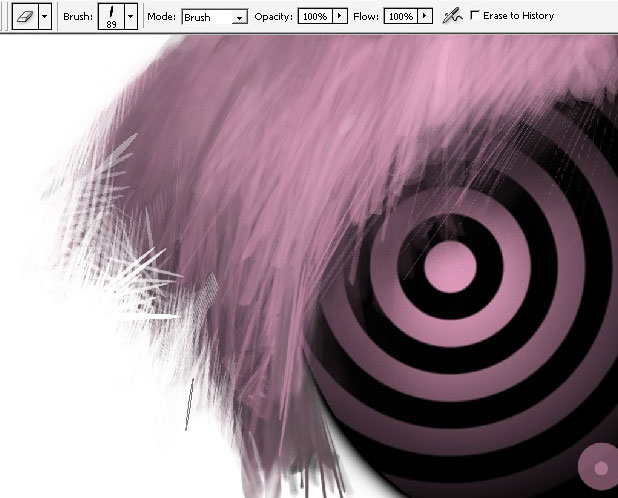
With all this white color I’m also changing the shape of the hair exactly as I want.
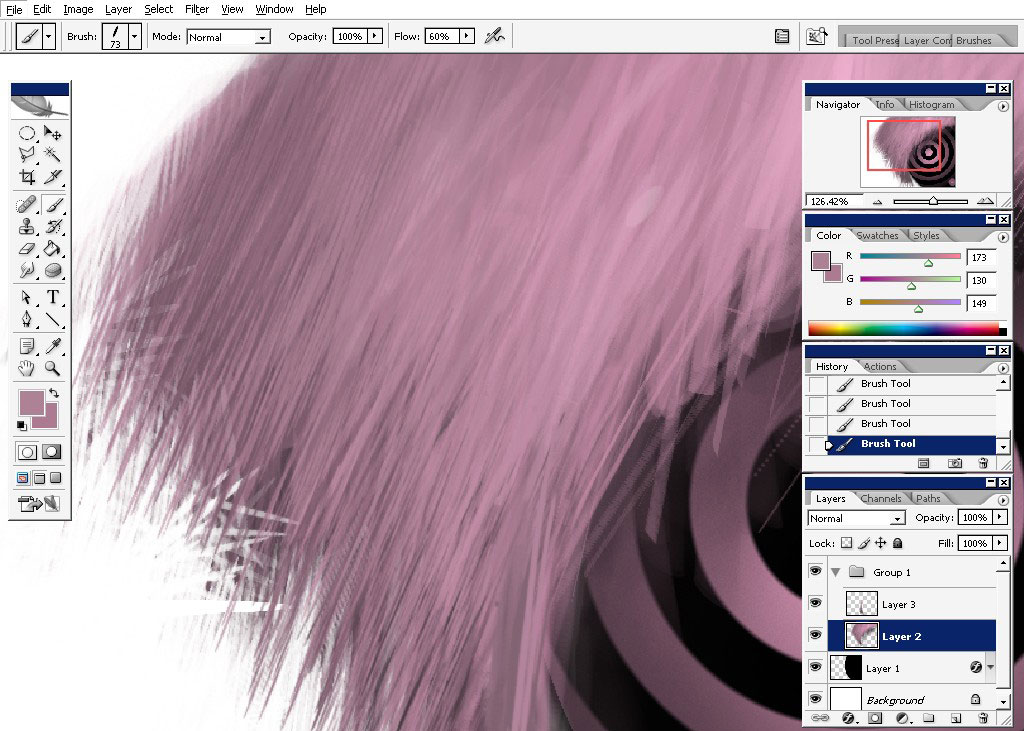
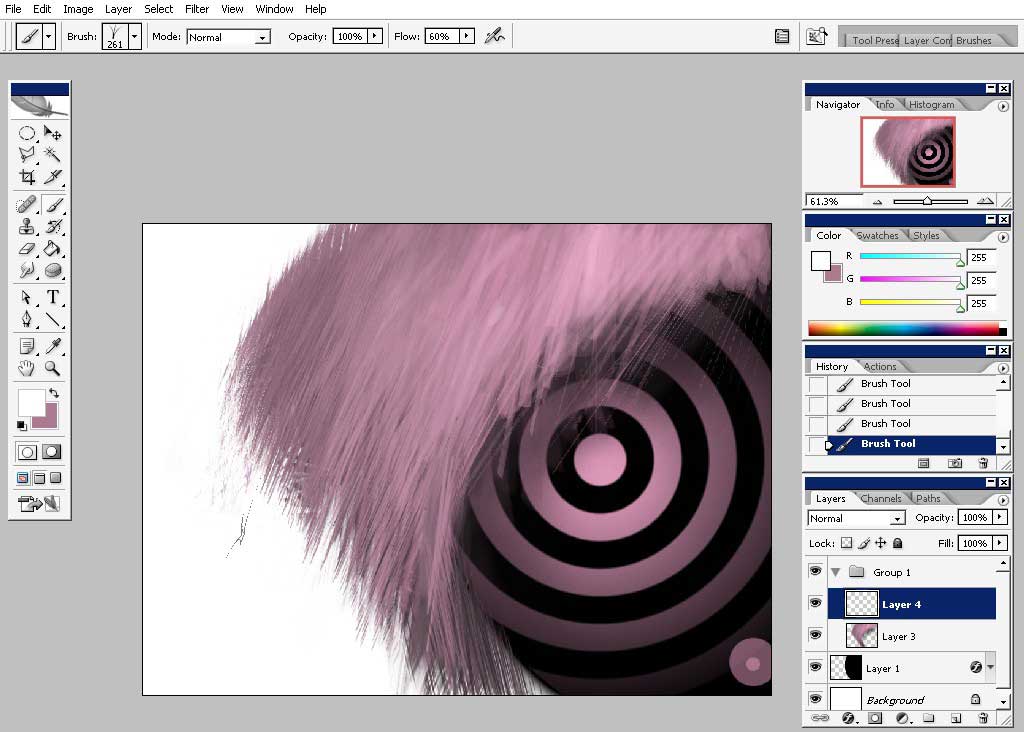
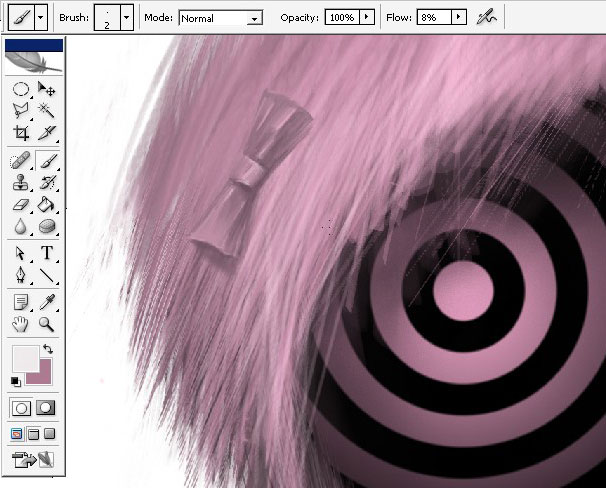
Then I will flatten the image and work out this hair but already with other brush, because it isn’t still shaped well.
I will now pick this brush. it is standard brush for Photoshop. It supposes to imitate grass or something, but human hair can look exactly like grass. Well. It definitely has similar shape.
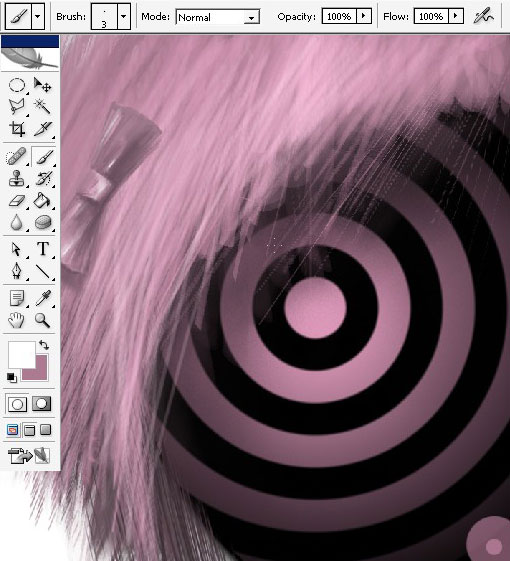
As you can see I’ve flattened my brush a little bit.
I also use small and large diameter of my brush.
That looks better@!
The thinnest hairs I’ve did with basic 2 or 3 round pixel brush.
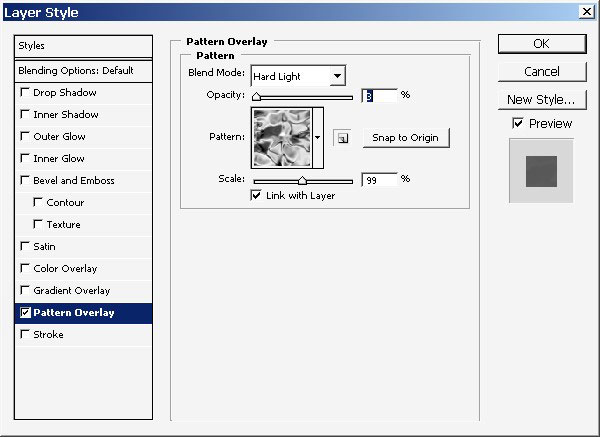
Now I would like to do some accessories. I will paint a little bow.
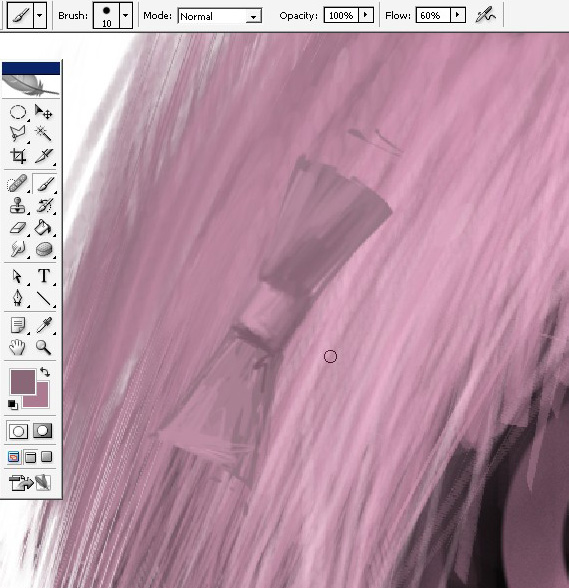
It
looks very good with highlights painted in white. Moreover I will add
some texture to my bow. As the bow was painted on a separate layer I
can fill it with texture using layer styles.
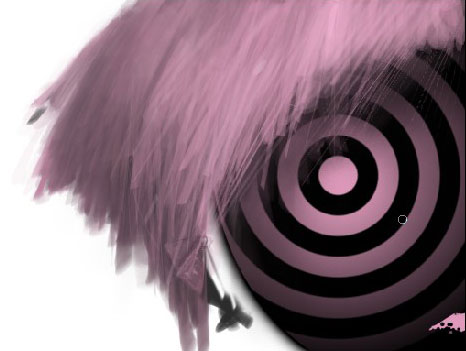
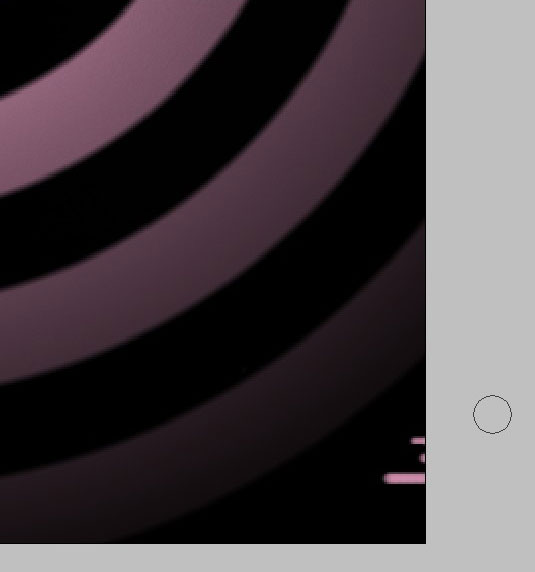
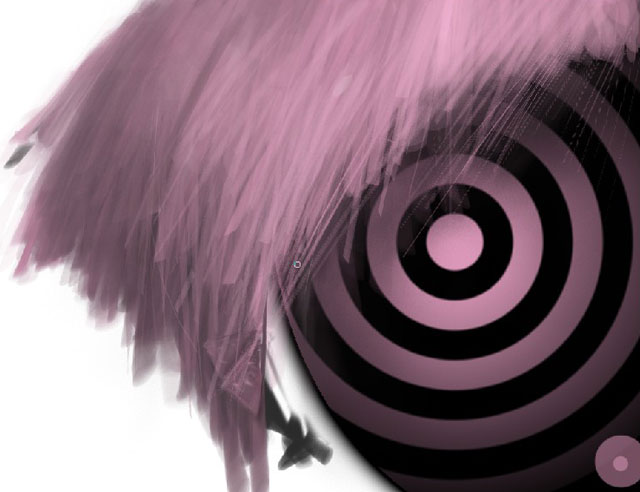
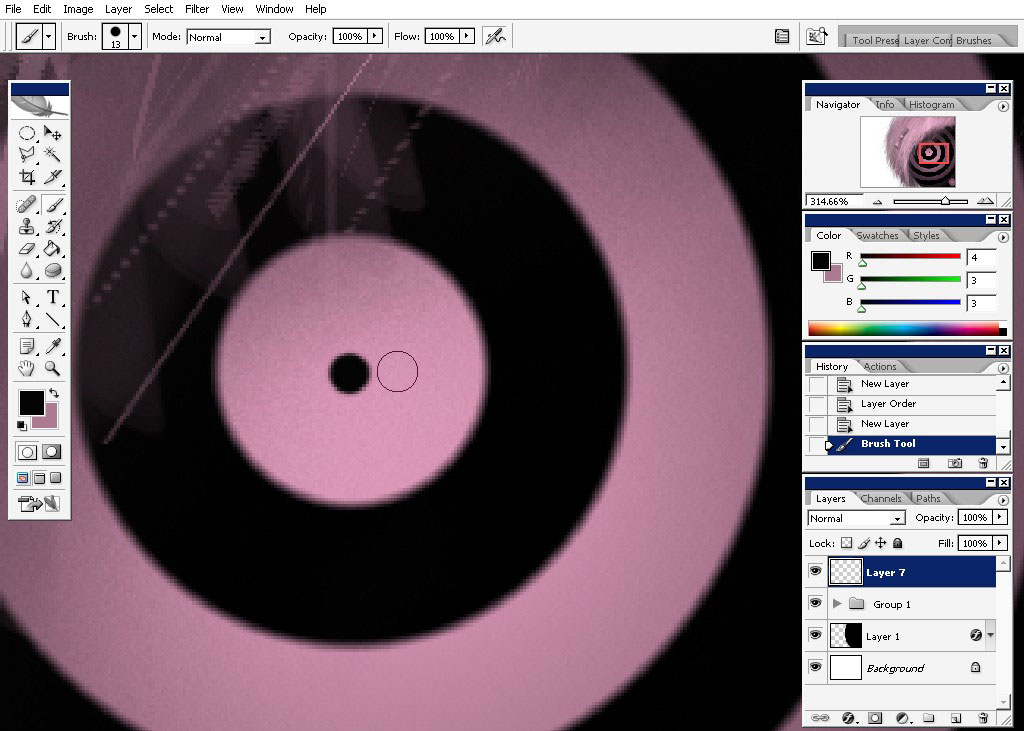
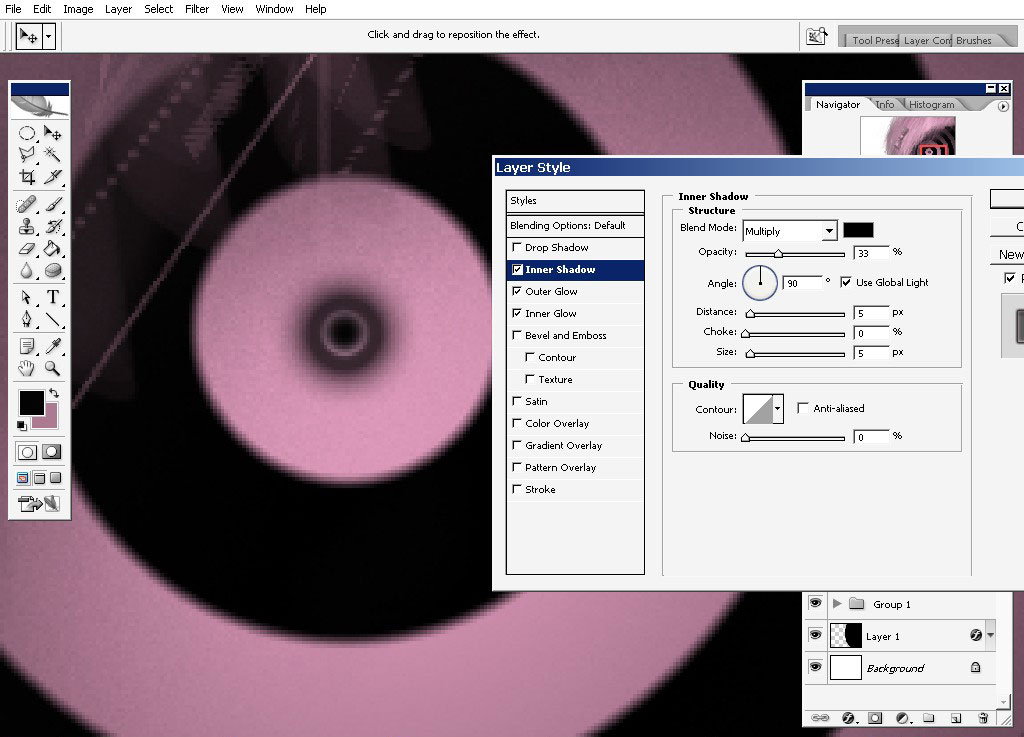
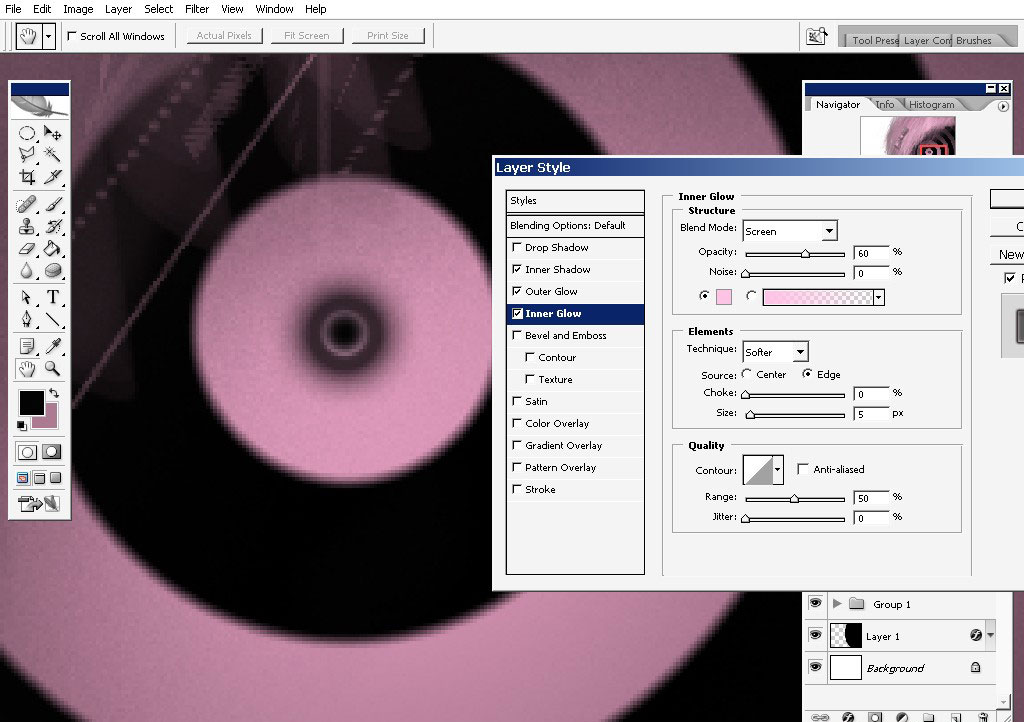
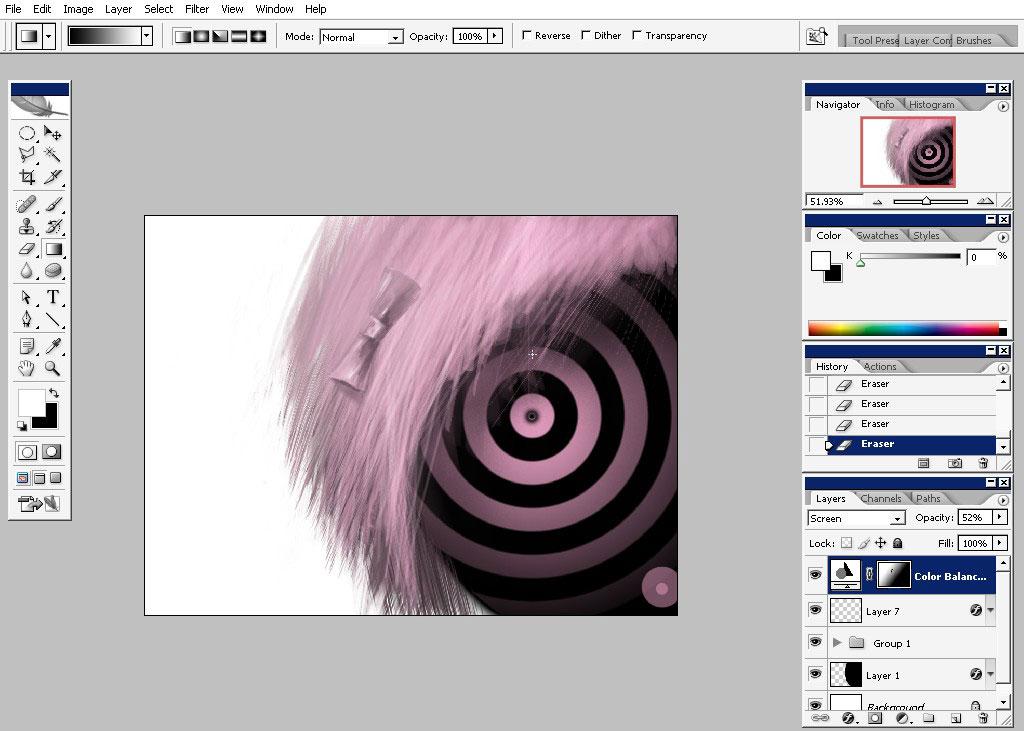
Now the Final step: I will make the apple of eye.
I will just create a new layer, make one dote with basic round brush and use layer styles to give some style to my eye.

So here is basically it. I’m done with my power puff illustration.
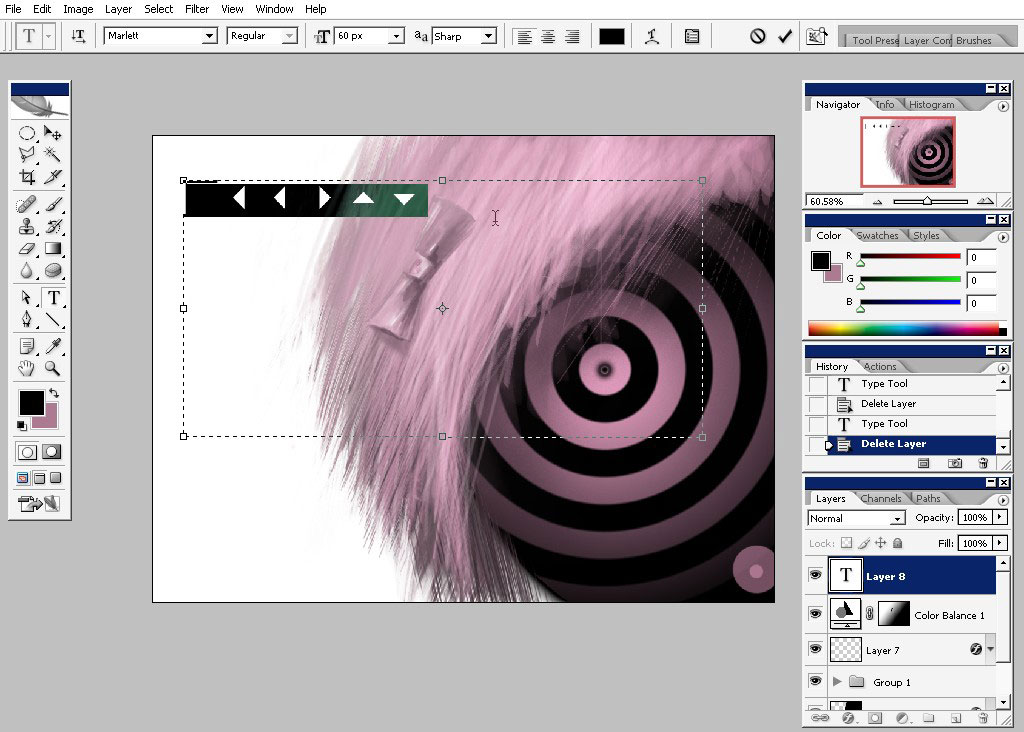
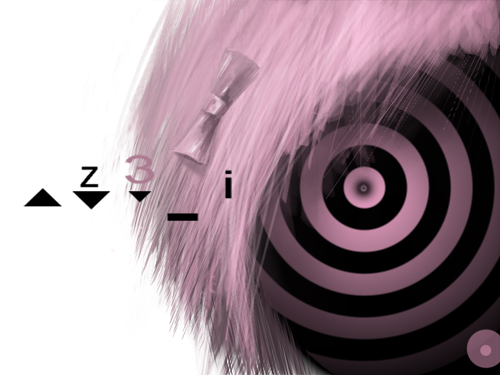
I will to some text to balance the composition on the left.
Comments