
Give photos a retro-inspired look using Adobe Photoshop CS5
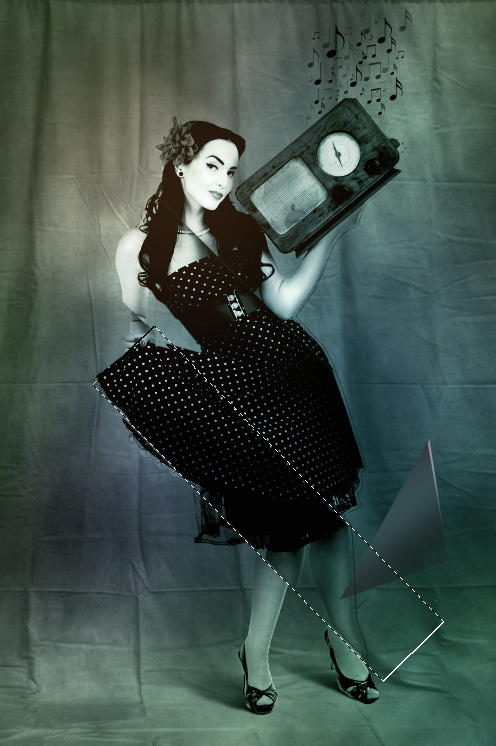
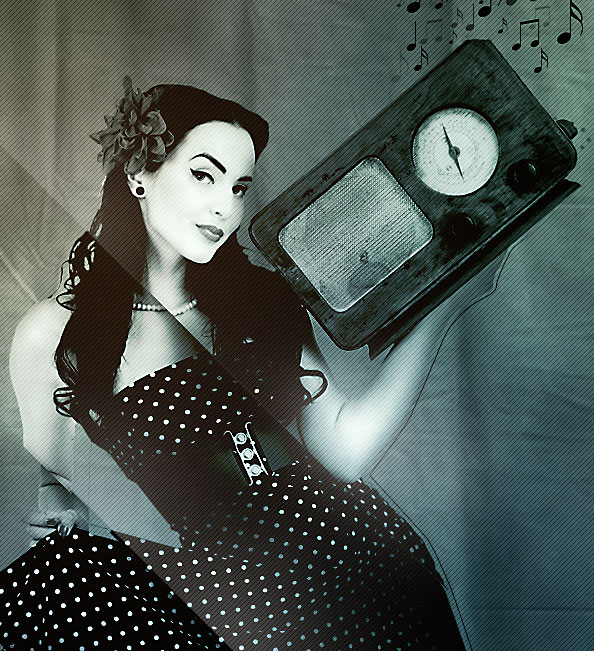
Represent the outside stroke on the woman’s right side, choose the Pen Tool (P), set the drawing mode on Shape Layers in Options bar and draw the next shape as shown.
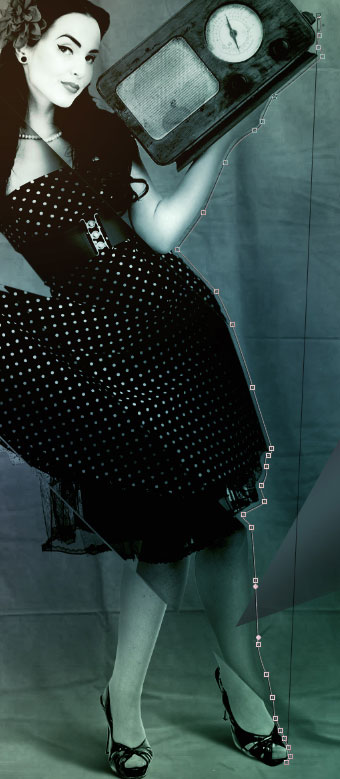
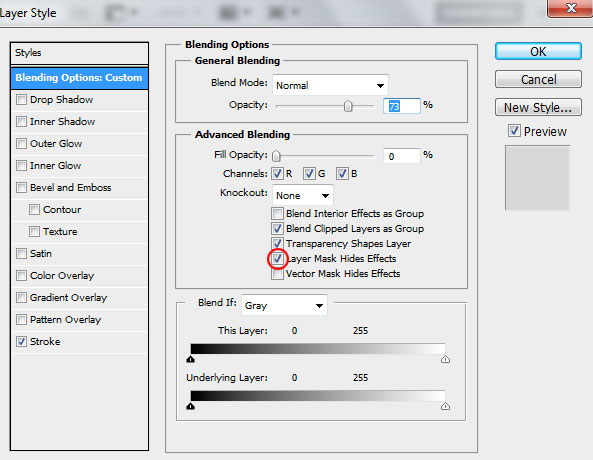
Set Fill to 0% for this layer and Opacity to 73%. Click on Add a layer style icon from bottom part of the Layers panel and go to Blending Options, find Advanced Blending and choose Layer Mask Hides Effects.
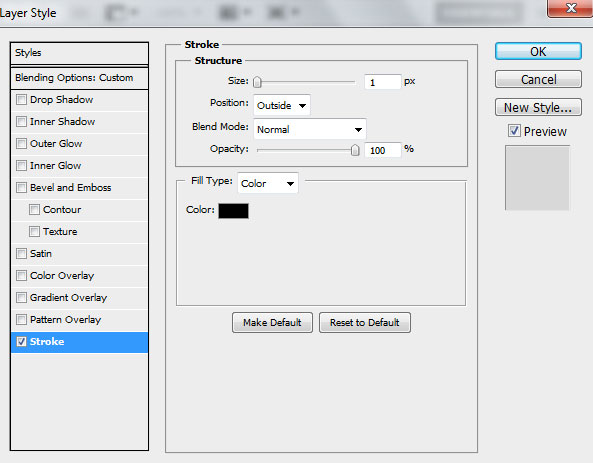
Apply Stroke:

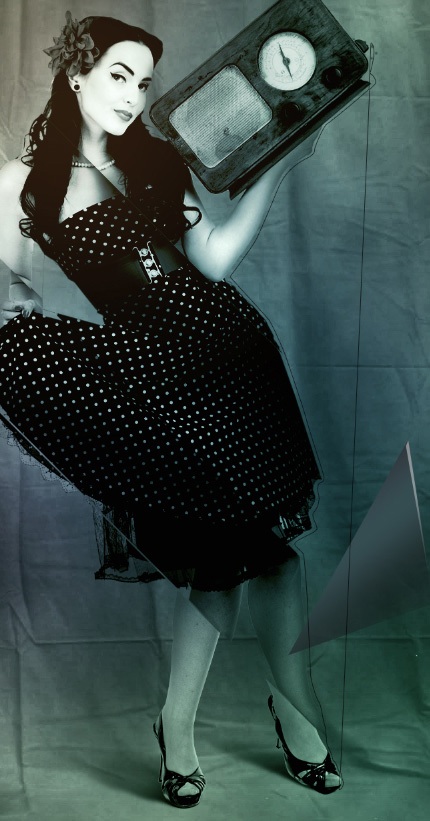
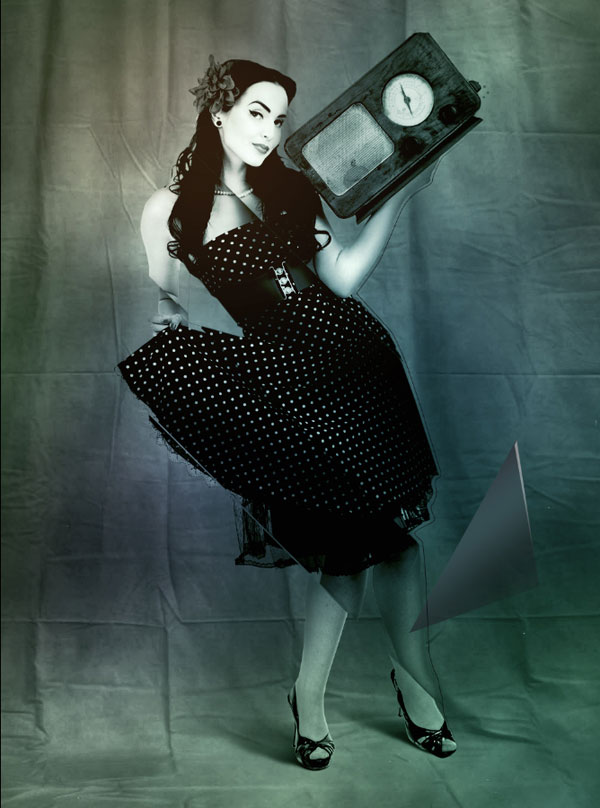
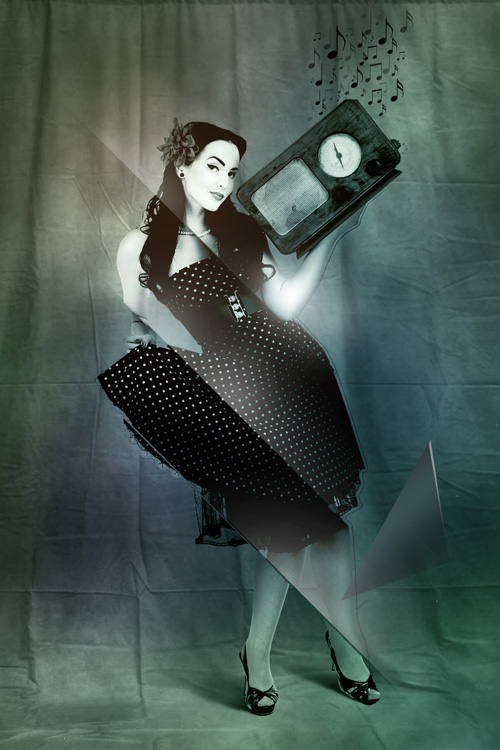
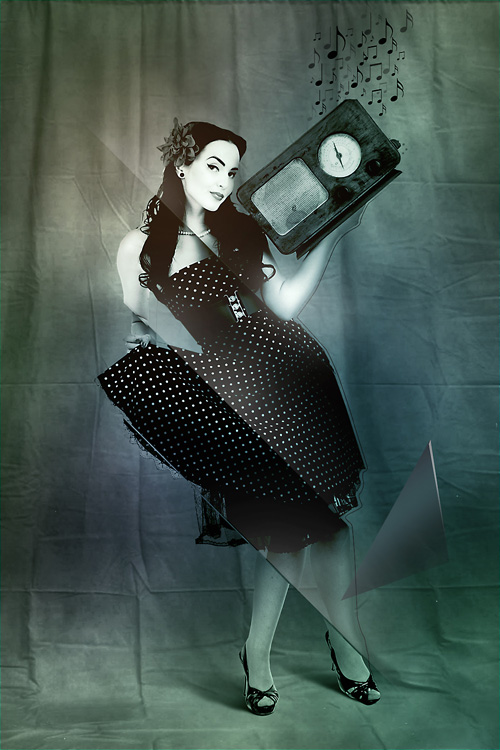
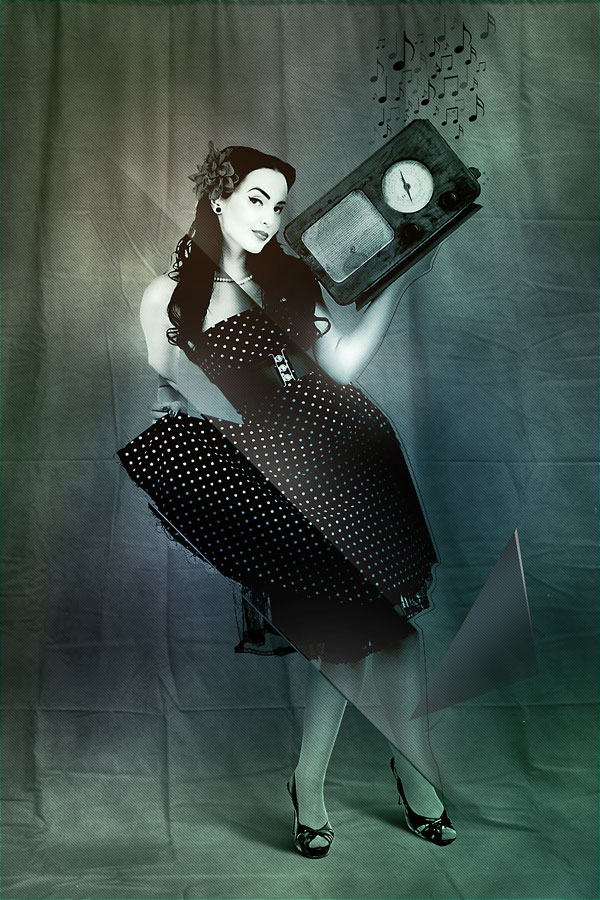
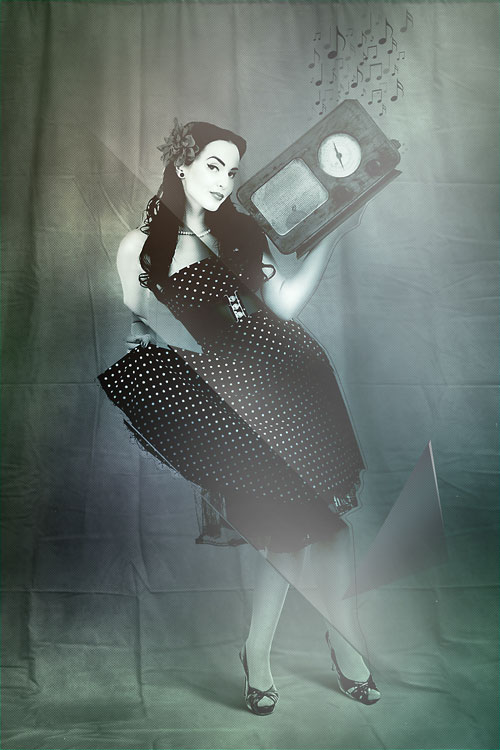
We’ve got the next result:
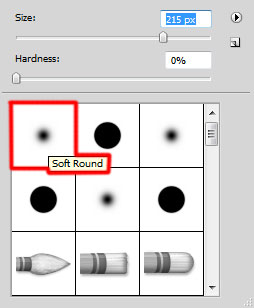
Insert the mask on the last made layer by choosing Add layer mask on the bottom part of the Layers panel and choose the Soft Round brush of black color (set Opacity to 40% in Options bar).
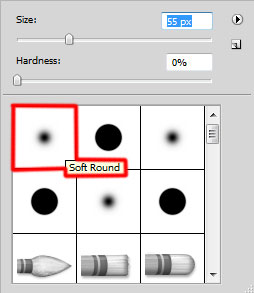
Paint in the mask to hide the outline stroke as shown, leaving only the woman’s edging on the right side.
Select the Custom Shape Tool (U) in the Tools bar, in the Options bar click the Shape to open the selection menu. Find the next shapes at the bottom of the menu.
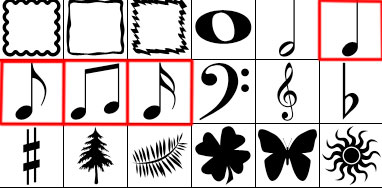
Use these shapes to draw many musical keys as shown, also change Fill value on the keys’ layers.

Next we’ll draw the highlights on the strips the woman is composed of. In this case we’ll create a selection by strip’s dimensions, using the Rectangular Marquee Tool (M).
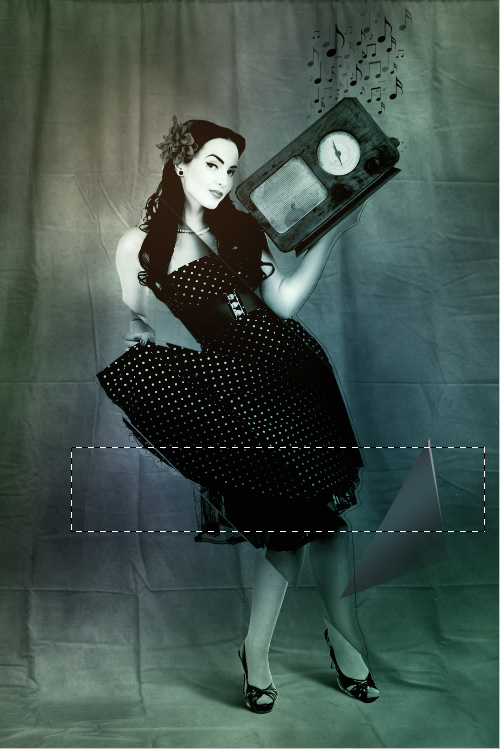
Righ-click now inside the selection and select Transform Selection and incline it the same way as on the next picture it is shown.
Use the Soft Round brush of white color inside the selection to paint the bottom edges and do this operation with all strips.

We’ve got the next result:
Set Fill to 66% for this layer and change the Blending mode to Luminosity.
Combine in a group all the layers (press CTRL button to select the necessary layers and hold on the left mouse’s button while dragging the selected layers on Create a new group icon from bottom part of the Layers panel).
The new group needs to be rasterized (select the group firstly in Layers panel and press CTRL+E to Merge Down).
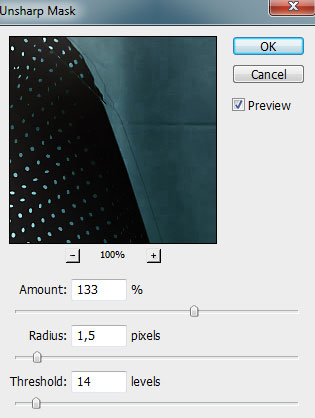
Apply also on the rasterized layer the nest filter: Filter > Sharpen > Unsharp Mask.
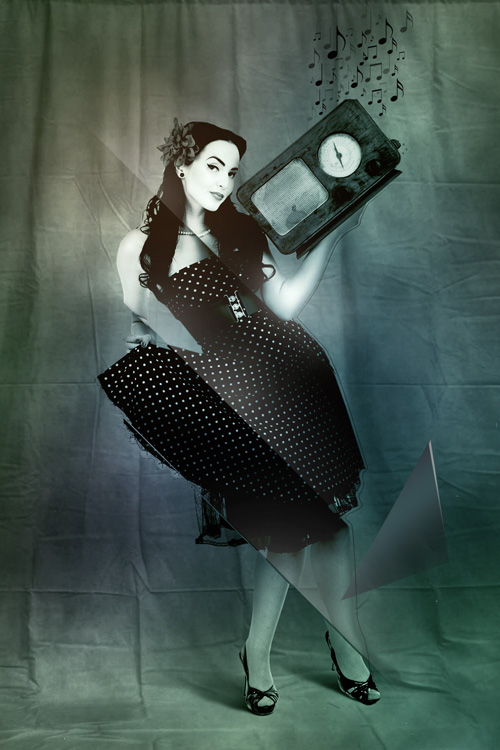
We’ve got the next result:
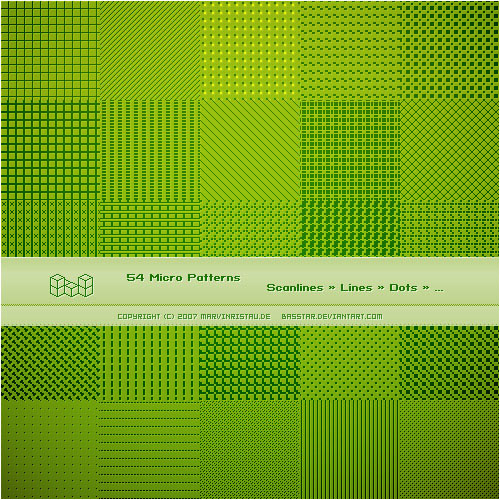
Next we’ll add a pattern on the background, download the Micro Patterns from Deviantart. I would like to thank the author of these patterns:
Use the Rectangle Tool (U) to draw the next rectangle as shown.
Copy the pattern file to your Program Files\Adobe\Adobe Photoshop X\Presets\Patterns folder (Adobe Photoshop X been your version of Photoshop).
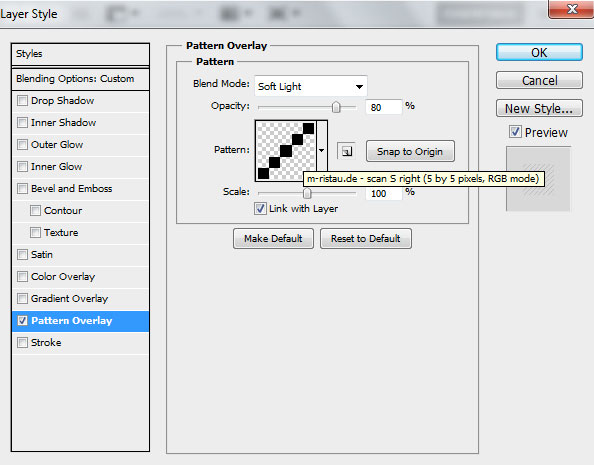
Set Fill to 0% for rectangle layer, click on Add a layer style icon from bottom part of the Layers panel and select Pattern Overlay. Click the Pattern Preset Picker and Load the pattern file from Program Files\Adobe\Adobe Photoshop X\Presets\Patterns folder. Apply the next settings for Pattern Overlay:
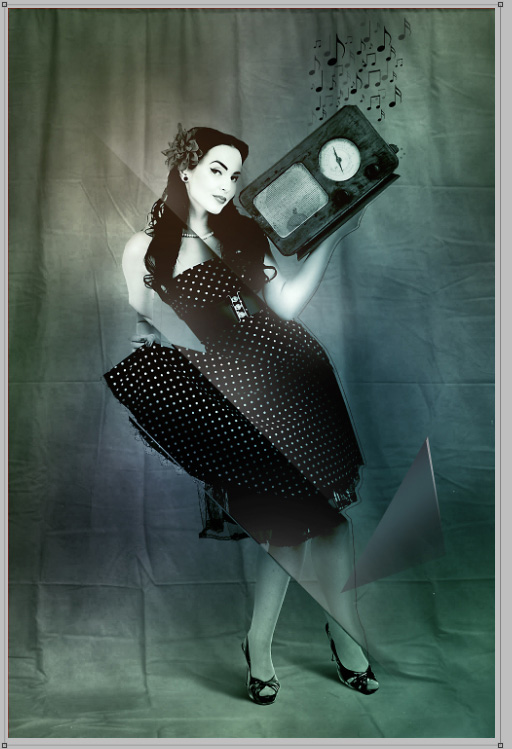
We’ve got the next result:
Rasterize now the pattern’s layer, right-click on the layer in Layers panel and select Rasterize layer. Make a copy of the new layer and choose the Free Transform (Ctrl+T) command to turn over the layer’s copy. Set Fill to 50% for this layer and change the Blending mode to Overlay.
For the second layer set Fill to 20% and change the Blending mode to Overlay.
Create a new layer and select the Soft Round brush of white color (brush’s Opacity – 20%).
USe this brush to paint the canvas as on the next picture:
Set the Blending mode for this layer to Overlay.
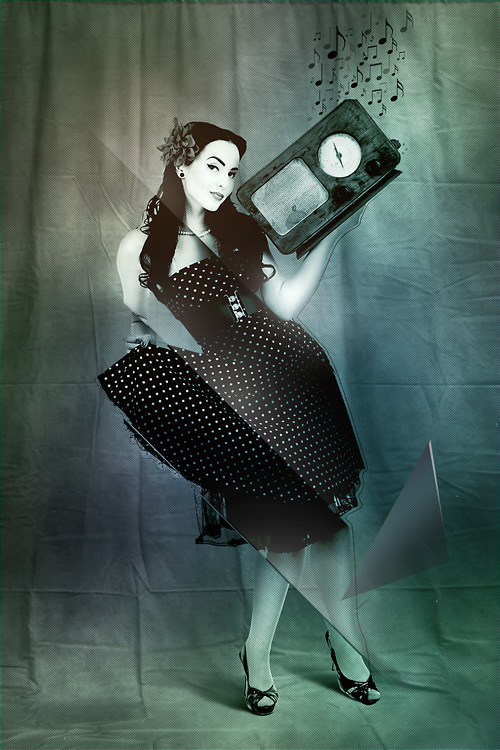
We’re done!
View full size here.
Files for this tutorial can be downloaded from here.
Comments