
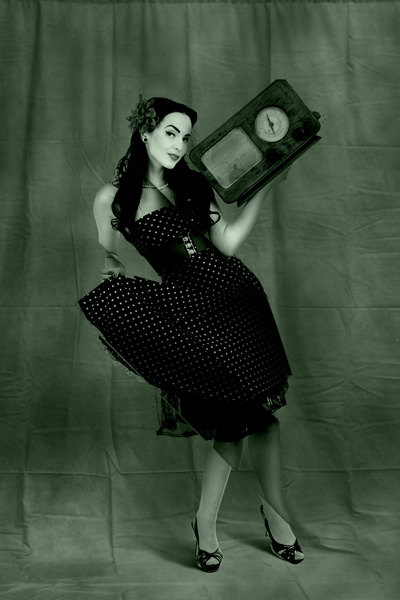
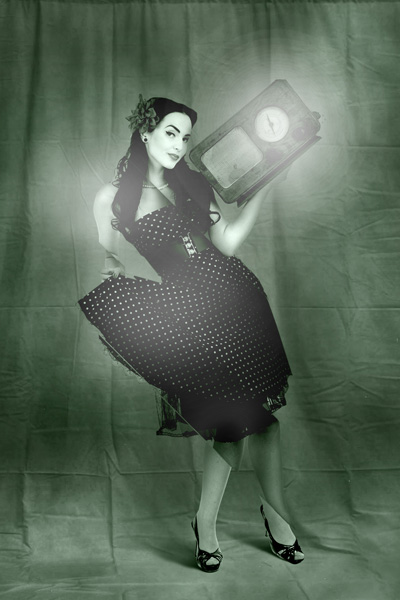
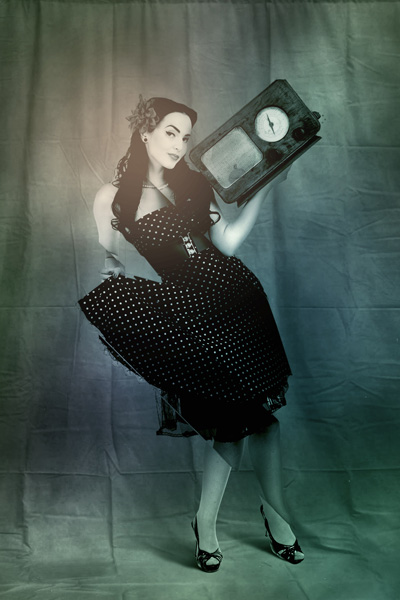
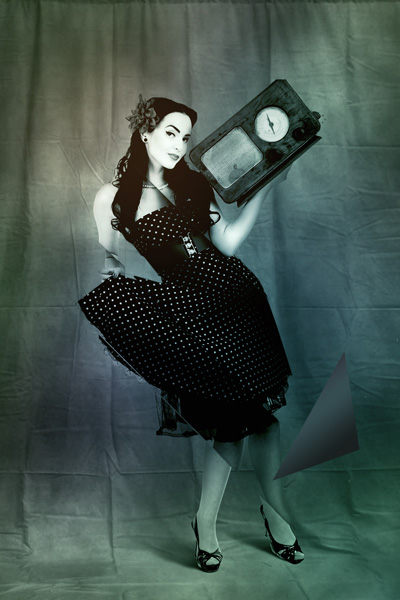
Give photos a retro-inspired look using Adobe Photoshop CS5
Next combine in a group all layers composing the woman and her shadow (press CTRL button to select the necessary layers and hold on the left mouse’s button while dragging the selected layers on Create a new group icon from bottom part of the Layers panel).
Rasterize the new group by select it firstly in Layers panel and press CTRL+E to Merge Down.
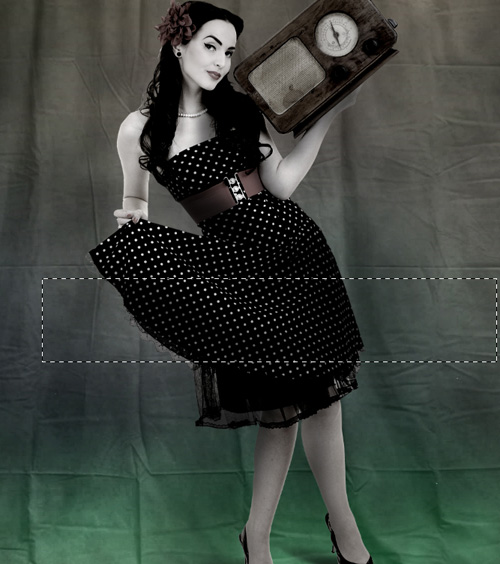
Then use the Rectangular Marquee Tool (M) to create the next selection.
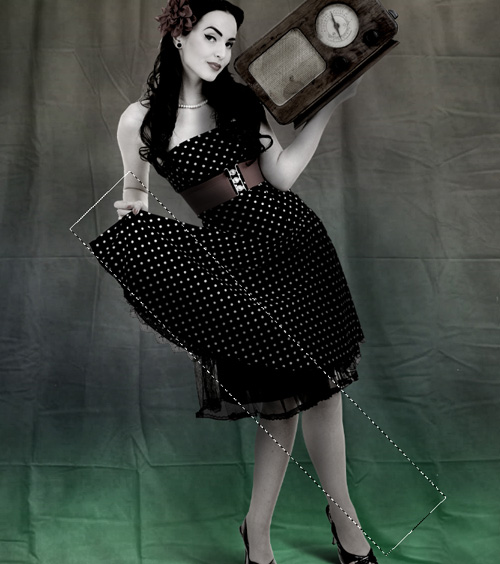
Right-click inside the selection and use Transform Selection to incline the selection the same way as below:

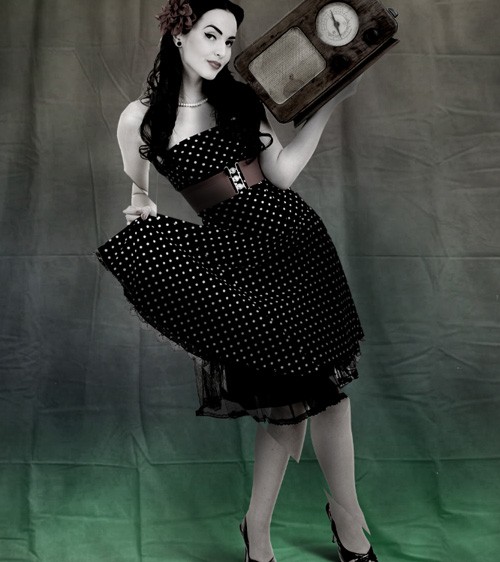
Hold Ctrl button and make a double-click inside the selection. Then apply the Move Tool (V) to displace the cuted selection.
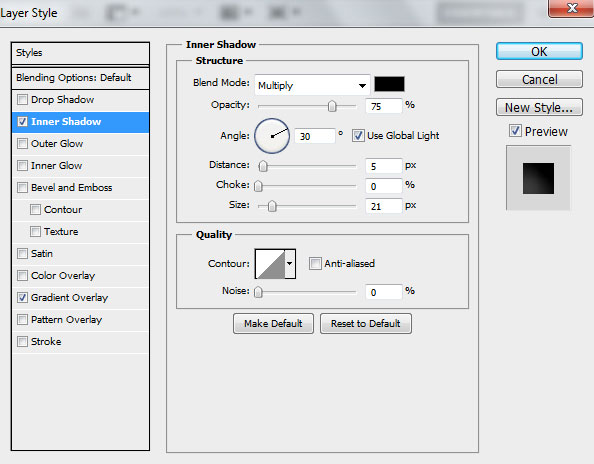
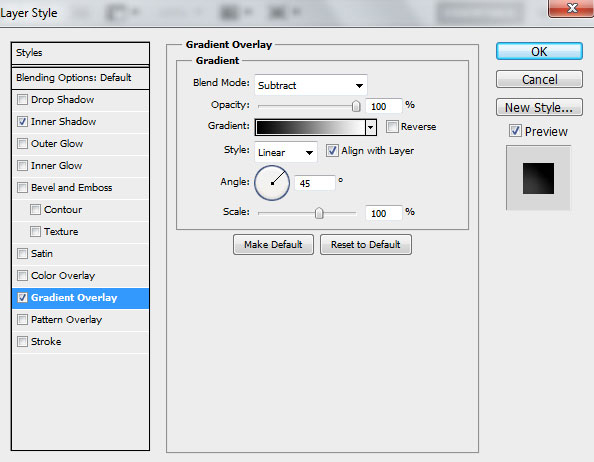
Click on Add a layer style icon from bottom part of the Layers panel and select Inner Shadow.
Apply Gradient Overlay:
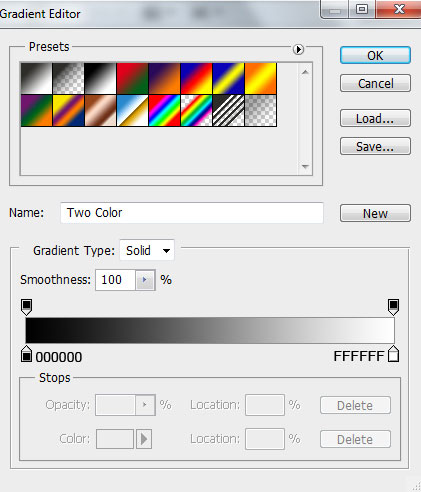
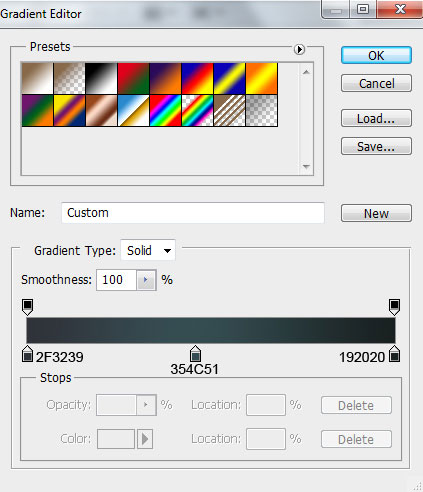
Click in the color bar to open the Gradient Editor and set the color stops as shown. Click OK to close the Gradient Editor dialog box.
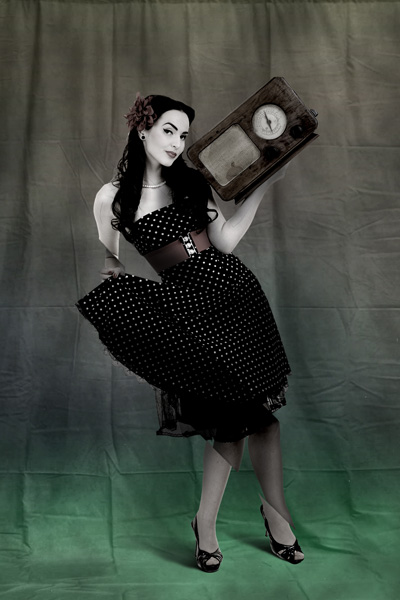
We’ve got the next result:
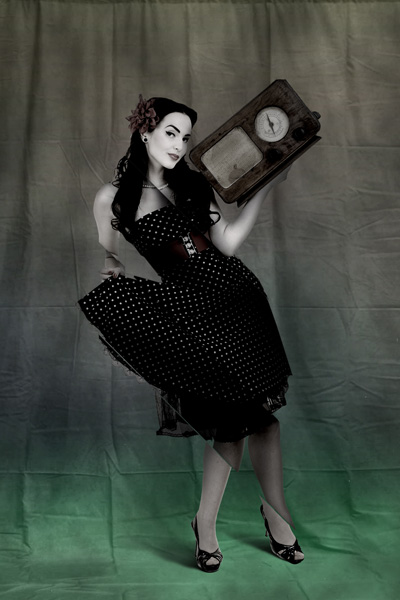
Using the applied already method we have to cut the body by strips having the same styles the first strip had, displacing their layers about each other as on the picture it is shown.
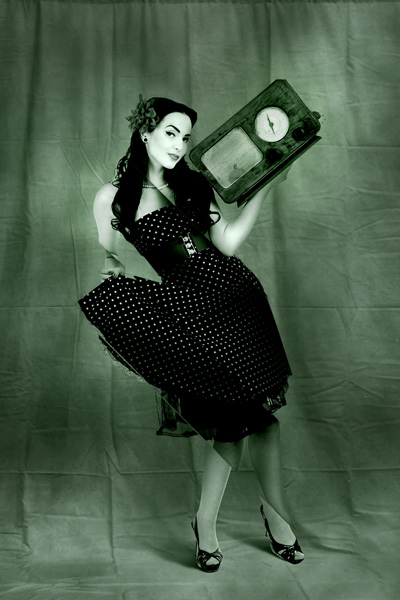
Create a new layer and use the Paint Bucket Tool (G) to fill it with #283A26 color.

Set the Blending mode for this layer to Color.
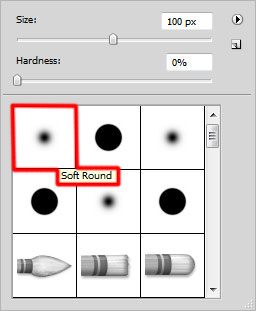
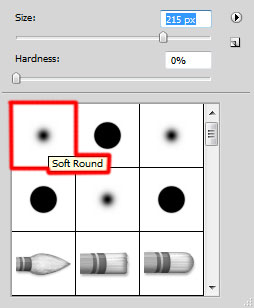
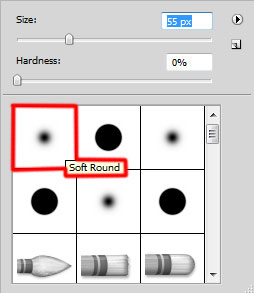
Create a new layer and select the Soft Round brush of the color #343841.
USe this brush to paint the canvas as shown.
Set Fill to 0% for this layer and set the Blending mode to Color Dodge.
Create a new layer again and select the Soft Round brush mentioned above of white color to represent a highlight on the woman’s body (brush’s Opacity – 15%).
Set Fill to 77% for this layer and set the Blending mode to Overlay.
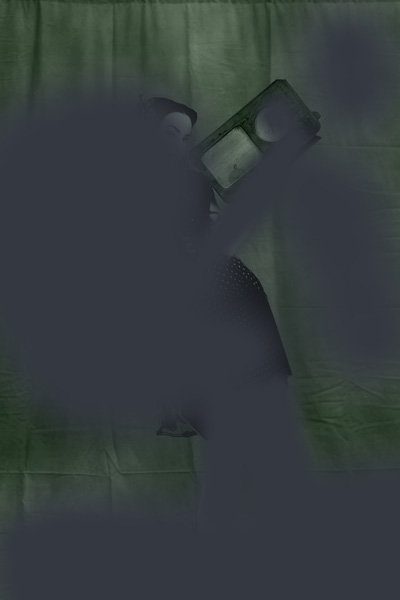
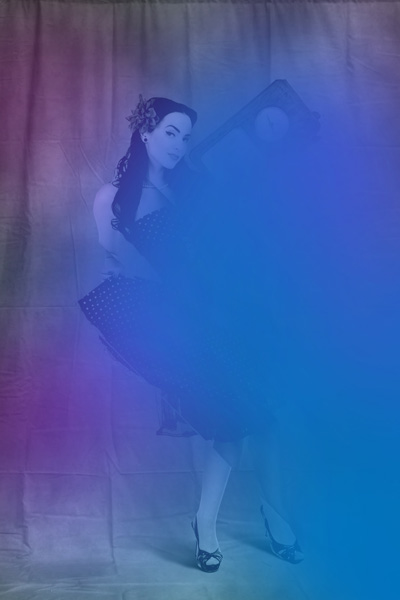
Create a new layer and select the Soft Round brush to paint the canvas in blue and violet color as it is demonstrated next picture (brush’s Opacity – 40%) .

We’ve got the next result:
Set the Blending mode for this layer to Soft Light.
Create a new layer again and choose on it the Soft Round brush mentioned earlier to paint the canvas’s edges with #6EAF6A (brush’s Opacity – 15%).

Set the Blending mode for this layer to Color.
Create a new layer again and select the Soft Round brush to paint the woman’s face with #FFC78C color (brush’s Opacity – 15%).
We’ve got the next result:

Click Create new fill or adjustment layer from bottom part of the Layers panel and click to Curves to adjust the curve shape as shown to make a little color corrections.
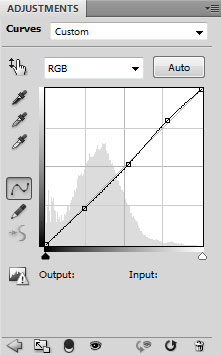
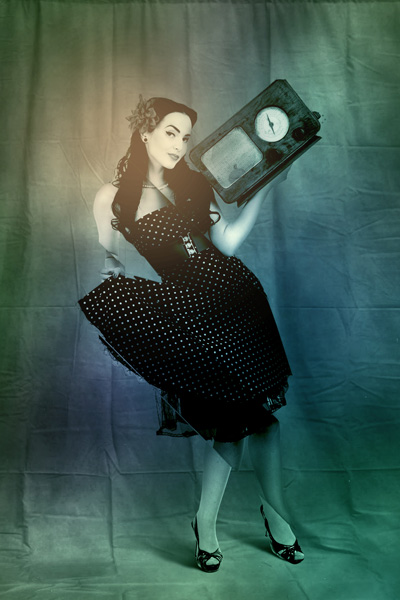
We’ve got the next result:
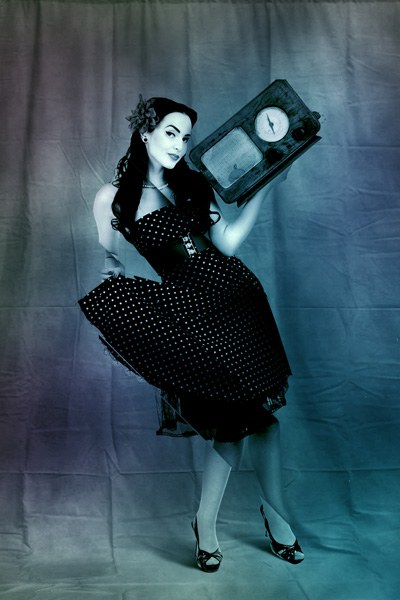
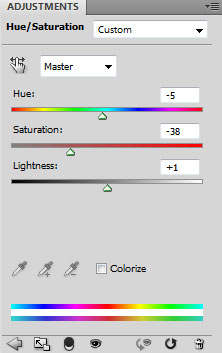
… and also click Create new fill or adjustment layer from bottom part of the Layers panel and select Hue/Saturation. Drag the slider to the right to increase the Lightness of the color range and drag the slider to the left to decrease Hue and Saturation.
We’ve got the next result:
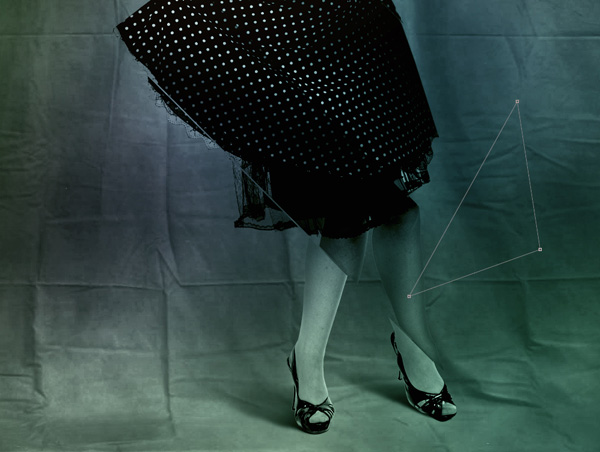
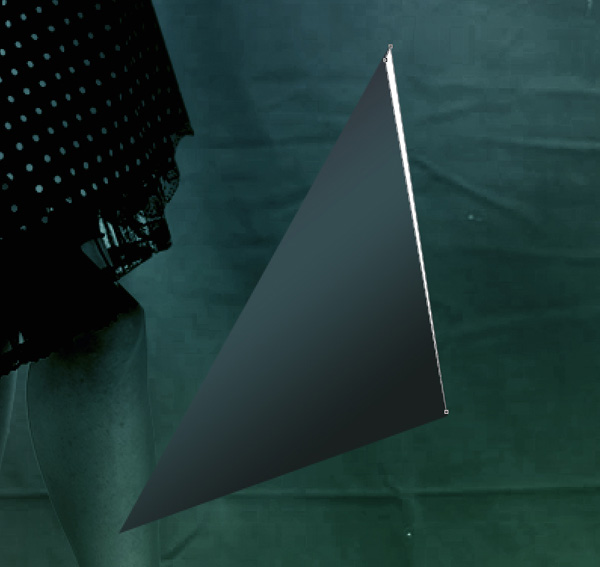
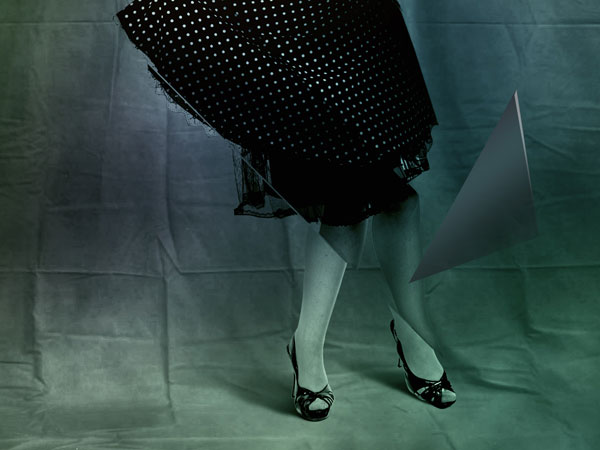
Now we shall draw a triangle, choose the Pen Tool (P), set the drawing mode on Shape Layers in Options bar and draw the next shape as shown.
Set Fill to 0% for this layer and click on Add a layer style icon from bottom part of the Layers panel to select Gradient Overlay.
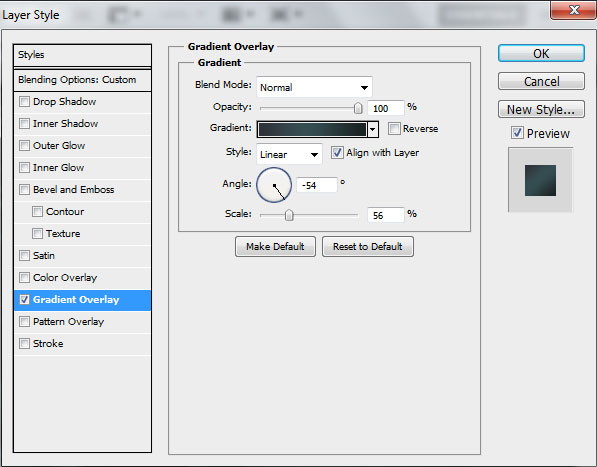
Click in the color bar to open the Gradient Editor and set the color stops as shown. Click OK to close the Gradient Editor dialog box.
We’ve got the next result:
Apply after that the Pen Tool (P) to draw a highlight on the triangle of white color.
Set Fill to 43% for this layer.

Combine in a group all the layers composing the triangle (press CTRL button to select the necessary layers and hold on the left mouse’s button while dragging the selected layers on Create a new group icon from bottom part of the Layers panel).
Rasterize the new group, select the group firstly in Layers panel and press CTRL+E to Merge Down. On the rasterized group we’ll add the mask by clicking on the the bottom part of the Layers panel on Add layer mask, select the Soft Round brush of black color and paint in the mask to hide the bottom part of the triangle.
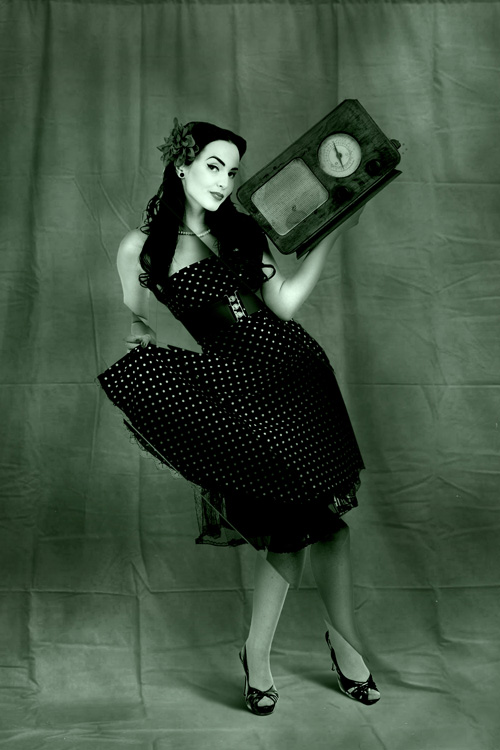
We’ve got the next result:
Comments