
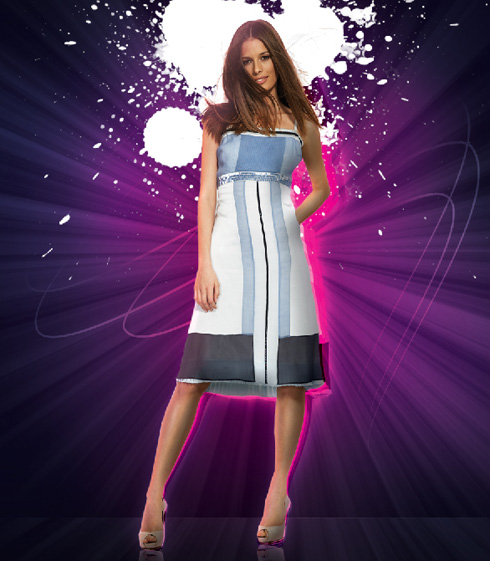
Girl Photo Manipulation
Download a set of brushes for Adobe Photoshop, named: bloodbrushes2_invaynestock.
Create after that a new layer and apply a brush out of the downloaded set. The brushes have white color. Place this layer lower than the very first layer of the girl.

Make a copy of the very first girl’s layer and choose Free Transform option to turn over the copy, placing it as below:
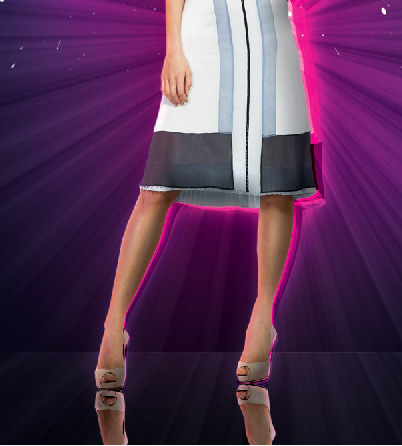
Click on the same layer on the bottom part of the layers’ panel on Add a Mask selection and choose a standard brush of black color (Opacity 20%) to clean out smoothly the reflection.

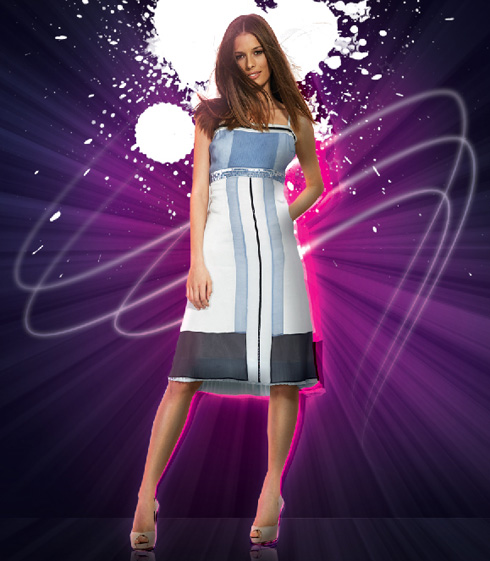
Now we have to represent several lines, but for the beginning draw their paths. In this case we’ll apply the Pen Tool (P) (Path mode)

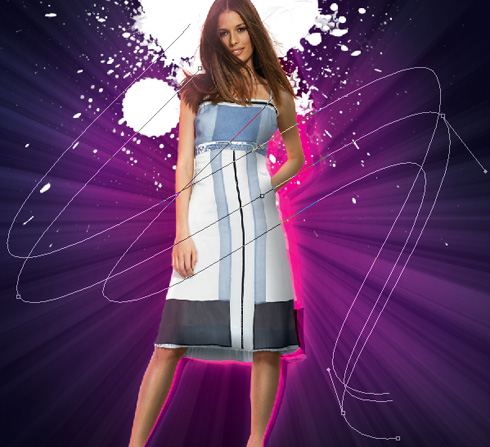
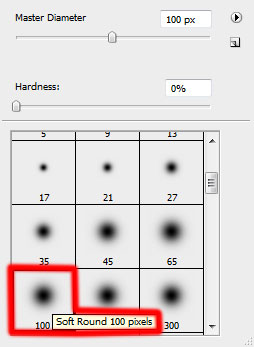
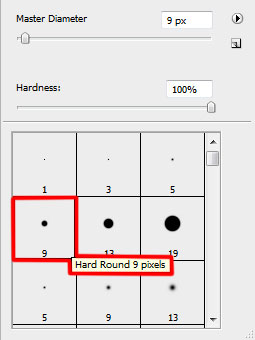
Next we’ll create a new layer, select a standard brush of white color (Diameter 9, Hardness 100%). Using the Direct Selection Tool (A), select the lines and then change the instrument with the Pen Tool (P) and make a right click on the marked line to select Stroke Path (Brush mode). Place the layer with the lines lower than the girl’s layers (on the layers’ panel).
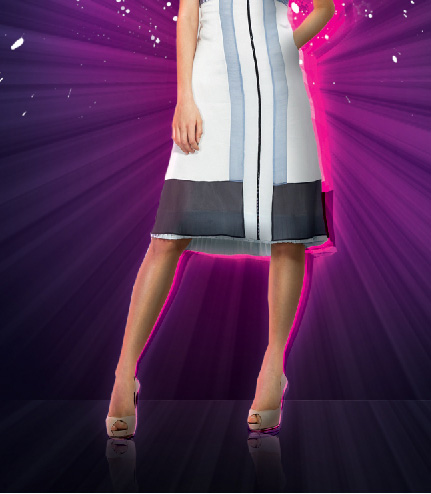
Click on the same layer on the bottom part of the layers’ panel on Add a Mask selection and choose a standard brush of black color (Opacity 40%) to clean out the lines the same way demonstrated below:
Set the next parameters for the made layer: Fill 63%, Blending mode-Overlay
Make a copy of the layer containing the lines and move of the layer’s mask, applying the next option: Filter>Blur>Gaussian blur
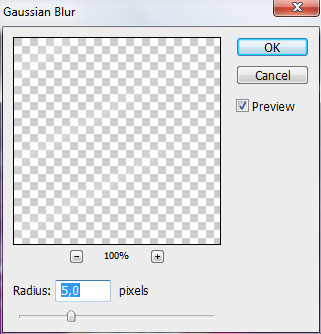
The layer’s parameters: Blending mode-Overlay
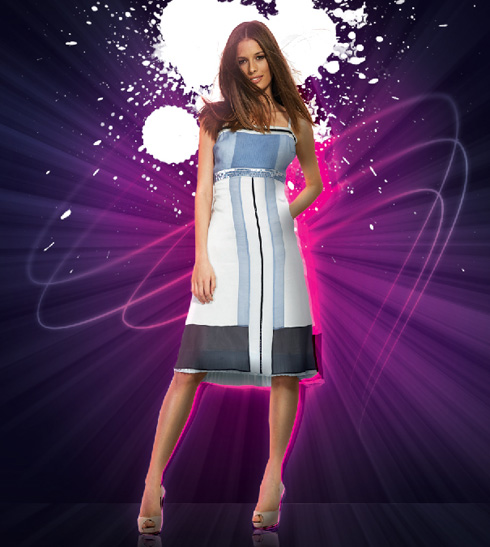
Create a new layer and select on it a standard brush of white color to represent a lot of dots.

The layer’s parameters: Blending mode-Overlay
Make a copy of the last made layer with the dots and choose for this layer the next demonstrated parameters: Fill 70%, Blending mode-Soft Light

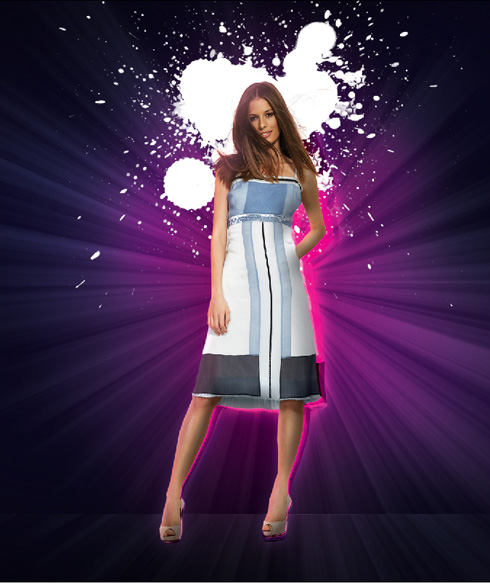
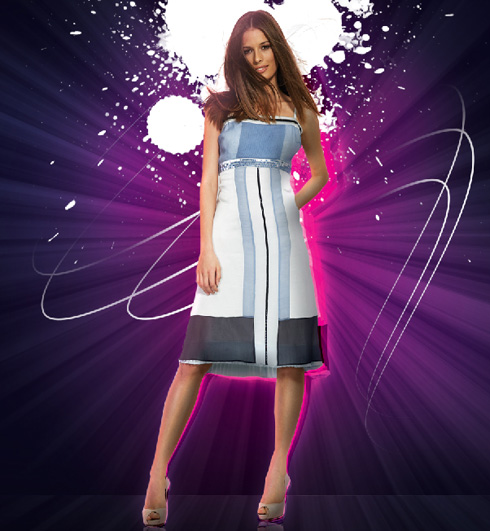
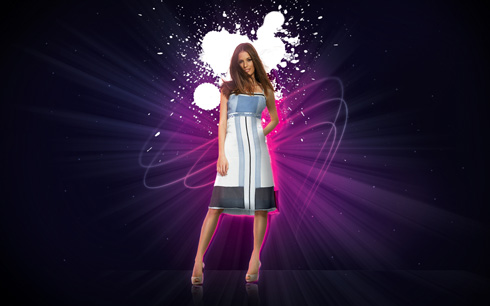
The final result!
View full size here.
Comments