
Girl Photo Manipulation
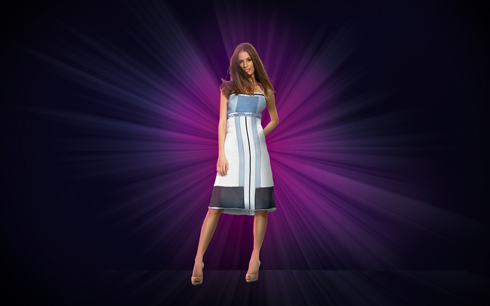
Create a new layer which must be processed with a standard brush and paint the rays with the color #372F7D. This layer needs to be placed lower than the rays’ layers (on the layers’ panel).


The layer’s parameters: Blending mode-Soft light

Create a new layer and use the standard brush we did with the previous example. Paint the central part of the rays with the color #EA108C. Place this layer above the previous one, but lower than the rays’ layers.
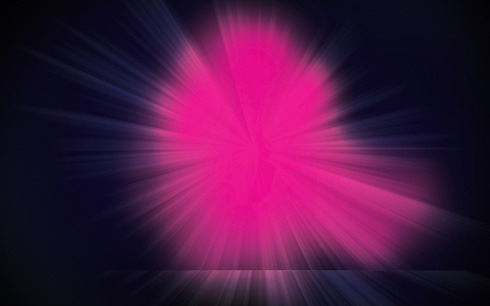

The layer’s parameters: Blending mode-Overlay

Using the standard brush of black color (Opacity 20%), try to dark out the picture’s edges:

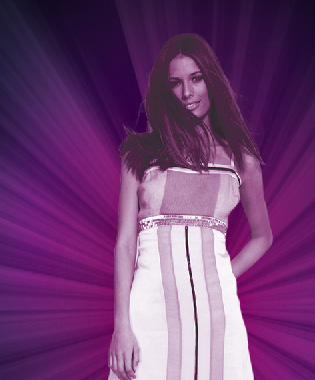
Find a stock photo with a model represented on it, I used this photo from deviantart. I would like to thank the author of this photo :
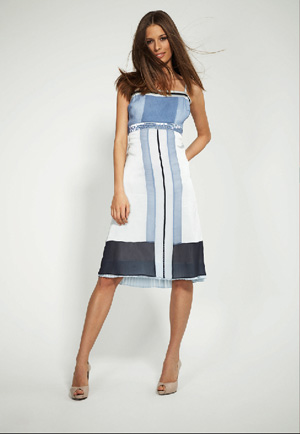
Cut the model out and insert it on the new layer.
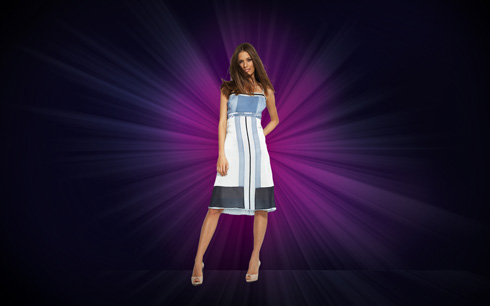
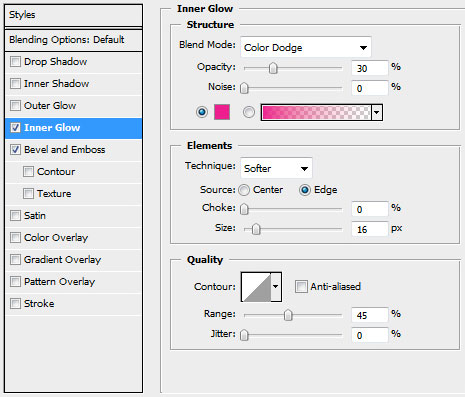
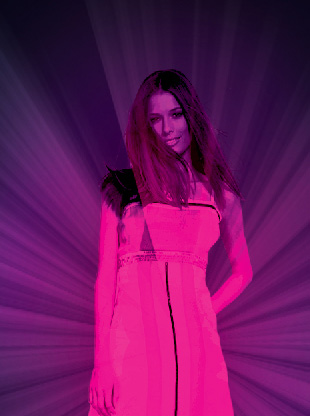
Set the next styles on the same layer: Blending Options>Inner Glow
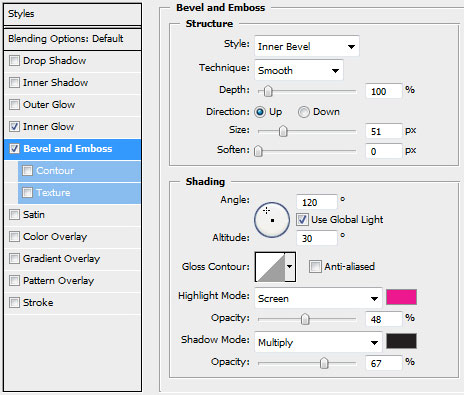
Blending Options>Bevel and Emboss
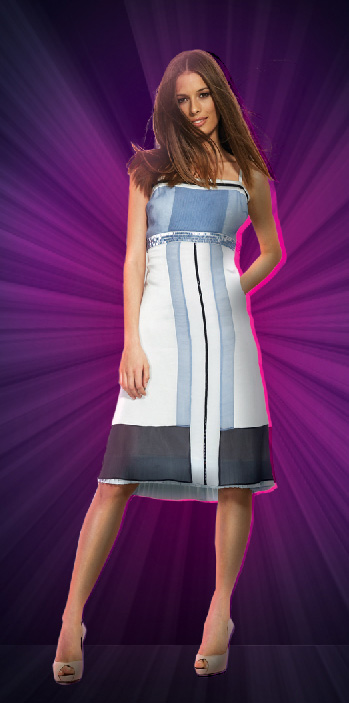
Make a copy of the girl’s layer. Move off the effects out of the copy’s layer and choose Free Transform option to turn over the copy’s layer on several millimeters, fixing the axe’s central part on the left girl’s leg. This layer needs to be placed under the very first layer with the girl.
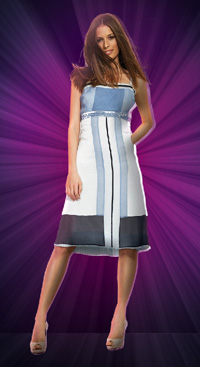
Press CTRL+SHIFT+U and then CTRL+U.

The copy’s layer with the girl (the very first layer is hidden for reflecting the result).
The layer’s parameters: Fill 72%, Blending mode-Vivid Light
Make three copies of the girl’s layer containing the copy. Move each next layer on the central part of the left girl’s leg. Each copy’s layer needs to be placed lower than the previous one. The Fill parameter for the first copy is 72%, the second one – 39%, the third one – 48%.
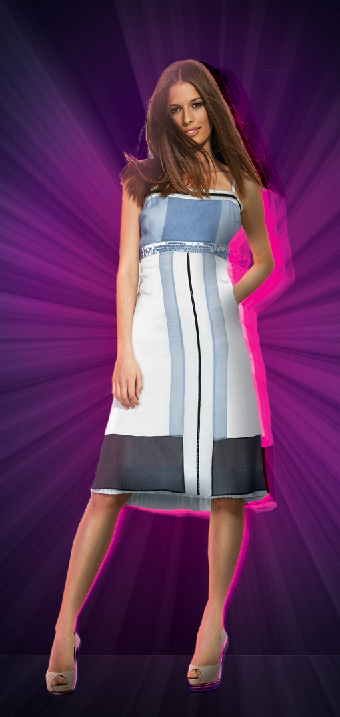
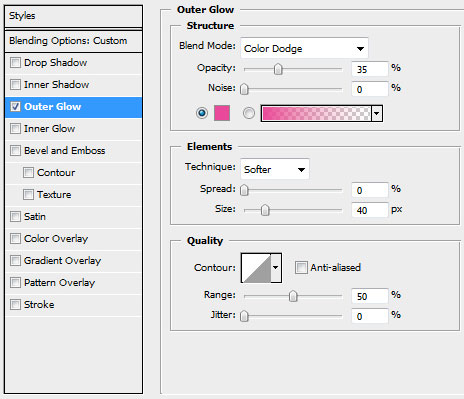
Select the next styles for the layer of the lowest copy (the 3rd): Blending Options>Outer Glow

Comments