
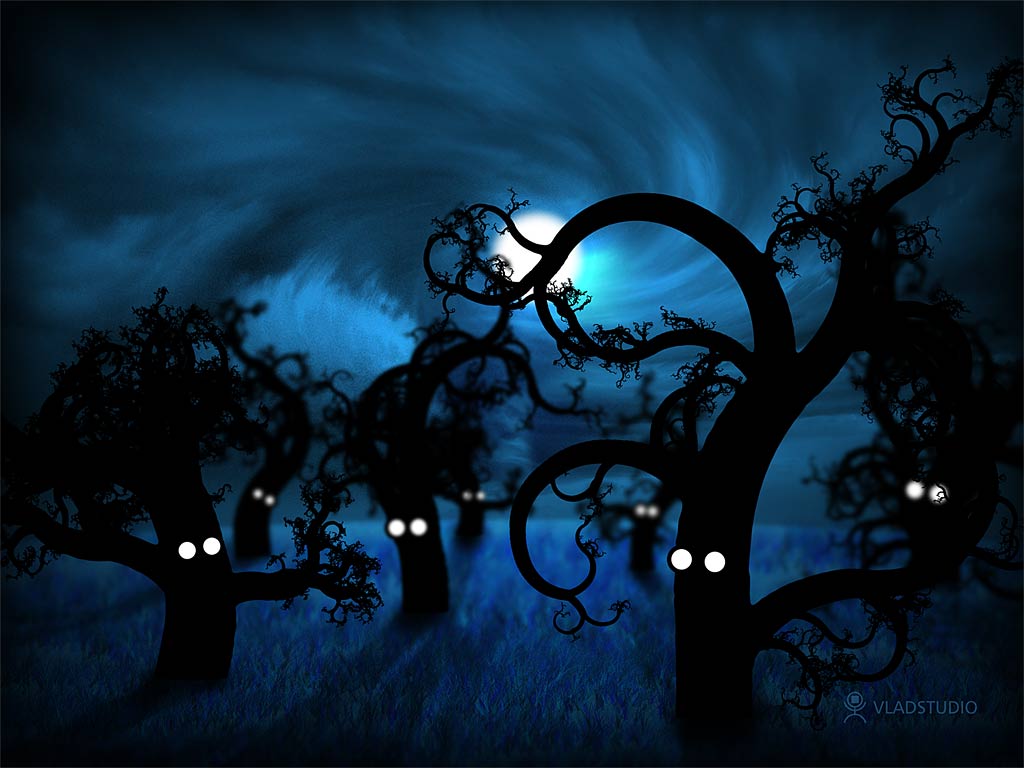
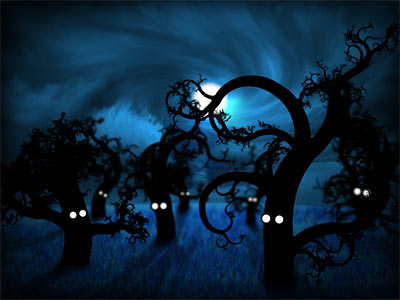
Full Moon in The Midnight Forest
May 11, 2007 | 0 comments
Tips about how I made the Full Moon in The Midnight Forest wallpaper (see wallpaper).
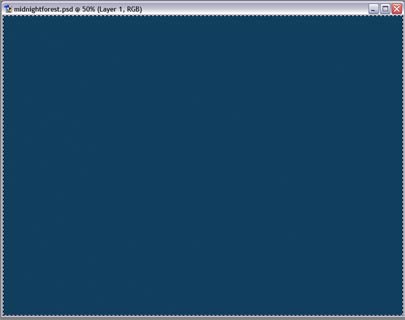
Here we go! Create new document, fill background layer with dark blue.
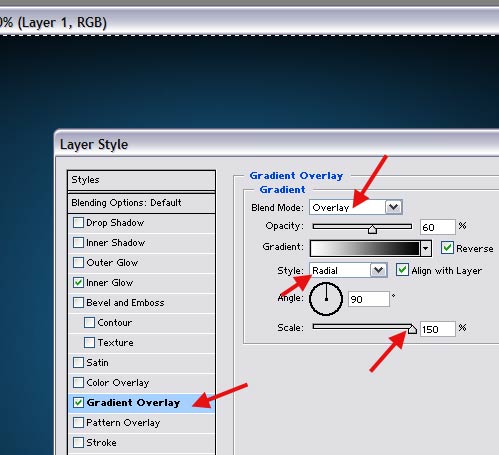
Open Layer Style -> Blending Options, select Gradient, change gradient blend mode to Overlay, and style to Radial. also scale up to 150%. (I also added black Inner Glow).
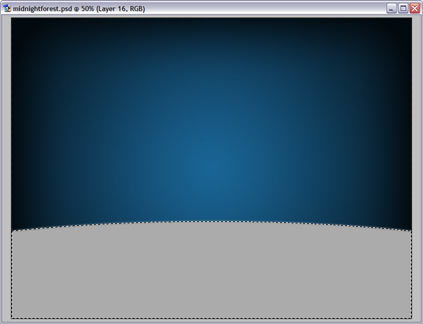
Create new layer, use selection tool or shape tool to create grey ellipse (this will be our earth). If you used shape, rasterize it.

Add some noise (menu Filter – Noise – Add Noise).
Tricky part now – we are going to simulate macro photo where only part of a photo is focused, and the rest is blurred.
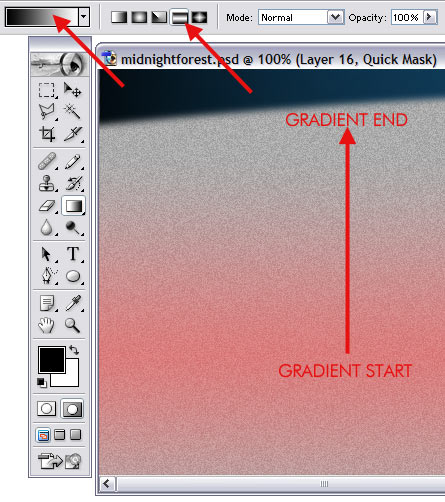
– switch to quick mask mode (Q)
– select gradient tool. make sure that foreground color is black, and background is white
– on top of window, switch gradient type to Reflected
– create gradient similar to show here. Since we are in qucik mask mode, you should see gradient in red.
– switch to quick mask mode (Q)
– select gradient tool. make sure that foreground color is black, and background is white
– on top of window, switch gradient type to Reflected
– create gradient similar to show here. Since we are in qucik mask mode, you should see gradient in red.

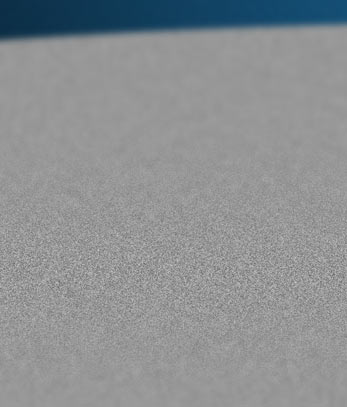
return to normal mode from quick mask mode (hit Q again). Your gradient should become the selection. Apply Gaussian Blur to selected area (Filter – Blur – Gaussian blur), widh raduis about 4-6 pixels. Now, only part of our “earth” is focused, and the rest is blurred.
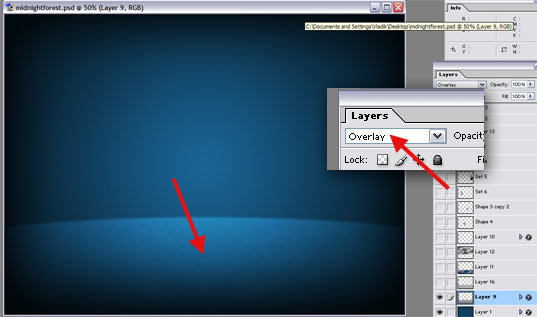
change the layer’s blend mode to Overlay. Now the earth is almost ready, but how about some grass growing on it?
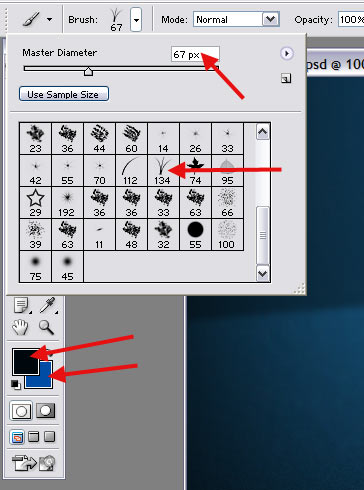
Create new layer, select Brush tool, open brush properties, and find the grass brush (scale it down as needed). make foreground black and background blue.
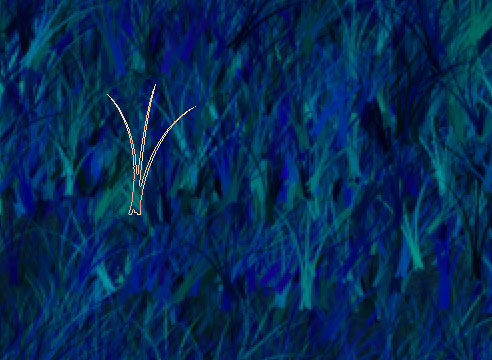
fill all the earth with grass.
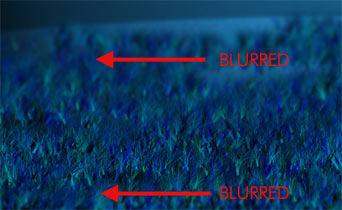
Use the same technique as above to blur top and bottom of grass area.
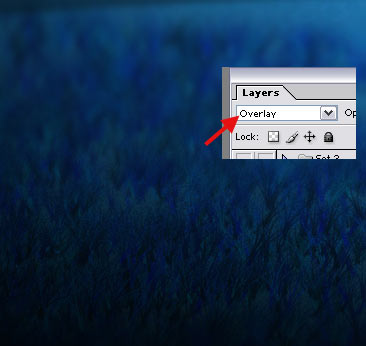
and lastly, change layer blend mode to overlay.
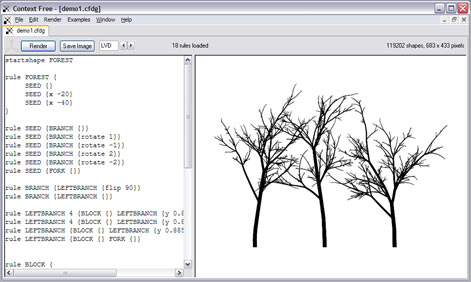
now let’s make some trees! Open ContextFree – this is cool fractal freeware available from http://www.contextfreeart.org/wiki – and choose Demo1 in Examples menu.

Manipulate the code on left column unless you are satisfied with the tree you get. I really did not want to learn the code, so I removed couple of lines, changed couple of digits, etc.

When the tree is rendered, save it as PNG and open this PNG in Photoshop.
Now we need to remove white, that is, make it transparent and keep only black tree. Here’s how:
– select all (Ctrl-A)
– copy (Ctrl-C)
– go to quick mask mode (Q)
– paste (Ctrl-V)
– turn off quick mask (Q)
– clear (Del)
– Deselect all (Ctrl-D)
– Turn all to black (Ctrl-U, Lightness = -100%)
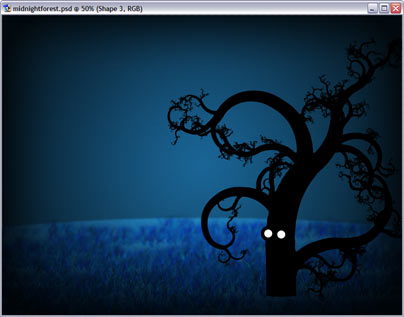
Copy the result and paste into the wallpaper. Use shape tool to draw white eyes. Now that looks good already!

Go back to ContextFree, create new tree, repeat the steps above to put it into the wallpaper. To make it look far away, scale the tree down, and then apply Gaussian Blur.
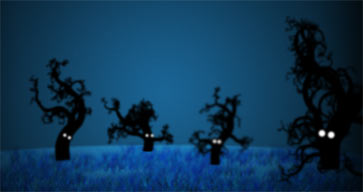
..and again, and again, and again…. 🙂
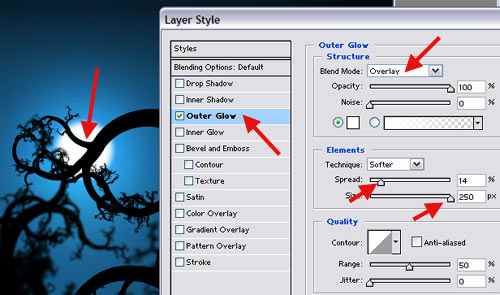
Now, the moon. Select the background layer, create new layer above it, and use shape tool, or white brush, to draw a white circle. Then, use layer effects to add uter glow with settings similar to shown here.
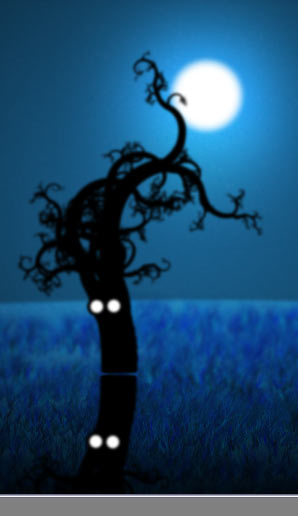
Since there is the light source (moon), all trees should have reflection. They are easy to do. Select a tree layer, duplicate it, (menu layer – duplicate), flip vertically (edit – transform – flip vertical).
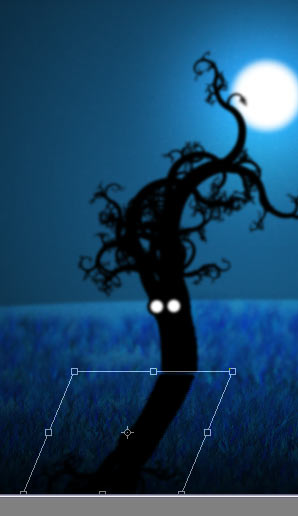
turn all to black (Ctrl-U, Lightness = -100%), and then use Distort tool (edit – transform – distort) to make the shadow fall correclty from the moon.
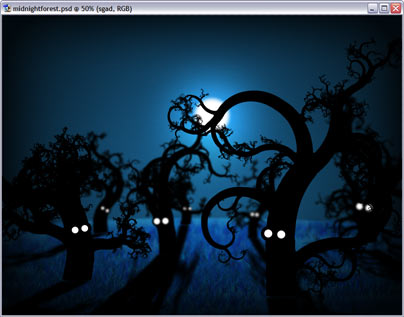
repeat for all trees 🙂
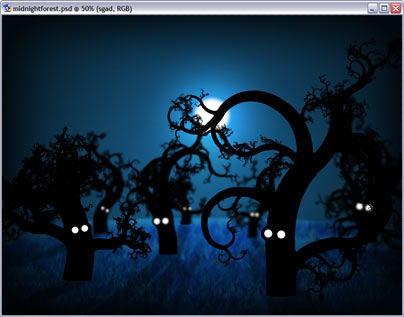
The shadows are they are now are too much, of course. For each shadow layer (you did make them in separate layers, right?) change its opacity to 30%-40%.
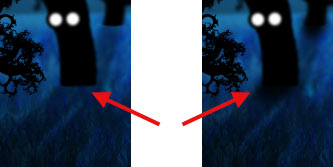
The part where a shadow touches a tree did not look good to me, so I added more black using big black brush.
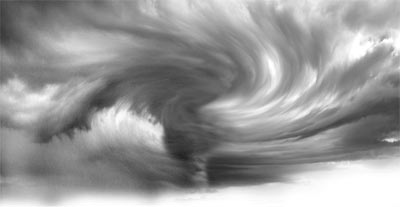
The last thing to add are the clouds. They look like generated by Photoshop, but they are not! I found this photo at http://www.sxc.hu/photo/559389
…and added into the wallpaper with layer blend mode set to Overlay, as always. That’s it! Hope it will be useful.
The Full Moon in The Midnight Forest wallpaper (see wallpaper).
Author: Vlad Gerasimov
URL: http://www.vladstudio.com
Comments