
Freeze frames – Export a still-image sequence
Export a still-image sequence
To export a still-image sequence:
-
In the Export Movie dialog box, click the Settings button (Figure 1).
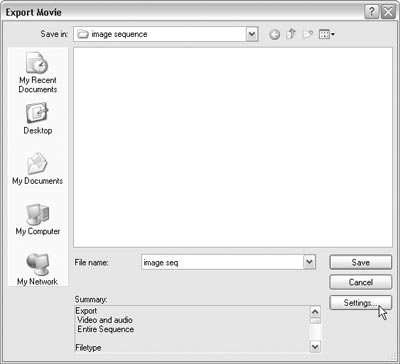
Figure 1: In the Export dialog box, click the Settings button.
The General panel of the Export Movie Settings dialog box opens.
-
From the File Type drop-down menu, choose a still-image sequence format (Figure 2).

Figure 2: In the General panel of the Export Movies dialog box, choose a format that supports still-image sequences.
CompuServe GIF, TIFF, Targa, and Windows Bitmap formats support sequences.
-
Using the Range drop-down menu, specify how much of the program you want to export (Figure 3):
Figure 3: Choose how much of the sequence you want to export from the Range drop-down menu.
Entire Sequence: Exports the entire selected sequence.
Work Area Bar: Exports only the part of the sequence below the work area bar.
-
Set the following options: Open When Finished: Opens the rendered movie automatically upon completion.
Beep When Finished: Alerts you when the rendering process is complete by making your computer beep. If you don’t want to use these options, leave them unselected.
-
If you’re exporting a CompuServe GIF sequence (also called a GIF sequence), you click the Compile Settings button in the Export Movie Settings dialog box to access additional options.
-
On the left side of the dialog box, click Video and specify the options you want, such as color depth, frame size, and frame rate.
-
On the left side of the dialog box, click Keyframe and Rendering to access these options.
-
In the Keyframe and Rendering panel of the Export Movie Settings dialog box, specify the following options:
Fields: Choose how to export video fields from the drop-down menu. For most DV projects, choose Lower Field First.
Deinterlace Video Footage: Select this option to remove interlacing from each frame before exporting. This option reduces resolution but may be desirable to remove field artifacts.
-
In the Export Movie Settings dialog box, click OK. The Export Movie Settings dialog box closes, and you return to the Export Movie dialog box.
-
Specify a destination and file name and click Save (Figure 4).
Figure 4: Specify a destination and file name and click Save.
A Rendering dialog box appears. Adobe Premiere Pro exports the range of frames as a sequence of still image files in the format you specified.
Comments