
Free Desktop Wallpaper with Effects
The next lesson I’ll show you how to process the colors, to use program’s filters, using the layers and create the effect of illuminated objects.
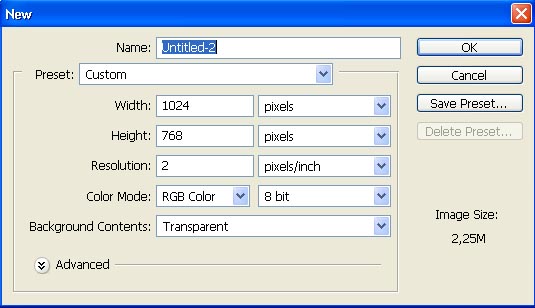
Create firstly a new file of standard wallpapers’ size: File ? New (ctrl+n).
Now we have to paint the layer, applying the Gradient Tool (the stretching should be done vertically, from the top to the bottom).

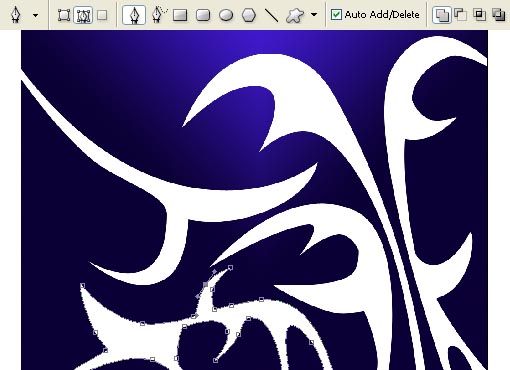
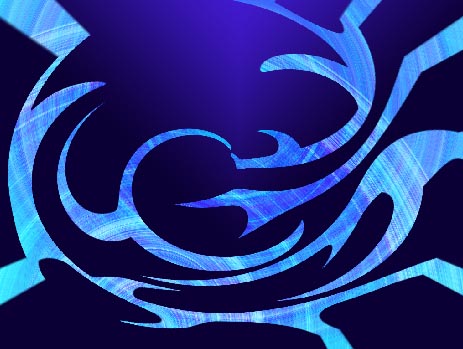
Then create a new layer: Layer ? New ? Layer and choose the Pen Tool with Fill Path command to draw arbitrary several ornaments:

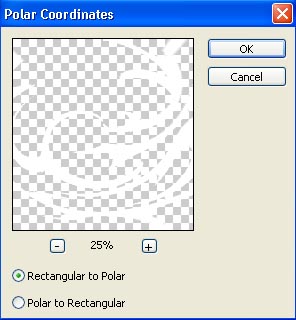
Apply the next shown filter to this layer: Filter ? Distort ? Polar Coordinates.
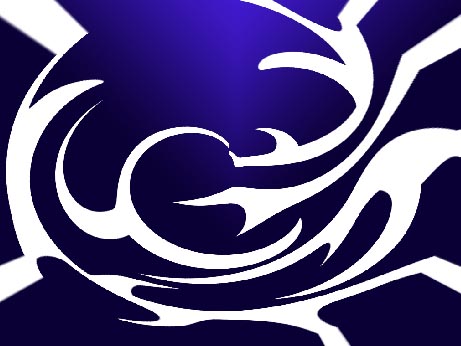
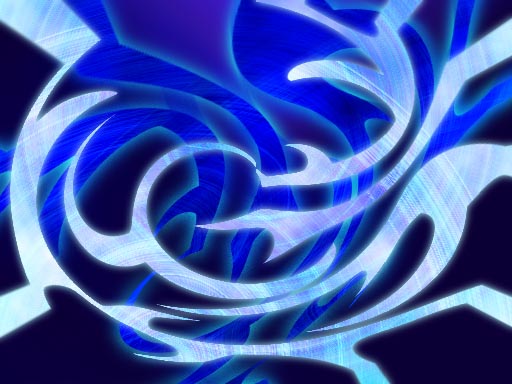
That is what we get:
We have to create a new layer and group it with that one the ornaments are drawn on: Layer ? Create Clipping Mask (ctrl+g). Then select the Gradient Tool with the next shown adjustments to paint the new layer:

Create one more layer, group it with the previous one (ctrl+g) and change the layer’s Blending Mode on Linear Dodge. Select the Gradient Tool with the previous applied adjustments and paint the layer, but this time the painting should be done on the opposite direction.
One more layer, grouped out. Apply on it the next filter indicated here: Filter ? Render ? Clouds, choosing the black and white colors.
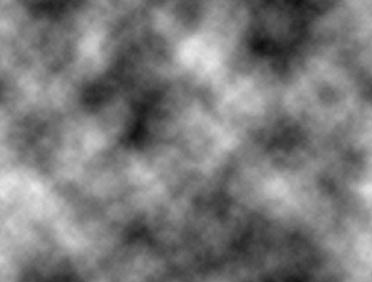
Change the layer’s Blending Mode on Screen:
Now we have to merge down all the grouped layers, except the background’s one, using the next combination: Layer ? Merge Down (ctrl+e). Make a copy of the new layer: Layer ? Duplicate Layer (ctrl+j) and select the commands Edit ? Free Transform (ctrl+t) and Edit ? Transform ? Distort to change the size and the copy’s layer’s placement. Then situate the layer under the basic layer, containing the ornaments:
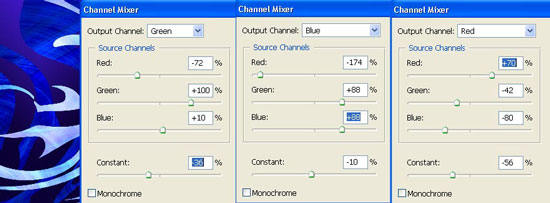
Change the layer’s colors now, situated lower, using Image ? Adjustments ? Channel Mixer.
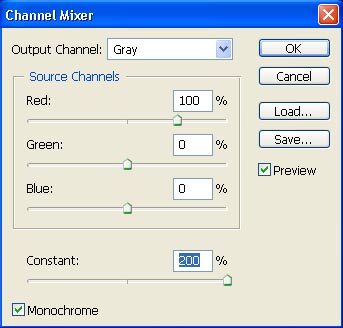
Make a copy of the lighter ornaments and the lowest one should be done totally white, selecting the Channel Mixer.
Blur out this layer, using Filter ? Blur ? Gaussian Blur.

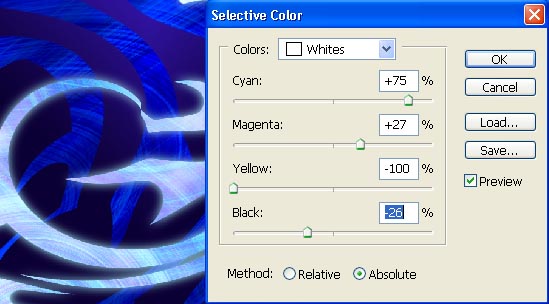
Change now the color of the blurred ornaments, applying the combination Image ? Adjustments ? Selective Color.
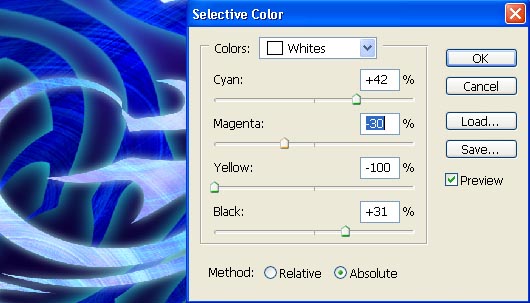
We have to blur out and change the color of the layer, containing darker ornaments, using the previous method:
Combine now, by couple, the layers containing the ornaments and blurred copies (the lighter ones should be combined with the layers of the same nuance, the darker with the darker layers). Make a copy of each combined layers and blur out the copies, applying Filter ? Radial Blur:

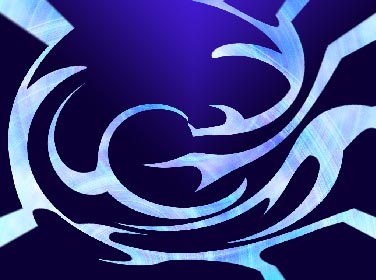
Change now the blurred layer’s Blending Mode above the darker ornament on Overlay:
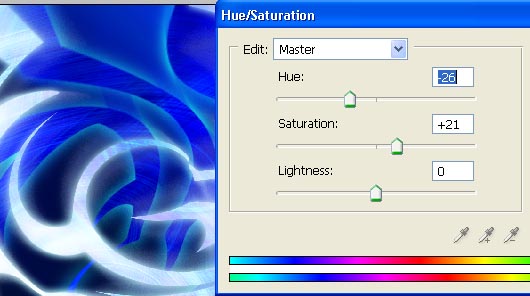
The layer’s Blending Mode situated above the lighter one ? on Screen. Change also the color (but only of this layer), using Image ? Adjustments ? Hue/Saturation (ctrl+u).
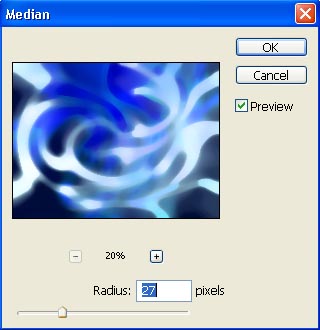
Combine all the layers: Layer ? Merge Visible (shift+ctrl+e) and make a copy of the got layer and apply on it the next option: Filter ? Noise ? Median.
Change the Blending Mode on Hard Light and merge down the layers (сtrl+e).
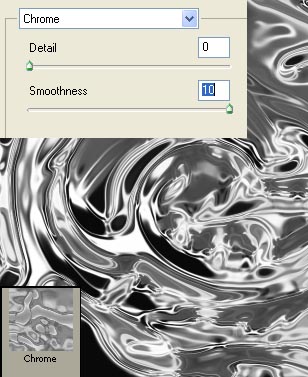
Then make a new copy of the got layer (ctrl+j) and apply to this copy next option Filter ? Sketch ? Chrome.
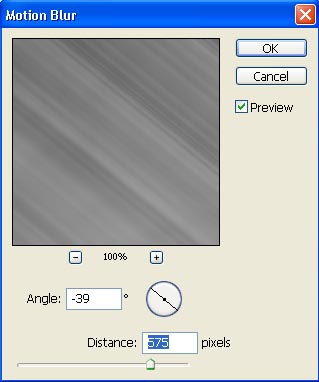
Blur out this layer, choosing Filter ? Blur ? Motion Blur and change the layer’s Blending Mode on Overlay.
Marge down again the layers and make a copy of the new layer. The new copy must be blurred out by using Gaussian Blur.

Change the layer’s Blending Mode on Multiply and merge down the layers (ctrl+e).
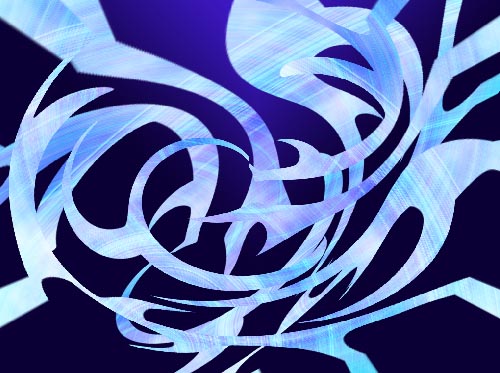
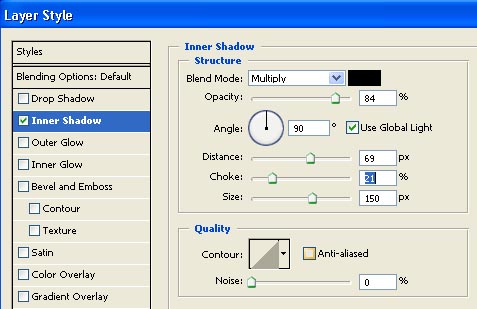
Apply the command shown here to the new layer: Layer ? Layer Style ? Inner Shadow.
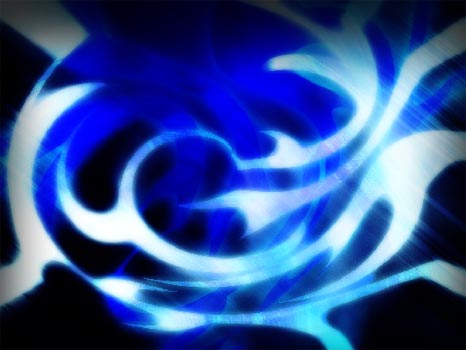
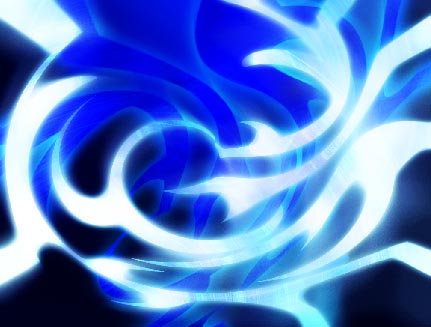
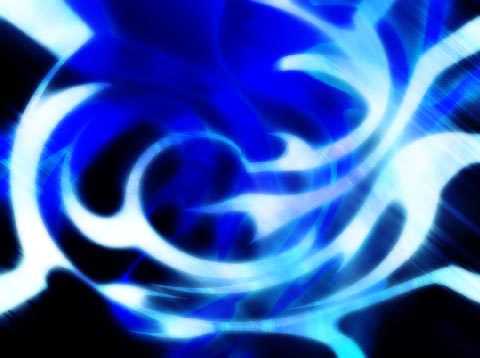
Finished!
Made by Sigma
Comments