
Figure Male
Add some color to your website design using this free twitter icon set.
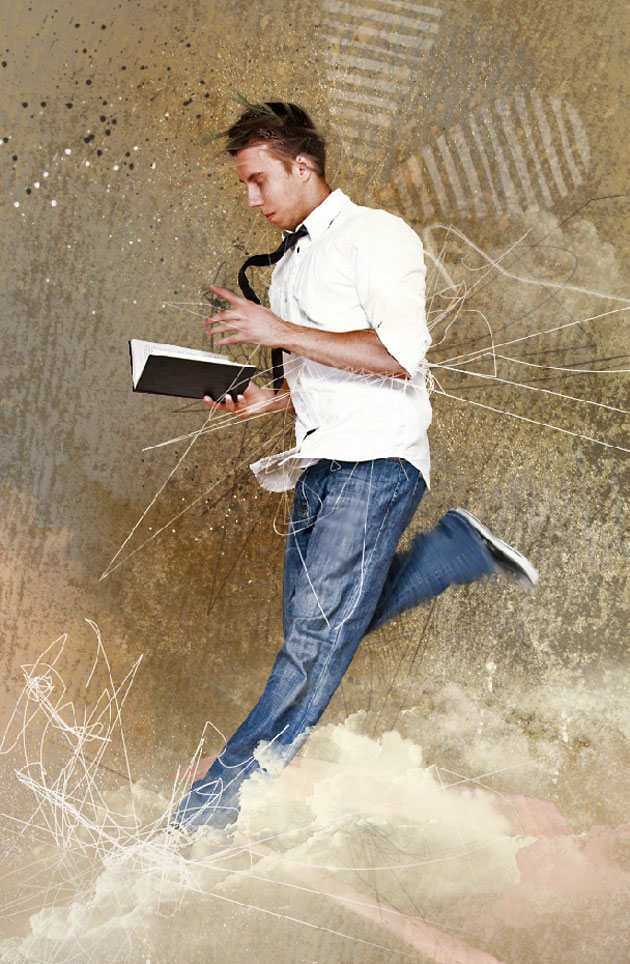
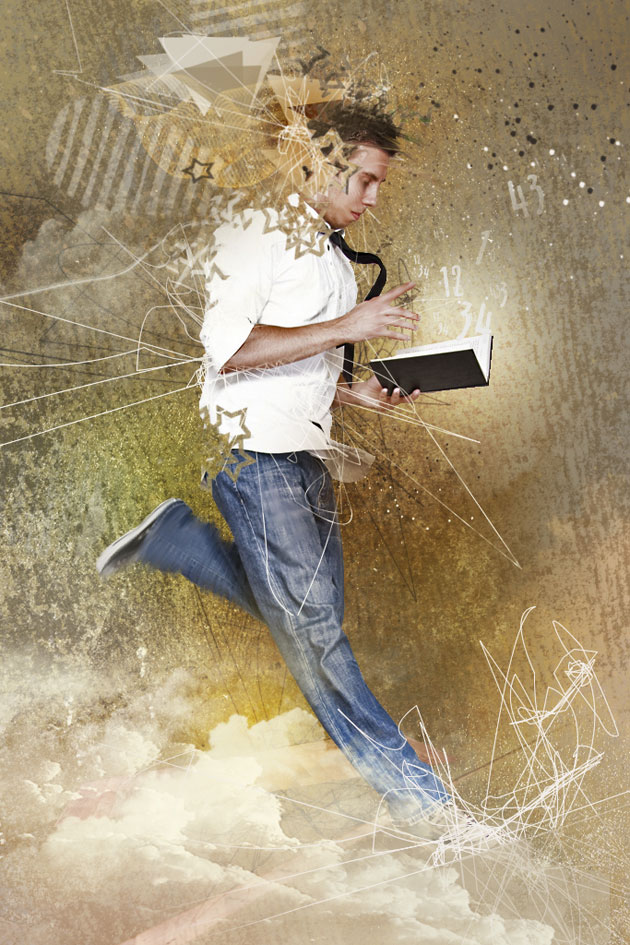
Hallo once again and today we are going to create some interesting effects using a photo and wide range of brushes and texture as well. So the first thing we need is a photo. I’ve chosen this one, I really don’t know why, but we have the photo now: http://www.sxc.hu/photo/1031935.
Almost every people photos needed to be divided. Divide the object from the background. Let’s do it then. As you could of known in Photoshop we have a lot of means and tools to do that, but in this very situation we see the object and background have practically the same color, this is little bit harder, but there is a way that many people use in digital imaging. Let’s start.
Create a temporary adjustment (levels) layer.
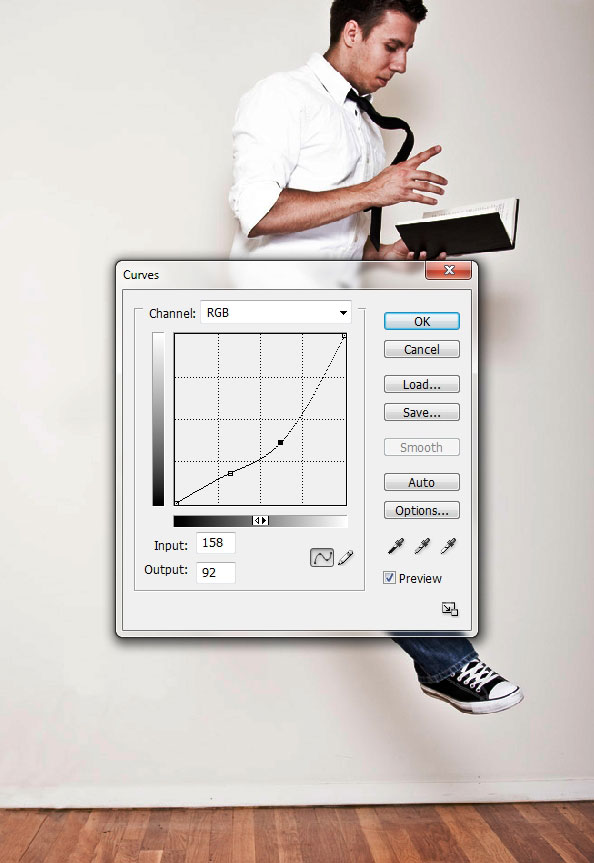
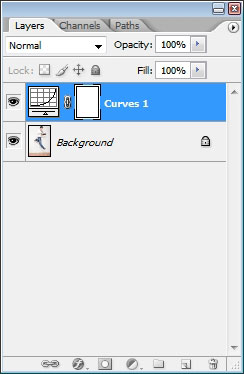

Remember that this adjustment layer is temporary and will be removed lately.
Even if we pushed the color a little bit, the selection is not clean.
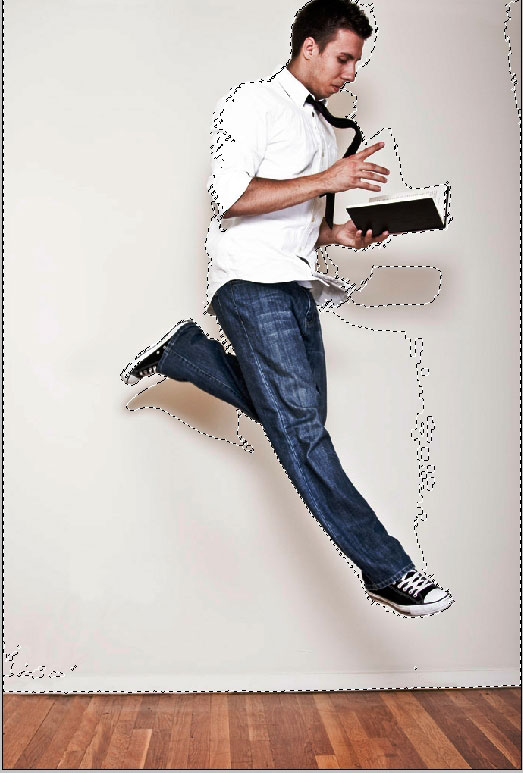
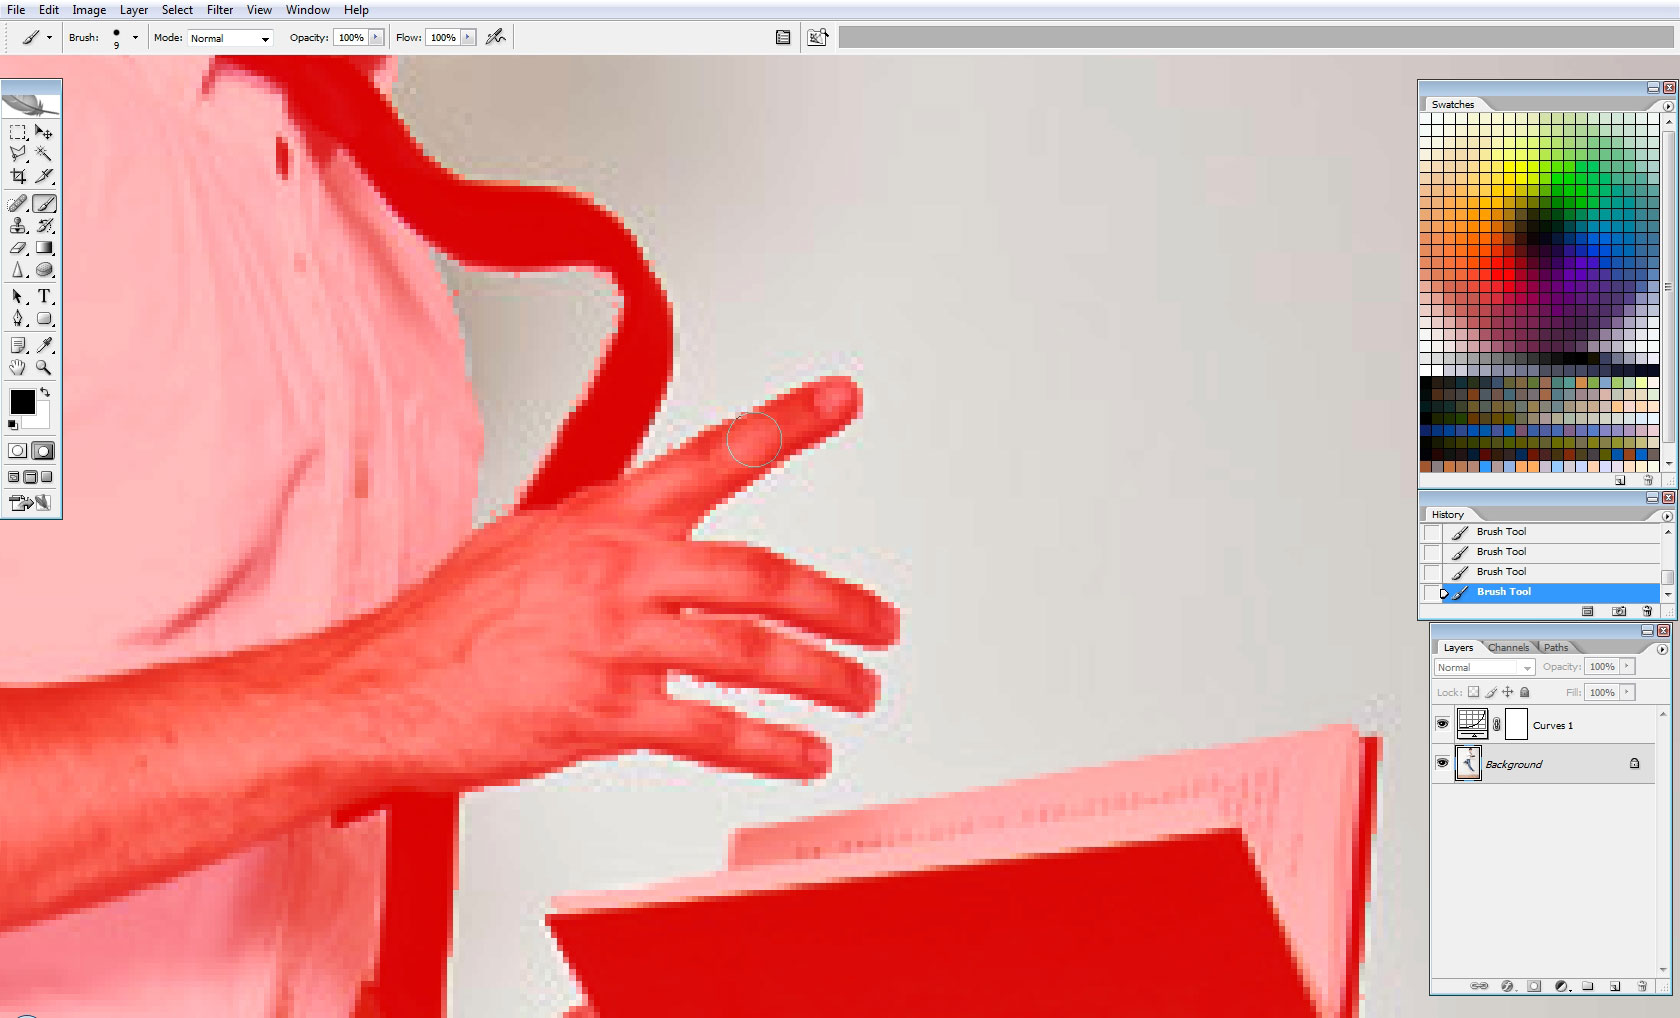
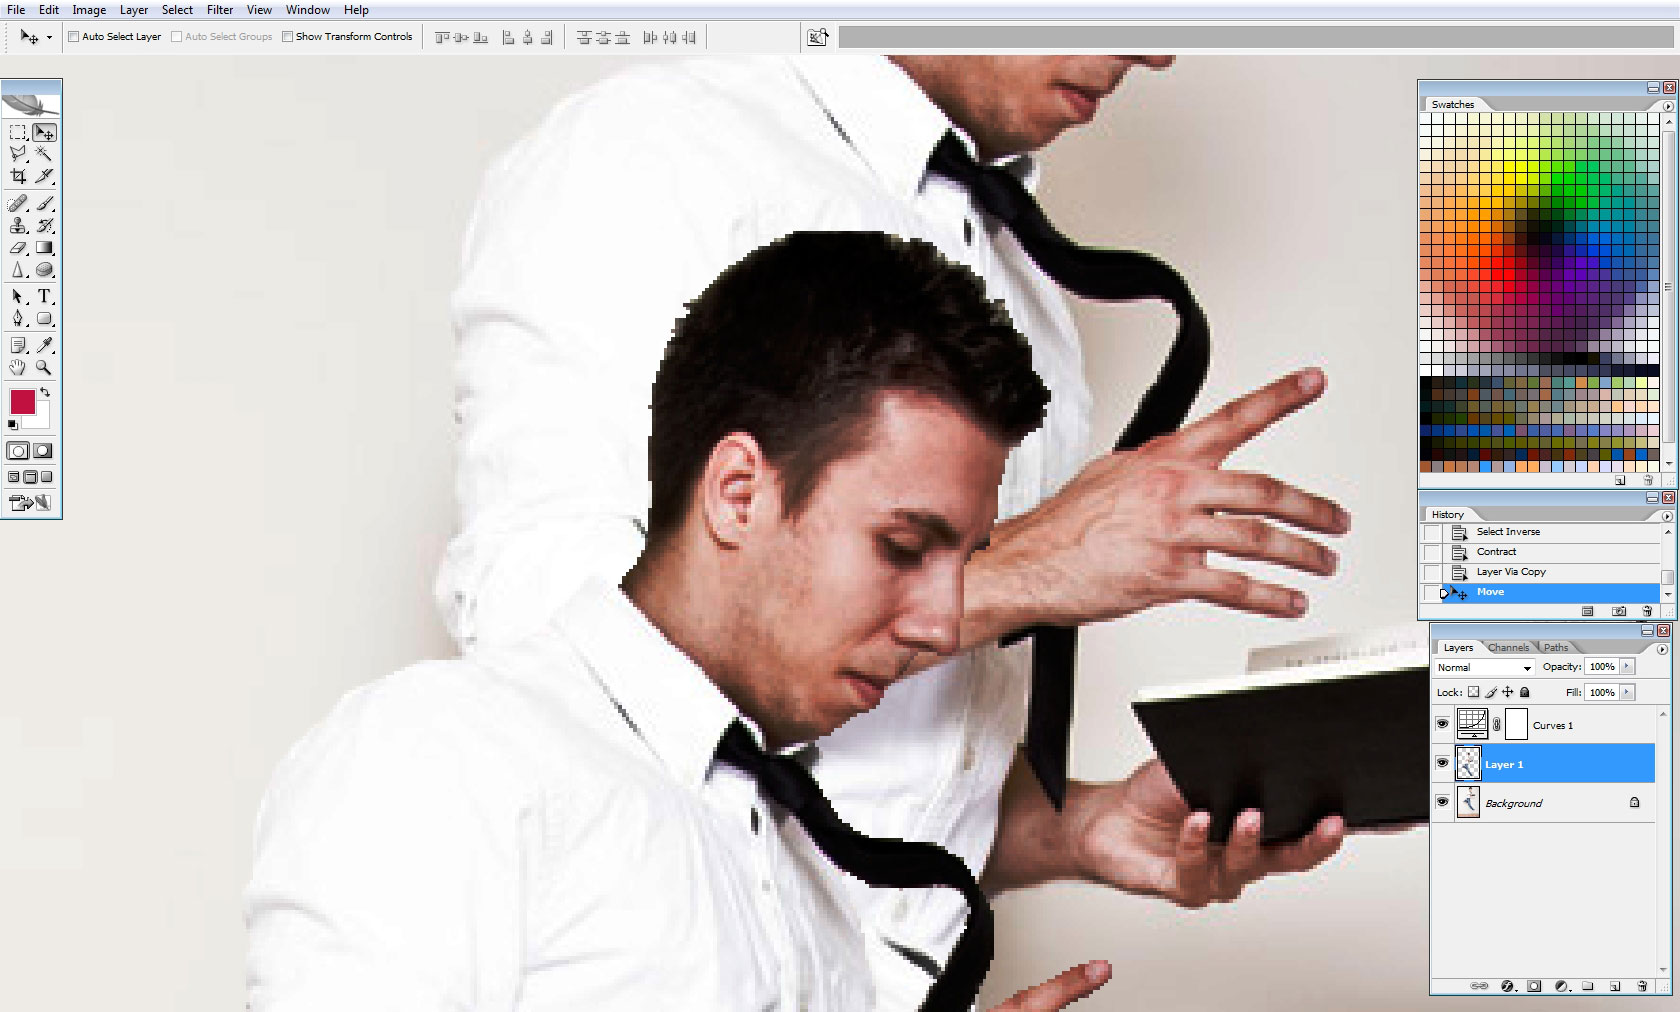
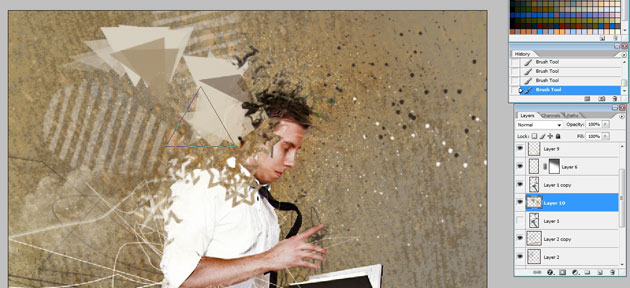
Tap Q to enter quick mask. In Quick mask mode. You can adjust the area you want to select with brushes – meaning you can create a perfect edge line. If you have Graphic tablet is will be even easier.
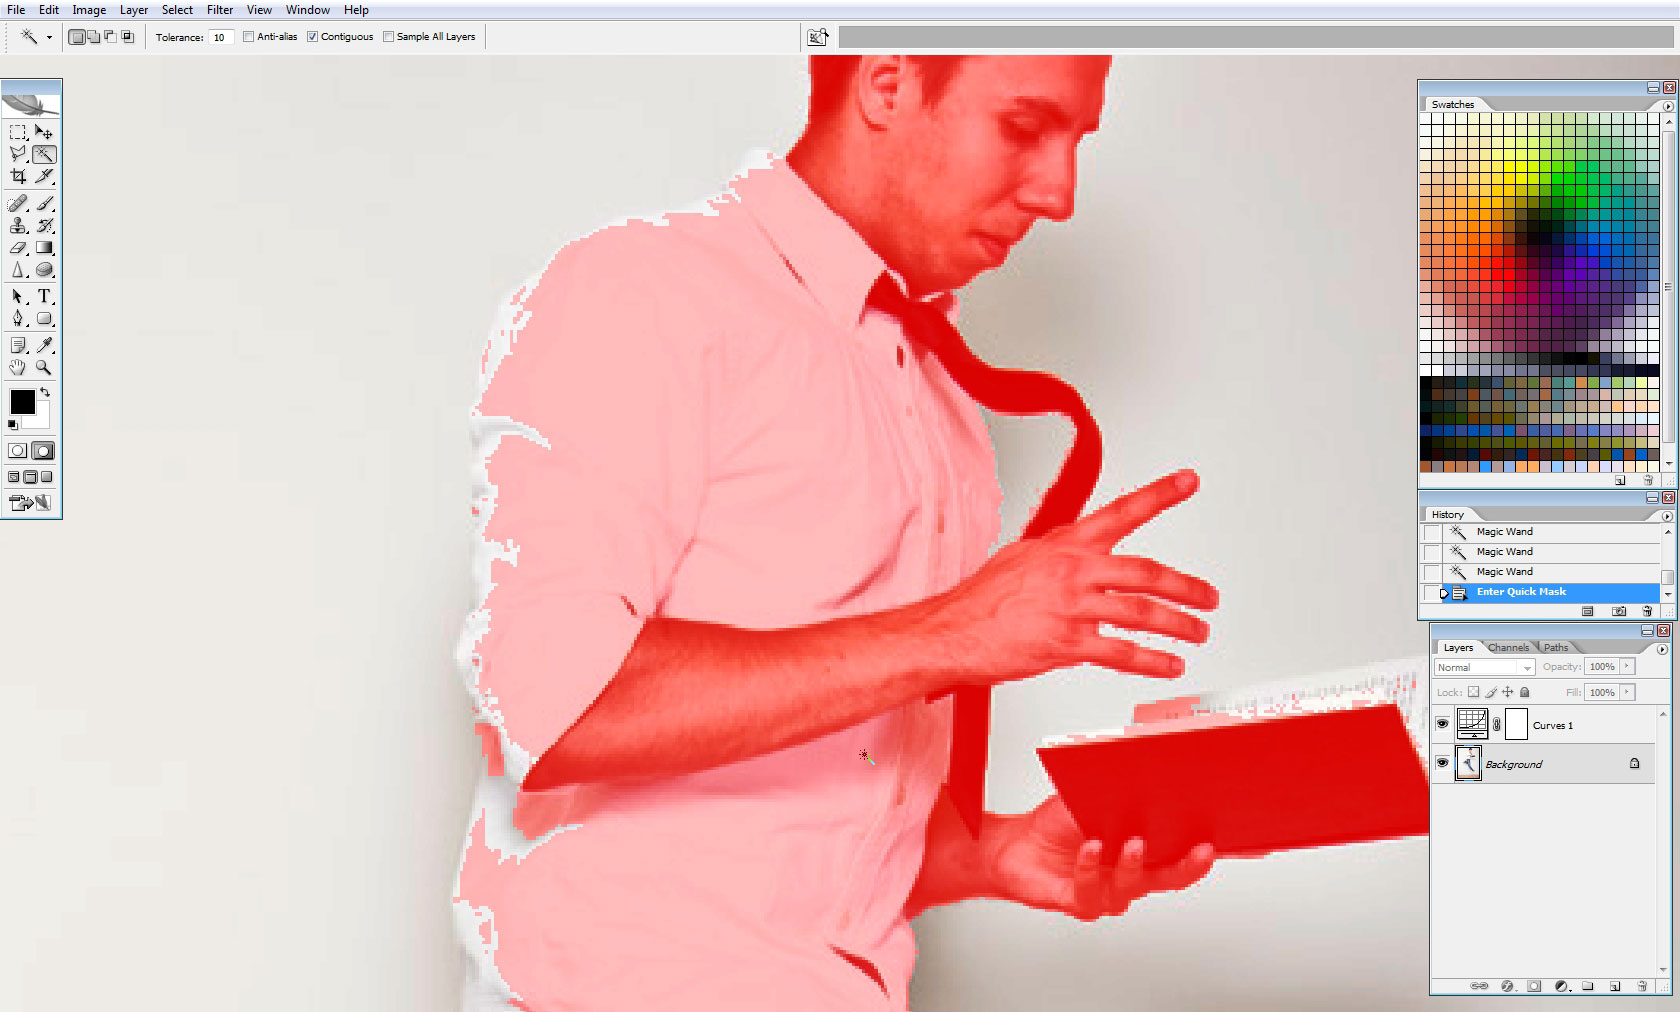
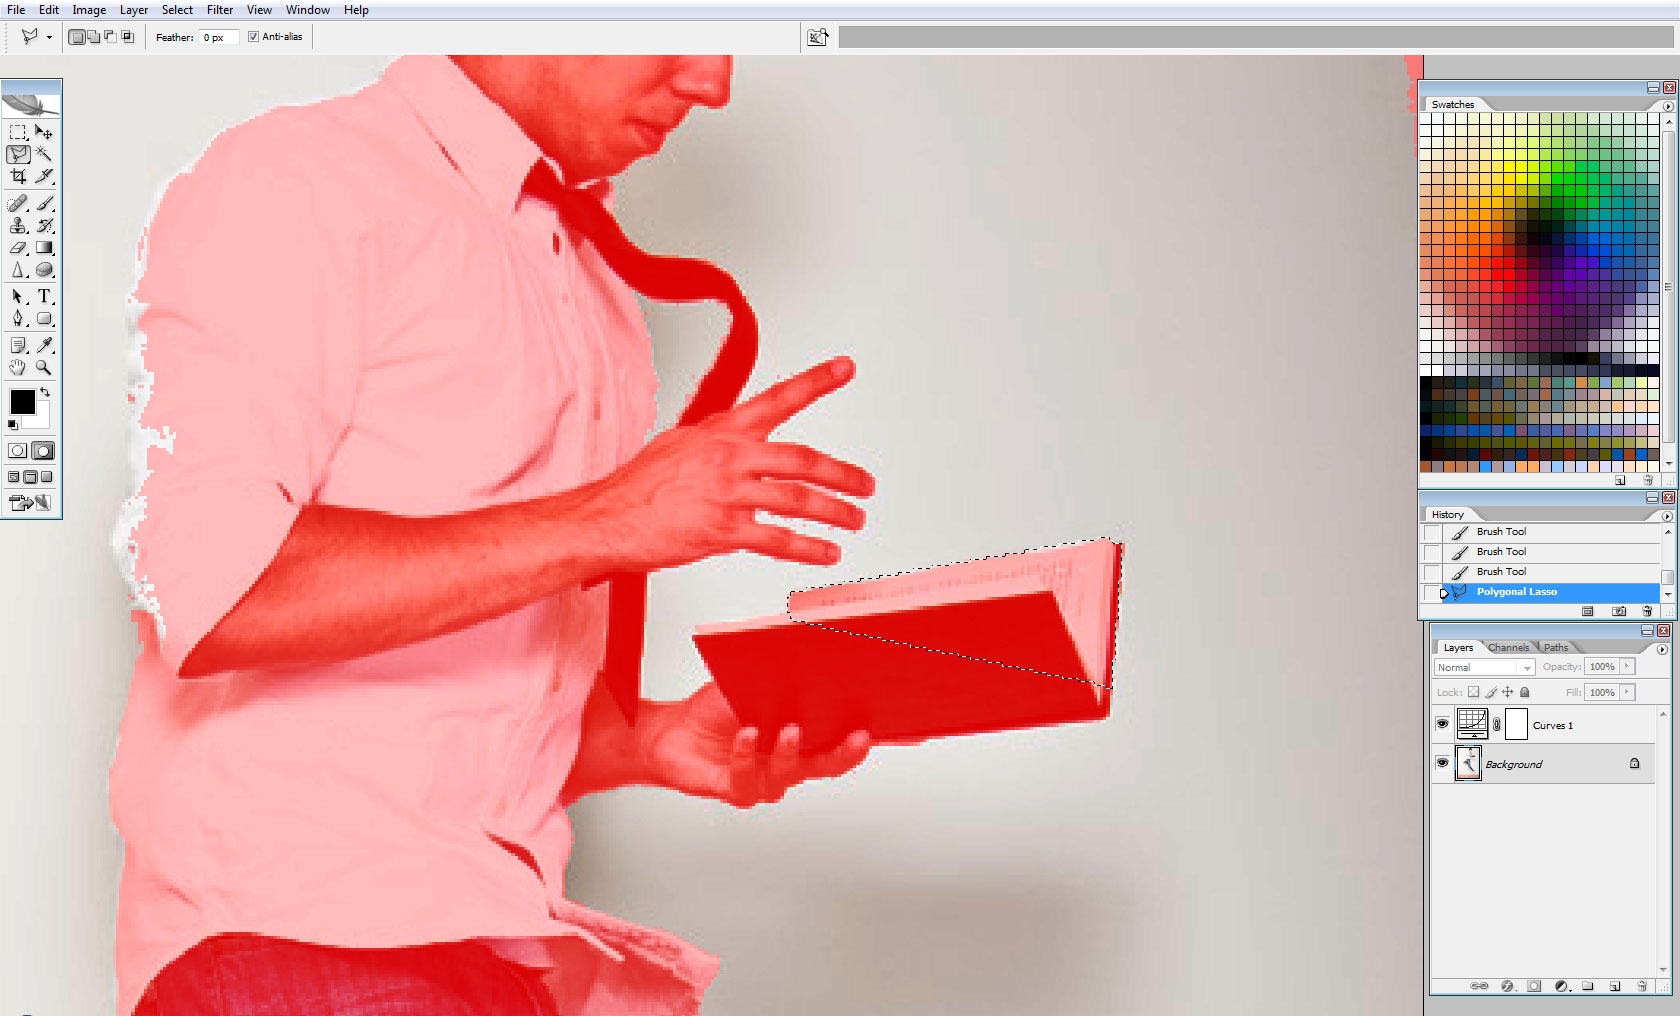
The other good thing about quick mask is that you can make selections to help attain straight edges when needed.
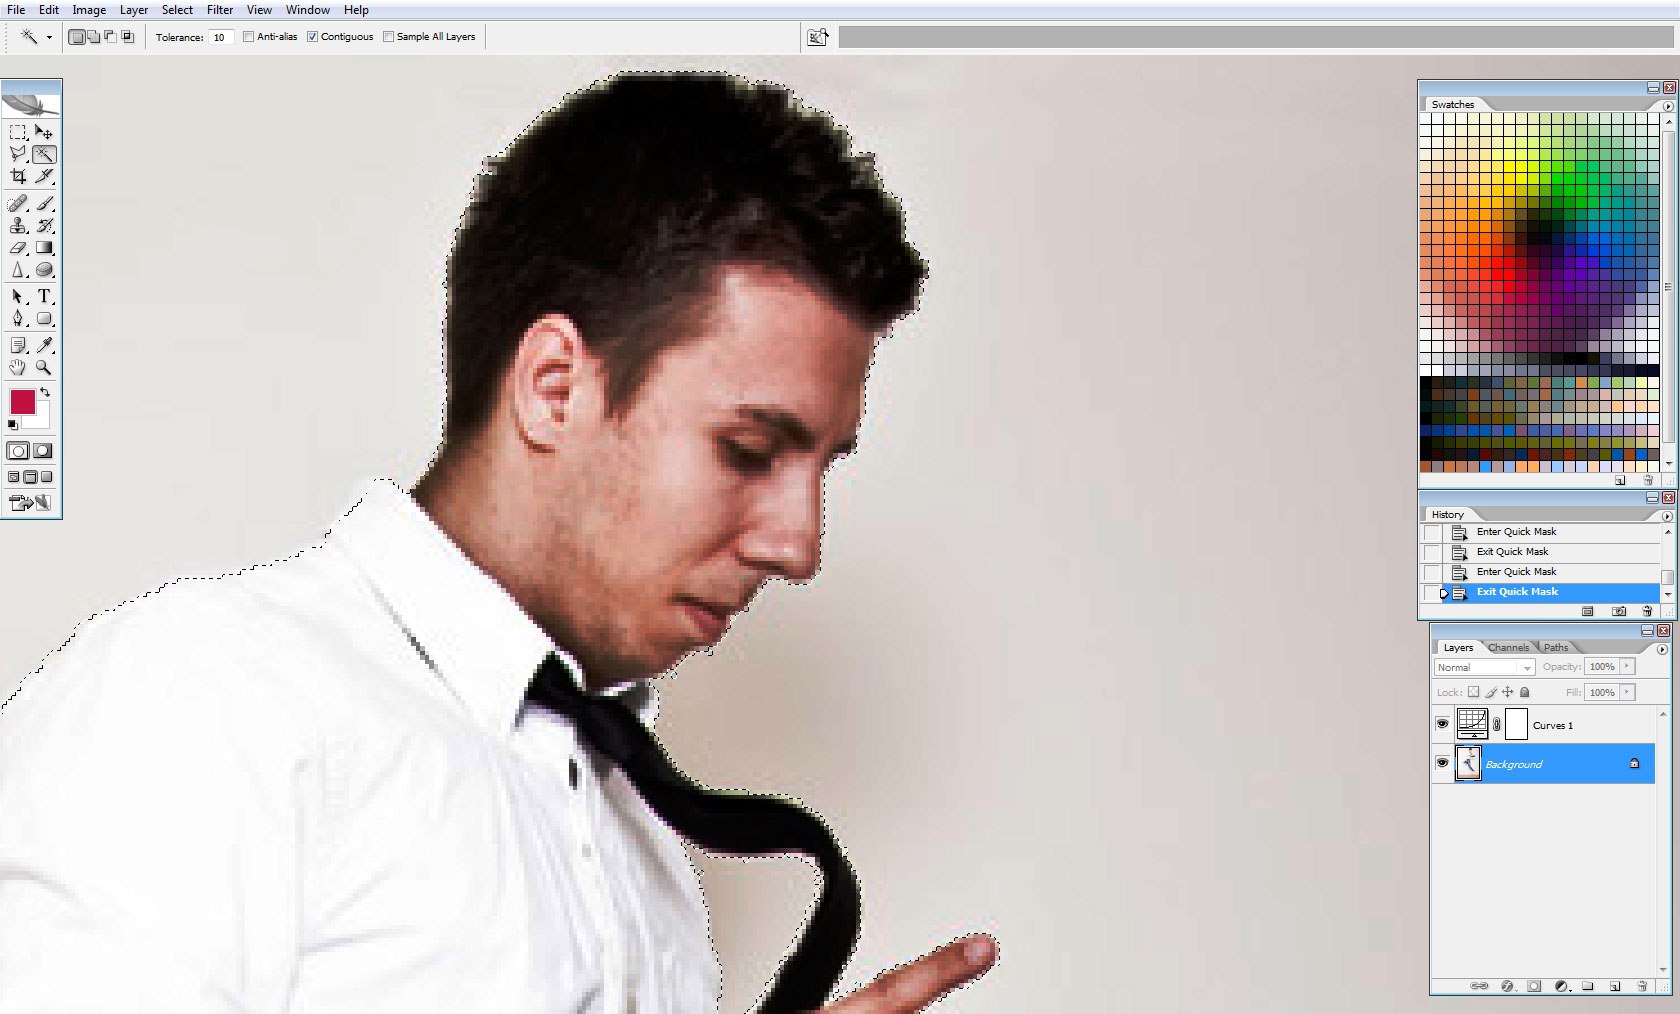
Tap Q to exit quick mask and now we have much better selection.
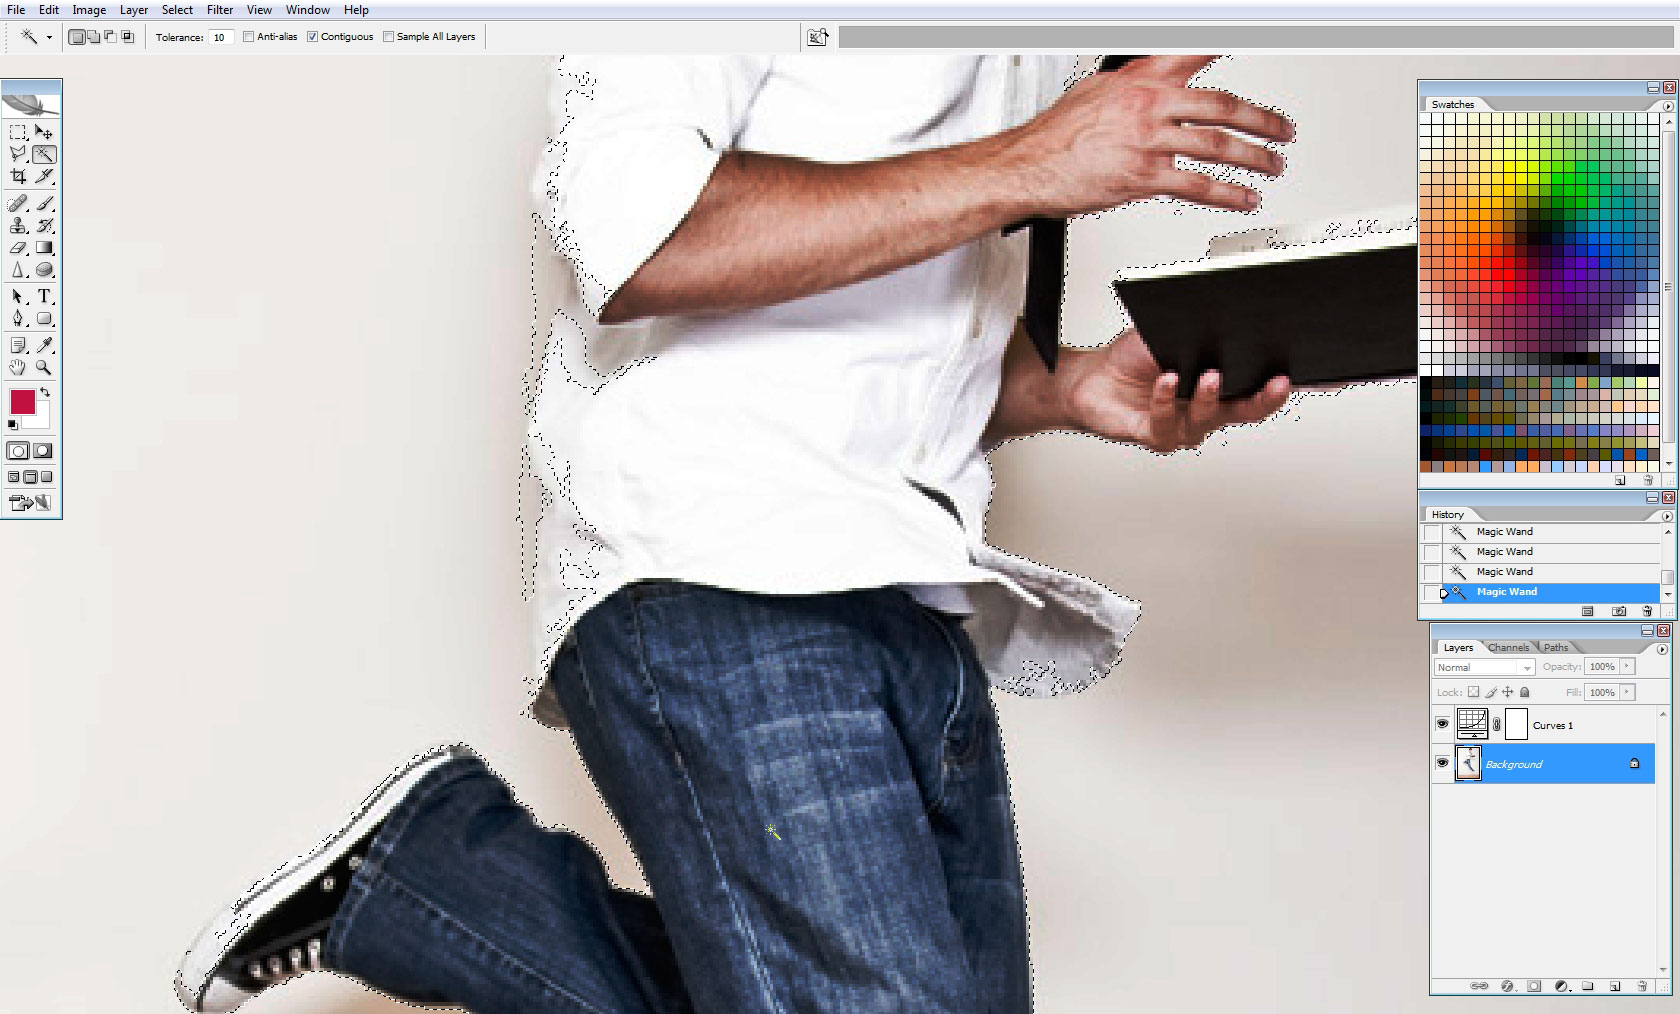
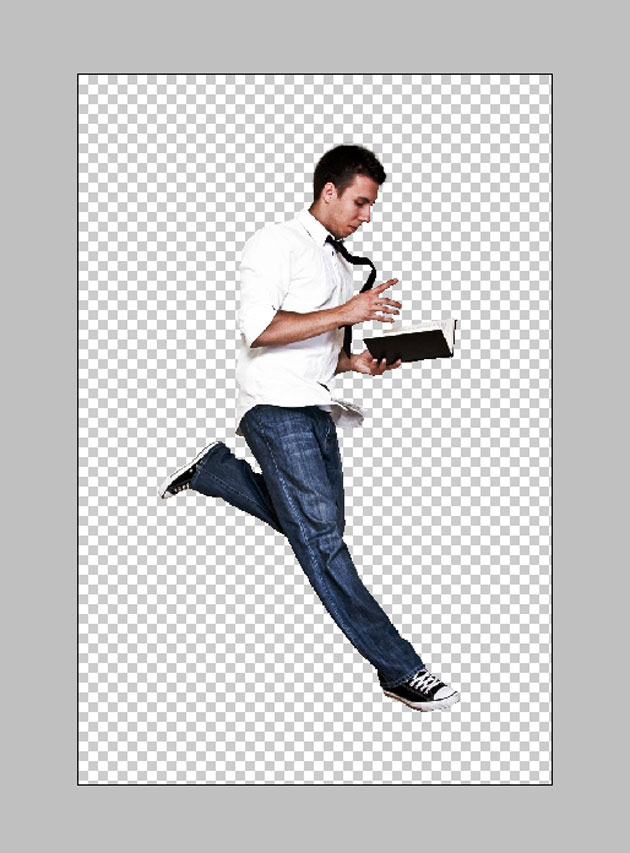
Leave only the man figure and delete or just turn off the layer with background.
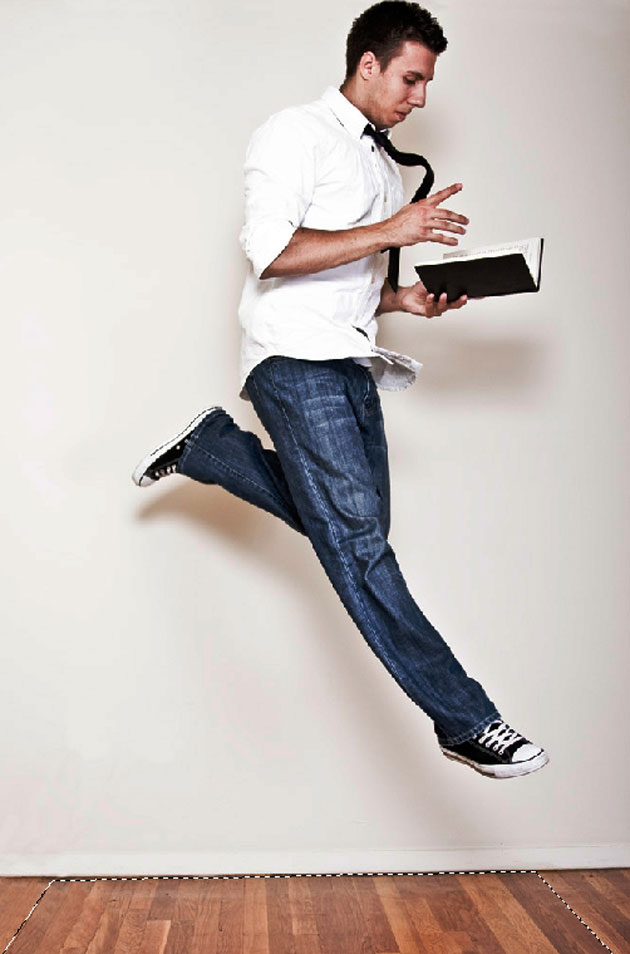
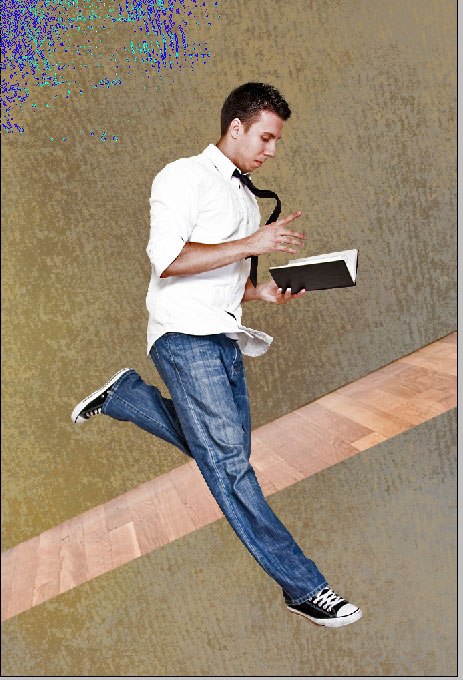
Background work. We have to make a different background. There are many ways to do that. I prefer to do it by hand. Almost forgot that i will need this part of the initial background.
So here we have our background already painted with low contrast yellow green gamma. I’ve used a simple hard edged brush for that.
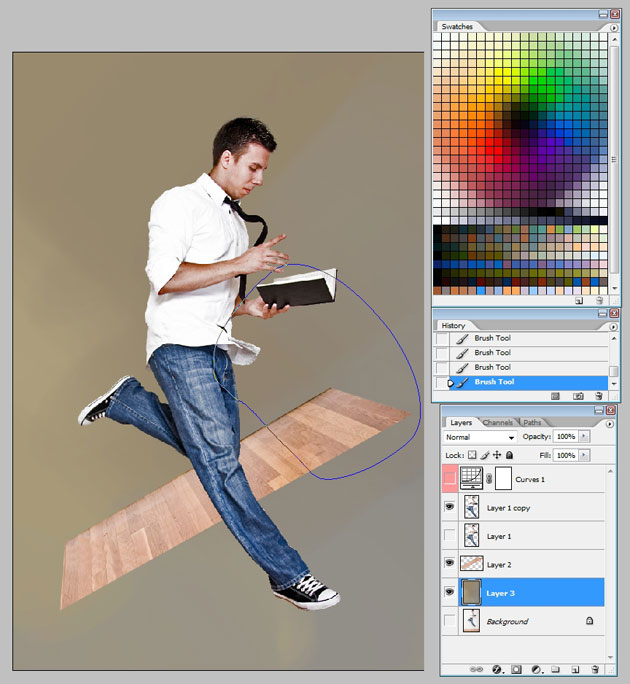
Now create a new layer just next to the Background layer. See the layer box for more info.
We need this new layer to create a texture effect using texture brushes. I got one. You will have them in the support files folder.
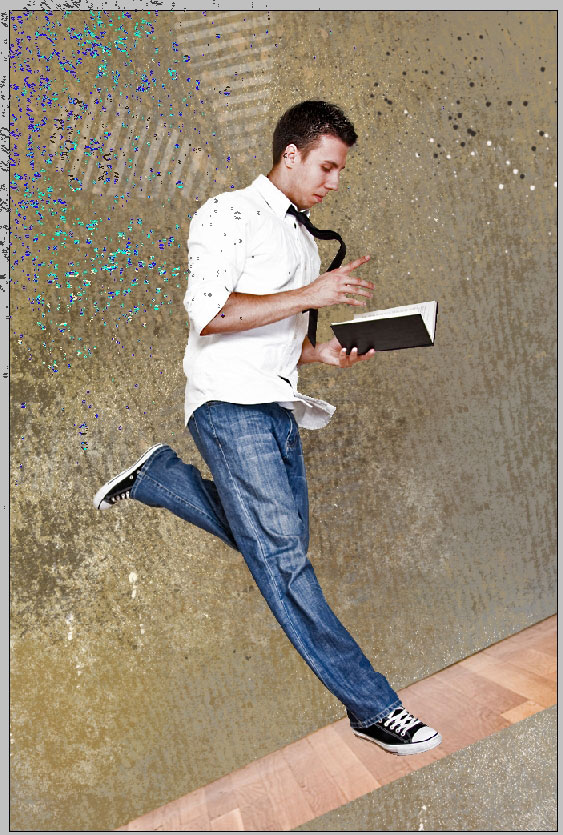
Next brush I’m going to use in realistic clouds brush. Create a layer just next to the layer you applied texture to.

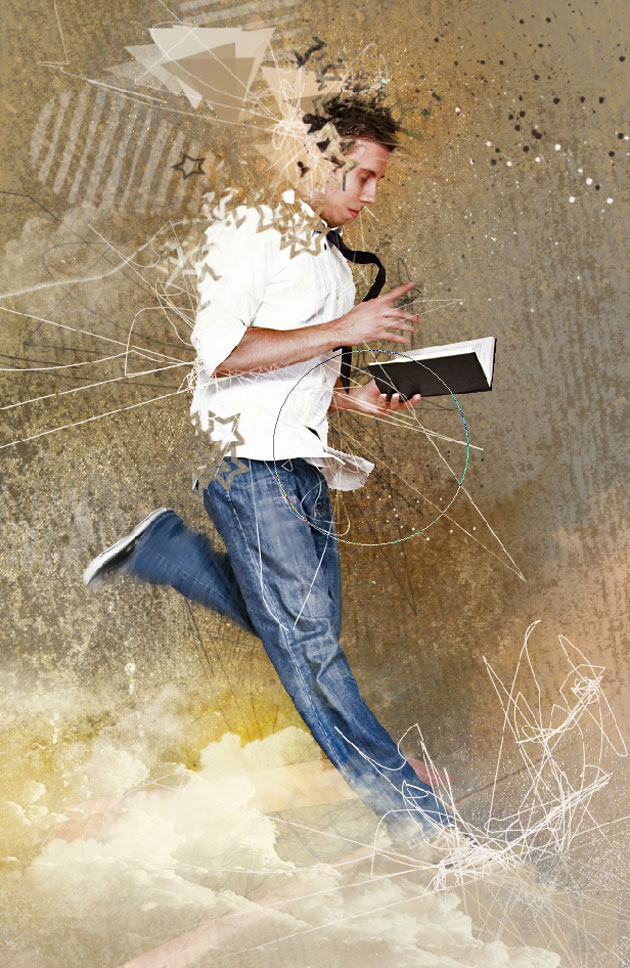
Next thing to do is to take care of some details, to bring a little bit unreal look to the picture. This why take Smudge tool (R) and do a little bit of smudging to the background – leg and the hair too.
Next thing will be the applying of Linear brushes.. I have this one too.
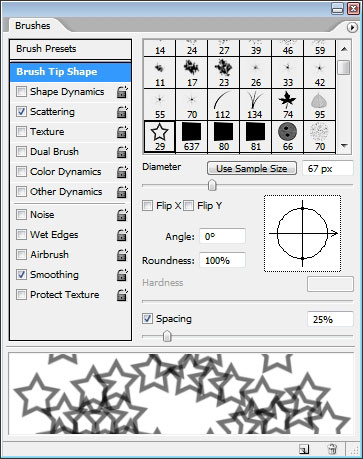
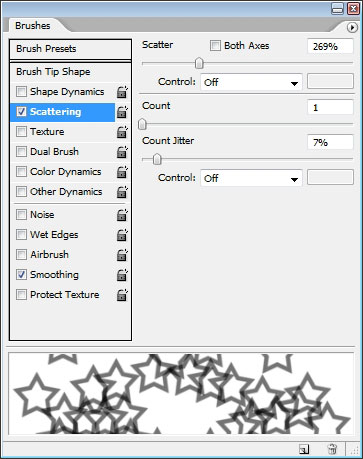
This is the part that is all about the brushes actually. So once again select the Smudge Tool and Star brush. It’s a standard Photoshop brush.
Here are the brush settings first.
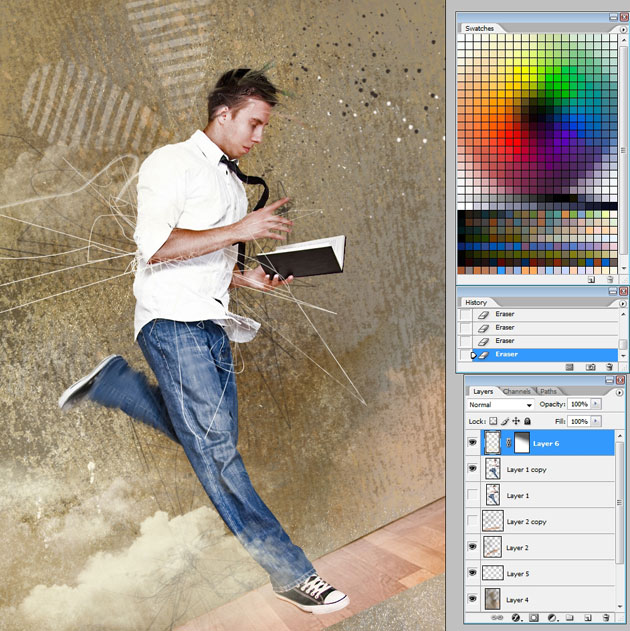
Do a little bit of smudging – this will help to gain more painted, unreal look to the picture. As for the head i also used geometric brush to paint a little bit, something like form shapes.
See the screen shot carefully.
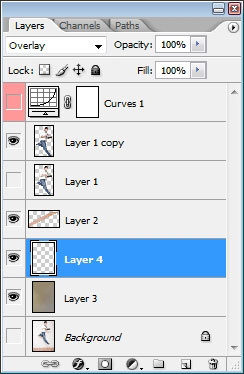
Now the concept is ready i think – it’s time to adjust the colors – so create a new layer and set it’s Blending mode to Overlay. Use soft, low opacity brush.
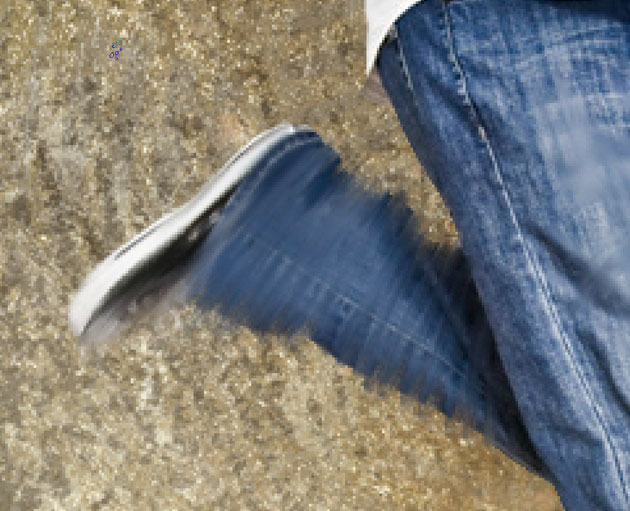
To make a better illusion that the figure is really there – So select the whole figure by clicking Ctrl + click – use the same soft edged, low flow brush and paint on the figure with colors that are on background – to create occlusion effect.
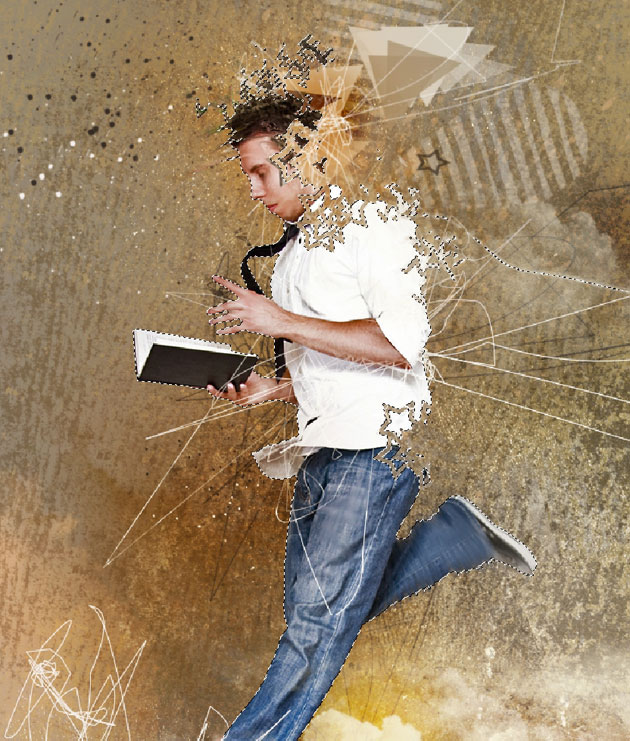
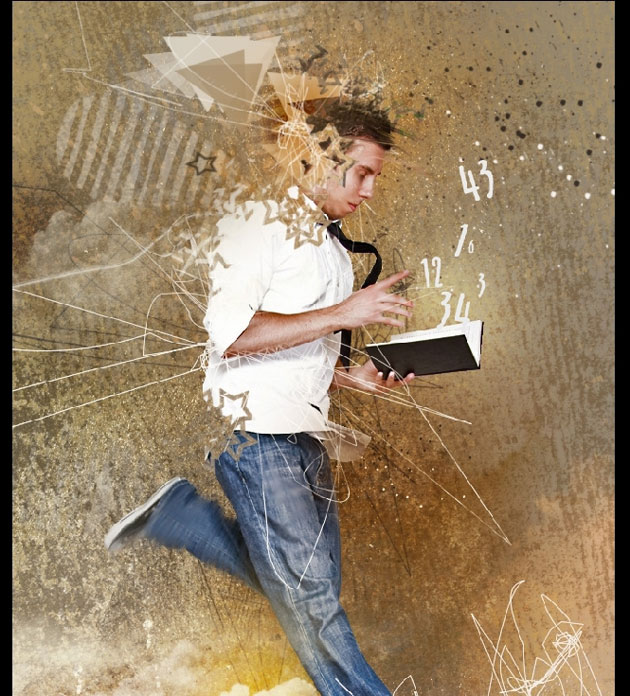
You can see the effect on the leg of the figure. Moreover as the character is with the book in the hand – the reasonable thing will be making something with this book. So just make a little bit of Glow and use type tool create numbers. Make different characters – them merge and rasterizing all the Number layers and use soft eraser – to create a feel of depth.
So and I think this is it for making this Tutorial. I hoped you learned something new for you – and see you next time.
Hope you enjoyed this tutorial and see you on our next tutorial.
Download: Support files
Download: PSD file
Comments