
Feather Drawing
In this tutorial we’ll study how to picture a feather, its shadow and how to change its color.
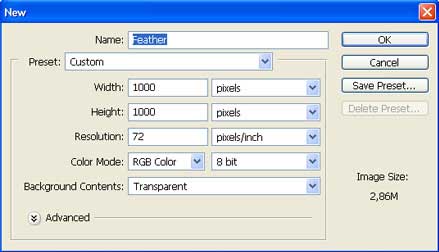
After opening Adobe Photoshop program, create a new file: File ? New (ctrl+n)
For your comfort when picturing, paint the background with Paint Bucket Tool.

Then create a new layer with the appropriate button on Layers window and start to represent the feather. Choose the Brush Tool, but change some of its adjustments.


Represent now the feather’s stick.

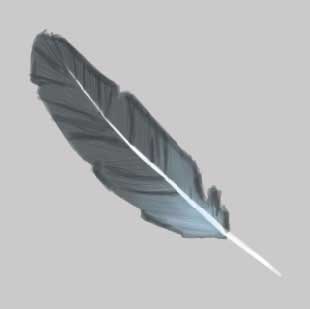
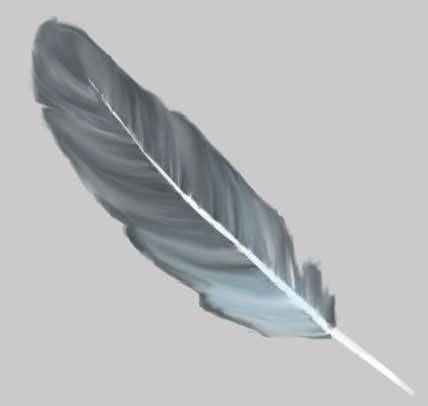
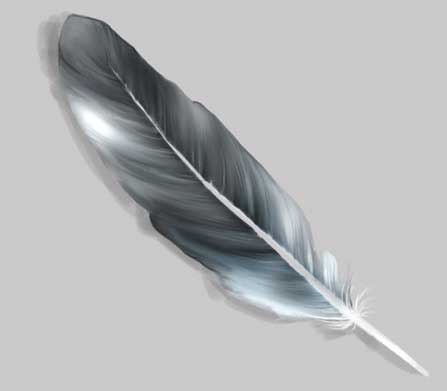
Choose the basic feather’s color now and represent its entire shape.
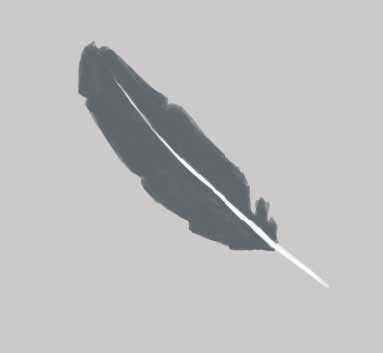
Make the lower part of the feather look lighter; choosing the blue color and brush’s Hardness on 0%.
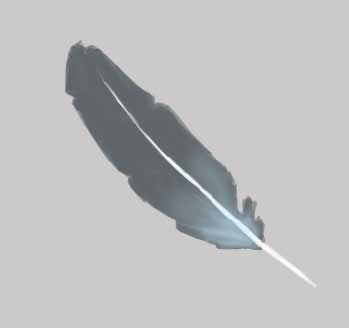
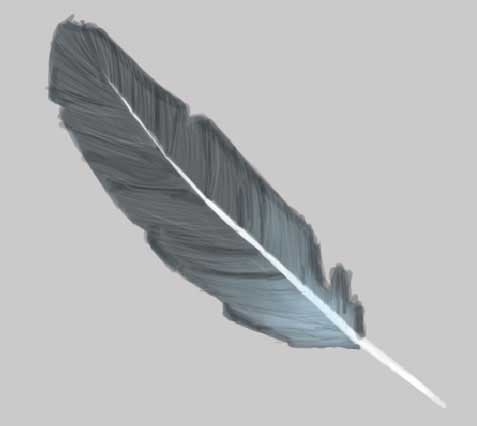
Picture now the basic shadows.
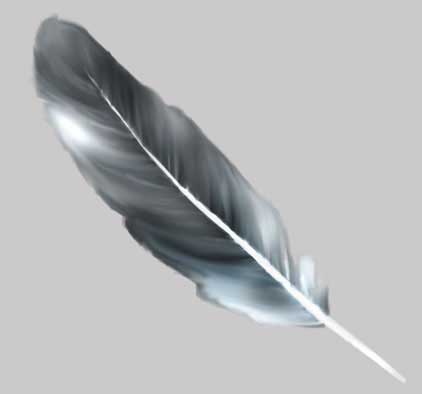
Represent also separate feather’s fibres. Choose for this a brush of small size.
Do the same way with the color, it must be a little lighter than the basic one?
?And the blue ? light color.
Add several features of white color.
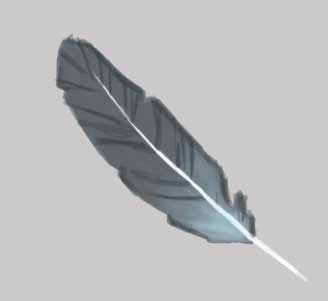
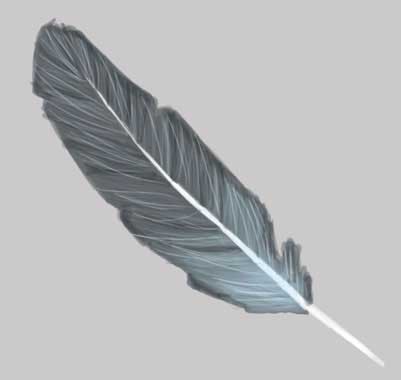
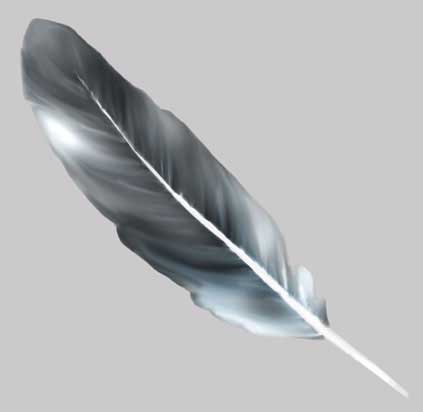
See next page …. Make the feather look smoother, using Smudge Tool and brush’s Hardness on 0%. The Strength must be on 80%.

Smooth it out more, using a big size of Smudge Tool with the brush’s strength on 40%.
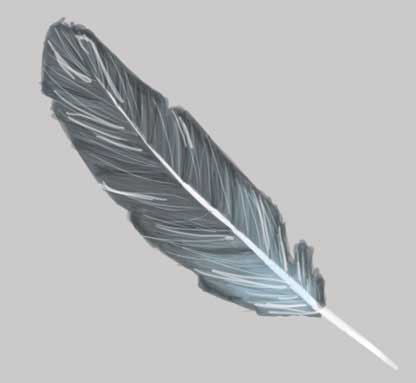
Apply the next instruments: Burn Tool and Dodge Tool for adding shadows and the light.
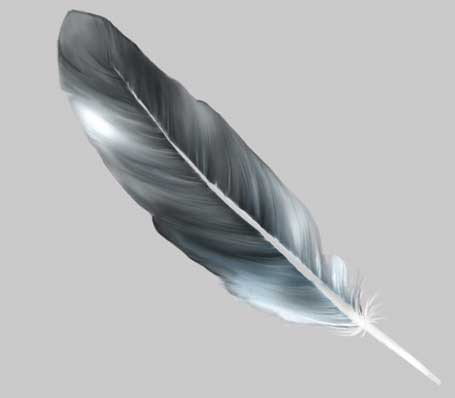
Make use of another instrument (Eraser Tool) to correct the feather’s edges.
Choose again the Brush Tool to picture definitive feather fibres and make the feather look more naturally.
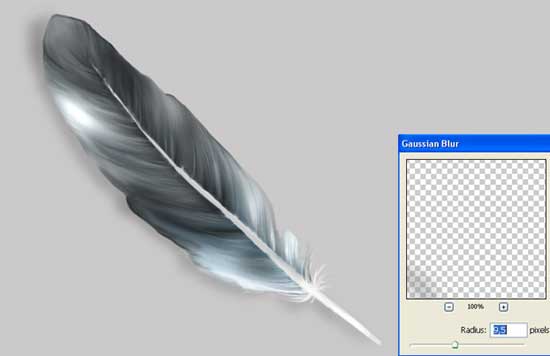
The feather’s shadow is possible to represent on the background’s layer.
Blur it out, applying Filter ? Blur ? Gaussian Blur.
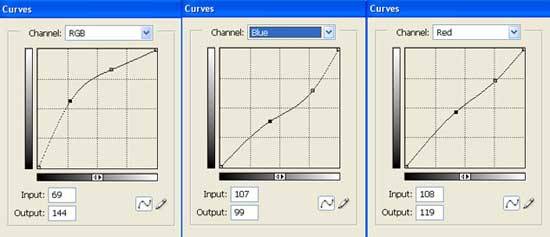
Apply the next command Image ? Adjustments ? Curves (ctrl+m), to change the feather’s color.
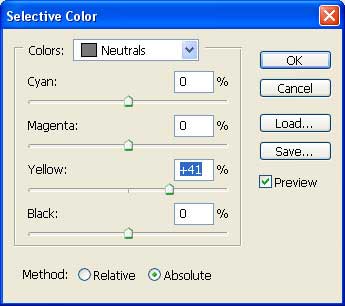
And also the layer’s color on the appropriate one: Image ? Adjustments ? Selective Color.
That’s it!
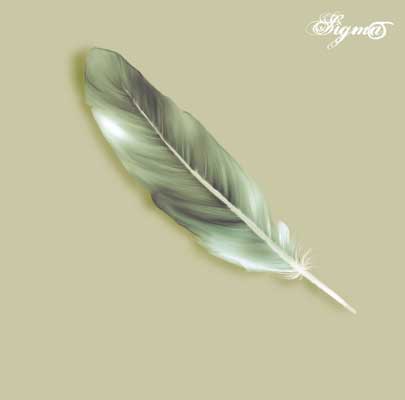
Made by Sigma
Comments