
Fast Hair
December 11, 2007 | 0 comments
Author: Vlad Gerasimov
URL: http://www.vladstudio.com
How to quickly draw a creature with hairy body.
In this short tutorial, I’ll share the technique I discovered while trying to quickly draw a creature with hairy body. Ideally, you need Wacom and a lot of time – then the hair you draw will be very good indeed. However, I found that this technique is not bad too, and it’s much faster.
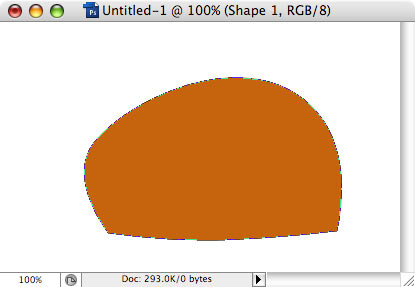
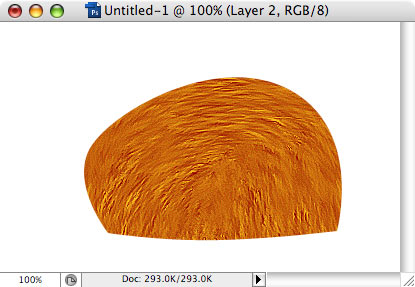
So, to start with, create a shape of… something 🙂
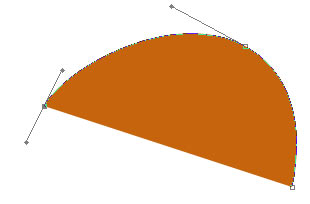
I made this shape only as example.

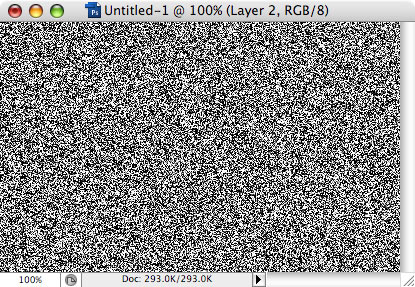
Create new layer, fill it with grey.

Apply a lot of Noise effect (Filter menu – Noise – Add noise) – about 150.
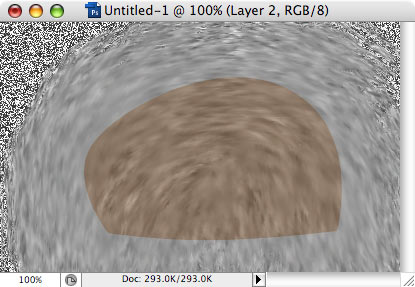
Set layer opacity to 60-70% – so that you can see the edges of shape you made before. Then, switch to Smudge tool.
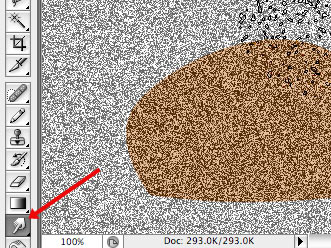
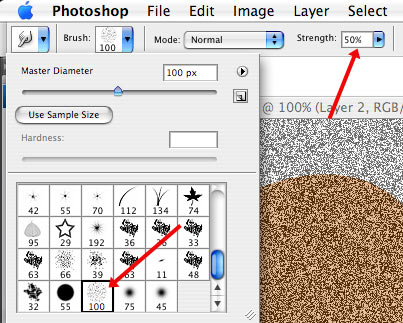
In Smudge tool settings (on top bar), open Brush window, and from default brushes, select the one that has 100 as default size (third from end). Keep strength at 50%.
With your mouse (or pen), make a lof os short strokes in the directions that you want your hair to follow.
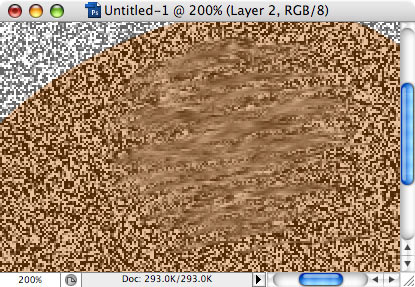
Move by move, smudge the area that overlays above the shape, plus some area around it. Do not leave un-smudged noised areas inside your shape.
Apply Sharpen effect – Filter – Sharpen – Sharpen. Then again, and again, until the hair is sharp enough.
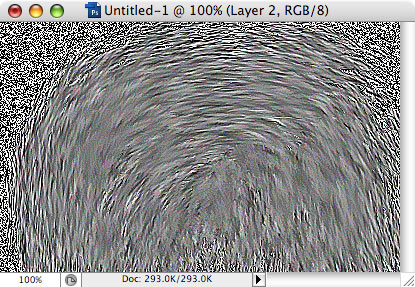
Finally, group this layer with previous (Layer menu – Create clipping mask) and set its blend mode to Overlay. Ta-da!
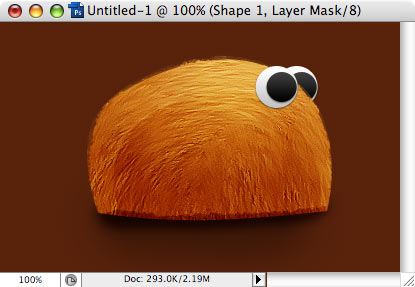
(This particular image does not look very polished, but you get the idea? 🙂
From that, with another couple of touches, we can make… a weird hairy creature!
Comments