
Fantasy Art Work
In this tutorial we will practice some of my painting techniques in combination with forming a background using standard Photoshop© features. So let’s begin.
Here is our document with 100 dpi pixel resolutions.
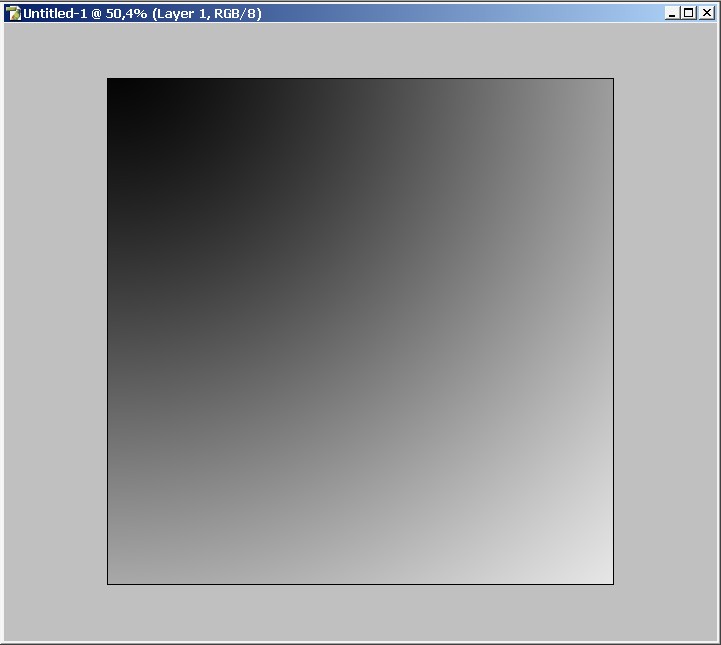
Here is our newly created layer filled with gradient.

Gradient settings:

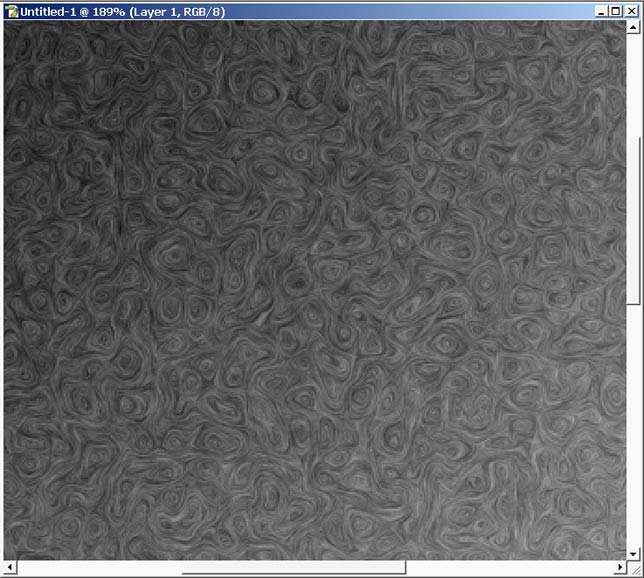
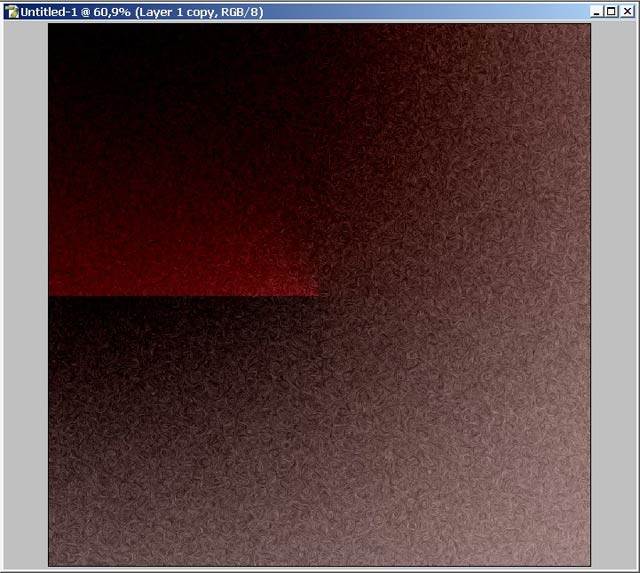
Now I will use one of my favorite PS plug-in from Alien Skin. These plug-in series are very good for forming a pattern of texture.

And here is the result.
Turn on the gradient option in layers style menu.
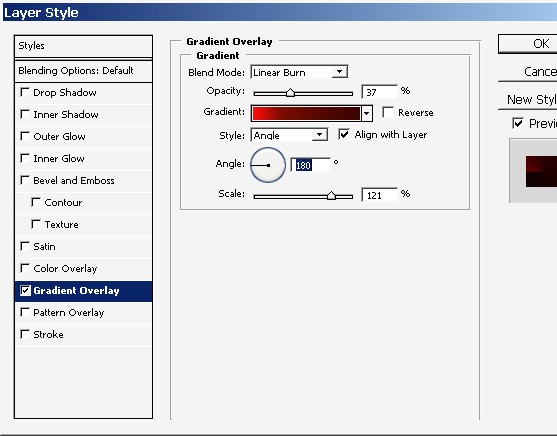
Note that the gradient style is – angled.
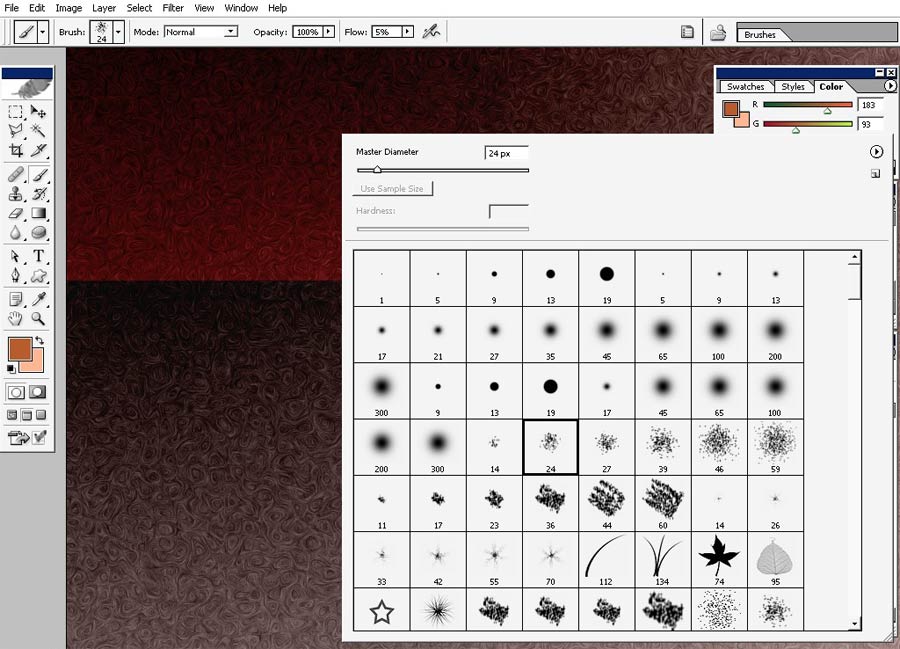
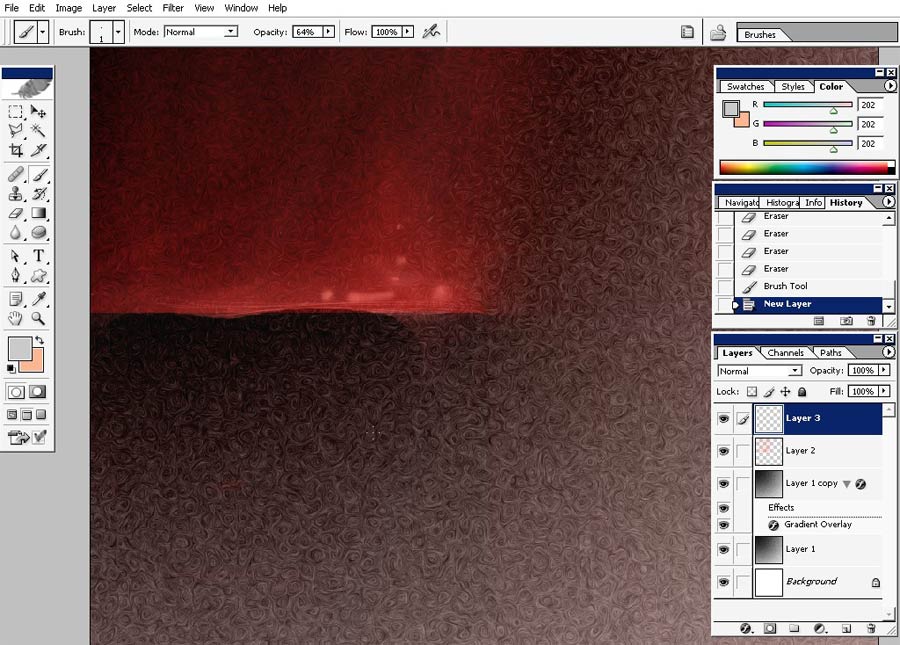
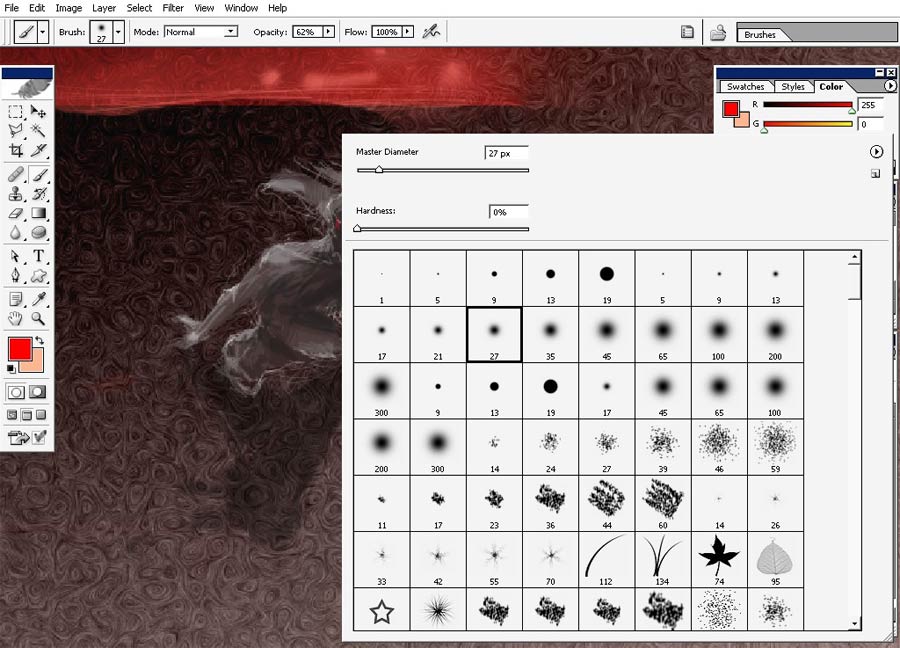
Now I will use Soft brush with low flow ratio to accent this red border. Do it on the separate layer.
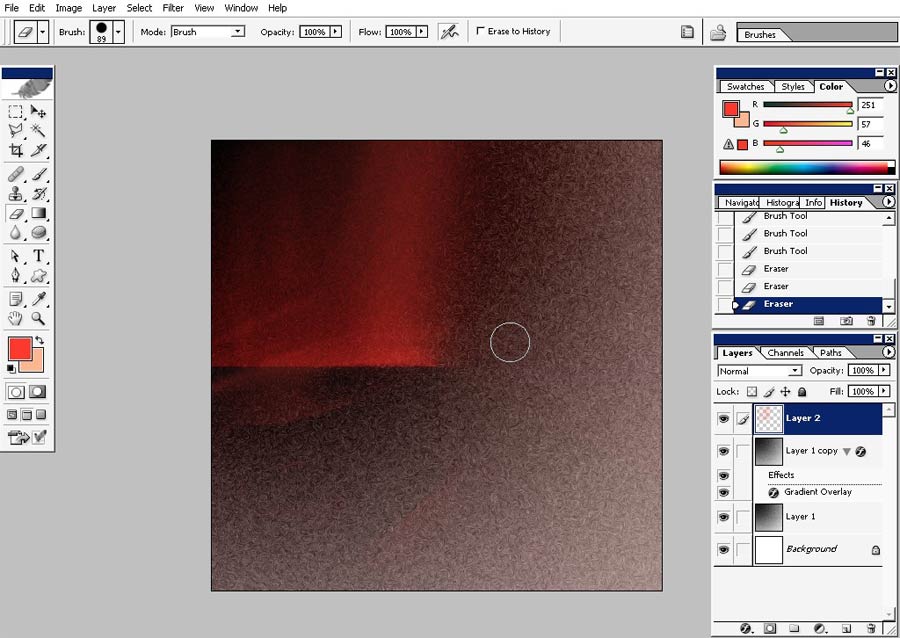
Some light with just changing the flow ration to about 90-100%.
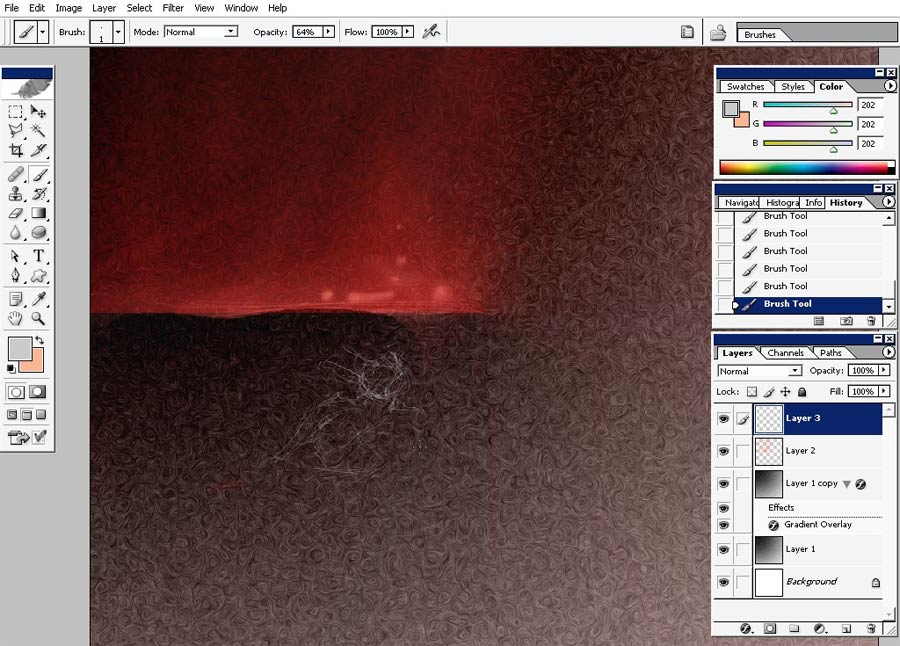
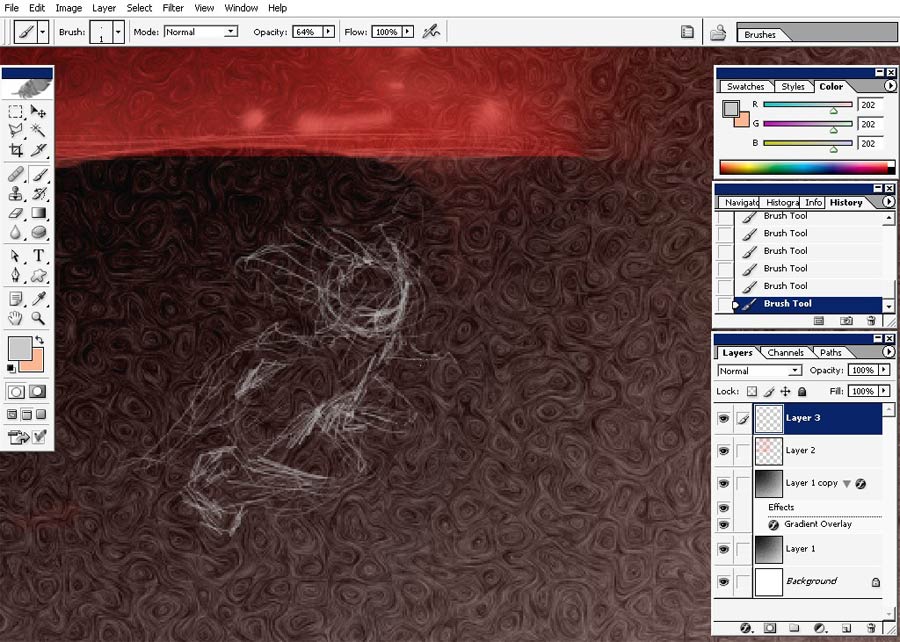
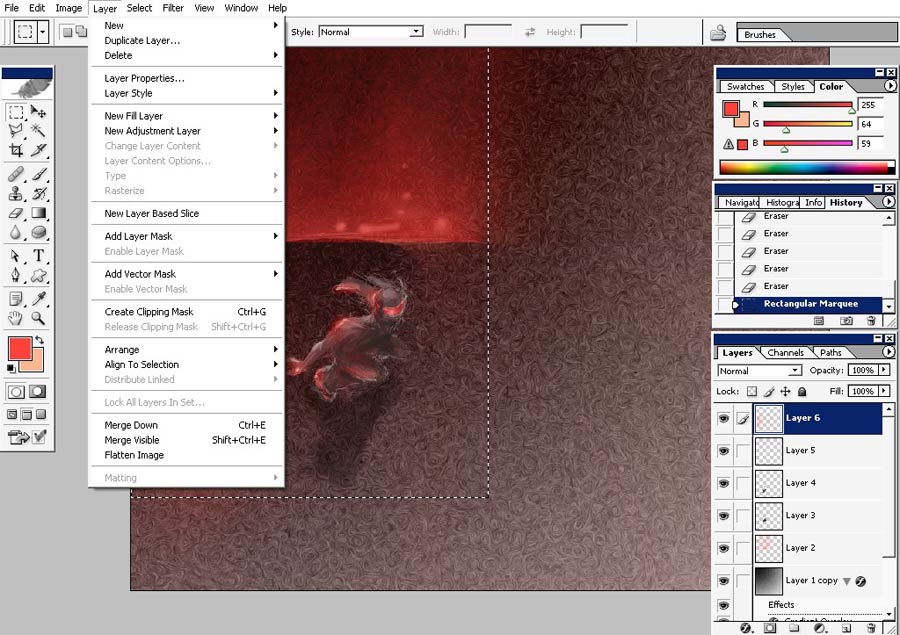
Create another layer (ctrl+n) and begin to paint some kind of character. Begin with line drawing technique. Use basin 1px brush to do this.
Begin to put some value. You can do it with any brush but I recommend you to do it with rough edged brush.

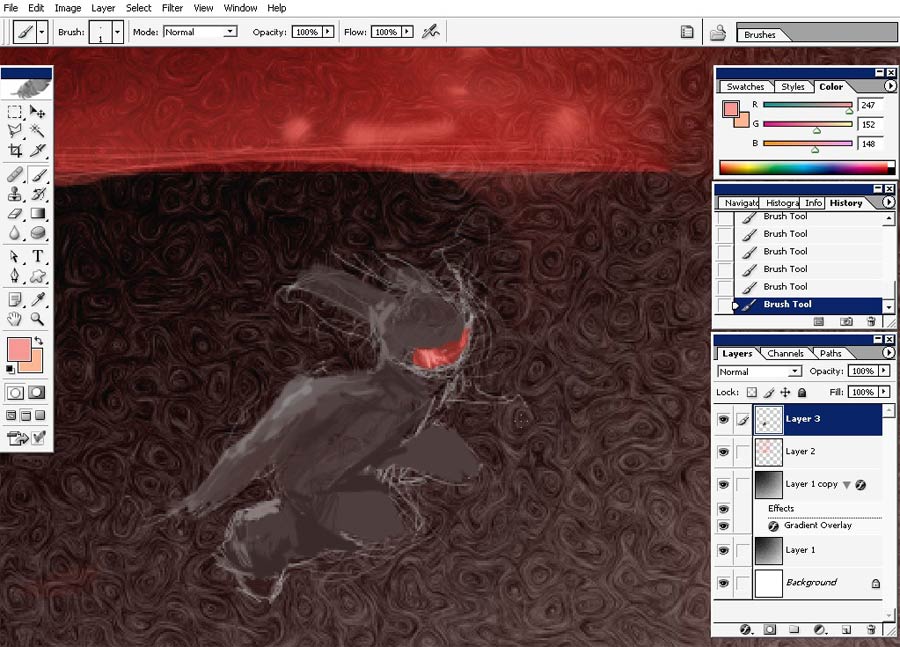
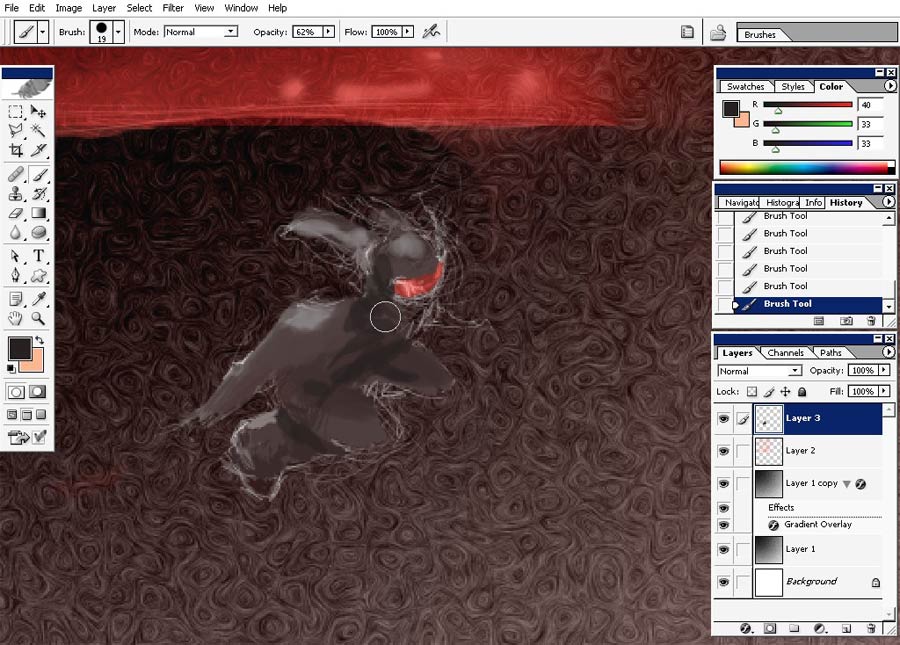
Well, here we have it our poor detailed silhouette.
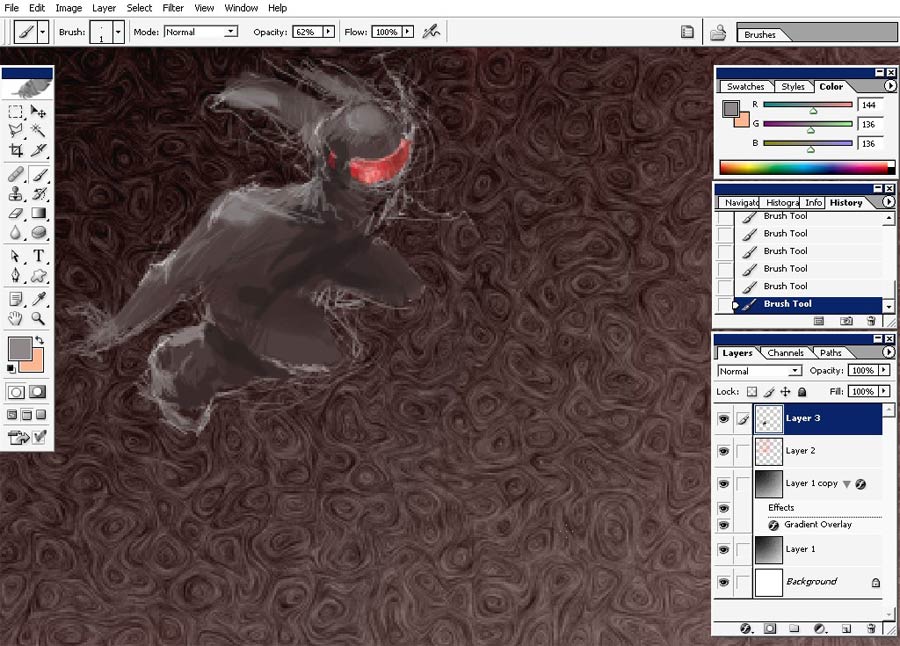
I did a shadow using Soft
brush with low flow ratio on the separate layer so you can
erase the parts of the shadow.
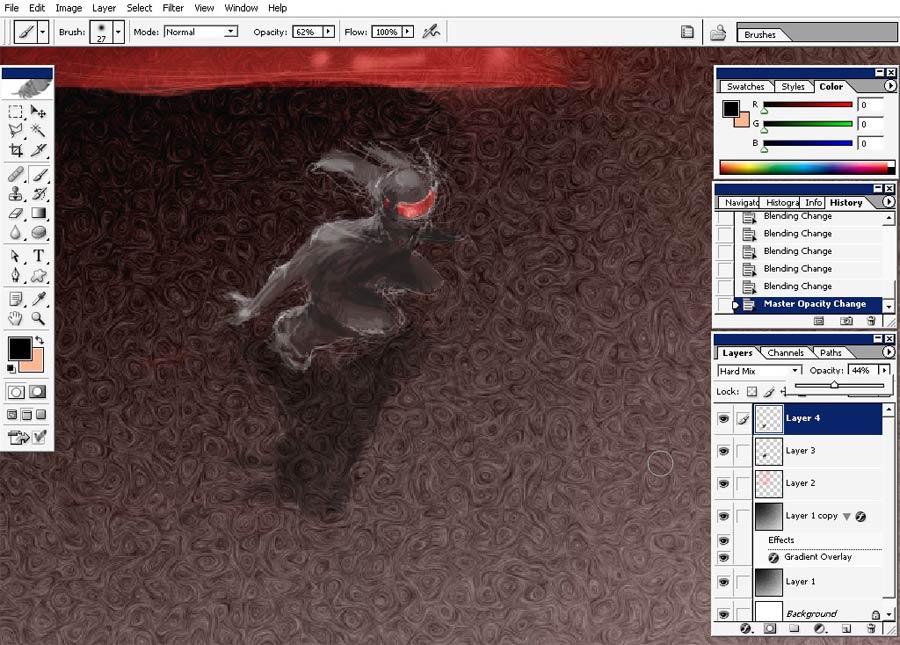
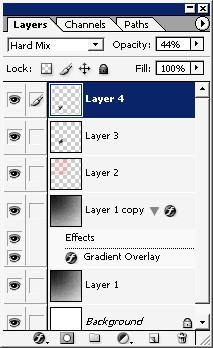
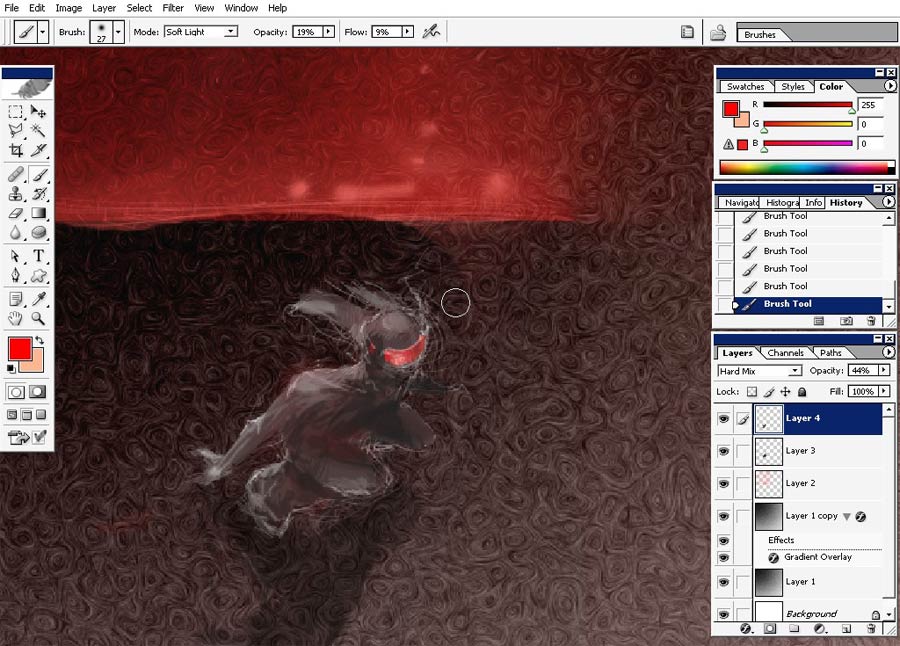
Put the shadow layer mode to hard mix.
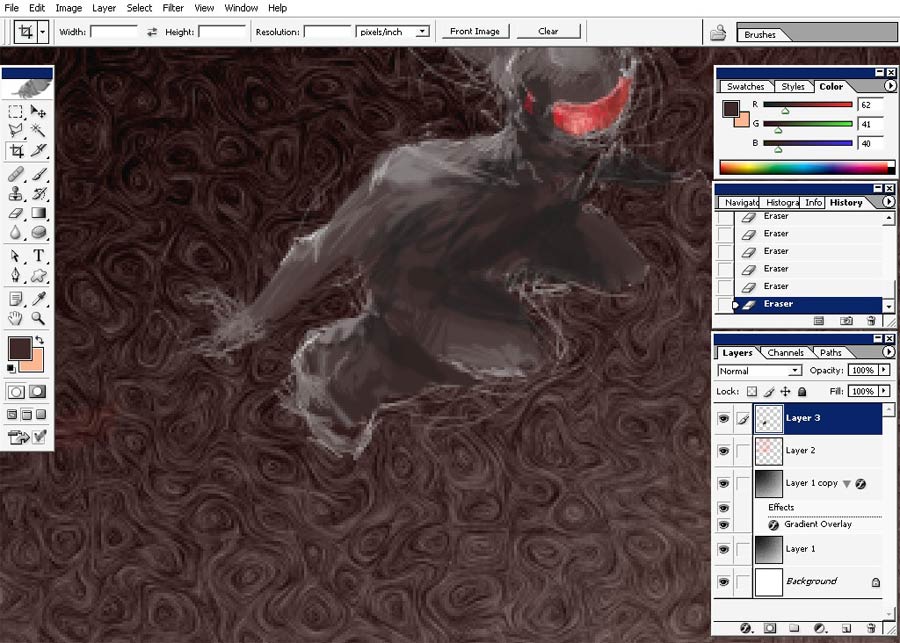
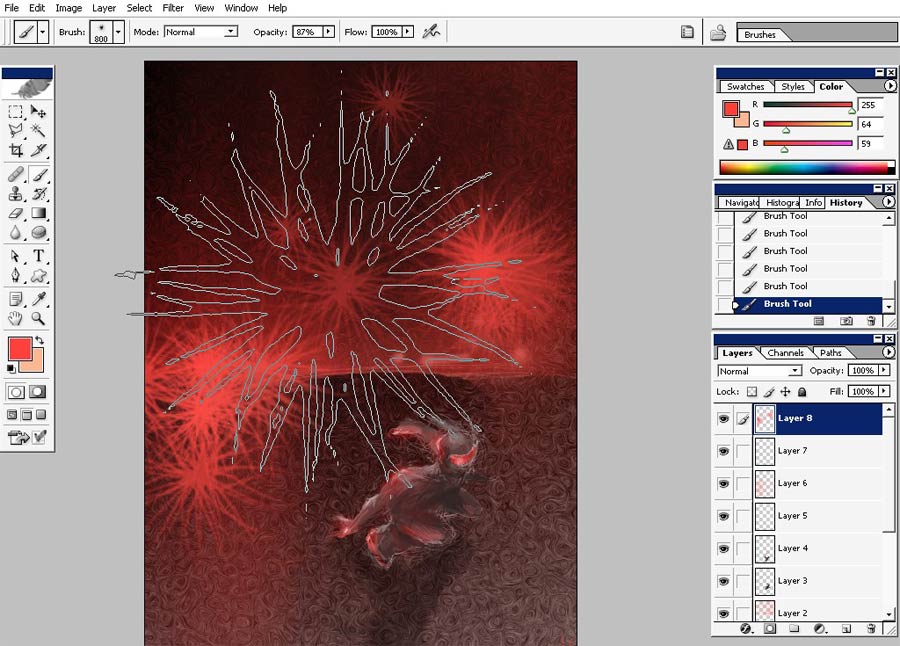
Now I will make a cool glow effect. Choose a soft brush and red color and begin. If you want then create a new layer.
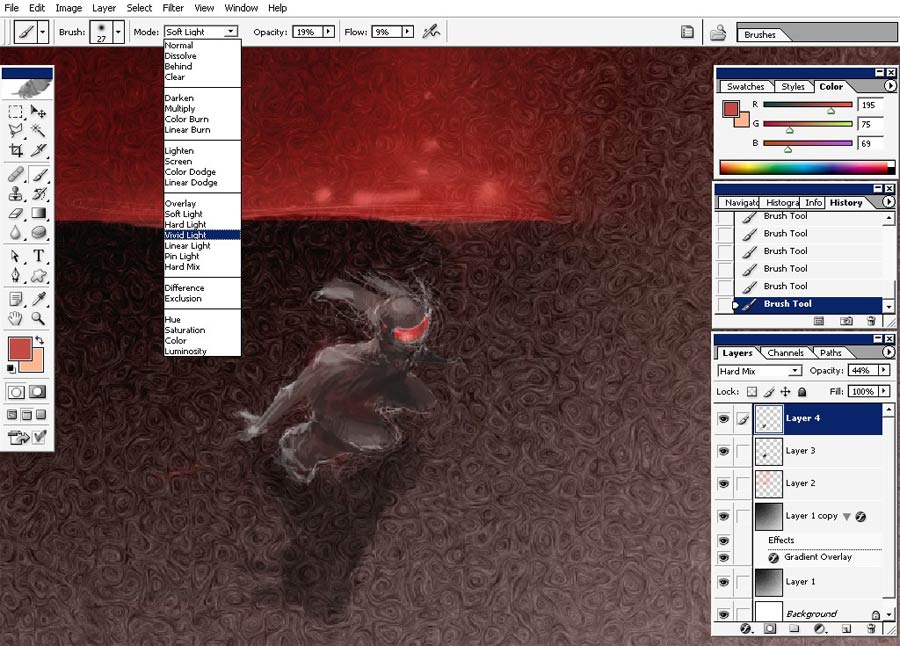
Set the brush mode to Soft light.
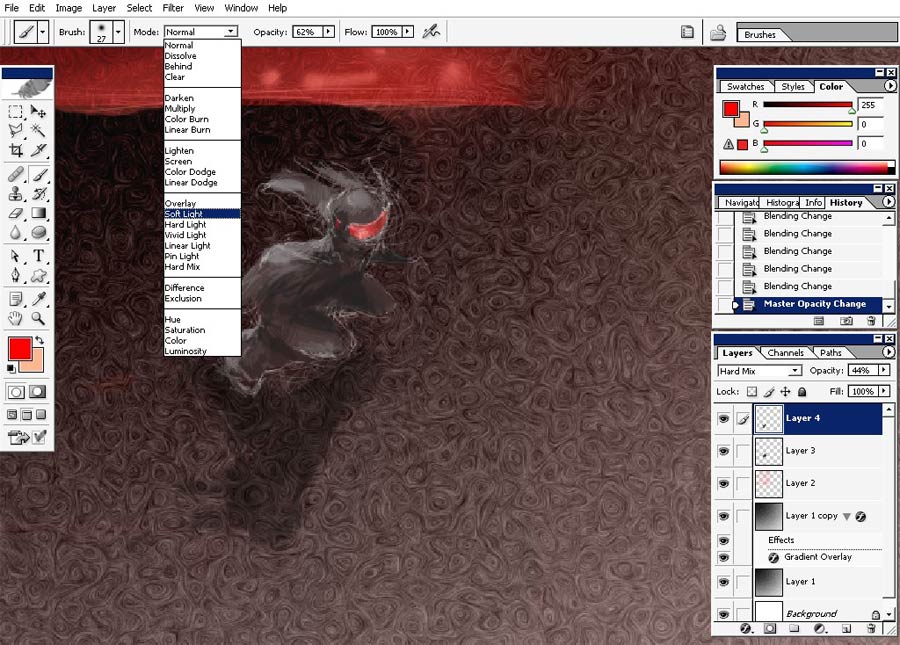
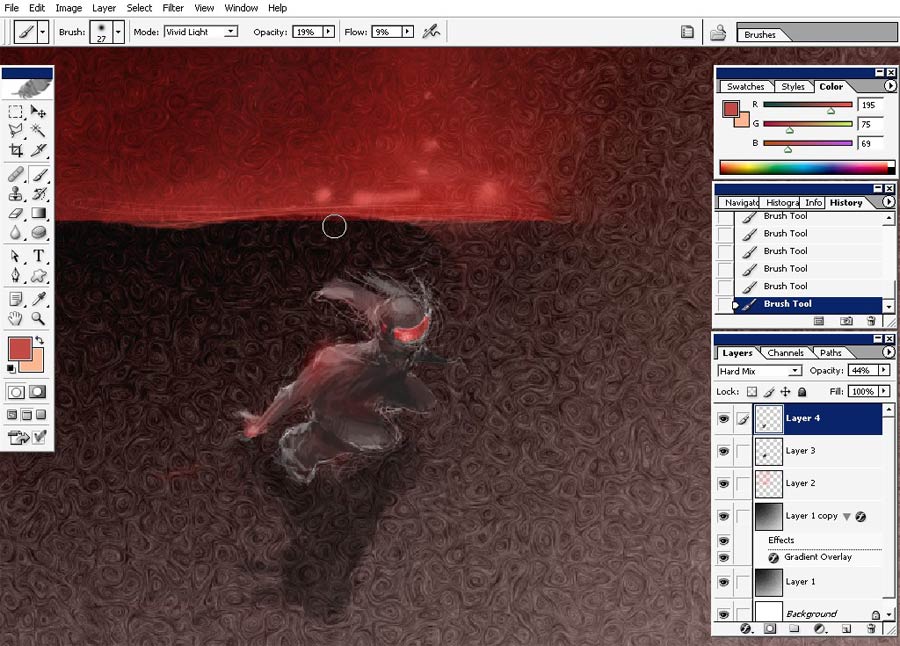
Then to vivid light. To gain more contrast with reds.
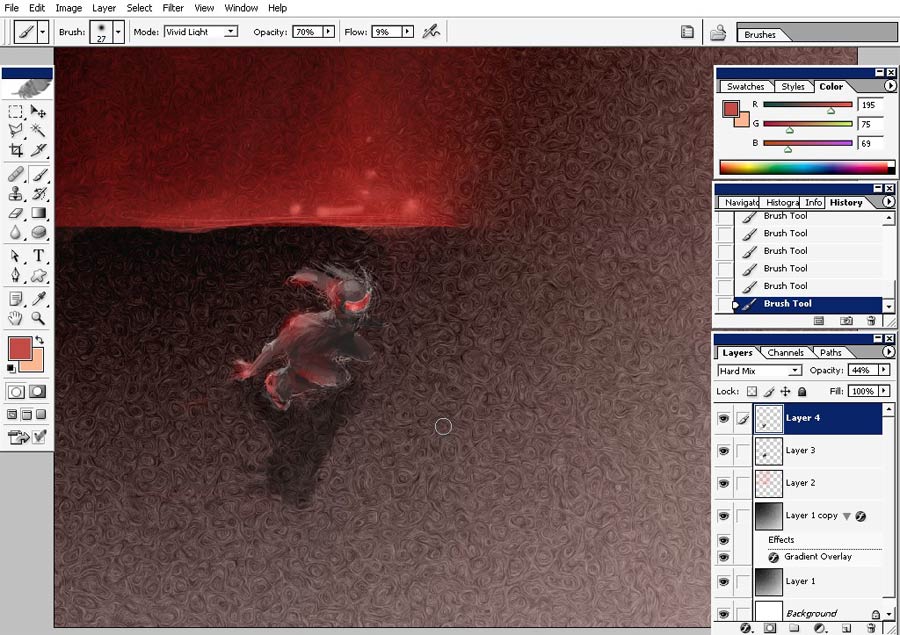
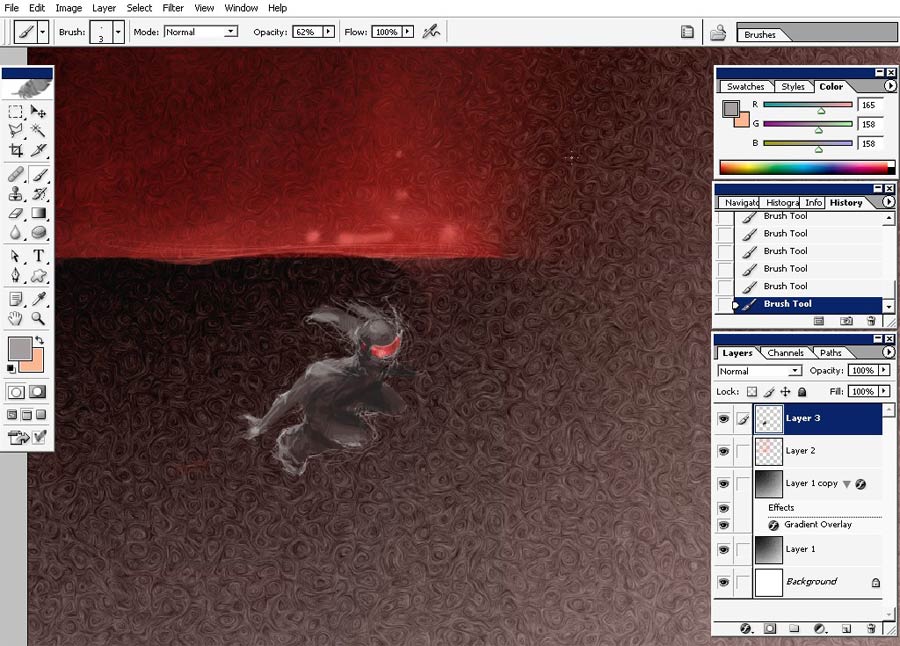
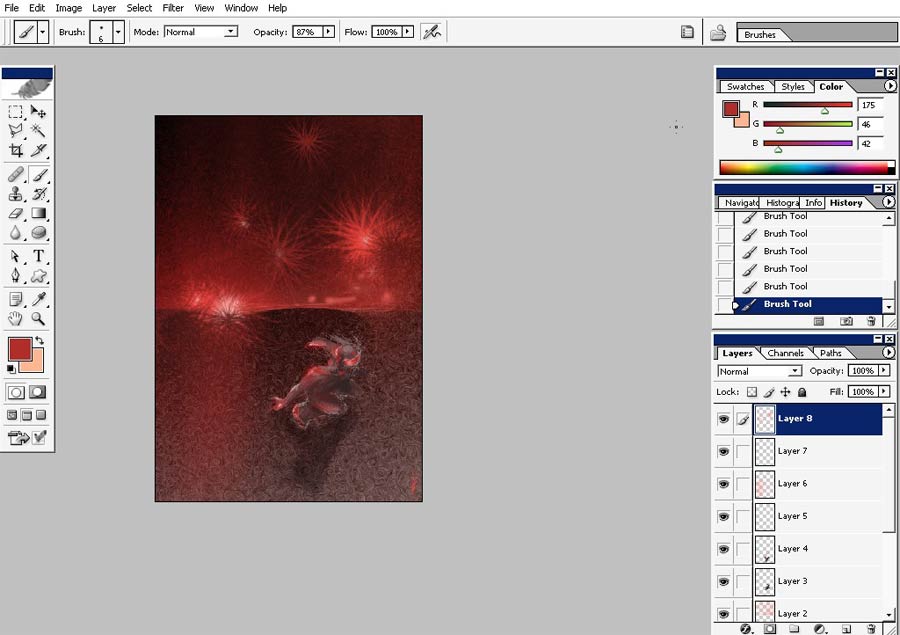
Just crop the image for better composition.
And use this very brush to create a little bit background details along with cool glow effect.
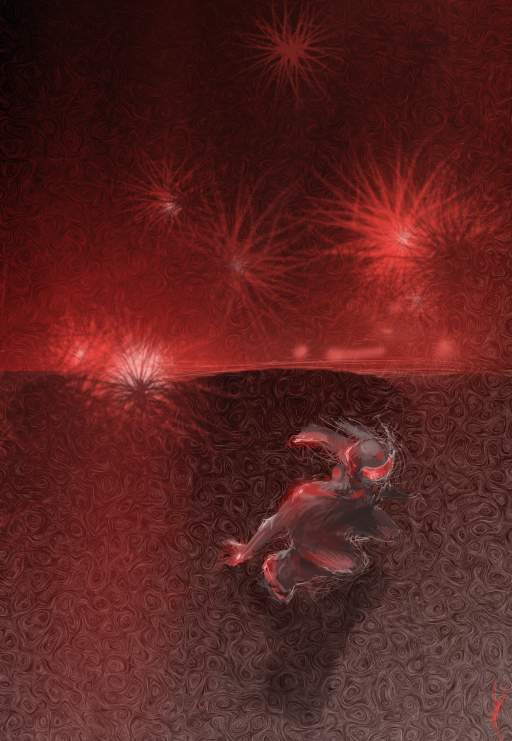
And there we have it a cool Glow weird perspective illustration.
Comments