
Fan
1. Make a 400×400 document. Now press “D” on your keyboard to reset the foreground and background colors to black and white. Make sure your background is white.
2. Now apply select the Custom Shape Tool .

Now go up to the top Custom Shape Menu and choose the Registration Target #2. Looks like this (make sure you have all the shapes loaded and appended):

Make sure you have the Paths button select on the Custom Shape Menu:

Hold shift while you make the path, this will keep it 100% accurate. Your path selection should look like this (try and fill in the whole canvas with this path):

3. Open the Window>Paths. Right click the work area path and go to make selection. Use the default settings it gives you. Now paint your select Black.


4. Now apply Filter>Blur>Radial Blur and use these settings:
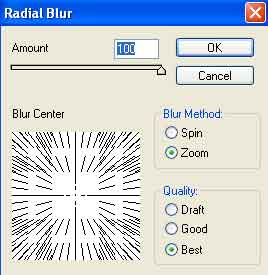
Press CNTRL+F to render the blur 2 more times.
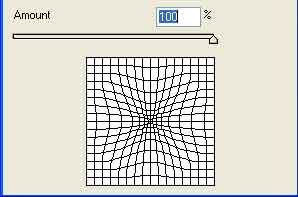
5. Now apply Filter>Distort>Pinch and use these settings as well:
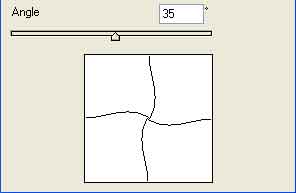
Also apply Filter>Distort>Twirl and use these settings:
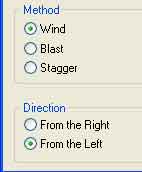
6. Apply Filter>Stylize>Wind and also apply these following settings:
7. Set your foreground color to #25A4D3

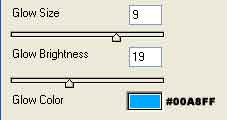
Go to Filter>Artistic>Neon Glow and apply these final settings:
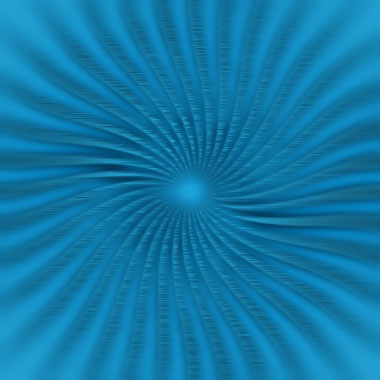
There you go, just finished a nice looking blast fan.
Comments