
Fade Images in Photoshop Using Layer Masks
The Basic Fade
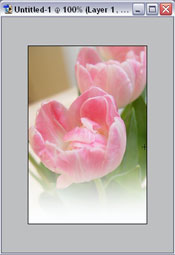
First, let’s look at creating a basic fade effect that will result in an image like this:

Open your original photo in Photoshop.
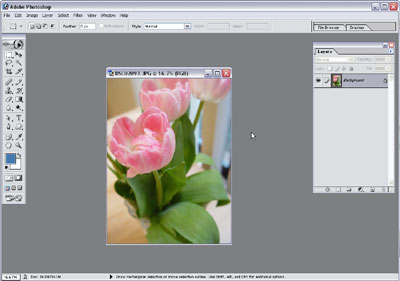
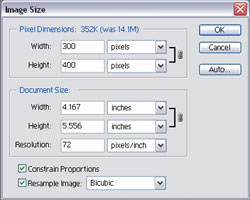
Since this tulip photo was from my digital camera, it was a whopping 1920×2560 pixels. If your image is a lot bigger than the size of the final Web image that you want to create, click on “Image,” then select “Image Size,” and specify a new width and height for your image. I resized my image to a workable 300×400 pixels.

Starting Your New Document
To preserve the original photo, we’ll create a new document. Go to “File”, click on “New”, and specify a new document with the dimensions that you want your final image to have (we created a new, 200×300 pixel document). Then, go back to the original image and type Ctrl-A. This will select everything in the image. Type Ctrl-C to copy, and then close the image without saving. In the brand new document, type Ctrl-V to paste your photo. You should now have a new 200×300 Photoshop document in which your original photo appears on its own layer.
If the photo is bigger than the new document, don’t worry — this is good! We’ll discuss how to change the size later, but for now, we’ll just focus on creating the fade effect.
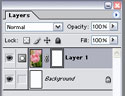
Let’s add a layer mask. With the Layers Palette open, click the “Mask” icon at the bottom of the palette.
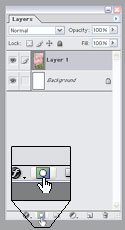
This will add a layer mask, which you can see as a linked rectangle next to the picture.
Working With the Layer Mask
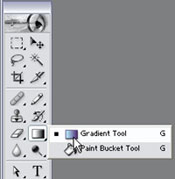
A layer mask is essentially a black and white “image.” You can paint on the layer mask in white, black, and any shade of grey. White areas will allow the picture to show through; black areas will hide the picture. Shades of grey will affect the transparency — also known as the opacity — of the picture. For now, we’ll create a simple black-to-white gradient on the layer mask. To do that, first select the Gradient Tool from the tool palette (you can hit the “g” key on the keyboard, as well, to toggle between the Gradient Tool and the Paint Bucket Tool).
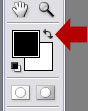
Set your foreground color to black and your background color to white. You may click on the foreground and background boxes in the tool palette and choose the colors. Or, if your foreground is already white and your background is black, click the arrow icon to switch them.
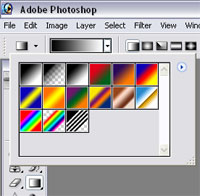
Make sure that the gradient toolbar previews a black-to-white gradient, as shown below (the black-to-transparent gradient will work as well).
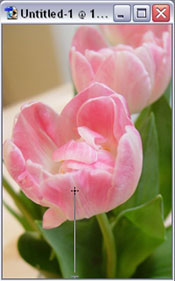
Click once on the layer mask to make sure that you’re “on” it, so that you don’t accidentally paint your picture black! Then, click at the bottom of the picture, hold the mouse, and drag the mouse straight up. You can hold the shift key while you drag to “force” the cursor to move in a straight line. Move the cursor up to about where you want the fade to “end,” and let go.
And there you have it — your first beautiful fade using a layer mask!
Comments